- Home
- Walkthrough
1. New York 3. Return to New York Liberty Island Return to Hell's Kitchen The Warehouse Assignment The Wall Cloud, The Graveyard Ambrosia, Airfields, and Apostasy 4. Paris The Insurrection Finding Nicolette The Great Escape Finding Morgan Everett 2. Hong Kong 5. Southern California The Helibase Vandenberg Deactivating the Kill Switch The Gas Station Versalife The Submarine Base The Missile Silo Area 51 - Strategies
- Extras
The Warehouse Assignment
Introduction
In this mission, essentially all we have to do is destroy a generator in the warehouse district of New York. However, there are a lot of side missions for us to do. I'll cover them all, but you could easily skip most of it, even the hostage rescue in the subway station. Another reason to love this game!
While you could stick to bopping most of the NSF troopers on Liberty Island, since there are far more firefights on the mainland, you'll want to use the prod more often. You do have some invincible AIs to fall back on, in the form of Anna, Paul, Jock, Smuggler, and Gunther. Be prepared to take a few hits, and hang in there, for we're about to head on in!
Castle Clinton
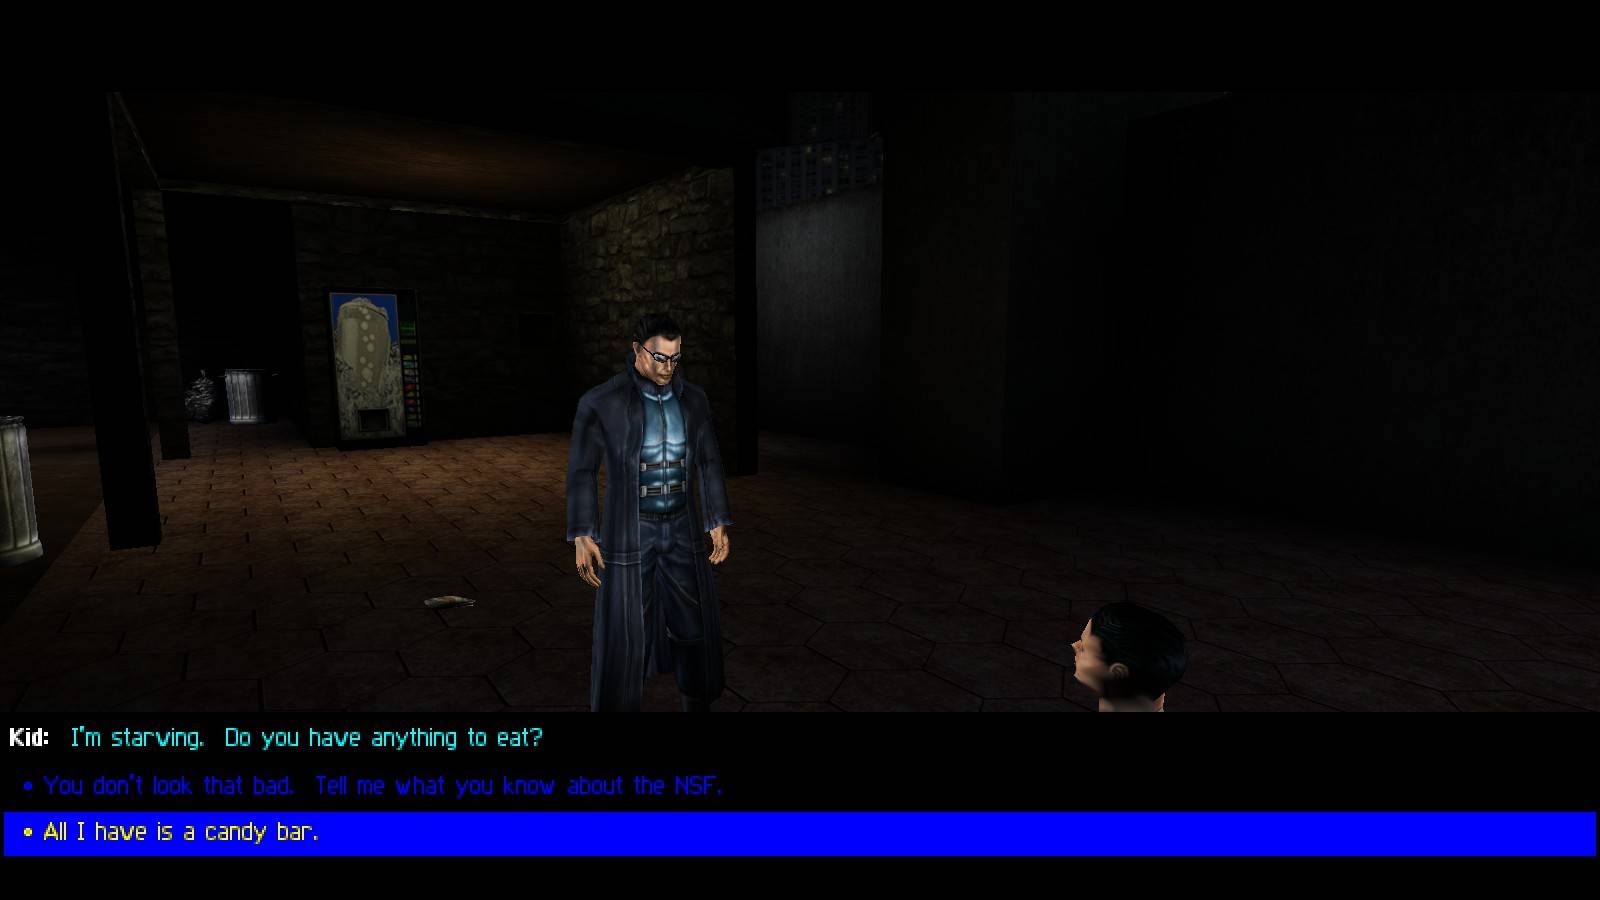
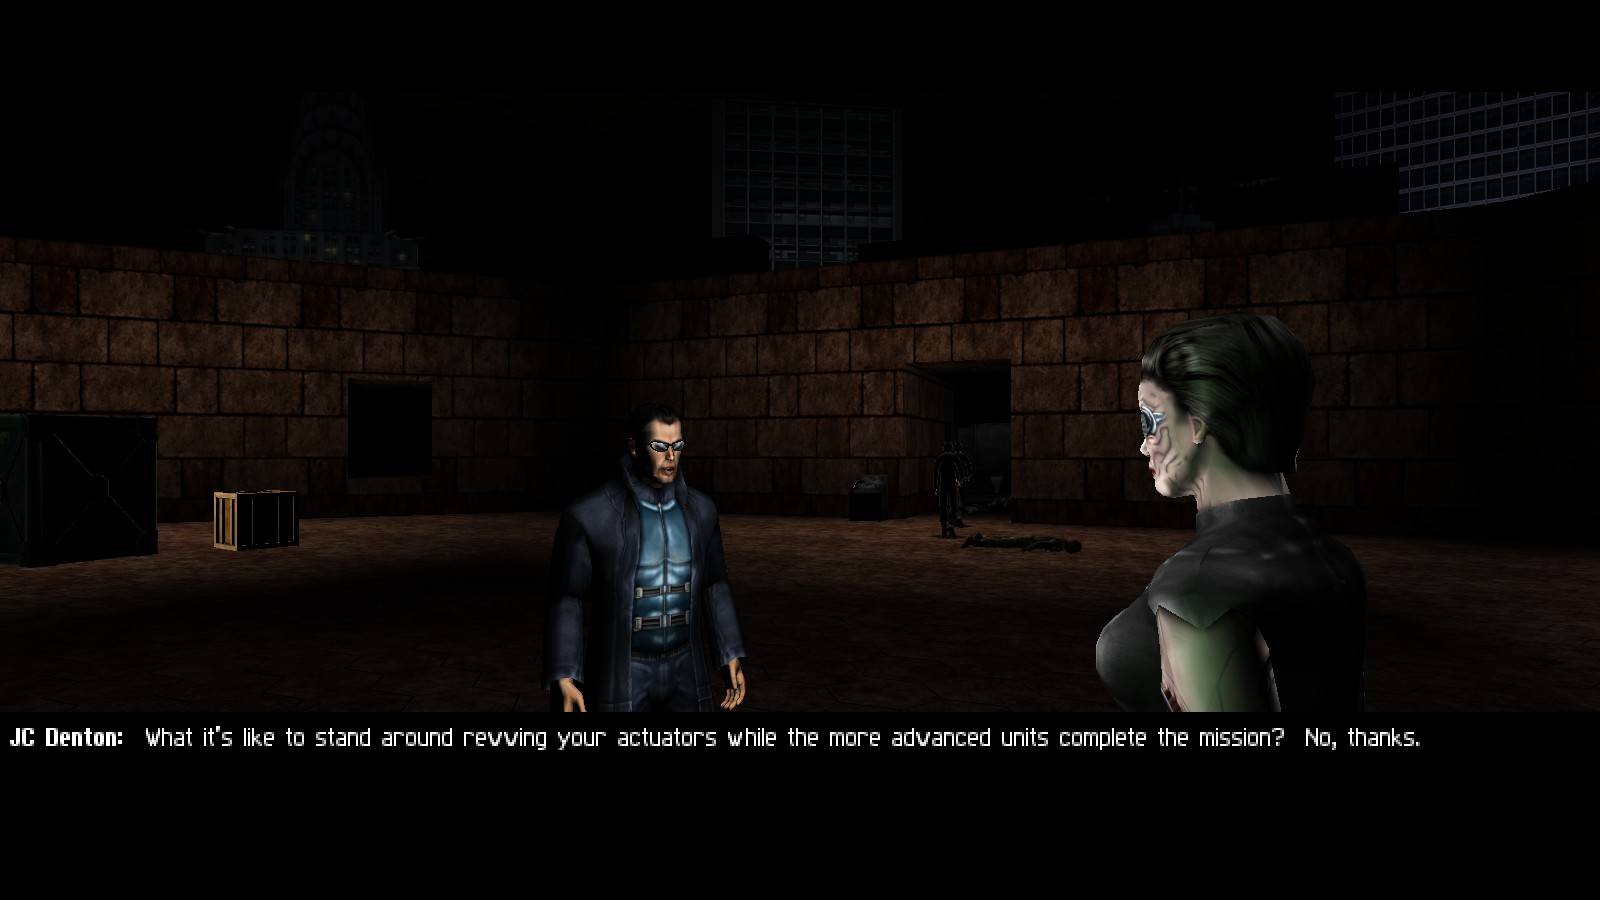
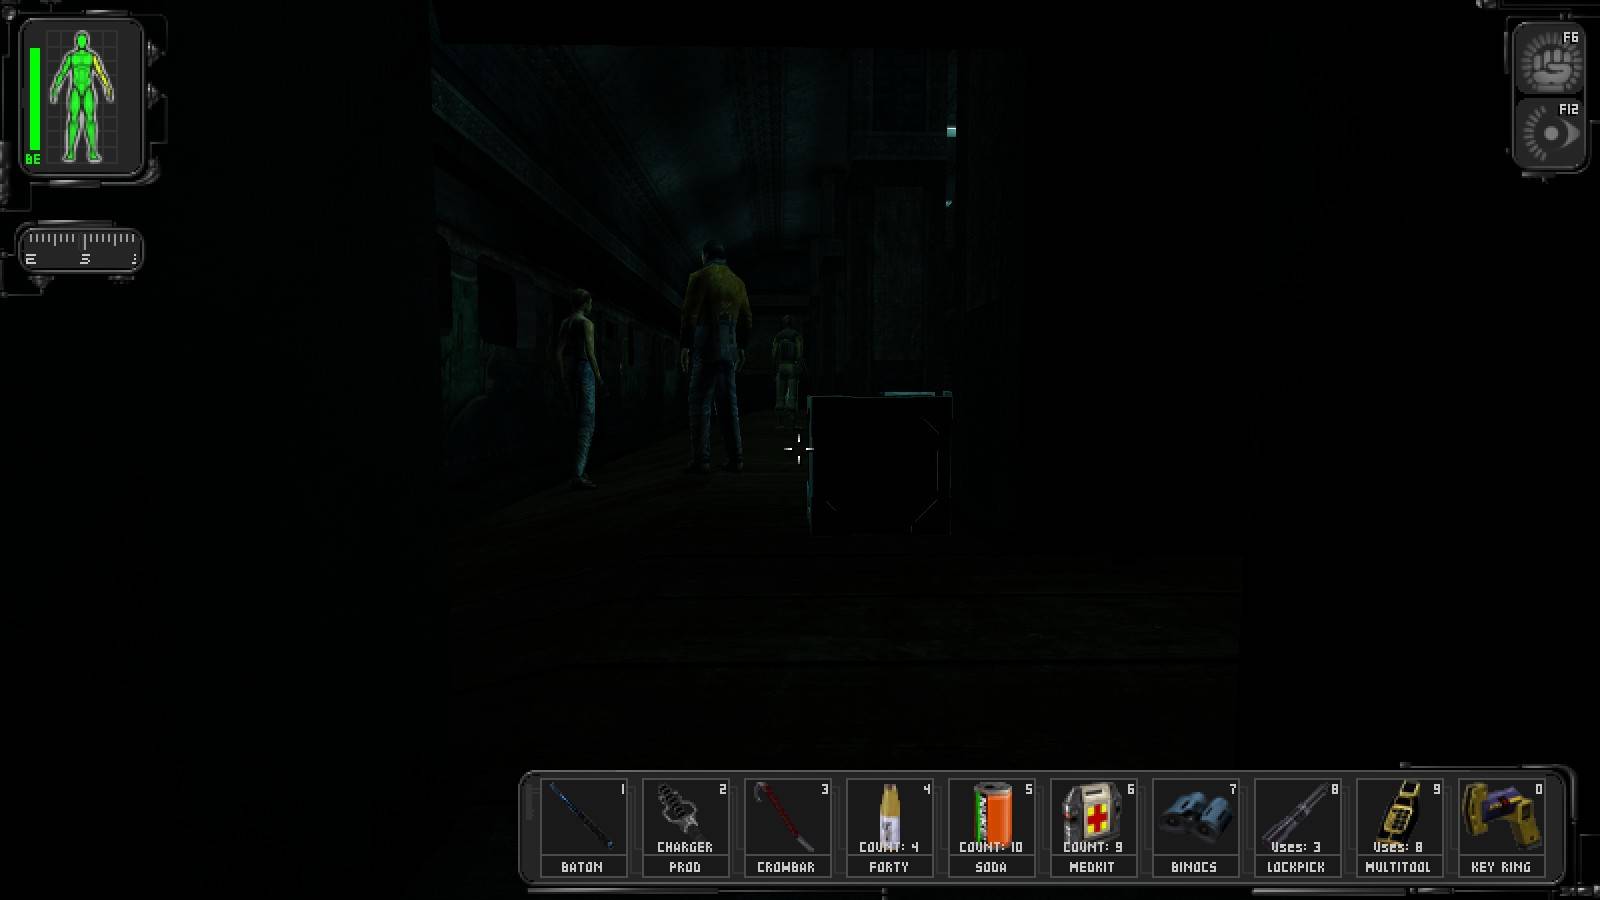
When we arrive in Battery Park, Navarre will talk to us for a few moments, then head to Castle Clinton. Once she leaves, dive into the water by the boat, look east, and you should see 2 crates floating in the water. Smash them both, and grab the lockpick and med kit. Get back onto dry land, then look for a little boy. Talk to him, and JC will automatically offer him the healthiest food he has on him. That would be the soy food, but it's quite rare this early in the game, so you'll have to decide on whether you're feeling generous.
"For now. Gotta remember to grab the soy food I dropped before I go!"
Whatever food you give him, once he has it he'll tell you about a secret code, 9183, that gives you access to secret tunnel behind the soda machine. Go to the soda machine, and pick the lock on the panel beside it, punch the code into the keypad, then walk through the hidden doorway. Go into the far room with the water in it, then check under the table for a bioelectric cell, and on the table for a multitool.
Return to the first room and go down the stairs, quietly, though! Take the first right, duck under the camera, and slip into a ventilation shaft, picking up the riot prod charger by the window. Be patient, a sweet, innocent NSF trooper will arrive shortly. Bop him when he stops in front of the window, then toss his body into the ventilation shaft. We don't need anyone seeing his body and punching that alarm panel nearby.
Once you're back in the ventilation shaft, go straight ahead, (east) and go down the ladder. Directly south and to the west of where you are, there's a grate you can leave by. I'd recommend merely opening it, and proceeding north, it's best to open all the ventilation shafts you can in case you get caught and need a place to run.
We want to exit via the far north ventilation shaft grate, but if you notice an NSF trooper patrolling along the docks, bop him and quickly pull him into the ventilation shaft. Be extremely careful when doing this! He packs a flamethrower, there's a camera overlooking where you are, and there may be an NSF trooper on the bridge nearby. If the guy with the flamethrower spots you, you're finished, even if you jump in the water the flamethrower will burn your head clean off.
"Erm, maybe this wasn't the best time to try this . . .
Once you reach the far north exit, creep into the hallway and hide in the shadows on either side of the far doorway. If nobody's around, quickly pop around the corner, and get the multitool off the floor on the right side of the doorway. An NSF trooper will wander down the hallway and see you if you don't time it right. Once you have the multitool, listen and wait for the trooper's footsteps to start getting quieter, then dash after him and bop him. He has the key to a safe we may be looting shortly so be sure to search him.
Continue down the hallway, and you should see a turret to your right, guarding some stairs leading up a level, and a doorway to your left. Go through that doorway, and dive behind the large crate to avoid setting off the camera. Oh, look! The Ambrosia! Wait for the camera to calm down, then run around the large crate and up the stairs far enough to get out of sight. Creep up the stairs, go through the metal green door, then left and down the stairs to a locked metal door.
It's your call here. If you have a lockpick, you can crack open the door and gain access to a security computer, a med kit, and a key which opens the Castle Clinton kiosk doors. If you have have the key or 2 lockpicks, you can also crack open the small safe in here, and get your hands on an augmentation canister for Aqualung or Environmental Resistance. Or, if you feel like abusing the NSF's laser alarm system at the subway station, wait until later to blow the door open.
If you entered this room and shut down the security systems, head back down the stairs to the level you found the Ambrosia on and crack open the crates to your left, which were previously guarded by the camera. The crate closest to the turret holds 10 mm ammo, the one directly under the camera holds a medkit. You can get these goodies with the camera on, but it's harder and slower to do.
Return upstairs, and go down the hallway to your right. Follow the hall until you reach a big red button, push it, and you'll be able to go up the stairs into the kiosk of Castle Clinton. The doors are locked, but you should have the key if you searched everyone. If you go through the doorway which only has a single door in it, you should find a little boy by a locker. If you feed him you won't get any useful information, but you will get some skill points. In the locker beside him, you'll find the code that gives you access to the stairs you just used to enter, and a bioelectric cell.
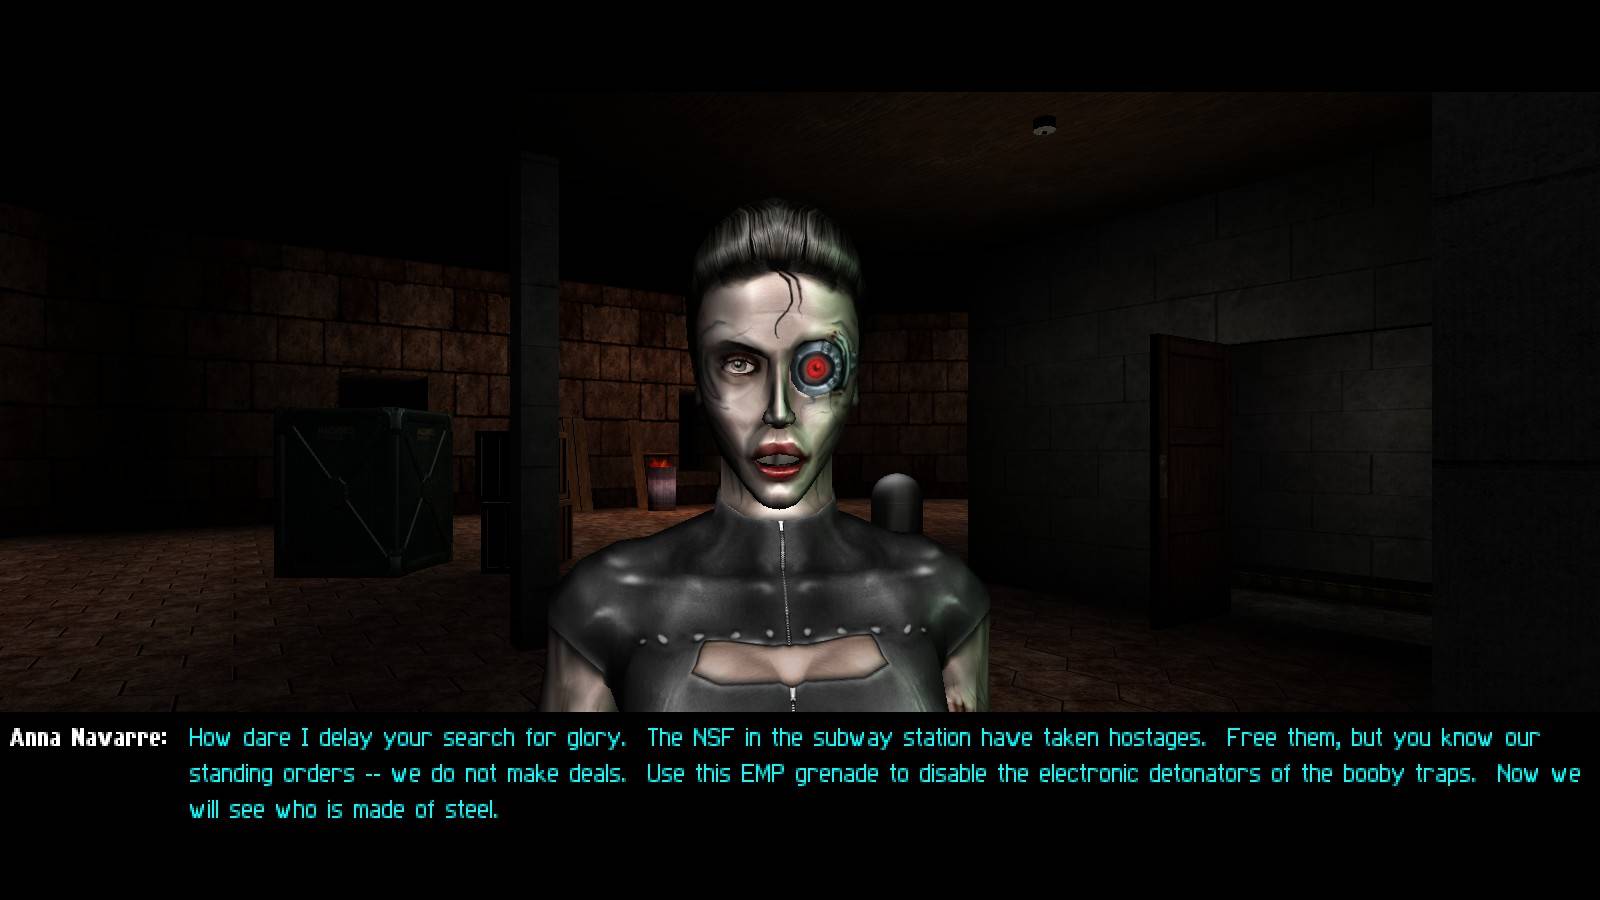
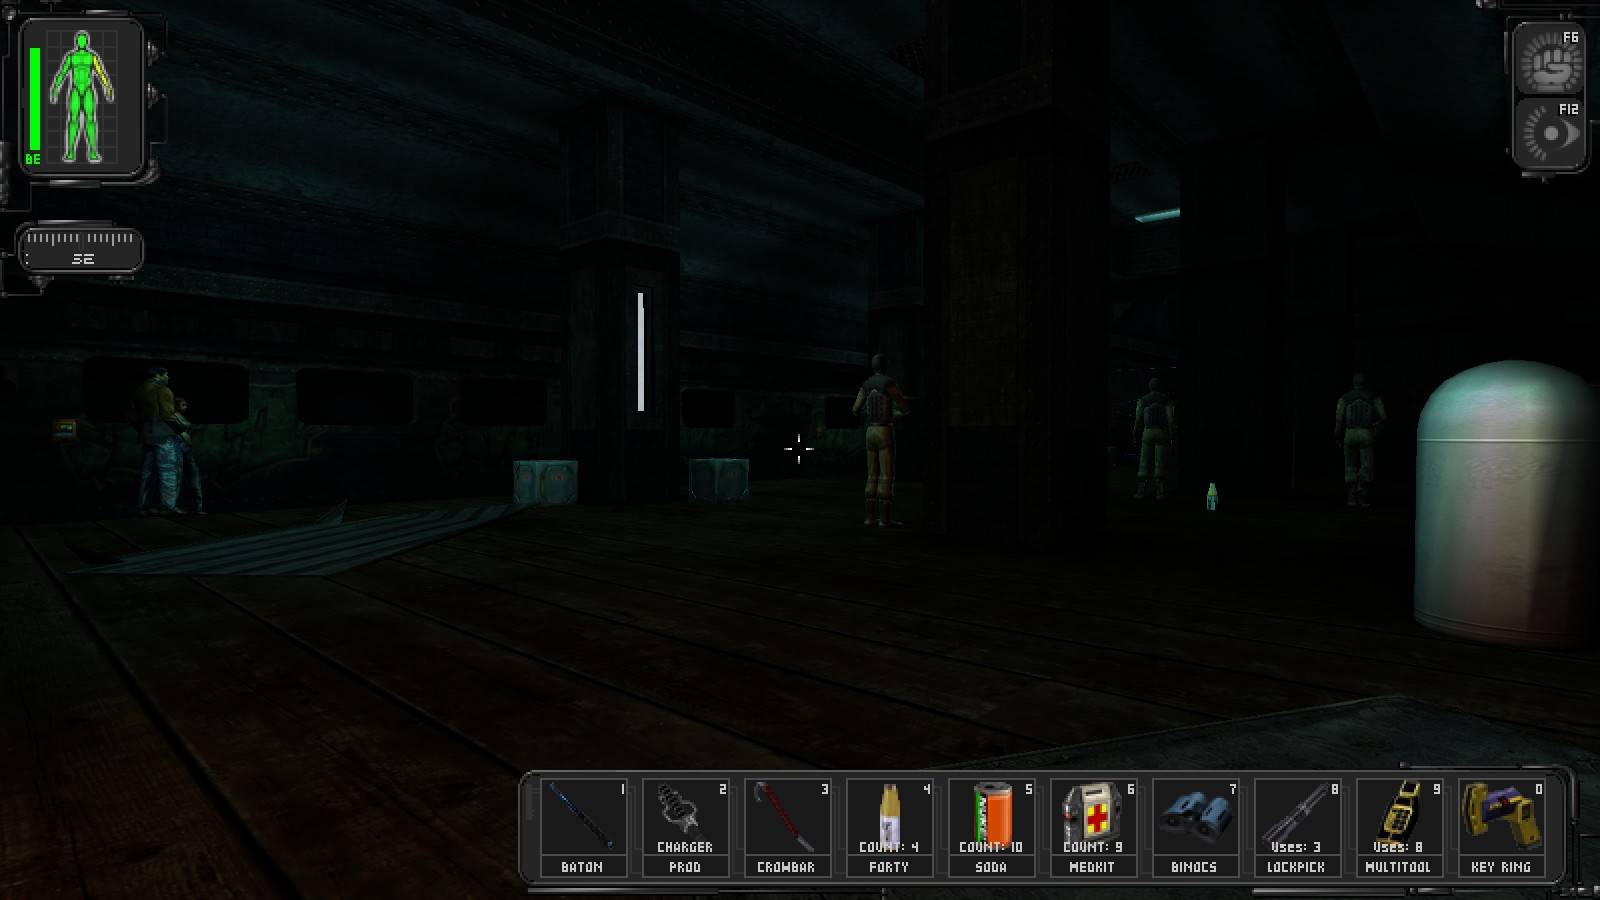
Now, get ready to run. There are quite a few NSF terrorists around the kiosk of Castle Clinton, you can try taking some down, but eventually they'll spot you. Lead them outside to Anna Navarre, she and her UNATCO buddies will blast them for you. When she's done killing, even if you didn't touch anyone, she'll give you the 'you are not afraid to kill' speech. If not, I'd recommend reloading and doing this part over again until she does, because Paul will give you an extra prod charger if he thinks you're a mass murderer.
On the other hand, if you'd rather she think you're a wimp and prod chargers don't matter to you, you can avoid entering the kiosk all together. If you do a little backtracking, you can return to the dock via the hidden passageway behind the soda machine. After that, track Anna down and meet her out front. The fork in the conversation doesn't matter, the only bonus is that you get 2 EMP grenades from her if you are polite.
If, on the other hand, you feel like being a bigoted asshole, there is a little fun to be had here!
Once you're done talking with her, it's time to search the crates around Castle Clinton. Here's what you should find in the indoor crates, in no particular order:
- 2 7.62 ammo clips
- 1 multitool
- 12 gauge buckshot shells
And then, in the outside crates:
- 1 10 mm ammo clip
- 1 7.62 ammo clip
- 12 gauge buckshot shells
In other words, only hoarders need bother with them.
Subway Station
Well, we're off to rescue 2 hostages from the evil NSF! There will be a firefight in front of the subway station, and we need to get there fast to save all the UNATCO troopers. Swing east of the castle to find the eagle, and pick up a vial of Zyme from it. We'll get some good cash for selling it in Paris, but that's getting a little ahead of things. Head north, where the UNATCO troopers will get into a firefight with the NSF. Nobody seems to care if you save these troopers, so there's no point in endangering yourself here, but of course you can help if you want. Once it's quiet, search the shacks. The one nearest to the blockade is shack #1, the one to its left will be #2, so on, so forth. Here's what you'll find in them:
- Locker containing candy bar, lock-pick, and multitool
- Can of soda on ground
- Locker containing med kit, riot prod charger
- Lockpick in dark, right hand corner nearest to door
- Soy food beside box
- Air shaft to be used as entrance to sub station
It's suicide to enter the subway station the conventional way. First off, several NSF troopers are blocking the way, and even if you kill all of them, the only way to get past the lasers is to block them with a crate, and a friendly fellow with a flamethrower will come to investigate the noise that makes. The only reason to go near the front entrance is because of the prod charger to the right of the stairs, and we can get there another way.
Open the air shaft grate and climb to the lowest level, then open all of the grates you can without the NSF noticing you. The more escape routes, the better. All you have to do here is get the hostages onto the train, you could leave everyone conscious if you so desired, (verify?) so as soon as you can, sneak over to one of the hostages and talk to them. Remember that JC stands up when he talks, even if his legs are gone, so make sure you're under cover before you talk to anyone, unless you want to race through the conversation. The troopers will wait until you finish talking to start shooting, but odds are you still won't stand a chance of surviving at this stage of the game.
Trust me on this!
If you want to be thorough, the best way to deal with the NSF is to run out, zap one, then dive out of sight before you're hurt too badly. Try to get the bastard with the flamethrower first; bullet holes are easy enough to patch up, but if you haven't picked up a fire extinguisher yet you're dead if he gets you. Be careful not to alert the three NSF troopers at the top of the stairs as you clear the place out. Once the station is clear, block the laser beams with a crate, and go upstairs to relieve the final three troopers of duty. You'll find 10 mm ammo in one crate up here, and a lockpick in the other, downstairs you'll find a lockpick in a crate.
There's one last thing we can do here if we feel like cheating a bit. The two crates of TNT closest to the lasers will explode anywhere in the level when you cross the wires, so you can set them up next to whatever you'd like to blow open, cross through the wires, and double back to pick up your loot. Simpler to use lockpicks if you ask me, but the info's there if you feel like misbehaving.
Whether or not you try this, it's time we moved on, don't you think?
Hell's Kitchen, Preliminaries
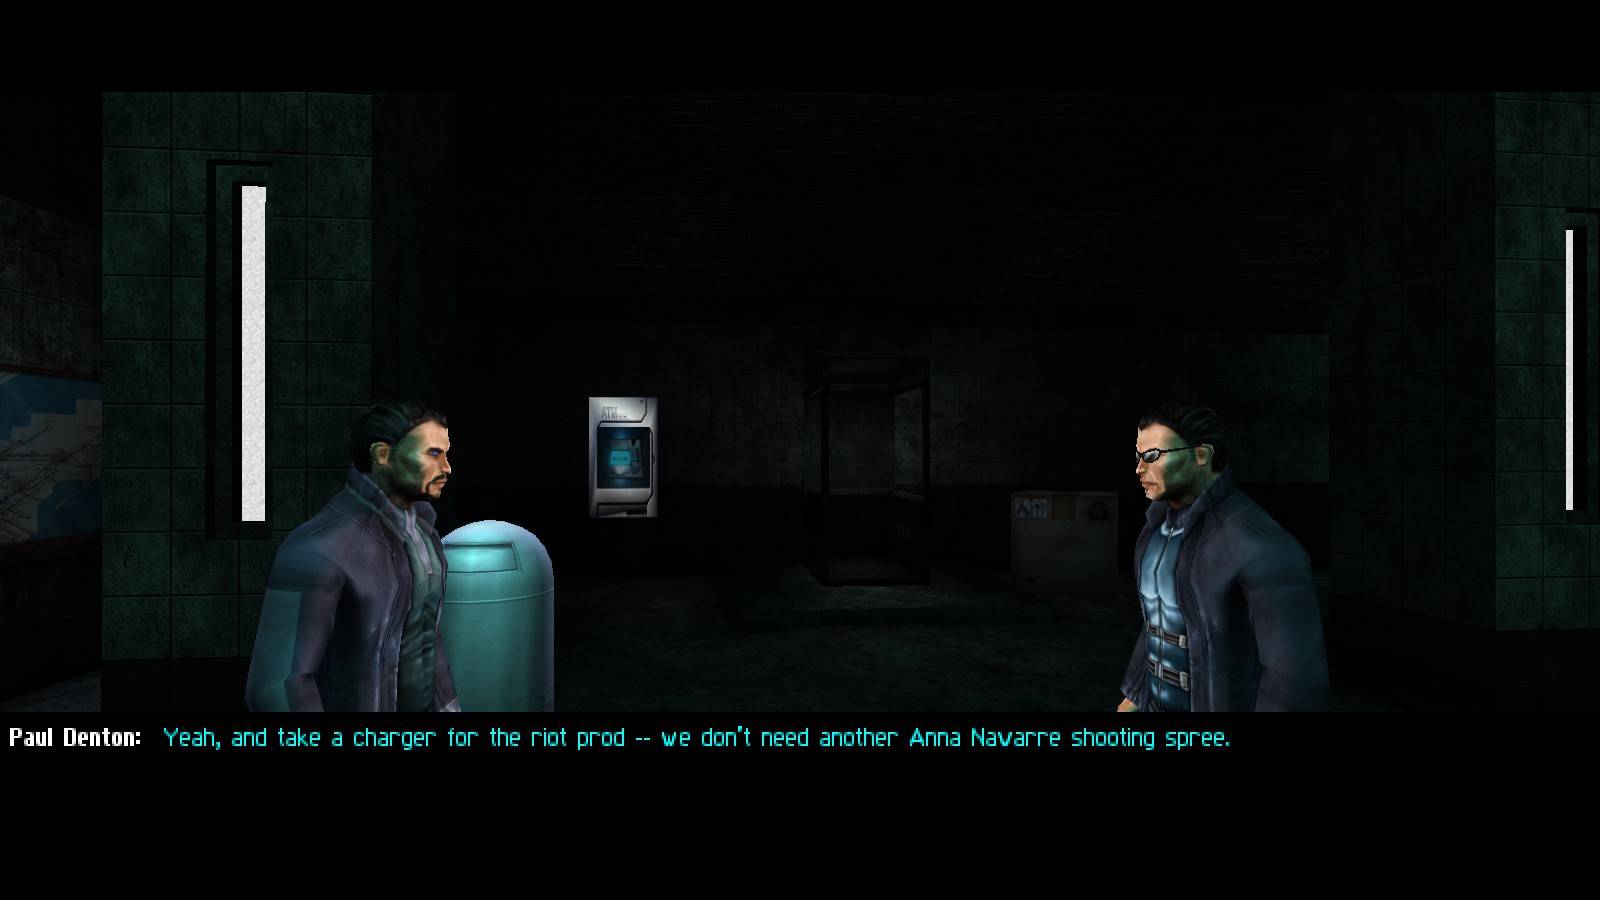
When we arrive in the sub station, we'll want to pick up the riot prod charger hidden under a displaced sheet of metal leaning against one of the columns, the one in the far right hand corner of the station. Pick up the beer and soda lying around here, then go up the stairs. Paul should come barreling down the stairs and, if you managed the Castle Clinton situation correctly, scold you for killing so many people and give you a charger for the riot prod to avoid another "shooting spree". Woo hoo!
Sometimes it really pays to be mistaken as a homicidal maniac! Oh wait . . .
Talk to the hooker and bribe her to discover that there's a mech chick at the Underworld Tavern who may know more about the generator. Then, head up the stairs to the street. Alex will e-mail you about a hostage situation in the 'Ton hotel. Hang a right and walk east, going to the basketball court. There's 2 thugs about to kill a bum, take the thugs out and the bum will help you out. He gives you a code phrase we'll be using later on in the game. Try to throw the basketball through the net to trigger a little easter egg.
From the basketball court, go north through an alley to find two trailers with some mighty weak doors. You should have enough skill points by now to get your low-tech weapon skills to Advanced, now would be a good time to do it. Activate your combat strength augmentation if you want, and bash down both doors. In one you'll find a prod charger, in the other, a ladder! Let's see where it leads and head on down there . . .
Ah ha! We're in Smuggler's lair. We took the back way in, so he may be a little less than friendly when we say hello. Crack open the crate to your left, take the lockpick, then walk across the garage to a little shed. There's a multi-tool on the table which you can use to disable the laser panel, which is actually a very bad idea. Instead, run like hell through the lasers, passing crates containing ballistic armour and a riot prod charger, and don't stop until you find Smuggler. When you speak to him, the robot will become non-hostile, and remain that way for the rest of the game.
When you speak to Smuggler he'll give you a key to the sewers. Don't buy anything from him, his prices will drop considerably if we save his friend. Get a candy bar off the work bench, then go upstairs. There are two crates on your right; one contains 7.62 ammo and the other holds a riot prod charger. There's a lockpick to the left of the mirror and a keypad behind the bed on your right. The code's 432, but don't ask where I got it and I won't tell any lies. You may be able to bash down the mirror, but this time only. There's a can of soda by the bed, plus thermoptic camo and a medkit behind the mirror.
Where were you during our previous foray into the ladies room?
Leave the area, and backtrack to the room with the ladder in it. There's a lift we can take out of here, it's directly across from where the lasers used to be, use that to exit the area. There's a riot prod charger and a bottle of beer to the right of the door at the top of the lift.
You should see the subway entrance to the northwest, head over there. Go a little further north to the small flight of stairs with corpses on it, the NSF troopers have a bioelectric cell and a candy-bar on them, keeping an eye open for a sewer grate on your way. If you want to help Smuggler's friend, read on, it not, you may as well jump ahead to the section on the Tavern.
The Sewers
Open the sewer grate with the key Smuggler gave you, and go down the short ladder here. A new map should load. Continue down the ladder to the water, and ignore the laser panel here. Walk ahead to the lasers, and be ready to run to your right and up a ladder to a small ledge as soon as you trigger the alarm. If you're quick, you will be up the ladder before the turret even gets one bullet into you.
Ah ha! Corpses! Violate them to discover they're holding 2 lockpicks, 2 multitools, and a med kit. Lying beside one of them is a data cube with a code to the doors around here, and another med kit. Wait for the alarm to shut off, then jump over the laser beam to a pipe, and jump down to the water from here.
Walk back towards the turret, and you'll see another laser panel on your right, as well as a small locked door. Pick it, open it, punch in the code 2167, and proceed through the door. There are several laser tripwires down the hallway, but if you stay crouched and walk in the center of the hallway, you shouldn't sound the alarm.
Keep going down the hallway until you reach another doorway with a keypad next to it, and a laser beam guarding it. Use the same code again, and duck under the laser beams, then proceed down the hallway. Be careful! There is a camera directly on the other side of the doorway. Run and duck behind the large crate in the hallway, then hack the security computer to shut off the cameras. Walk towards the large room and slip into the narrow shaft with the ladder in it to avoid being seen (and shot) by any patrolling troopers.
Climb up the ladder, then sneak over to the doorway with the alarm panel next to it. Open it, sneak inside, and bop the trooper sitting at the desk. Smash the crates beside the desk to receive a lockpick and a med kit. Read the datacube under the desk for the login for the security computers in this area, then, staying in the shadows, head over to the security computer and rotate the bridge. Once it's fully rotated, sneak onto it and bop the trooper standing in the middle of it before he spots you.
Continue across the bridge and go down the ladder on the other side. Ready the prod and listen to the footsteps of the trooper patrolling the hallway. When he sounds closest, jump down and zap him before he gets to the alarm panel. If you want you can jump down and take a swim in the water, but since it'll infect you and possibly kill you, I don't recommend it, especially considering the only crate down there holds 10 mm ammo.
Go down the hallway, past the turret, through the door, then pop open the next door with the code you've been using around here. You'll be in a small area packed with troopers, not the safest place in the world. One trooper watches the door, although he wanders around quite a bit, with plenty of long pauses we can take advantage of. Wait for him to turn his back, then make your move. Walk against the righthand wall, under the camera, and use the security computer to turn off the cameras and perhaps convince the turrets you're the good guy.
If you're spotted by more than one trooper in this area the best thing to do is to run out the exit door, as it creates an excellent bottleneck. If you stand off to the side they'll have to come through the door to shoot you, and when they do, zap them with the riot prod. You could also clear out the joint quickly by alerting everyone and luring them to their doom using this same method.
Creep towards the railing, and drop down to the lower level. Landing on the containers will explode them and release toxic gas in the air, so I don't recommend it. Get the bioelectric cell from behind them, then walk towards the columns on your right, and open the door you find. Charge the trooper sitting down, zap him, then if he has a companion on the room, zap him too. Read the log on the bookshelf, then use the computer to sift through some e-mails and get some info. Leave via the righthand (compass directions?) door, and go into the first doorway on your right, still using the code 2167. Despite the appearance of the water here, it's perfectly safe to swim in. Jump into the water and crack open the crate nearest the ladder for a lockpick, the far one holds 10 mm ammo and isn't worth our time.
Climb back up the ladder and go into the door on your right, and pick up the bioelectric cell beside the table on your left. Go through the drawers and you'll find a multitool, and a lockpick. Turn around, and you'll find Ford Schick. Tell him to wait, as we're not quite done searching yet, or reading the highly amusing books nearby!
Leave via the far door, and use the security terminal to open the armoury door. There's a riot prod, a charger for it, and a med kit. Now we're done, let Ford know and escort him out. Don't leave him until he tells you to let Smuggler know he's okay and you get the secondary goal completed message, he'll vanish if you let him out of your sight.
Climb up the ladder we used to get down here, cross the bridge, go back down the ladder on your left, and keep going down the hallway. Once you reach the water again, hang a right and go back up the ladder to arrive at the same place we entered. From there, go southeast to Smuggler's front door, use the password to get in, then let Smuggler know Ford's alive and well. His prices become much more reasonable, though the only thing we'd want is a bioelectric cell, buy it if you want.
Leave via the front door, and return to the sewer grate, as the walkthrough split ends here.
The Tavern
Head southwest from the sewer grate, towards the Underworld Tavern, but don't enter it yet. Go to the alley to the west and you'll hear a pimp arguing with Sandra Renton. Show him what happens to thugs who pimp out 18 year olds in whatever manner you feel appropriate. Talk to her afterwards if you want, but she won't be very friendly. If you trigger the NSF battle during this, you should reload and save helping her for later if you intend to help with it. Head into the tavern now.
Follow the hallway until you reach the main part of the bar, then head on over to a woman and a man having a conversation about Ambrosia, if you stay on their good side the man will give you the code to the elevator that gives you access to the warehouse. If you comment on the bartender's augmentation, JC will mention he's with UNATCO. I always thought that was what made the two stop conversing, but on my screenshot run they continued to talk about Ambrosia, so I wasn't able to get shots of them yelling at me to leave them alone. You'll have to settle for another shot of JC being a bigoted jackass to Mrs. Captain Obvious!
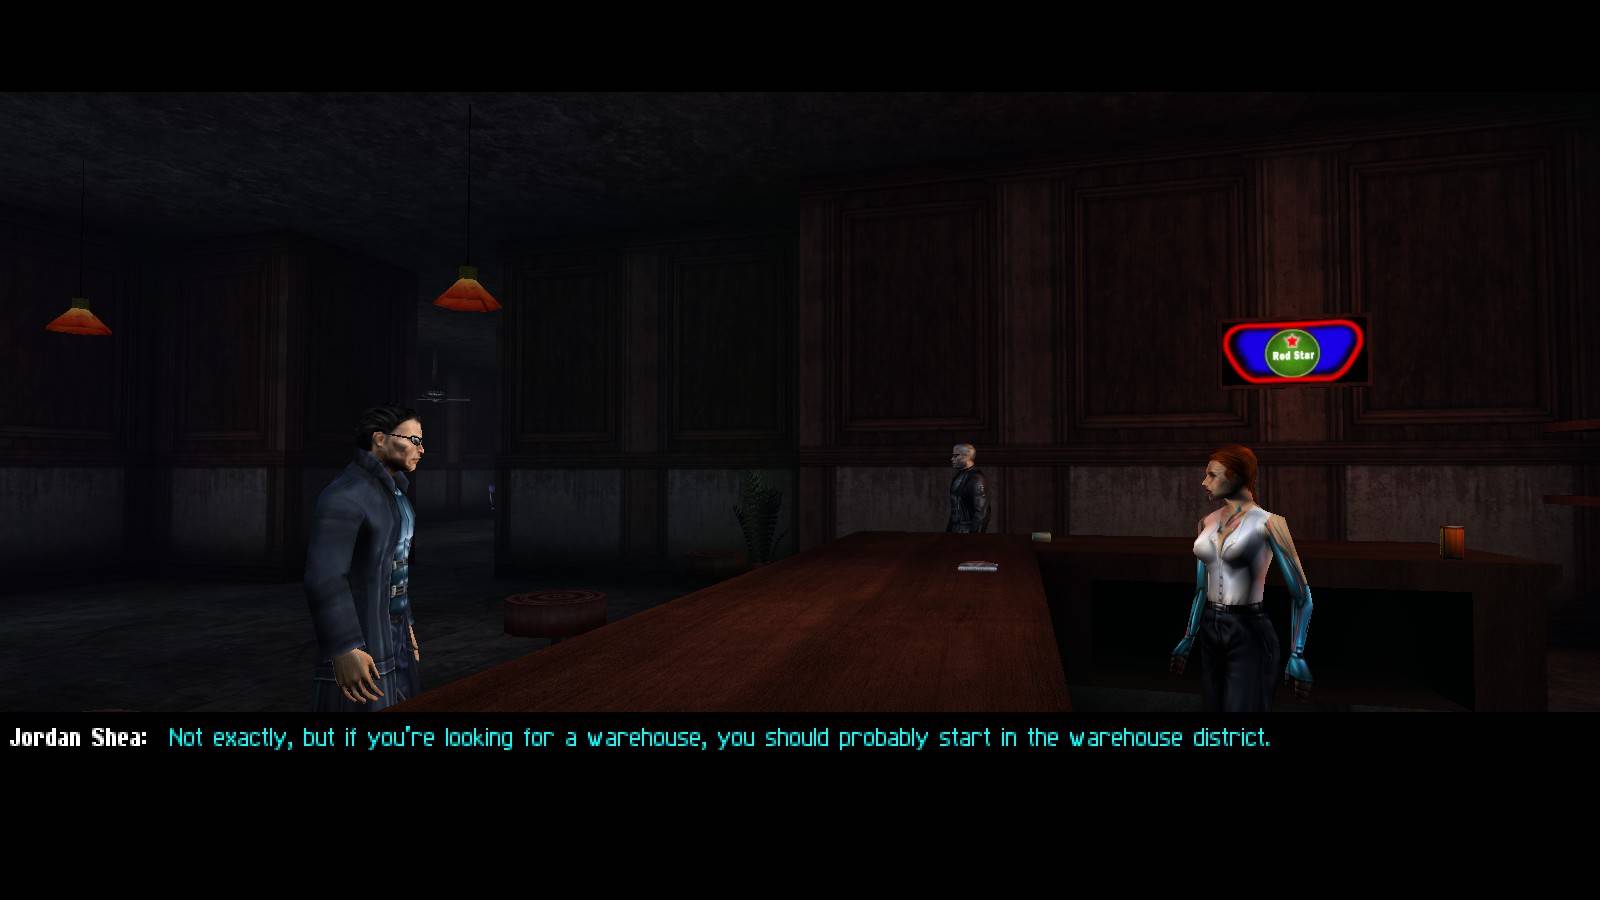
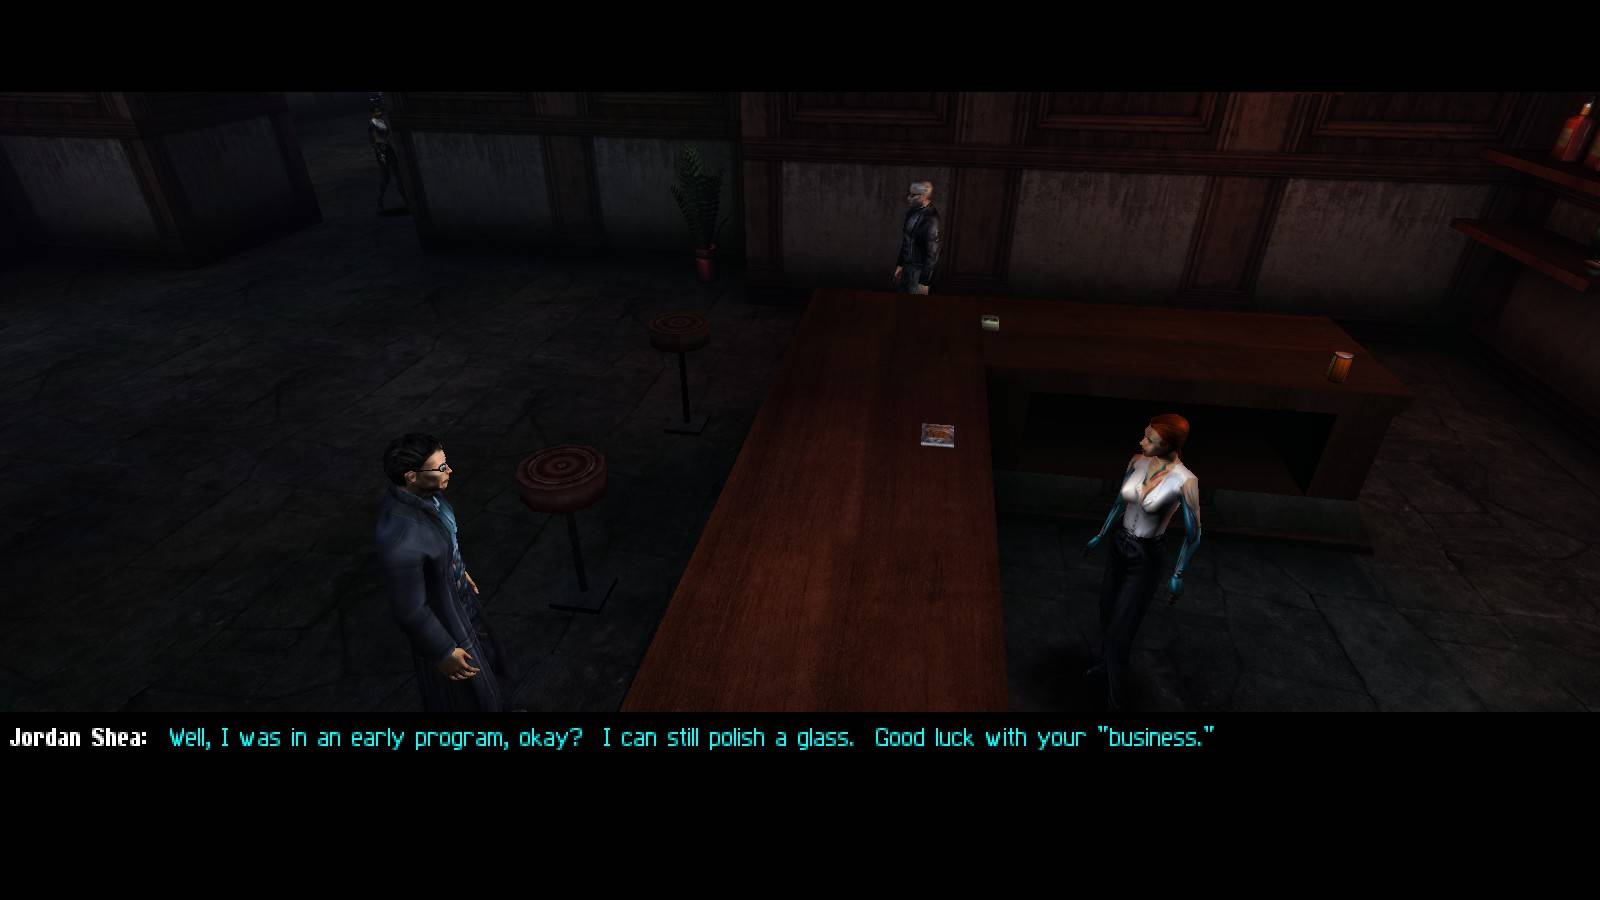
Rob the joint of all the liquor you can carry, then talk to the man standing by the bar. He'll want a cold beer, but even if you buy the first beer, he'll complain it's warm, and ask for one from the bartender. Break the bottle he refused over his head to clear some inventory space, buy another one, and talk to him all you can. After that, then head away from the bar and hang a right. Pick up all the goodies you can, then talk to Sandra, (if you rescued her earlier) then her friend, the girl in the rather skimpy outfit, if the man mentioned above doesn't give you the elevator code, she will. Shoot some pool if you want, and maybe talk to the guy sitting near the pool table, though if you ask him questions you'll get in shit for it from Manderley, after that there isn't much left to do in here.
The 'Ton Hotel
Leave the tavern through the front door, and hang a right (head (compass directions)?). Continue around the corner of the road and you'll see the hotel ahead, with two troopers near a hole in the wall. If you don't want to deal with the hotel, skip ahead to the section on the warehouse, which is around the corner.
If you're going to deal with the hotel, talk to the trooper at the front door. Keep very quiet when you go inside, stay to the left, and talk to Mr. Renton when you find him. Afterwards, leap through the window and zap the terrorist, using yourself as a human shield to make sure Mr. Renton survives. Listen, and if you don't hear any gunshots from upstairs, talk to Mr. Renton again, and read the datacube on the water cooler. Get 50 credits from the back table of the room he's in, and the key for one of the hotel rooms.
Creep up the stairs, jump onto the right hand railing, and walk around the balcony, dropping down as far as you can manage from the male hostage. No matter how carefully you approach, the female hostage will call for help when you get close enough and blow your cover, and the male hostage is the only one with useful information, so you need to avoid her. If you take out the trooper guarding the man quickly enough the man guarding the woman shouldn't be alerted, and you should be able to save her too. It isn't critical, however, unless you don't want to get in trouble.
Once the terrorists are down, talk to the male hostage, who gives you a password we can use later. Check the rooms on the far north hallway for one that opens, then head on in and if you want, pick the lock on the closet to get a med kit, and a bioelectric cell. Check the back bedroom, and you'll find 2 corpses, and 2 Zyme vials. Take the vials, then leave.
Follow the hallway until you find a room with a newspaper in front of it; it's Paul's room. The elevator shaft is directly ahead of you, there's a multitool at the top of it if you're ladder savvy. Otherwise proceed into Paul's room, reading the datacube on the coffee table, then open the secret closet and pick up 2 lockpicks, 3 multitools, a bioelectric cell, a suit of ballistic armour, a med kit, and a candy bar. You can take a look through Paul's e-mails, too. Note to Paul: don't give anyone your e-mail address when you've e-mailed a terrorist, and the e-mail isn't of a hostile nature. The e-mail may bounce, or the terrorist may write back!
Check his bedroom, under his bedside table are 350 credit chits, and swipe some food from his kitchen if you like. Funny how there's only one bed and two grown men slept in that room, eh? Hop out the bedroom window and climb down, then head east to the hole in the fence. Two UNATCO troopers will offer you gas grenades, I always take them, even if I never use them. I'm a hoarder at heart!
Let the UNATCO trooper know everyone in the hotel is okay, then get ready for some serious bloodshed.
Slaying the NSF
It's hard to know what to say here, since this section relies on good luck and mindless killing. I wish I could offer some proper advice on how to complete this section with the UNATCO troopers happy with you, but I can't get it to happen consistently. Marecki and I have a theory that you have to fire the first shot in order to have the troopers satisfied with you, and experiments involving sniping the troopers from the roof seem to verify it.
However, it is possible to have the troopers happy with you using only melee weapons, but I only had it happen once with the regular game, when I ran straight to help with the fight after leaving the subway, but it only worked just the one time. If anyone can figure out a reliable way to please everyone let me know! On almost all of my attempts to assist with the fight everyone was very unhappy with me.
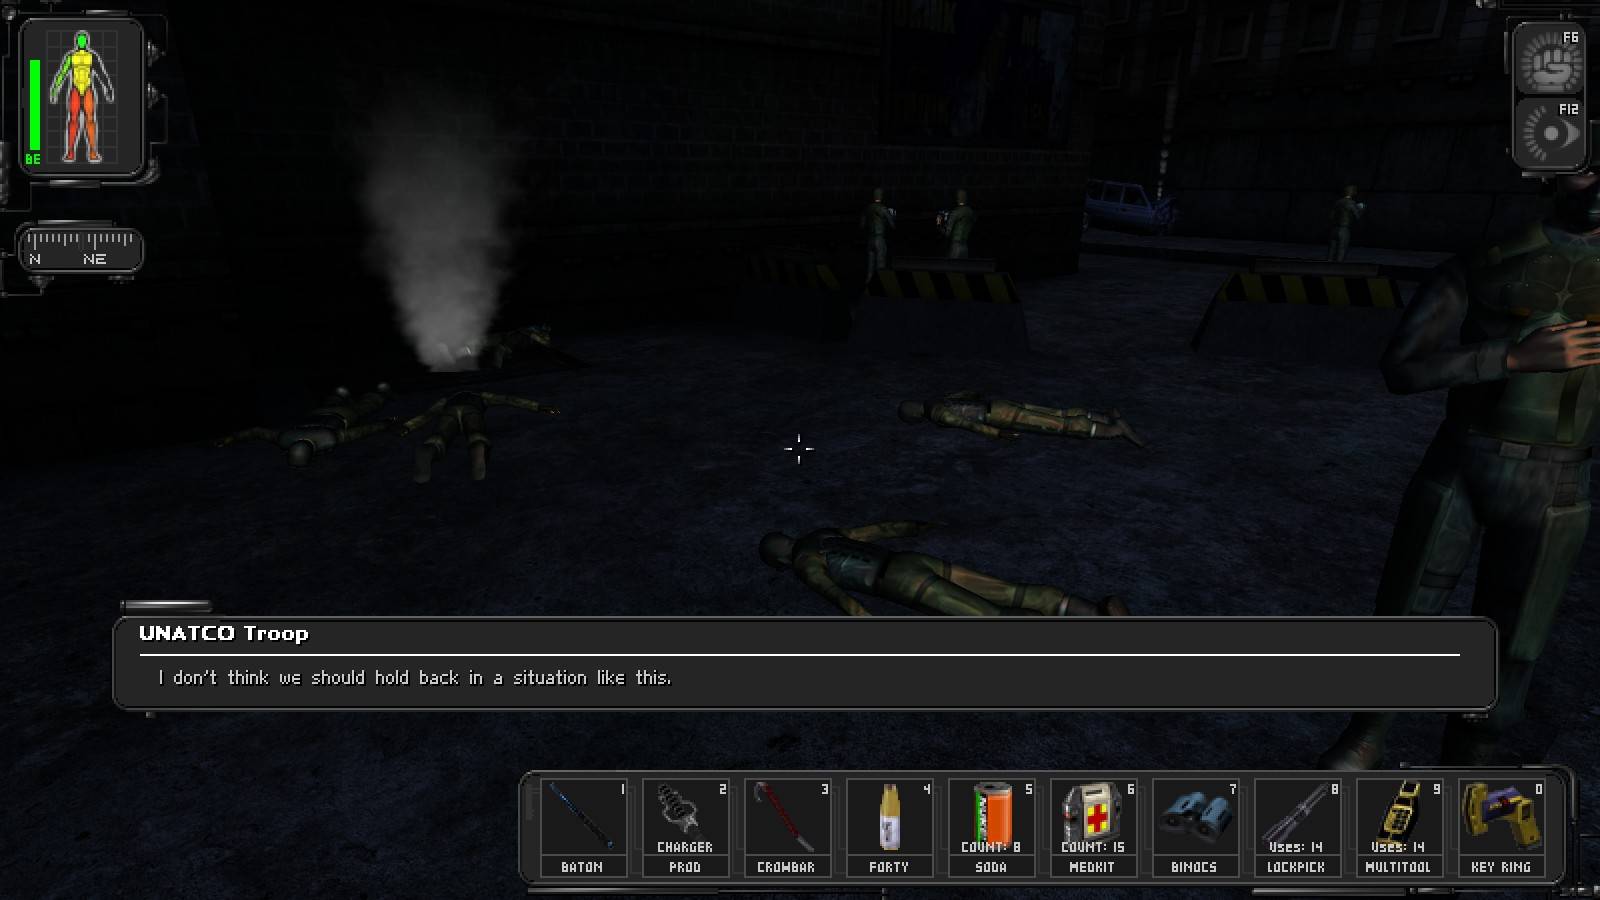
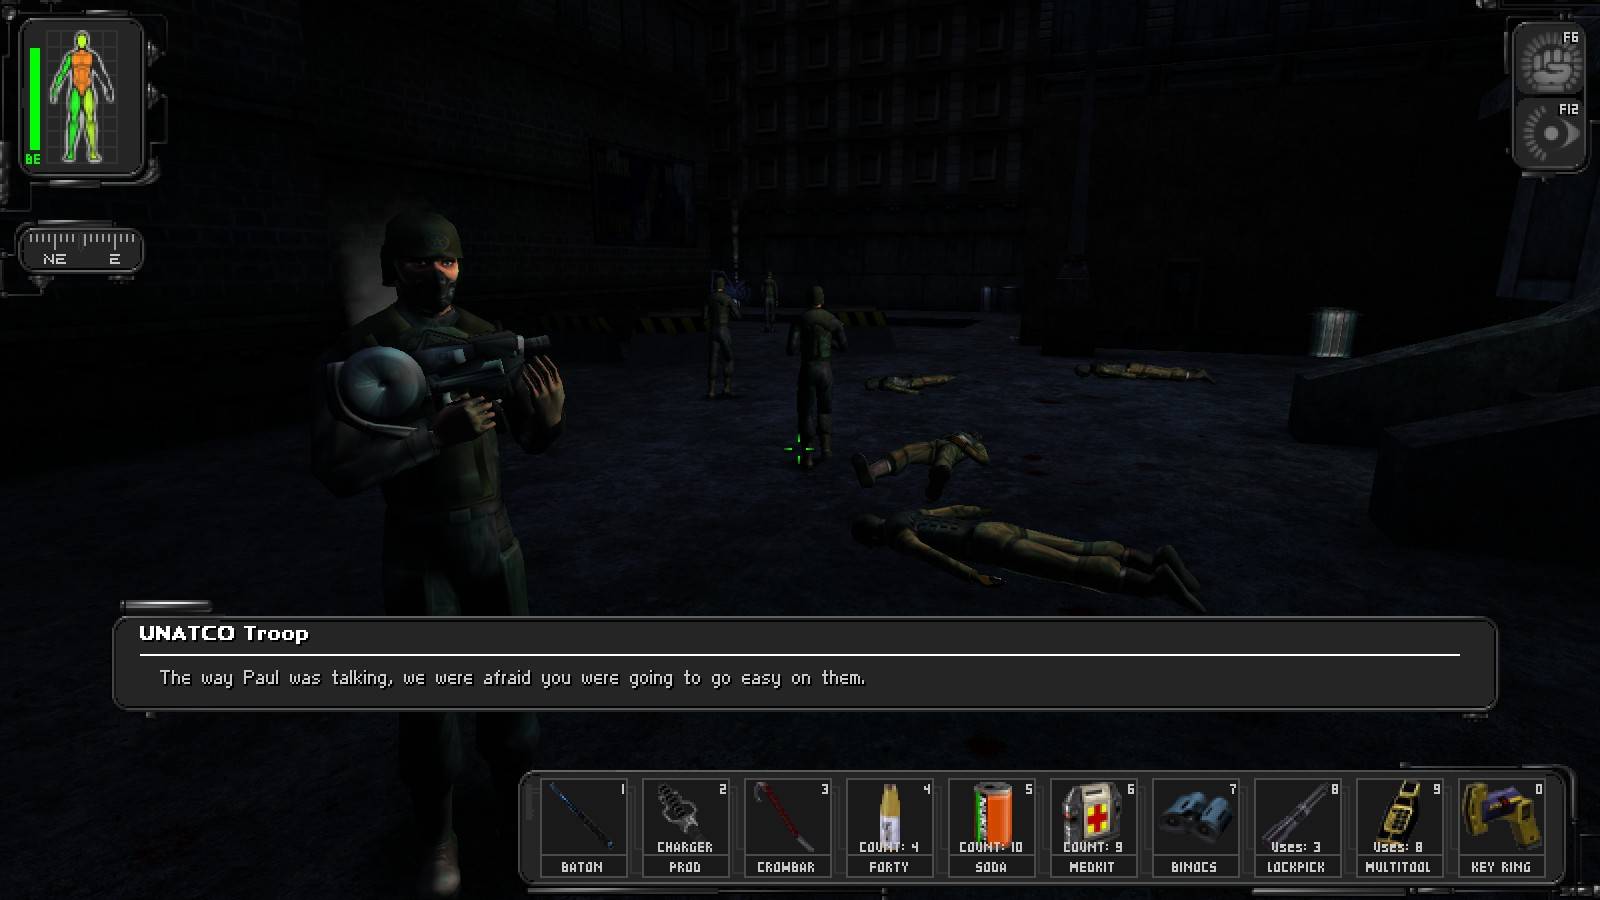
Why, I'll never know . . . do these shots even look all that different?!
Once you've torn through this area and the dust has settled, head towards the Free Clinic. There's more NSF troopers down here, but only a few. By the time you get there the UNATCO boys will have probably made the NSF boys look like Swiss cheese anyway. At any rate, head into the clinic, you'll probably need some serious patching up by now.
Free Clinic
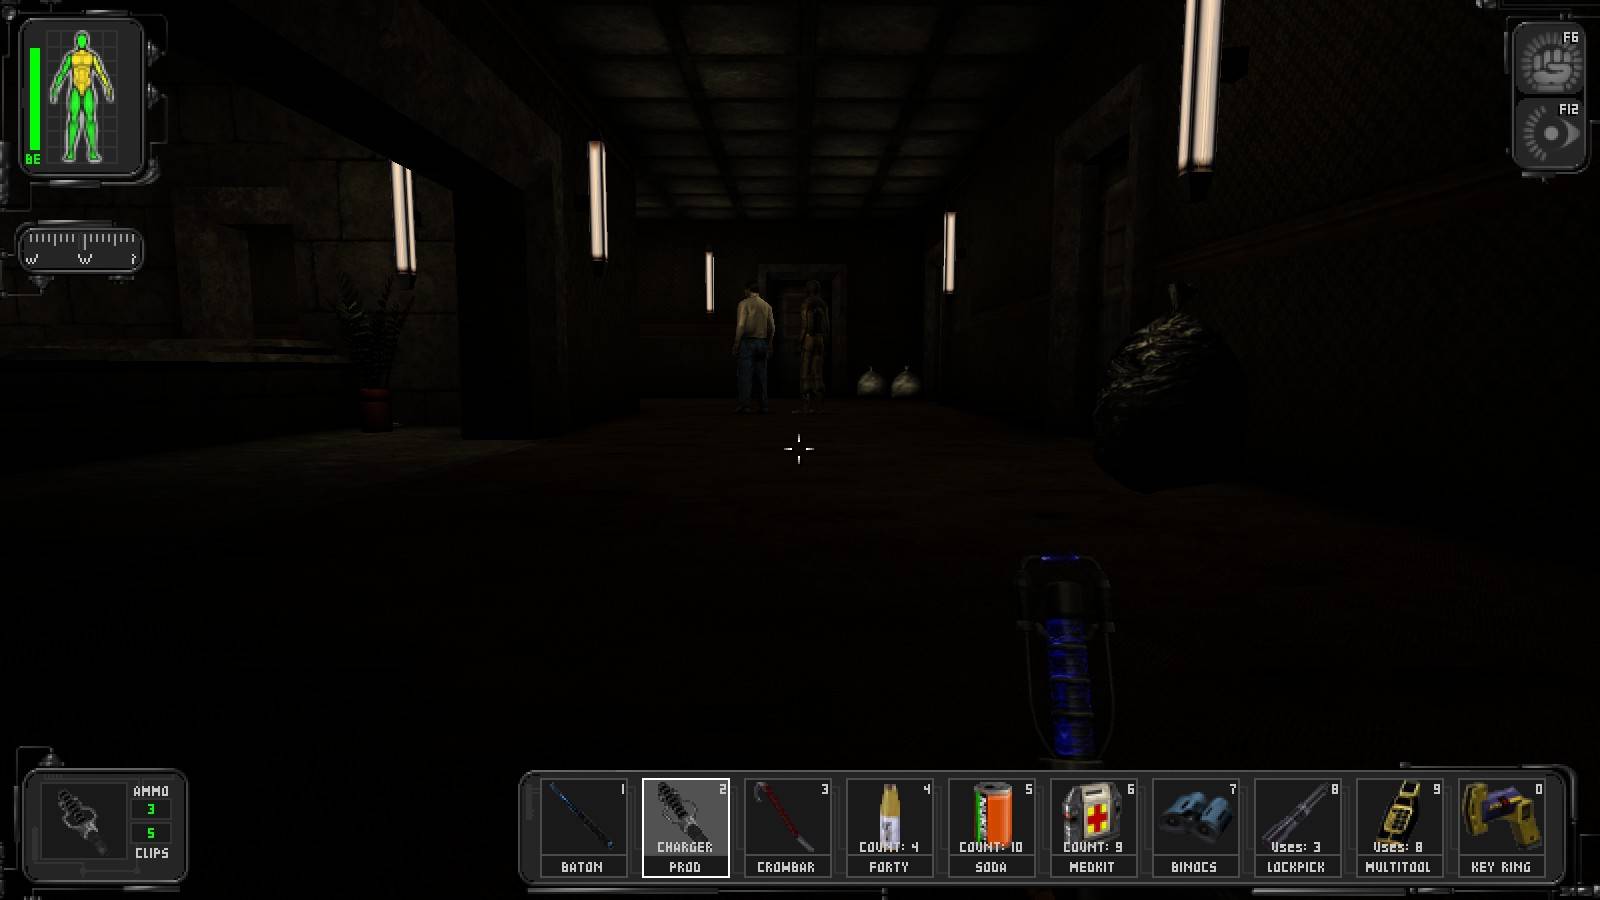
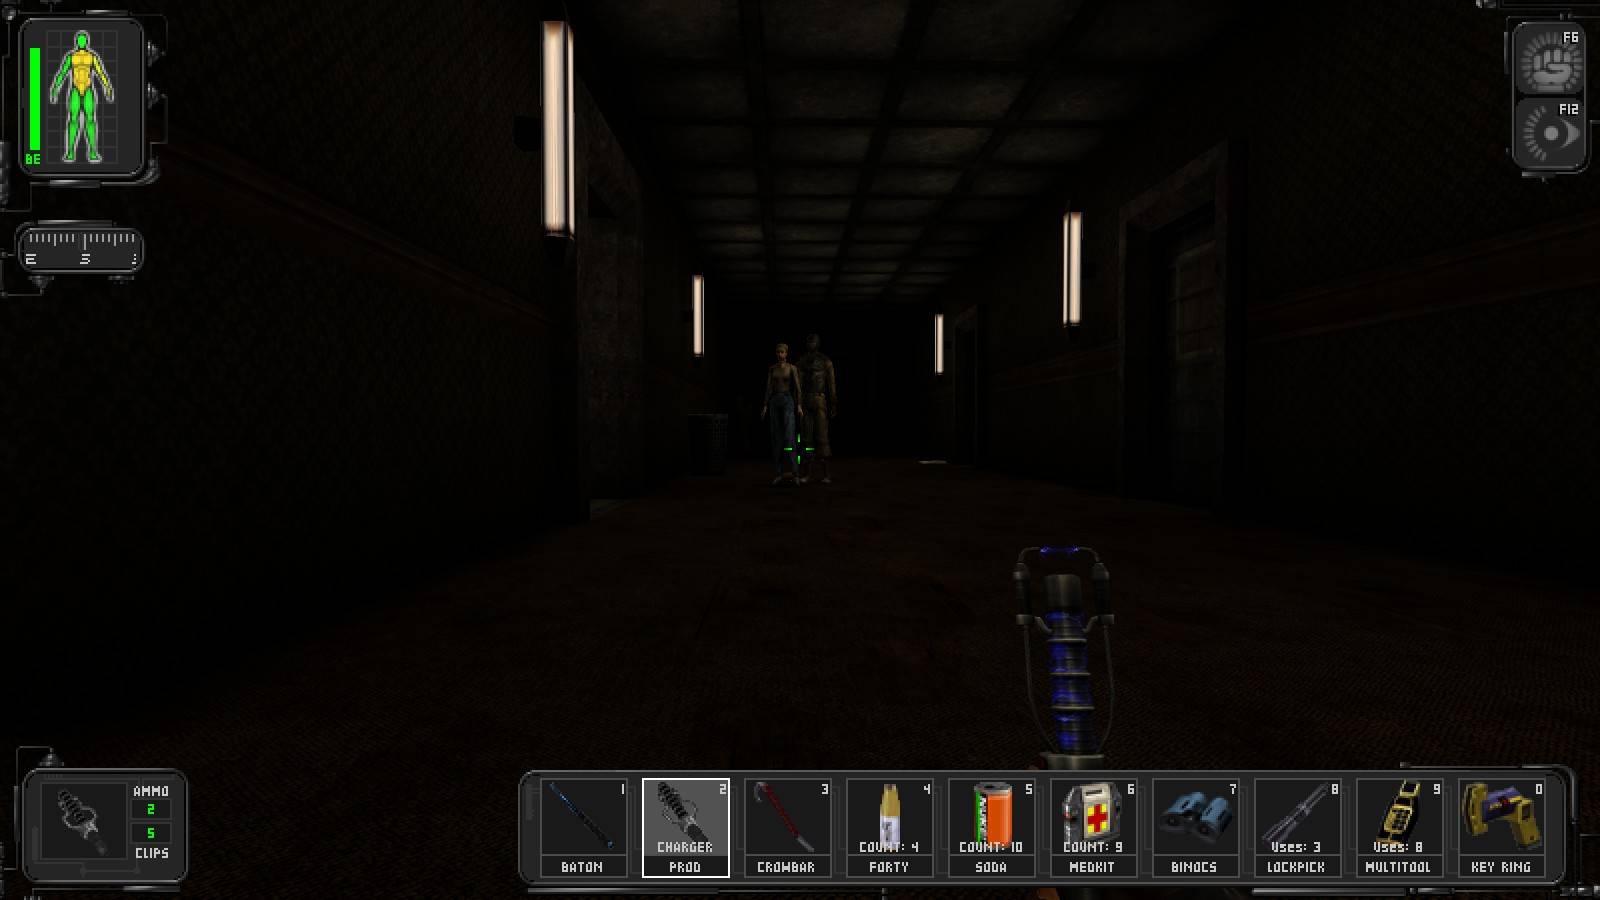
Enter the free clinic and go straight down the hall, talking to people as you reach them. The doors to the room with the med bots in it are locked, and you have to pay a hefty price for the code to the door. So let's just smash the door! Keep swinging with the crowbar, it'll give out eventually. Install an augmentation if you wish, heal up, then leave the room and go left, talk to the man on the couch, then keep going until you can turn left again.
The doctor and the patient will argue, and when you can, talk to the bum. Choose the first option in the fork in the conversation, and he'll leave, and the doctor will give you a discount on a med kit. Don't bother, you might very well be swimming in them right now. Leave the back room, and talk to the man on the couch to your left. He gives you more information, and he's the only one who will. Now it's time for us to hit the road!
Dealing With The Generator
What I doubt one year happens the next, somehow this doesn't surprise me terribly much! Marecki wrote a walkthrough for the rooftop approach to the warehouse, I'll keep each of them separate. Choose the approach you want when we get there, and we'll go from there.
Walk into the warehouse through the front door, and hop up to grab the general supply crate on the stack of crates. Smash it and borrow the bioelectric cell that used to be inside. Walk right around the crates, cracking open the door with a keypad next to it. In the back corner of the room is an augmentation upgrade canister.
It's time for the junction. If you want to use the underground route, keep reading, otherwise, jump ahead to the rooftop walkthrough.
The Underground Approach
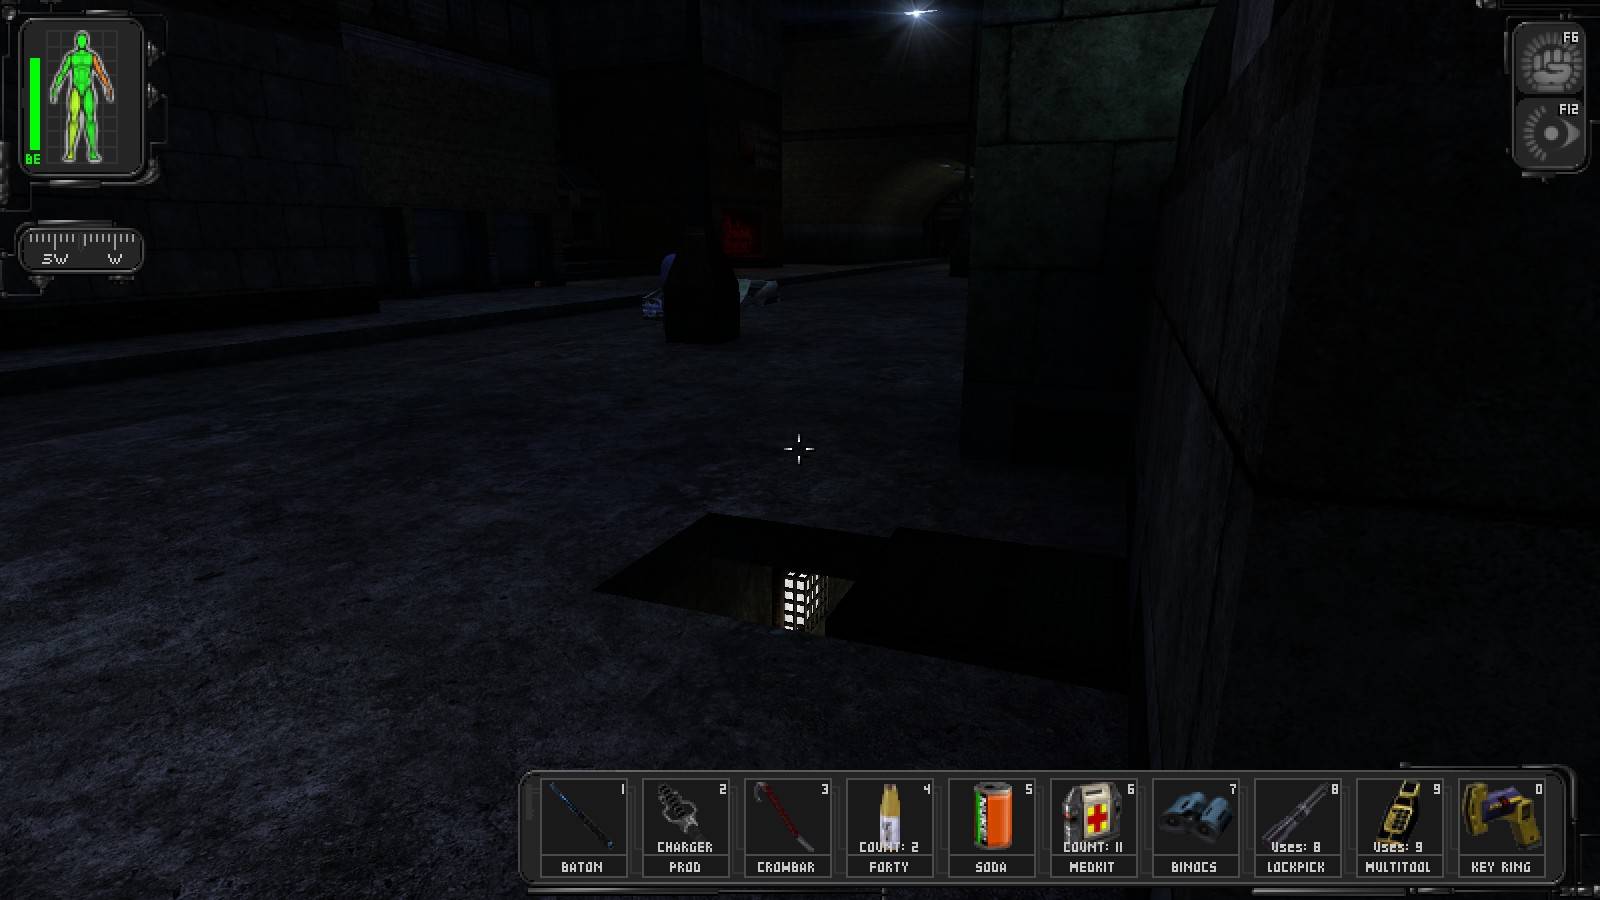
Walk through the unblocked doorway, borrow the bioelectric cell, then head through the hallway until a new map is loaded. Walk ahead, and Alex should send you an e-mail as you head outside. Stack some crates and hop on the crates stacked against the fence, then drop on the other side. Disarm the LAM, then climb up the ladder to the higher level of the fire escape. Duck under the railing, then jump to clear the next fence. Hang a right and walk through the lasers, and run towards the powerbox, through the electricity arcs, then stand behind the power box and wait out the alarm. Once it's off, go through the hole in the wall and go into the alleyway on your left.
Get as close to the alley's exit as possible, staying in the shadows, and wait for an NSF trooper to stop to the left of the alleyway. Zap him and get his body into the shadows before anyone sees you, then slip into the alleyway on your left. Disarm the 2 LAMs on the wall to your right, pick up a multitool off the ground, then hang a left and slip into the sewers. Climb along the pipe to a valve, it opens the grate over the tunnel we're about to swim through. Dive into the water and get a lockpick, and start swimming through the tunnel. You may want to upgrade your swimming skills to Trained to stop you from taking any damage along the way.
One route for the people with high explosives, another route for those whose melee attacks don't pack the same punch as high explosives just yet!
Once you've reached the other side, climb out of the water and use the security computer. Let's see. The password could very well be "righteous". What about the user name? NSF? Ah ha! Turn off the cameras and reprogram the turrets if you wish, then head north into the door you opened. Take down the laser panel if you don't want a shitload of NSF terrorists coming to greet you.
Go down the hallway, ducking under the laser tripwires, and duck into the alcove on the right before the camera goes off. Wait a moment, then slip into the hallway across from the alcove, and slip into an alcove on your left to avoid setting off another camera. Slip into the hallway on your right, then look to the left side of the hallway you were just in. There's a datacube behind that explosive barrel! Let's read it! Jump over into that alcove, and you'll get a computer login. Now, as usual, let's dart out from this alcove, going northwest. Duck under the laser beam and get into an alcove directly across from a keypad.
Stick your neck out of the alcove, then race around the corner to avoid the camera, and open the door to the room you could've entered through the door you were by. When all's clear, run forward into the room. Finally, some peace and quiet! Use the security computer to shut down the cameras, get a key off the computer desk, then read the e-mails on the computer with the login you found. If you crack open the safe under the computer, you'll find a Speed Enhancement / Run Silent augmentation canister. There's nothing but LAMs in the crates, so we're done in here.
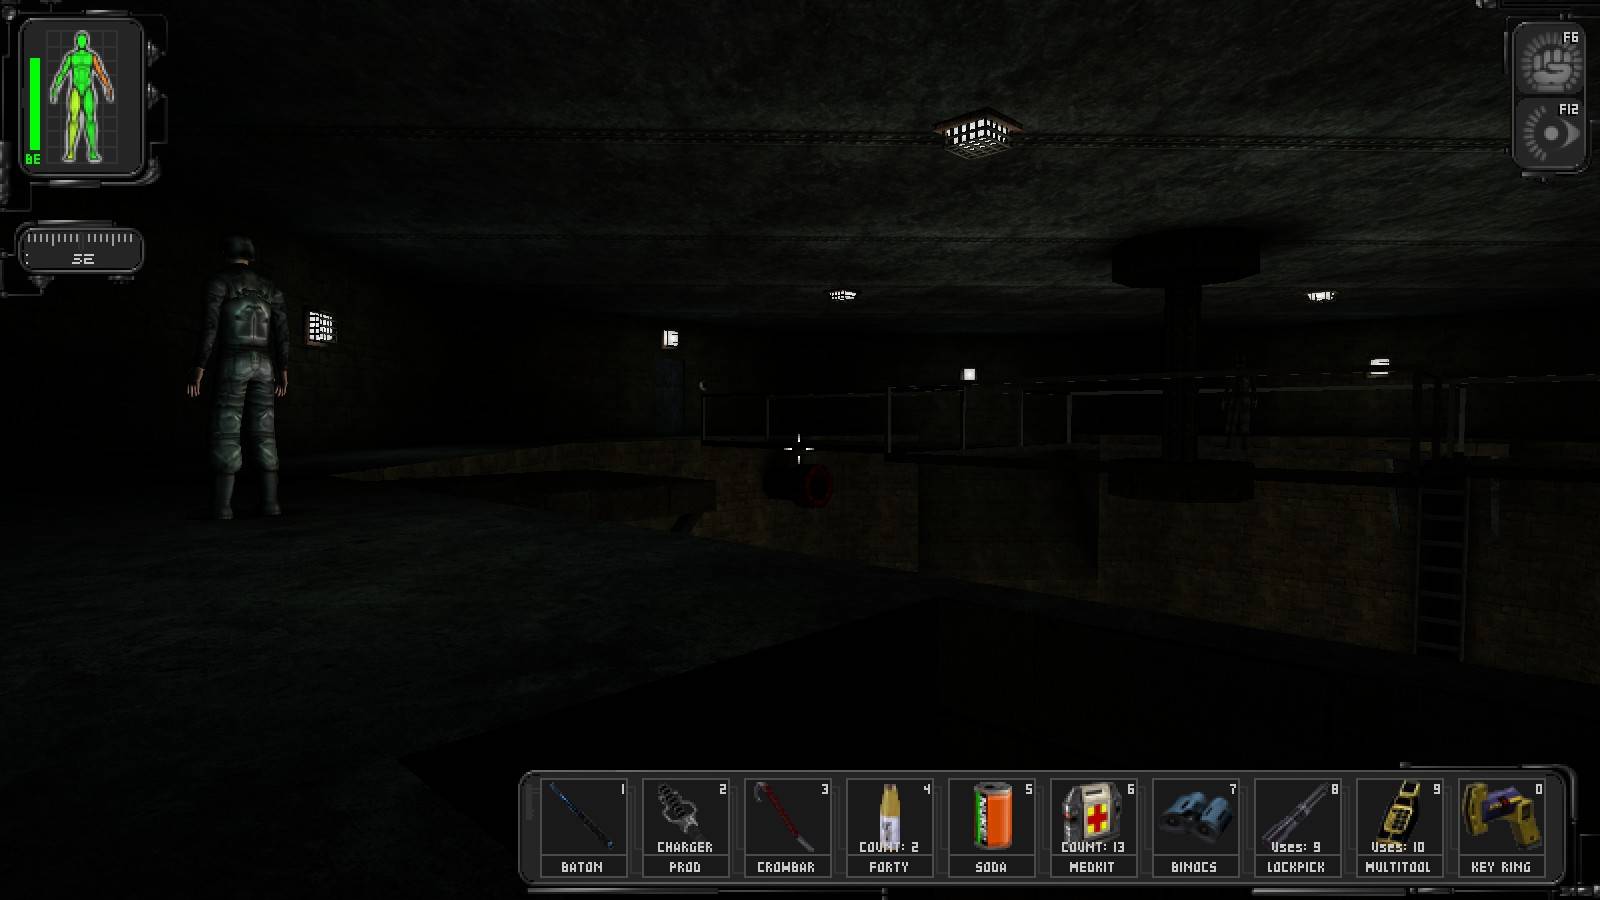
Leave the room and head south, up the ramp to the main part of the warehouse. Zap any NSF terrorists near the top of the ramp, and pull them under the ramp leading to the second floor. There should be an NSF fello wandering by the ramp leading to the second floor, take him out quickly. Working in a counterclockwise direction, circle the first floor and clear it out. Once you're done, hide the bodies, and move to the second floor. Move counterclockwise to get to the computer room on the far side of the warehouse. Walk behind the NSF terrorist patrolling here if it's more convenient.
At this point, the rooftop approach and the underground approach walkthroughs meet up, so if you don't want to read all of Marecki's walkthrough, (shame on you!) jump ahead to the end of the walkthrough. If you want to know the best ways to take out everyone here without help, there's a laundry list of them here.
The Rooftop Approach, by Marecki
Regardless of whether you got to the rooftops using the ladder or the elevator, you find yourself near a section with a large number of chimneys and a patrolling sniper. With the amount of hiding places the chimneys provide, one should have no problems whatsover sneaking up on the fellow; if you came up via the elevator or jumped down to that part of the roof using the wall-mounted lantern and short stairs to avoid getting hurt. This approach is good for people who don't feel to comfortable around ladders and don't want to risk going down one straight to the chimney zone. Wait for him near the top of the ladder going up and listen to footsteps. In the same area, in the shadow near the small hut on the roof, there are two boxes of sniper ammo and ballistic armour.
Go back to the highest point of the roof and take the western ladder down to the fire exit. Smash the glass in the window and you'll find yourself on the other side of the pickable door you probably noticed earlier. There, having removed the boards from the northern door, you will find a prod charger and a medkit. Go back to the fire exit.
By aiming at rails visible below and jumping down you should eventually find yourself, unhurt, on the roof of the building on the other side of the gap. There is one terrorist patrolling the northern part of it, wait for him in a dark corner to stop with his back to you near the ammo crate, then relieve him of his duties. The crate contains pistol ammo, but since we don't use it chances are you won't even be able to pick it up.
Turn back to the south and follow the edge of the roof to the ladder leading up to another level of the roof; in addition to another NSF sniper (listen to his footsteps while near the top of the ladder, go back down only if you see the sniper on the roof opposite looking at you - the one further away is too far away to notice you even if you are right next to the lantern), there are two crates there which contain sniper and assault rifle ammo, respectively.
Turn north and, making sure none of the remaining three guards see you, walk over the catwalk to the opposite roof. Once you've got down on the opposite side, quickly read the DataCube near the chimney for a code to the office at the warehouse, then use the protruding parts of the roof for cover to sneak up on the sniper. Once he's down break the stained-glass skylight and drop down one floor; watch out for the hole in the floor leading further down. In that area you can find: a medkit and a cell (behind the stairs in the bottom room), a prod charger (behind the left metal crate near one of the glass windows) and another medkit (behind the cardboard box).
Break the western window and walk out. If you feel like bopping another guard, jump to the left and climb up to the roof part he is on; otherwise just go down and north, collecting a prod charger and (possibly) a box of pistol bullets en route. Head west, climb the ladder to the roof of the warehouse, make your way towards the guard (if you didn't take out all the other guards, move clockwise hugging the wall to avoid being seen)...
No more pesky snipers in this mission! Go down the ladder on the northern end of the roof, then down another one on the western end of the lower section. Smash or pick the lock on the concealed door you can find there to find yourself in the warehouse computer room, ready to blow the generator sky high.
The Laundry List
Firstly, if you want to take everyone out, Marecki thoughtfully provided a list so the bloodshed will be easier. You should start in the computer room, before blowing up the generator, I'll let Marecki take over from here!
First floor: Two guards patrol this area, going clockwise one after another and making frequent pauses. It is possible to take out the second trooper without the first one noticing, but you probably won't have enough time to reach the first one before he stops and turns towards you, so I'd recommend picking up the unconscious fellow and legging it back to the computer room, leaving the other fellow for his next round. By the way, what kind of a person doesn't get suspicious when his co-patroller suddenly disappears without a word? Sheesh.
Second floor: Three guards here, one following the same path as his colleagues below and two standing still. Surprisingly, it's the latter two who cause more problems here: one stands in a corner on the eastern side of a column on the southern side of the wall you find yourself looking at having come up the stairs and turned left. He is rather difficult to take down with the baton because you have to approach him from the side at best, the other stands under the stairs leading further up and cannot be sneaked upon at all without thermoptic camo. Even if you come at him from the side of the stairs, he will spot you eventually. You'll probably want to use the prod in both cases.
Third floor: Again, three guards. One hangs around the southeastern corner of the room, watch out for him while coming up the stairs and take him out first. The second walks around the room counterclockwise and is pretty straightforward to handle, with all the boxes lying around. The last one stands under the stairs leading to the roof, but with his back turned to them and thus extremely easy to sneak up on. If you're still into collecting useless munitions, there are two crates of pistol ammo and one box of shotgun shells here for you to pick up.
Ground floor: Some of the guards here walk in a somewhat irregular fashion, so be careful. First, get rid of the terrorist under the stairs; he will probably notice you coming at him, but if you immediately hide in the dark corner he won't start shooting. Your next target hangs around the western side of the generator, the next two are on the northeastern side and tend to walk in each other's field of view - use cardboard boxes in the garage area for cover. Finally, the last guard inside the warehouse is in the gents' restroom.
Outside: The first guard, right next to the door, has a key to this door. Another one patrols the area, accompanied by two dogs. Another dog is to the west, near the ramp - and the last two are in a yard NE of the warehouse.
Wrapping Things Up
Once in the computer room, hack the computer and shut down the generator cooling systems, then run like hell up to the roof. The best way to do this if you didn't obliterate every human and canine creature in the area, is to simply head out the mirror/hidden door, and take the ladder up. Talk to Gunther, then to the helicopter, and head on back to UNATCO for your next assignment.