- Home
- Walkthrough
1. New York 3. Return to New York Liberty Island Return to Hell's Kitchen The Warehouse Assignment The Wall Cloud, The Graveyard Ambrosia, Airfields, and Apostasy 4. Paris The Insurrection Finding Nicolette The Great Escape Finding Morgan Everett 2. Hong Kong 5. Southern California The Helibase Vandenberg Deactivating the Kill Switch The Gas Station Versalife The Submarine Base The Missile Silo Area 51 - Strategies
- Extras
Area 51
Introduction
TheNightTerror - here we are at the end of the game! All three endings are possible to complete melee only, and will all be covered. Unless you try to enter the bunker through the front door and aren't properly prepared for it, you shouldn't have any serious trouble here.
Topside and Sector 1: Vandalising Government Property, Revisited
Once you are done wondering how come there is no radiation here (not that it would matter in the real world, all the troopers may well have received a lethal dose but it takes time for radiation illness to take hold; then again, with the way most games handle radiation we should be taking at least some damage despite being in a hole in the ground, from the fallout), get off the helipad - or on second thought, get off the helipad fast: there is a sniper on the damaged watch tower and there is no point in making JC an easy target.
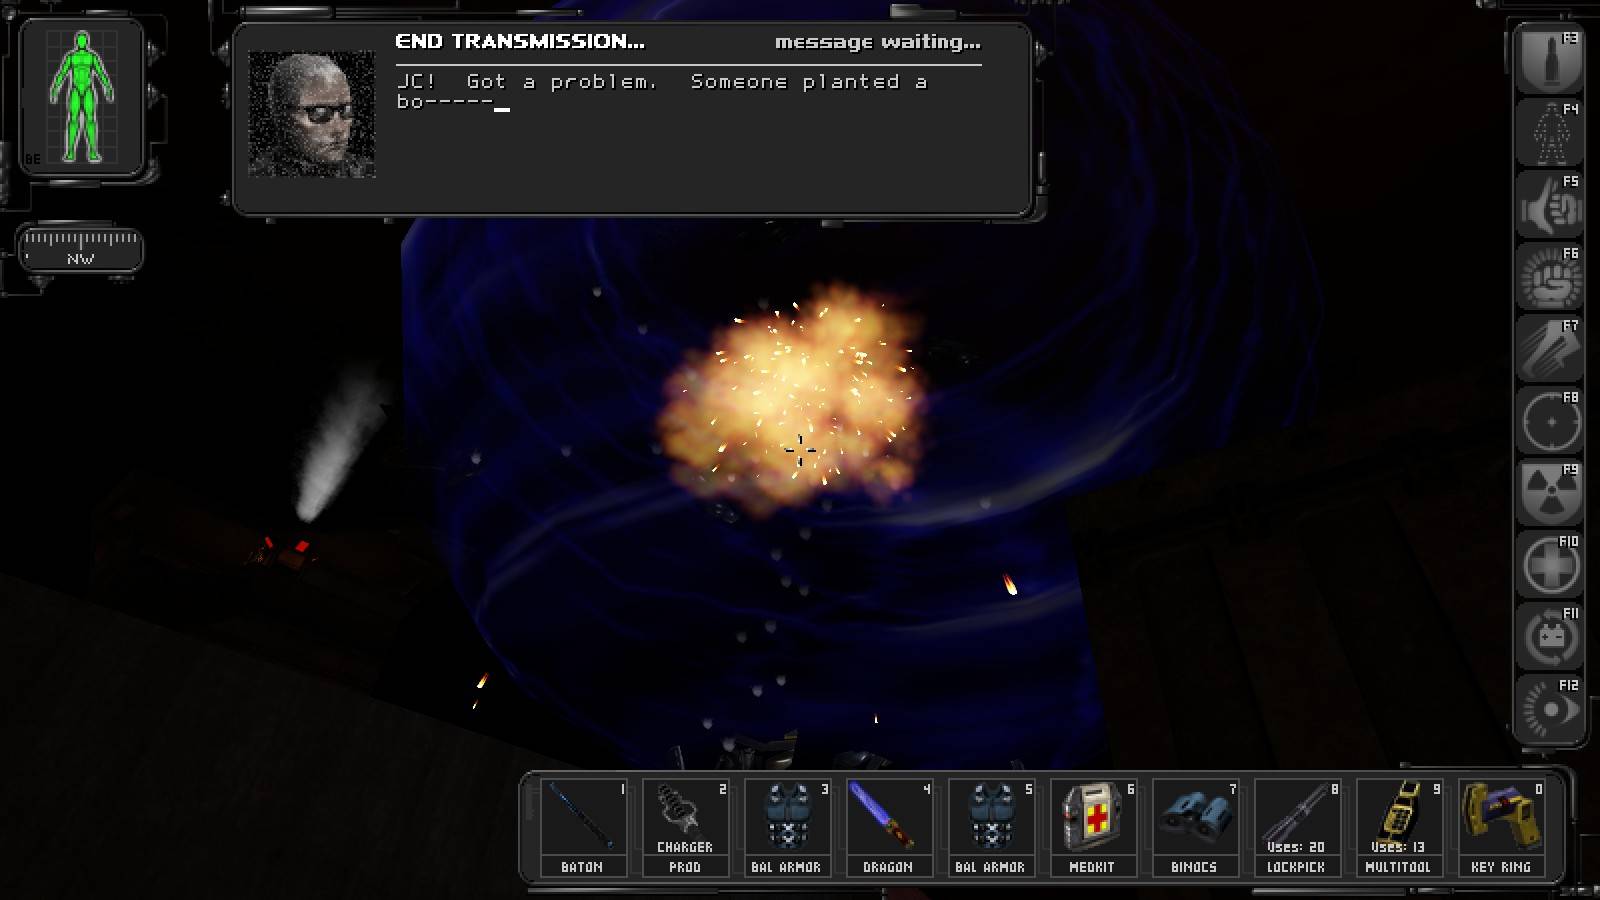
And if you didn't deactivate the bomb, it's time for the consequences . . . it hurt getting this screenshot!!
There is a small hut nearby away from the tower with a medkit and a security terminal to play with inside, but there is a camera with a turret inside and the inner door, leading to where those things actually are, is locked anyway, so no point in taking the door. Still, it wouldn't be Deus Ex if there weren't another way in... Locate the metal crates nearby and push the large one towards the (darker, of course) side of the hut, then play around with the smaller ones and/or use speed augmentation to make your way to the roof and inside. You can get back out by opening the inner door with the button located on this side and running past the camera, bear in mind however that this door will relock itself after a while and so if you leave anything interesting inside, you'll have to go through the roof again. While we're on the subject of crate-pushing, note the open upper-level container just outside the hut - the dead MJ12 trooper inside has got a lockpick.
Still keeping an eye on the sniper, head towards the stairs leading down from the helipad level and walk down to the landing. There is a security robot down there, so stay out of sight - we want to go right at the moment, so the best way of avoiding it will be to wait for it to go left first. There is the local command building down there... along with Walton Simons again, if you didn't get rid of him at the Ocean Lab, and this time he won't be that easy to avoid, although it is possible (you'll have to make him lose sight of JC and keep it that way). If you do decide to handle him, it is obviously preferable to take the fight as far away from the bots as possible.
I never tire of that line!!
Once the FEMA presence has been taken care of, explore Command - our main target here, a key to the security tower door, is by one of the corpses by the entrance, in addition one can find a water cooler, 2 multitools (in the left locked locker), 2 biocells and a medkit (in the smaller room round the corner). There is also a locked hatch there, which is worth opening - if you go down the latter and bypass the keypad on the wall compartment you will get an augmentation upgrade canister, plus there are also two flares and a candy bar on the mechanic, a DataCube with the local security login and a biocell. Last but not least, upon entering the building you will receive a satellite image of the area.
With our new key on the ring it is time to head to the tower and get rid of the sniper. Be aware that there are live LAMs in ladder shafts leading up and down from the ground floor of the tower - the upper one is quite easy to disarm, the lower one usually goes active before JC can even approach it, but that also means the blast will bring JC no harm unless you don't hear the beeping and jump into the shaft. Once you're at the top, in addition to bopping the rifle-toting trooper one can use the terminal to open the main door into the complex - which we won't use. No, seriously: no point in getting shot up by a helluva lot of bots... As you shall see shortly, there is a better way.
(TBD: describe this approach for the masochists who would actually want to take it)
The Masochist's Way, By TheNightTerror
I was going to delete Marecki's TBD comment, but it makes for a good lead in! Now, for the masochists among you who insist on doing everything the hard way, or at least insist on doing everything, proceed to the blast doors, and get ready for the battle of your lives!
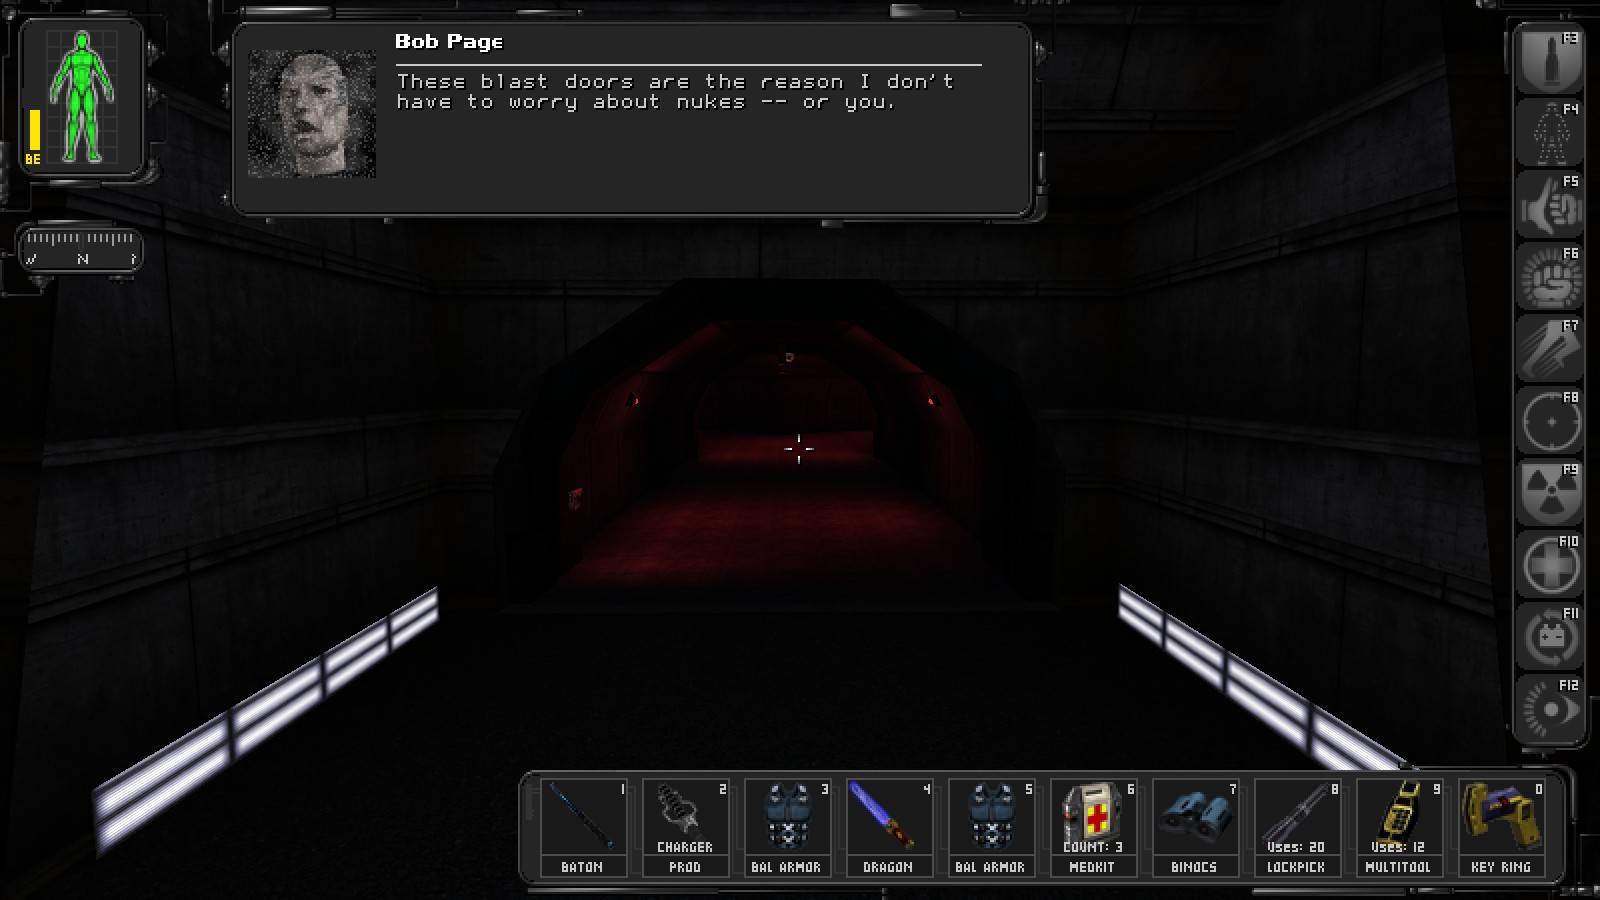
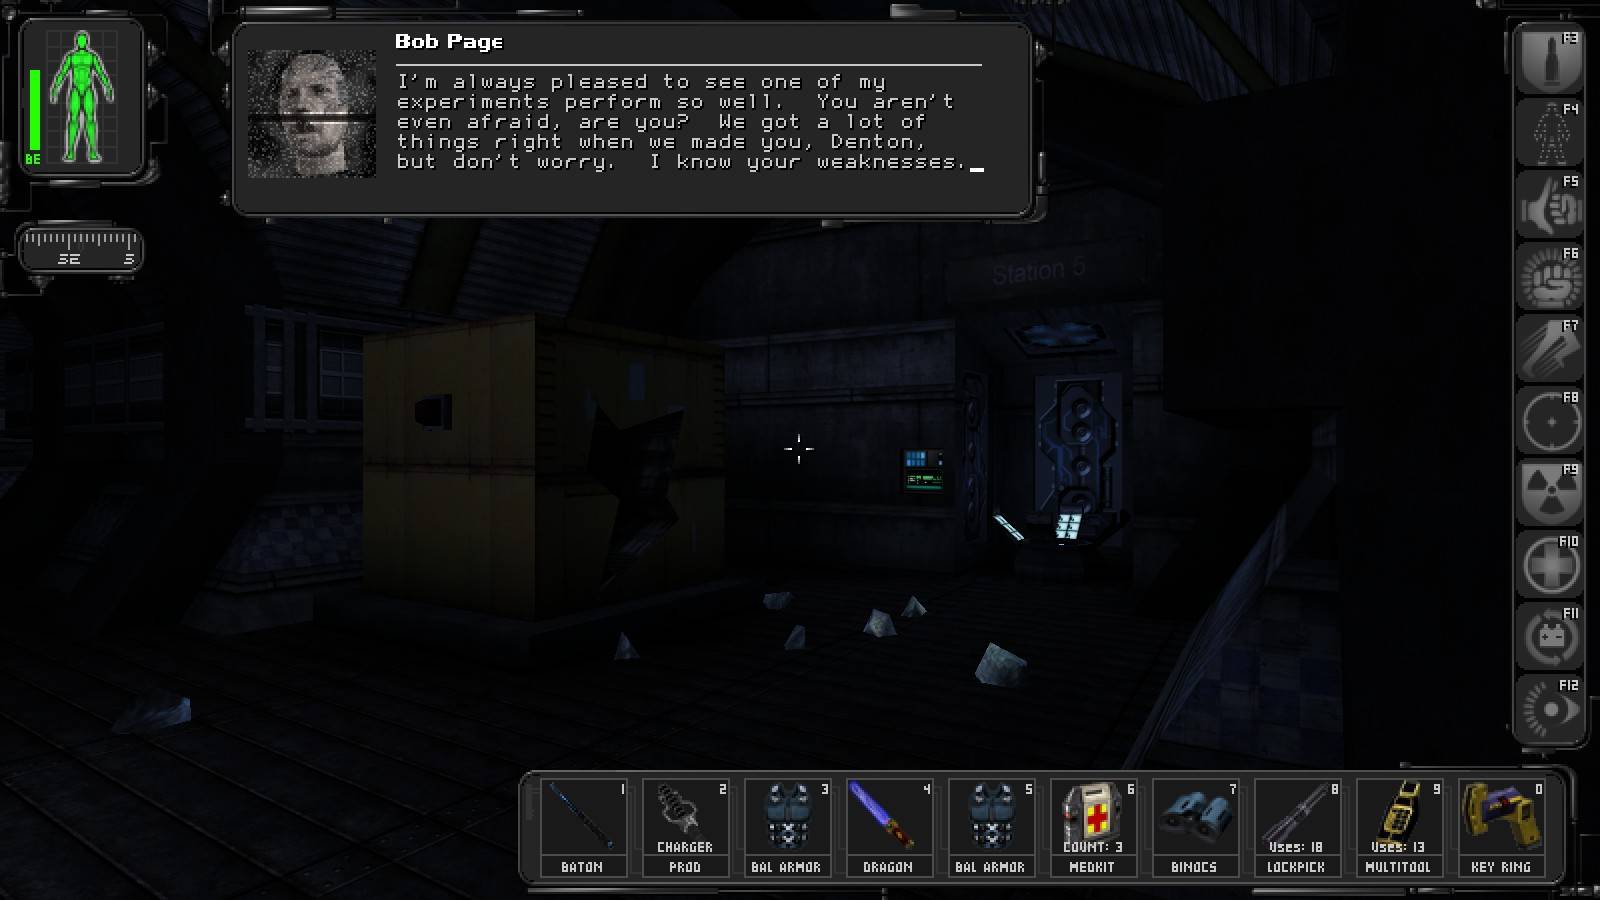
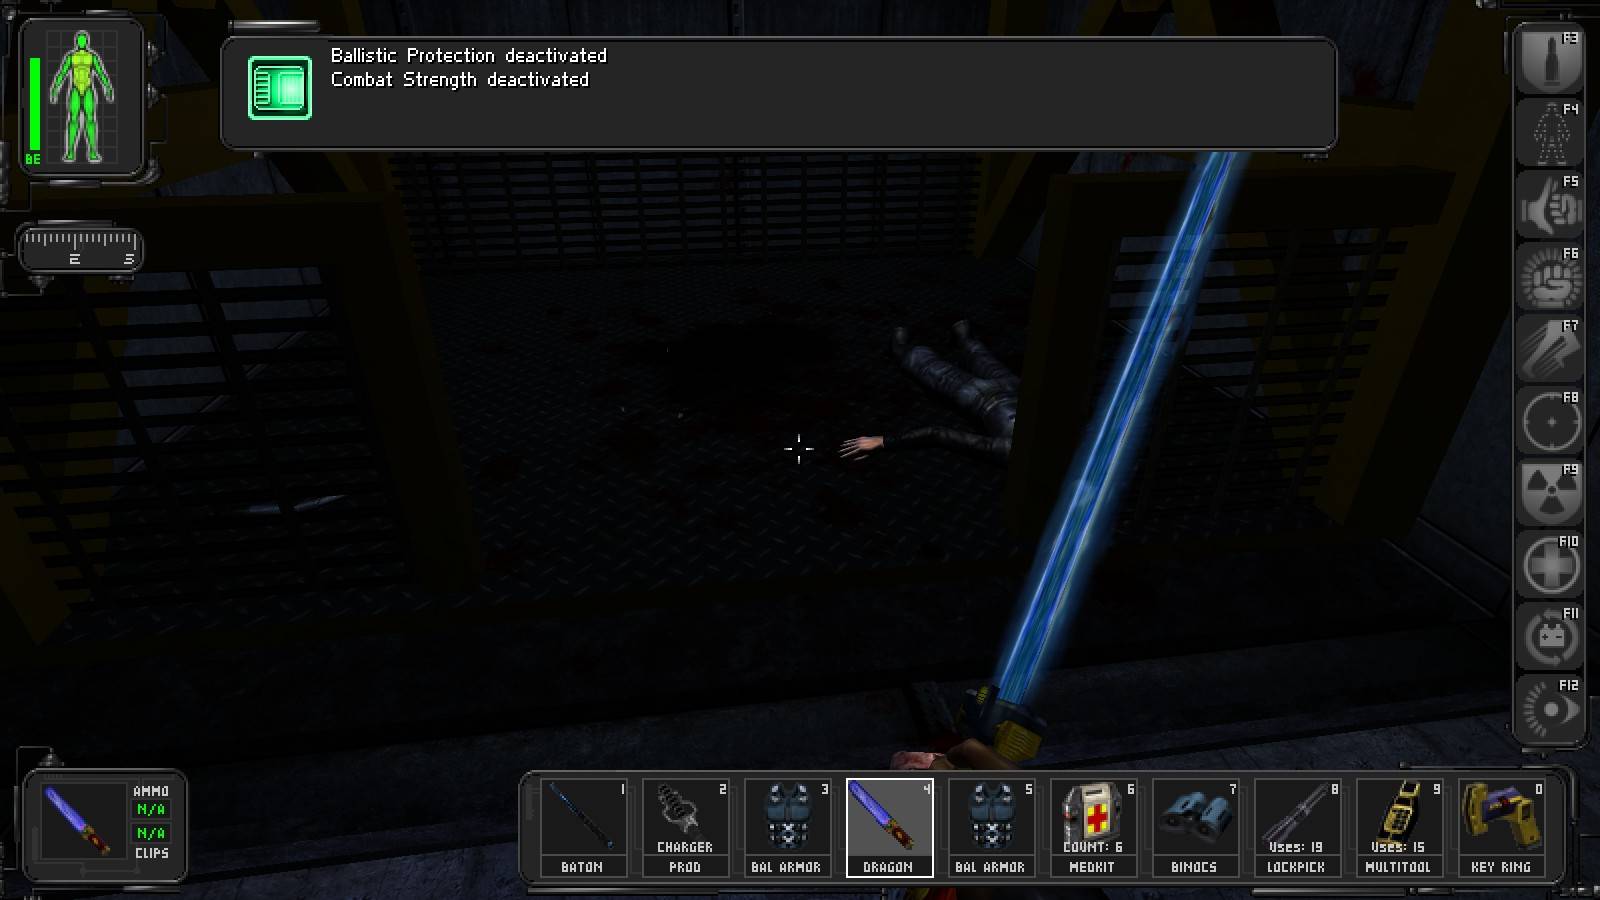
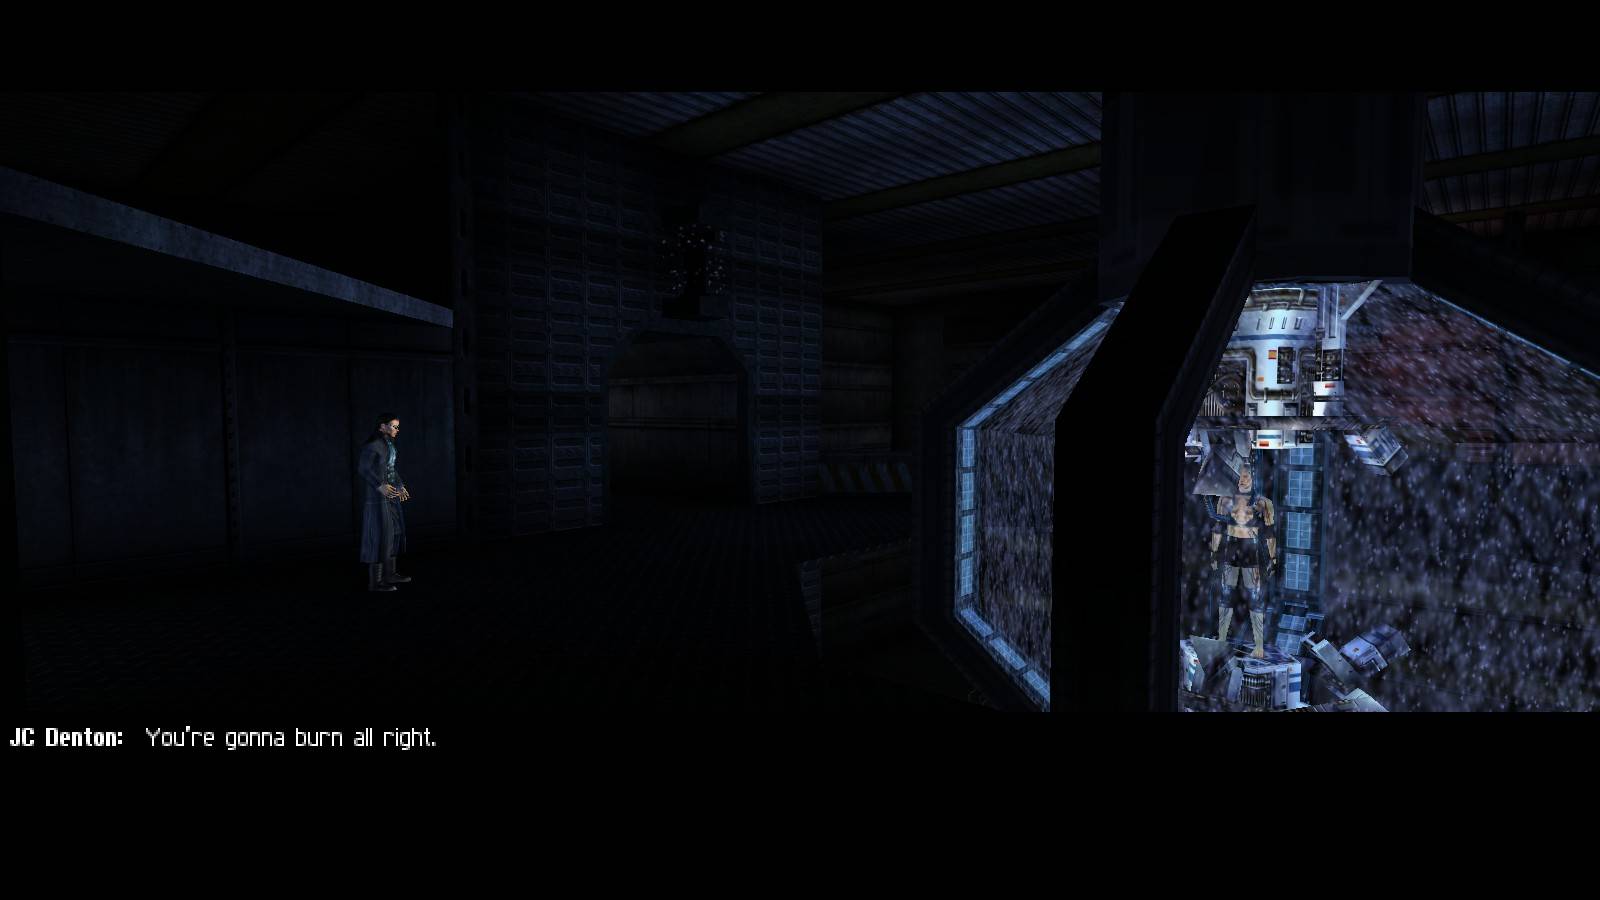
That a fact, buddy?
If you want to take out the bots, use a suit of ballistic protection armour, fire up your ballistic protection and combat strength augmentations, then charge and eliminate both 'bots. If you have both the ballistic protection augmentation and your environmental training (is it??) maxed out, which I imagine most combat oriented players will by now, you'll absorb 95% of the damage they dish out. If you want to spare them, activate a suit of thermoptic camo when they're about to spot you to ensure you have time to get out again, and activating your legs couldn't hurt either depending on your skills.
Once the 'bots are no longer a threat, go down the hallway that was to your right as you entered, and you'll see two shed like buildings in the next area. Power smash the door to the shed on your left, then hit the button to restore power. If you're using thermoptic camo you should run for it now, but if you're being thorough, you can enter through the unlocked door in the building to your right, climb to the roof, and take out the spider 'bot up there. You'll also find a lockpick and some ammo down by the radiation barrels to your right on the way out. Since you don't get any skill points for actually using the elevator, feel free to head for the hangar and finish things Marecki's way to get extra skill points!
The Better Way
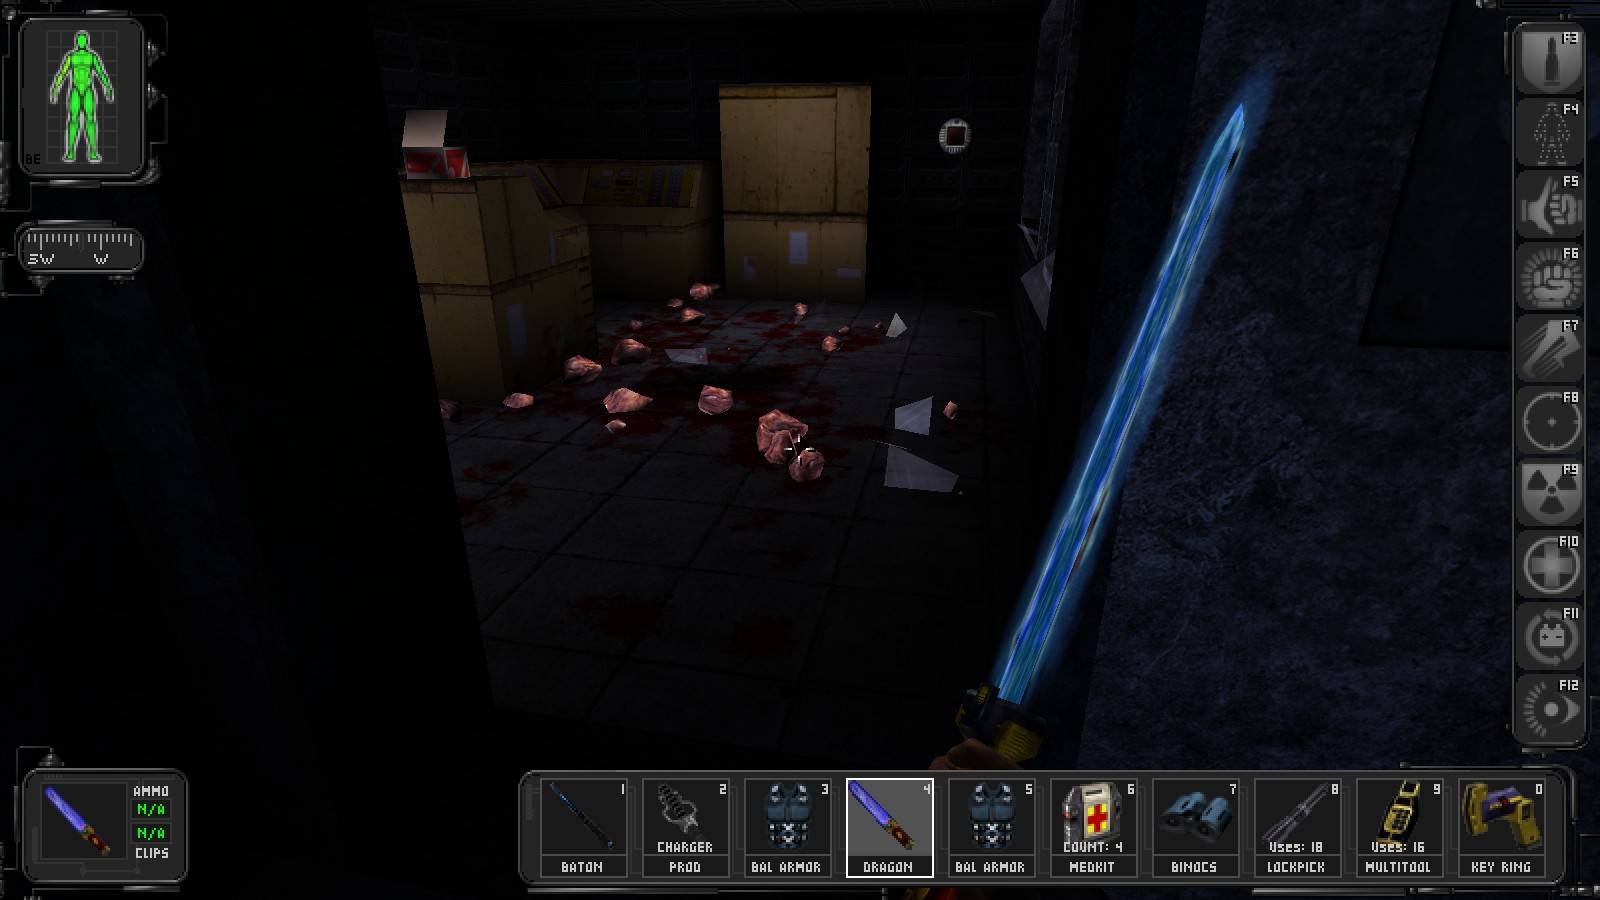
Head back to the lower area and make your way to the hangar; if you feel like it you can veer to the big door you've just opened and subvert the turret there using the nearby terminal so that it shoots at the two security robots patrolling the entry corridors, just don't expect it to actually deal them any significant damage. Inside the hangar you will find two commandos chatting with a Man in Black, since all three pack serious firepower you will probably want to keep it simple and sneak up onto the latter, in order to hurt the other two in the ensuing explosion.
Once the coast is clear, direct your attention to the small building on the far end of the hangar. Walk up the fallen beam and you'll be able to make it to its roof, where you can find a lockpick and a storage key on and by the body of the dead technician; moreover, if you jump down into the hole in the roof you can have a chat with a friendly soldier, use a repair bot and get some skill points for your effort. Afterwards make your way to the ground floor, where the aforementioned storage is - you can either unlock the door with the key you've just got, smash it open with your sword or sneak in via the smashed window, but either way you will find a DataCube with some interesting information. Hmm...
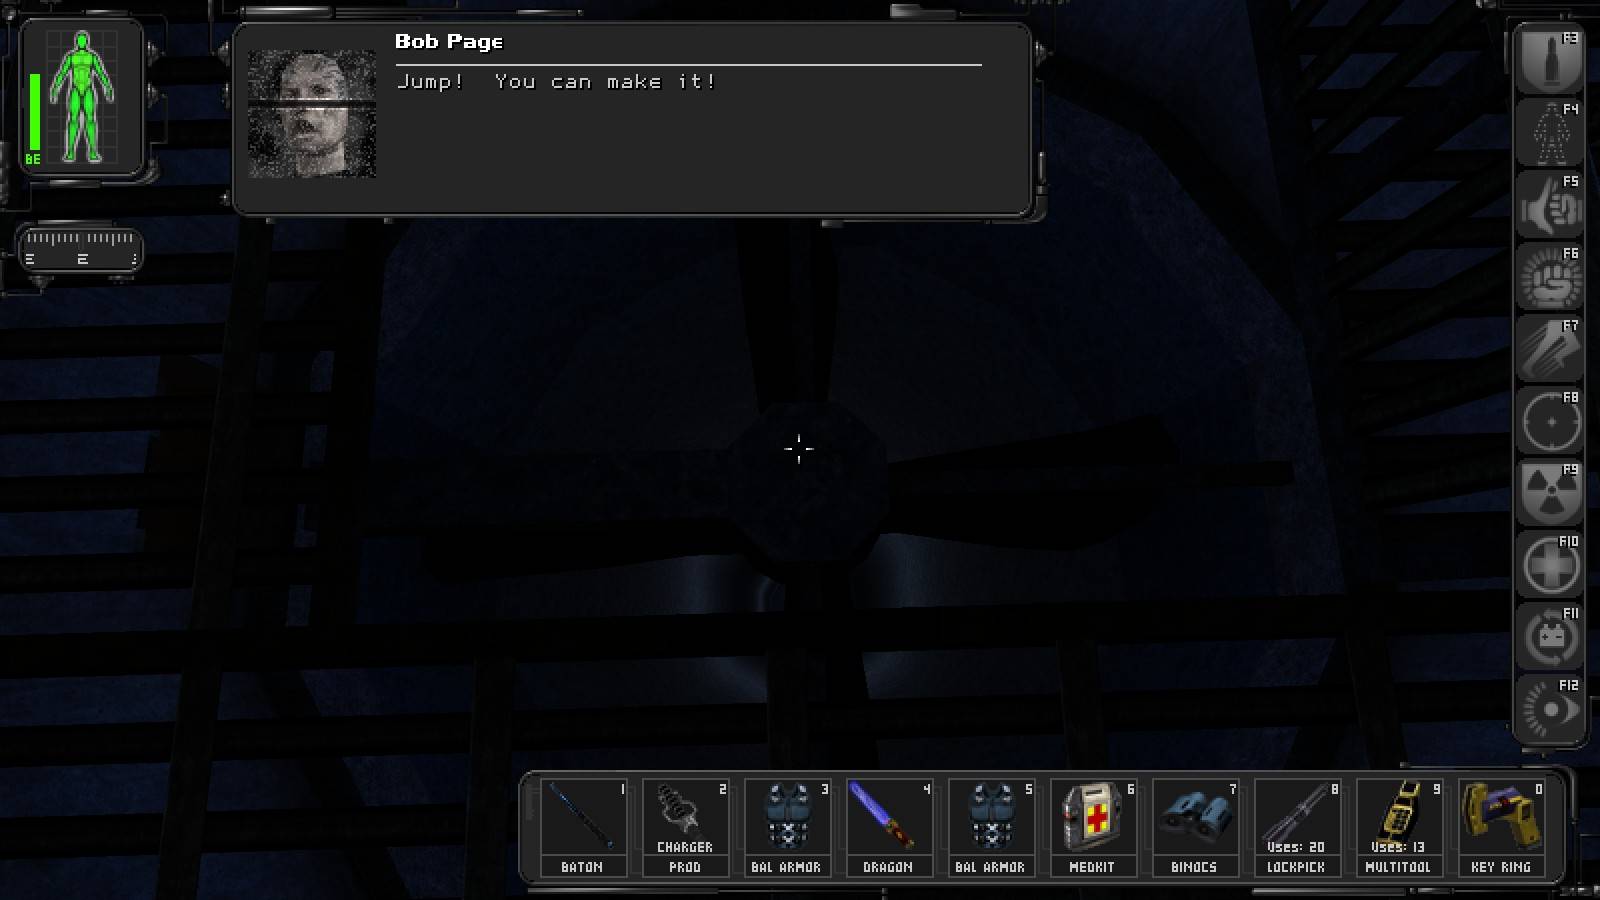
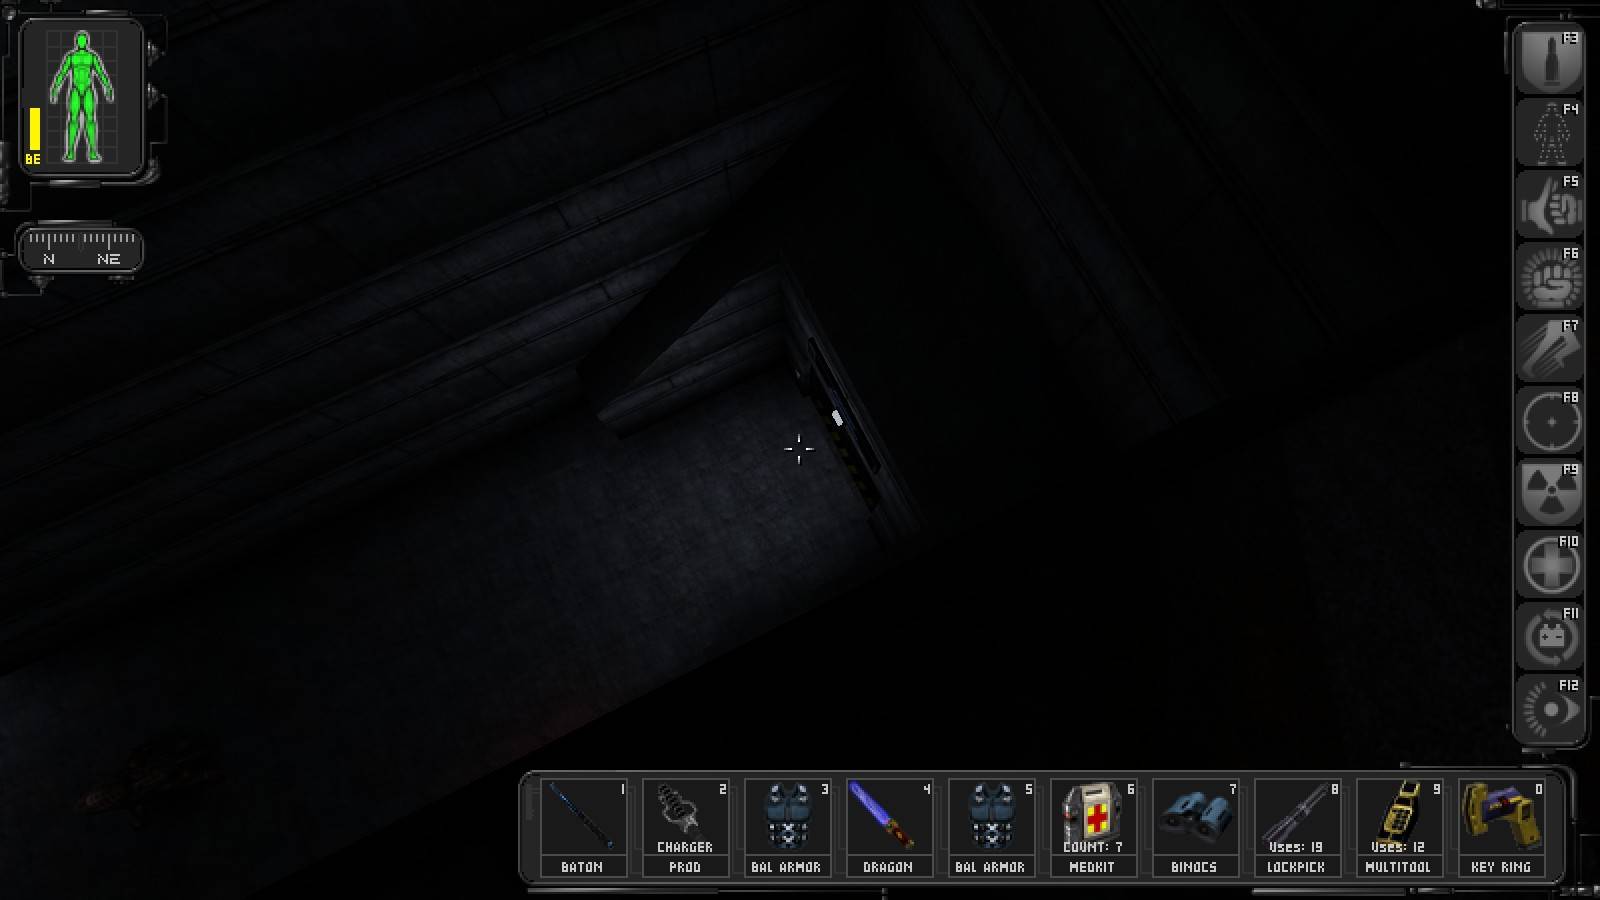
The ventilation shaft the DataCube refers to is the one right next to the small building. There is a door at its base, but it's locked - so if for some reason you want to keep saving those lockpicks, take a running jump from the building's roof (or use crates, depending on your patience and the level of your speed aug) onto the top of the shaft to find an unlocked grate. Once inside, reach down to smash the fan blades with the Tooth and jump.
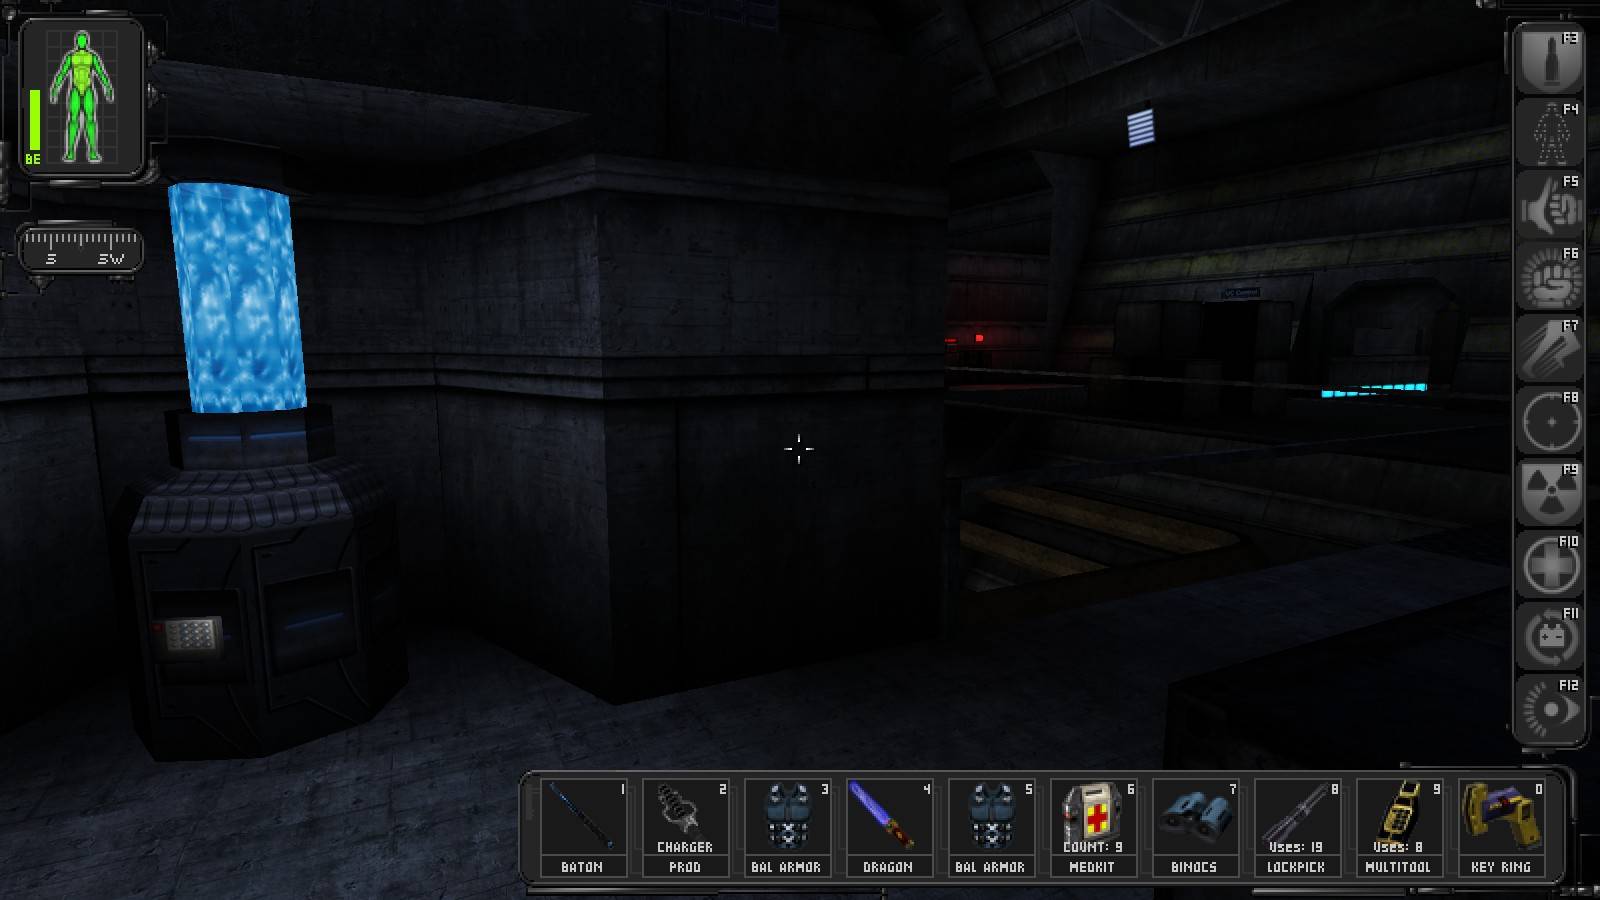
Yay, we are past those stupid bots in the entrance corridor and we didn't have to bother with restoring power to the elevator either! Swim towards the stairway and keep going the only way possible. Once you've reached the security terminal, use it to disable the camera round the corner, then walk to the small platform lift, collecting a lockpick from the supply crate if necessary, and ride down. As we won't be coming back this way, ignore the beams - the bot they release won't even get to see you unless you deliberately hang around. Once in the main elevator shaft, take ladders down to the bottom, grab two biocells from the corpse lying at the bottom of the elevator and enter the next sector.
Sector 2: Motives Revealed
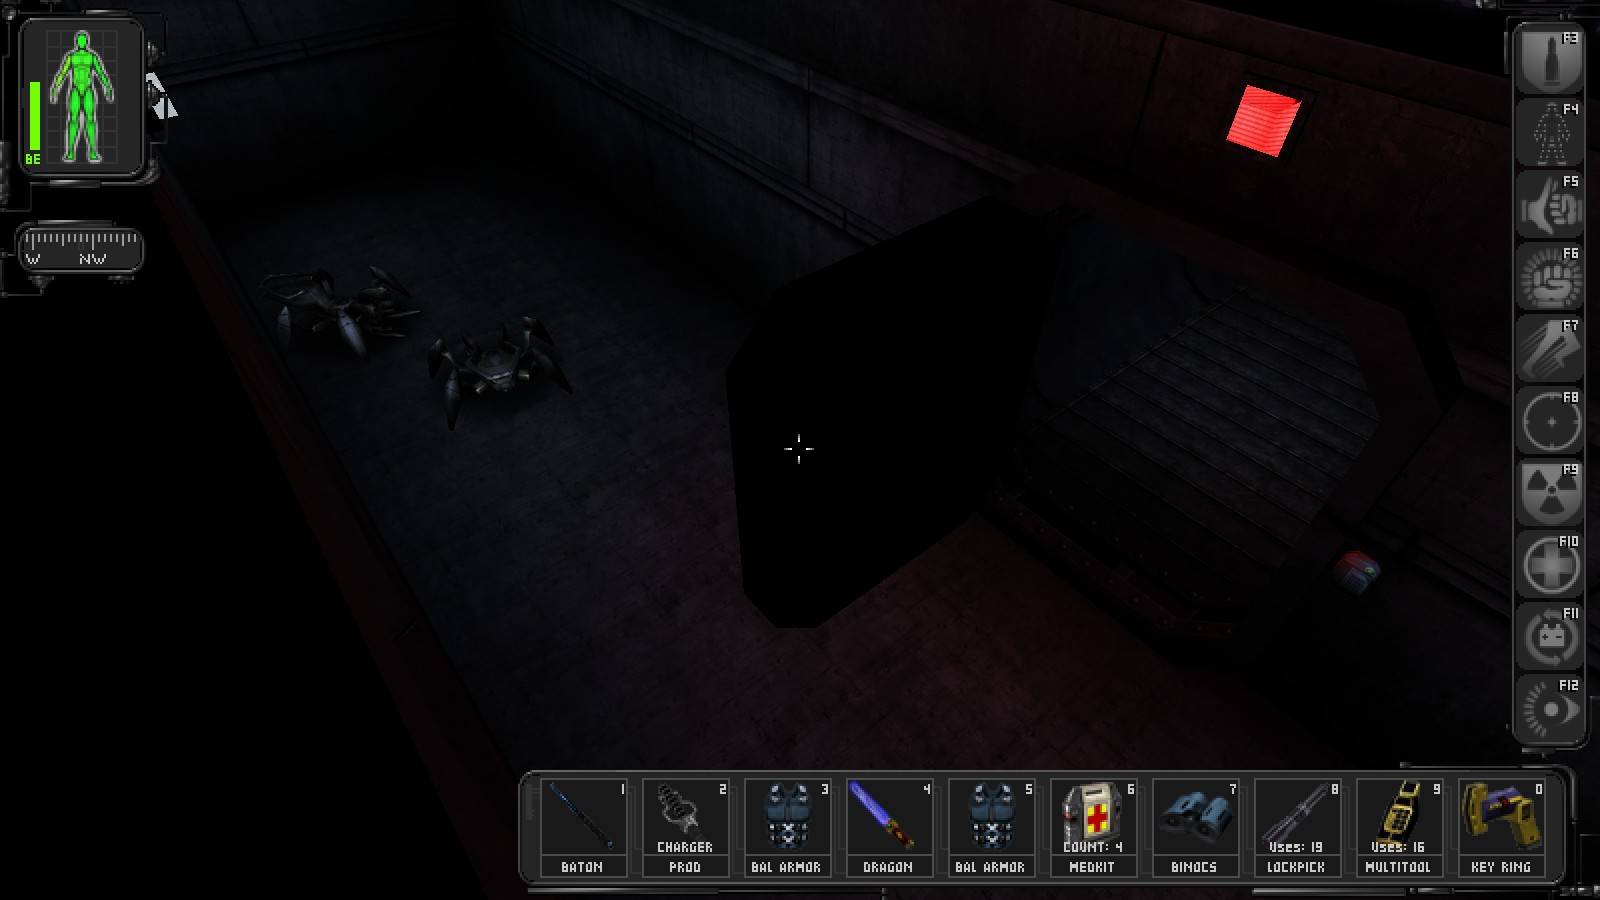
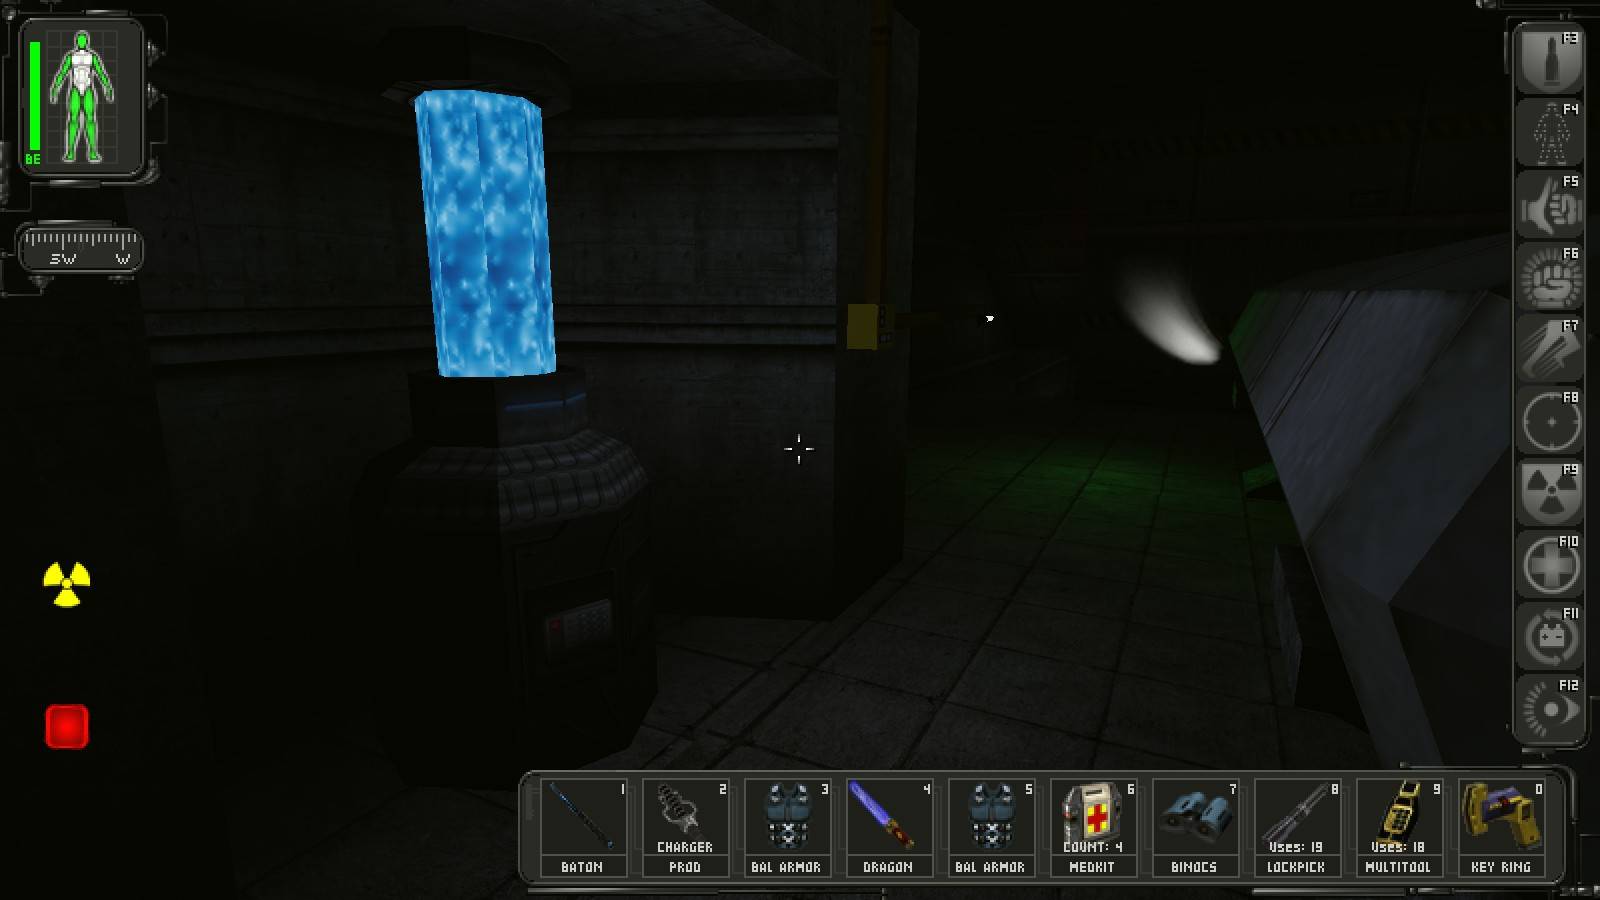
Collect the multitool from the crate ahead and jump down to the right, thus getting out of the field of view of the camera over the stairs to the left. Approach the beams and jump over them to avoid releasing two spider bots; you'll probably want to do that staying close to the side as it seems to be the easiest place to do this, on the other hand speed augmentation is not strictly necessary. Proceed down the curving hallway, but head back as soon as you see and hear the alarm going off at the generator unit ahead - it's going to explode! Note that if you still have line of sight when it goes off, you will most likely get slightly damaged, by electricity, even if you are far away.
I didn't do it!!
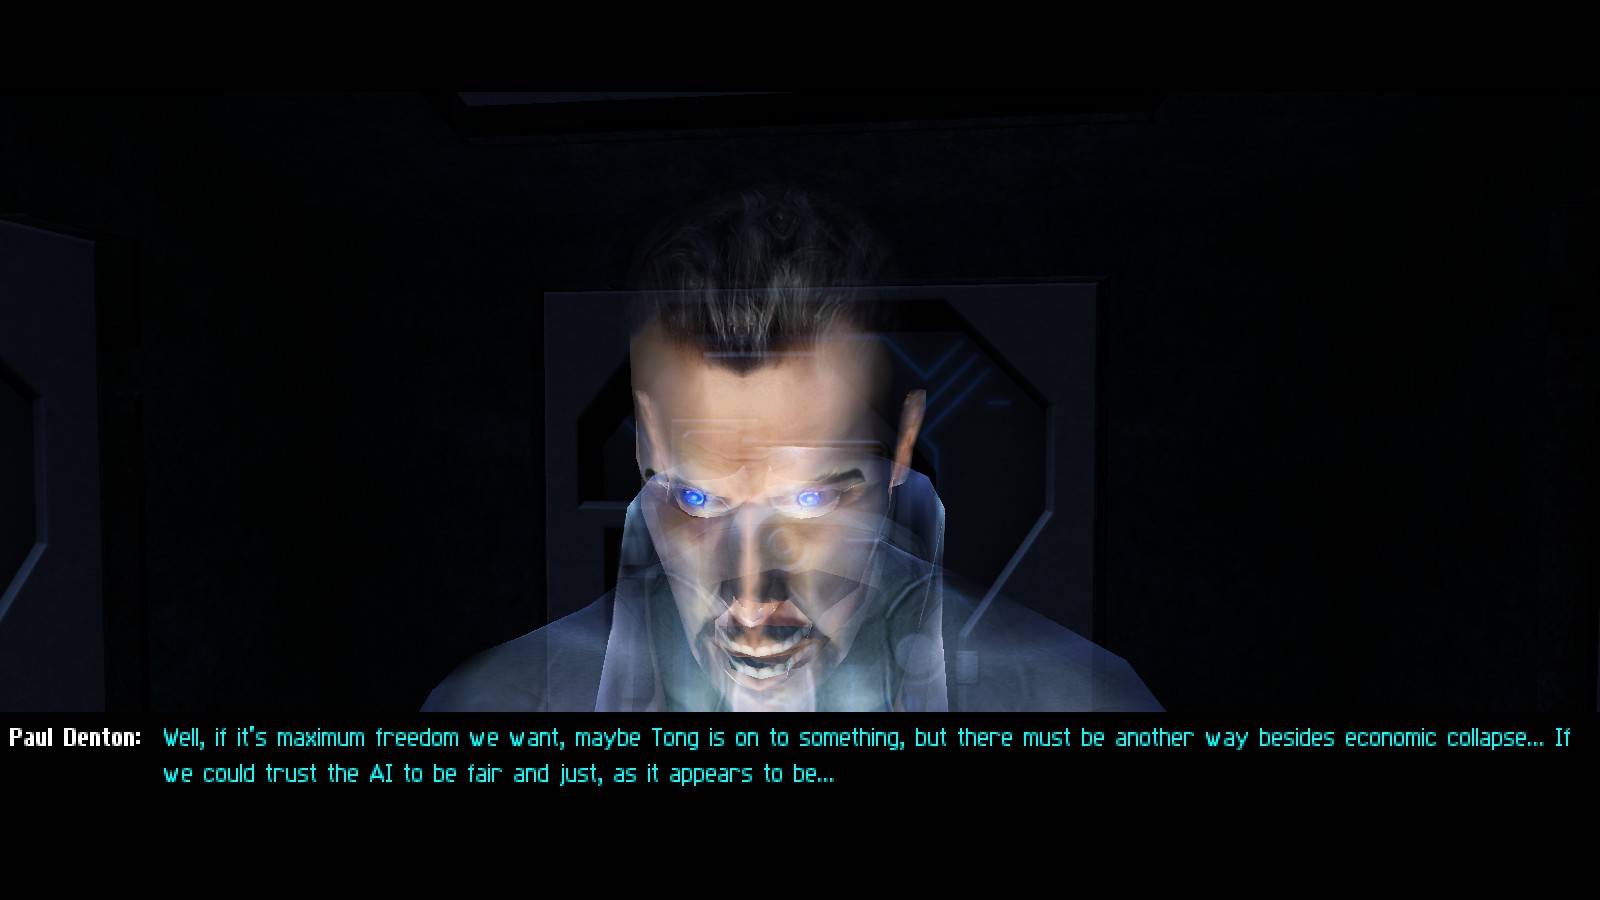
Approach the exploded device and Everett will reach you on the communicator nearby, revealing his agenda and thus giving us the first option of ending the game, Illuminati; there is also a locked hatch by the generator, but ignore it. Head into the well-lit curving tunnel, leaving the communicator behind you and the way you came on the left.
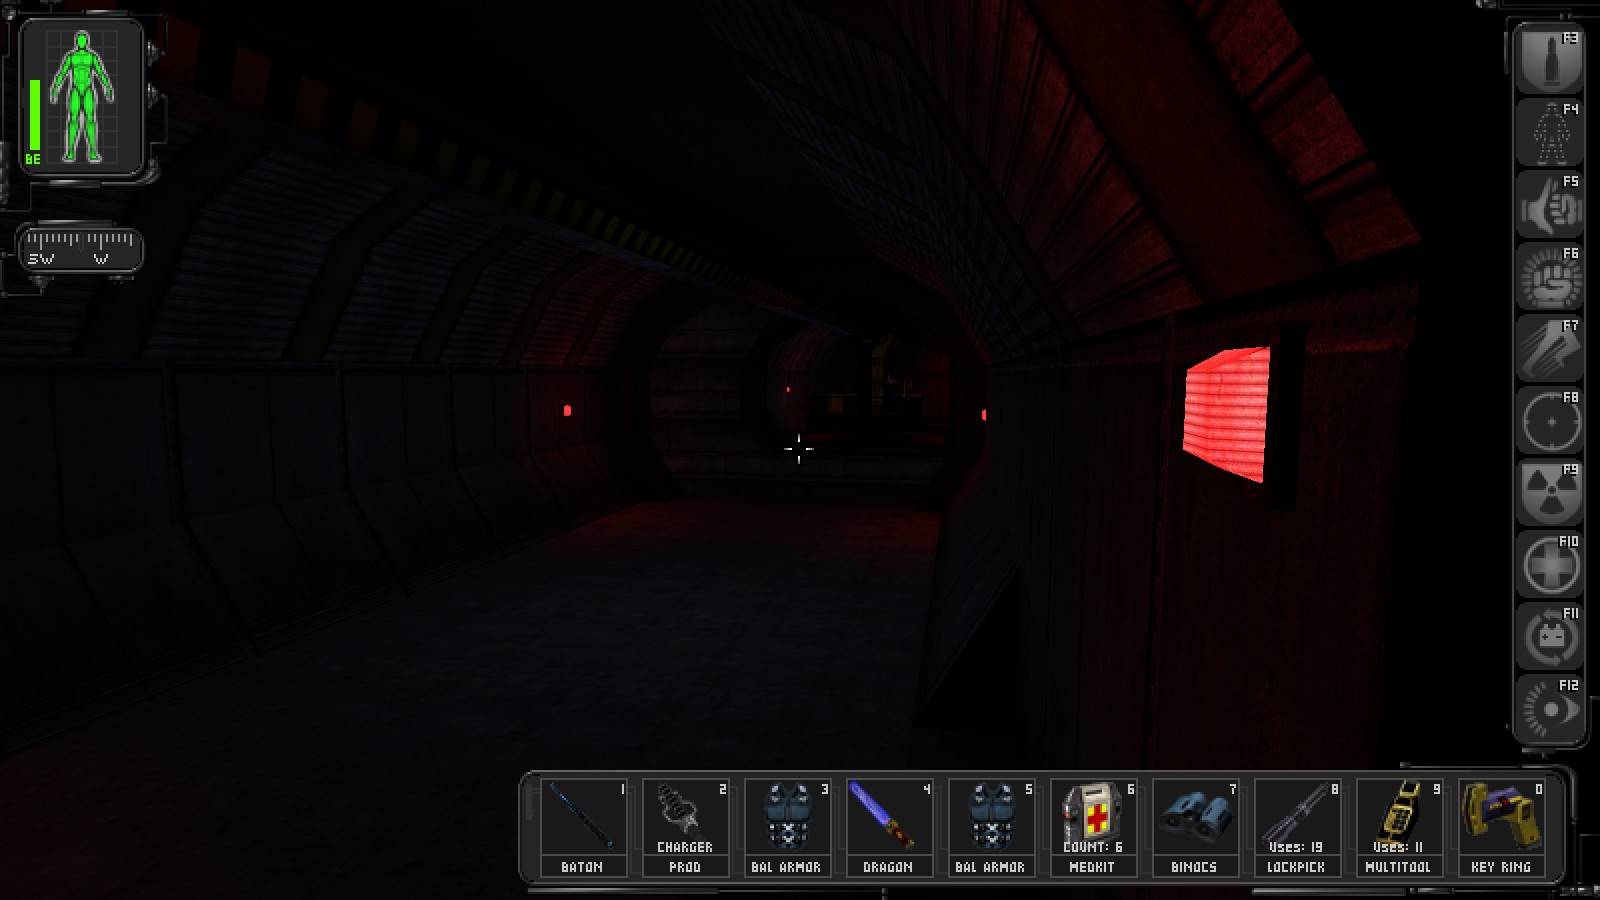
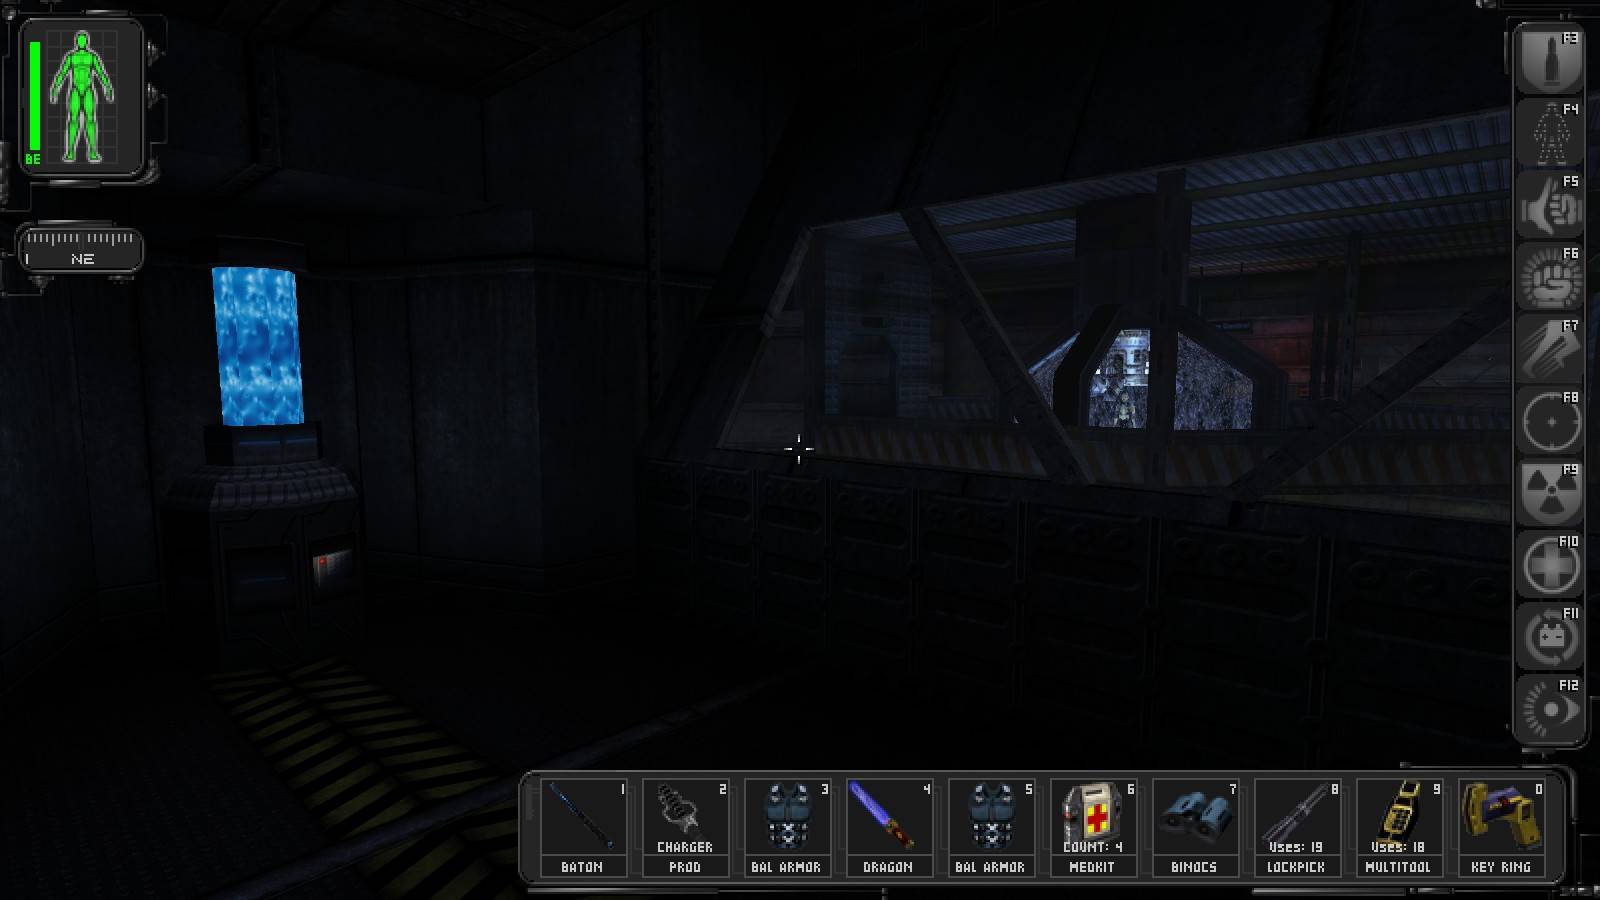
In the tunnel you will find the local living quarters and the recreation room, the door to either of which can be opened using the code transmitted to JC by Alex. It is also patrolled by a security bot, from which we can conveniently hide behind numerous crates scattered all over it, and has a security camera further down, which we will take care of shortly. For now, head to the second door, nick the nearby medkit if needed and open the room. There is a Woman in Black and a trooper inside, seated on the far end of the room and watching the door, which means you'll probably want to use the cloak or thermoptic camo to approach them; on the other hand, the pale lady's self-destruction device will likely take care of the soldier as well.
It would appear to be the case all right!
Now, the main reason for us going through all this is the DataCube to be found on the ping-pong table - it contains an important code to an otherwise unopenable keypad. You can also get a multitool off the dead scientist, as well as another multitool and two cans of soda lying around the room. Last but not least, the terminal by the door will let us disable the camera outside. With the code from the DataCube, return to the first room in the corridor and use it on the appropriate sleeping unit to your left to grab a key opening the door leading to the next sector along with an augmentation upgrade canister and another medkit. If you want to use some more multitools, there is a bunch of stuff (i.e. a book; a lockpick and a biocell; an augmentation canister and a biocell, guarded by a greasel) in some other sleeping units as well, but it is probably not worth it.
Go past the recreation room and to the large chamber at the end of the tunnel, disposing of the commando patrolling its end. Once in the chamber, quickly veer to the left get out of sight of the sniper on the lifting platform and dispose of him in the same way as Howard Strong, by walking up the lifting arm - he is by far the most dangerous enemy in the area and you really don't want him to become aware of JC before he can be reached. The other ones, two troopers on the raised section and a commando patrolling the other tunnel, will be much easier to dispose of with this fellow down.
If you get spotted at some point, there are two grates on both sides of the chamber which can be used to enter the maintenance ducts underneath. Grab a multitool of the dead tech on the eastern side and/or move to the other end; just watch out for the live LAM on the wall in the east-west corridor and don't bother with the north-south one, the one with hot steam in it (there is nothing down there but baby karkians and that locked hatch we have ignored earlier). If you feel like exploring you can also get inside the open tunnel above near where the sniper used to be, then again given the amount of hassle required to get in there (JC must either jump from the nearby boxes using at least level-3 speed aug or jump directly up with level-4 speed aug) it probably won't do as a hiding spot, not to mention the only useful thing there from our point of view is a multitool.

If you let Paul live you'll soon get this message from him. That's rich coming from the guy who tried to kill his own brother how many times, did his conscience recommend that too??
Once it is safe enough get up to the raised section of the chamber and use your keyring on the locked door. Inside there is a cache to the right containing crates with a medkit and a lockpick, an elevator leading down to the next sector - and a trio of baddies on the elevator which will ride up to greet you when you press the button; looks Page has got wiser by this time, as he only mentions the opposition at the end of his talk triggered by calling the elevator.
Because, you know, this setup doesn't scream trap or anything!
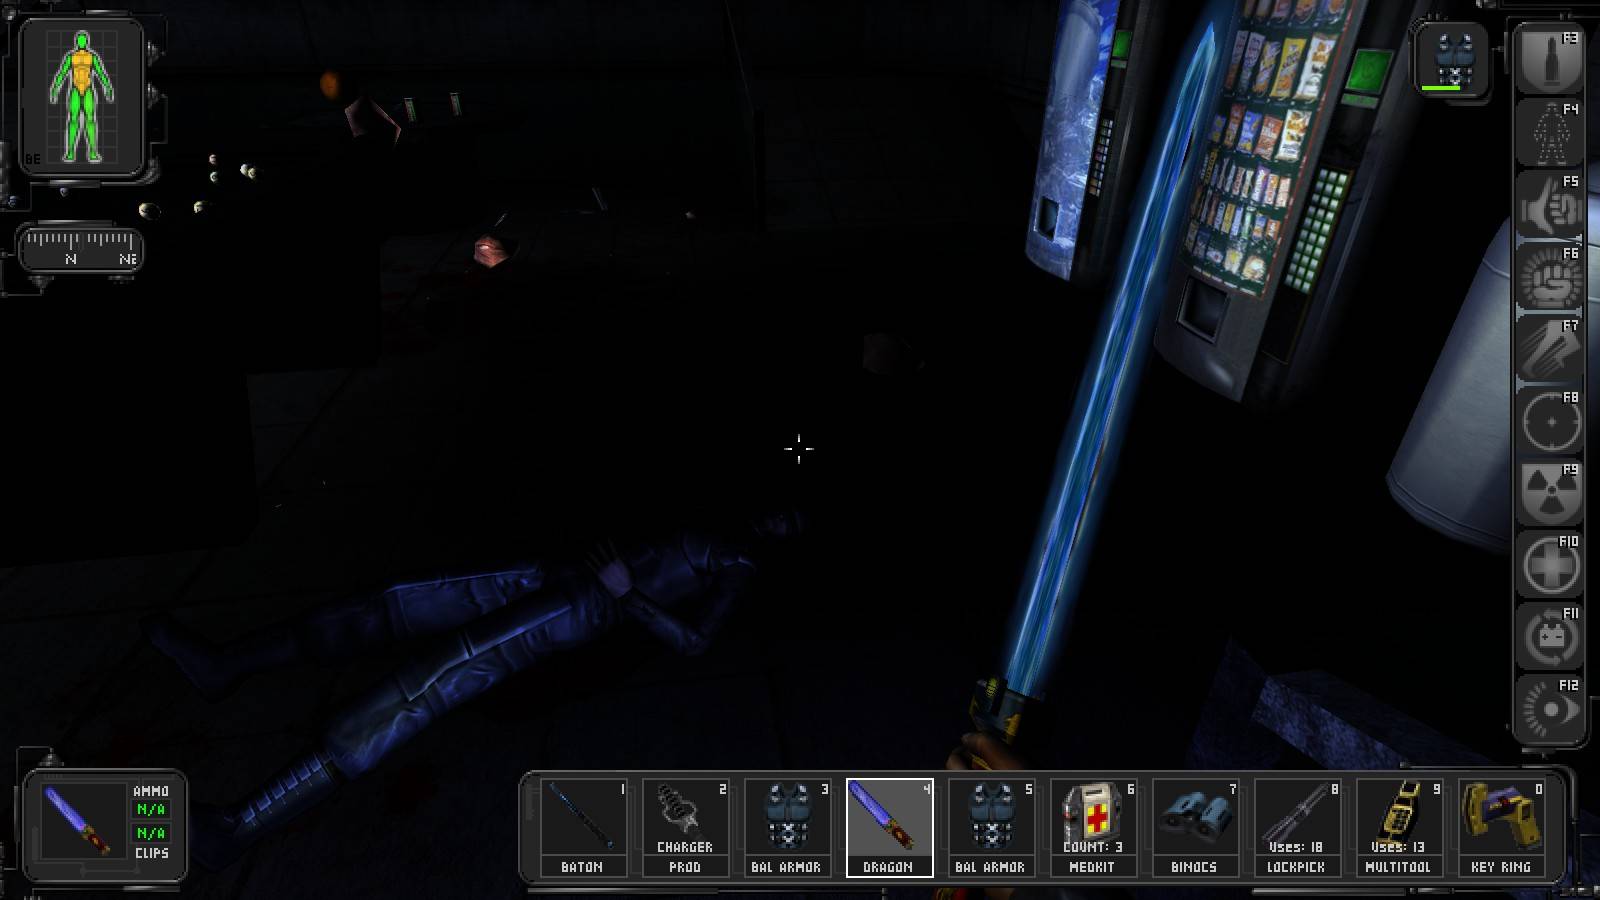
It doesn't give you much time to prepare yourself, but even so you shouldn't be surprised you unless you were really distracted. There is a MiB and two troopers in the elevator, all three heavily armed, but fortunately for us they just stand there and do nothing until they've spotted JC, they don't have that much room to get off and the blackie is the closest one to the exit... You know what to do.
After you're done redecorating the walls in red ride down, listen to Tong on the communicator (which will give you the second ending option, The New Dark Age) and enter the next sector.
Sector 3: So Where is the UFO, Eh?

Right past the door we are greeted by a dead mechanic, an once-proud owner of two flares. There are several troopers patrolling the catwalks in this area, so stay out of sight - then again, with several transgenics hanging out in the area they are likely not to stay there for too long and perhaps even be so kind as to open the locked staircase door over to the right. Speaking of transgenics, two of them - a baby karkian with its mother - are eating a corpse on the other side of the big steaming device ahead, so if you want to get your hands on another multitool you'd better hurry and get it before the corpse is devoured. Luckily, unless JC lingers around for too long, the beasts are likely to ignore him and keep on munching. Either way, once the fireworks have started stay out of the way. Beware the sniper on the small platform right above the entrance - he has a good view of most of the area and will not abandon his post to attack the karkians.
Make your way to the coolant pool past the two karkians, you can either jump in from the catwalk having first got onto it using the nearby ladder or simply take the stairs over to the north. Once down, your target is the corpse of another mechanic floating in the coolant, on the floor below which you will find a key to the aforementioned staircase as well as a DataCube with the code to the reactor lab. There are also two greasels swimming around in the pool, but with all the pillars they are easy to both sneak up on and avoid altogether. Once you have the goodies, head to the locked staircase.
Another opportunity to take advantage of a MiB's blast damage awaits you!
Climb the stairs all the way to the top floor where you can listen to a Man in Black chatting with a mechanic. Take care of the former, but be careful with the latter as well - unlike most civilians so far, he will start shooting at JC if he notices him. It will also make sense to beware the trooper patrolling the catwalk outside, as he has a perfect view of most of the room through that huge window. Ignore the security terminal for now, we'll get appropriate credentials in a moment; meanwhile, sneak down the ladder and take care of that pesky sniper, then head through the remaining door.
After a short walk you will find a small room with a ladder, containing a biocell, a lockpick and a DataCube with the aforementioned security credentials; you can now get back to the terminal and use it to gain access to the nearby augmentation upgrade canister and to remotely open the door to the reactor lab. Moreover, a trip up the ladder will yield another biocell (on the body of the dead mechanic) and another DataCube, with the (somewhat useless) code to the local explosives storage room. The other door out of the room leads to the catwalk with the aforementioned trooper on it, for us to kindly relieve him of the boredom of his duty; by the way, should you jump down into the big water tank you will get a hazmat suit off the corpse and a multitool from underneath.
Apparently the festivities earlier were a bit too noisy . . .
Once your job on the top floor is done, head all the way down to the base of the big tank. The reactor lab is to the north, but the door is guarded by a spider bot - fortunately we have already opened this door using the terminal upstairs and therefore won't have to hang around it for too long; another spider can be found to the east, guarding a medkit and a lockpick. Inside the lab, stay low while close to the reactors to stay out of sight of the two grays below and get to the control room; the mechanic hiding there will give us what we entered the lab for in the first place, the code to the door to the Aquinas Hub. If you're really bent on exploring and don't mind the radiation, you can also sniff around the reactors - the dead scientist to the south has a bioelectric cell, whereas the dead mechanic to the north will yield another multitool and a DataCube with the same code we have just got.
Get out of the reactor lab and back to the staircase, where the newly-acquired code can be used to open the last door in the area we haven't gone through. The room past it contains a medical bot, tech goggles on the first corpse, a biocell in the locked desk drawer, a can of soda on the desk by the computer and a multitool; moreover, hacking into the computer will allow JC to read some pretty interesting, historic e-mail. The most obvious way further down is the ladder, so of course we'll take a different one: smash one of the large windows to get to where another dead mechanic lies (he has a rebreather), then power-smash the access hatch nearby. Wait for the commando below to calm down, then let him walk away to the west, jump down and head in the opposite direction.
We are now close to the Aquinas Hub. Don't bother with the keypad-protected storage room, there is nothing of interest inside. Head on to the east to the control rooms, there is a repair bot in the area, along with two corpses with a candy bar (the man to the north) and a medkit (the woman to the south). Even further to the east, take the elevator all the way to the top and talk with Helios.
You can make your way back down using the elevator again or jumping down over the large protrusions from the eastern wall of the chamber; in the latter case you will be able to reach a corpse with a biocell and a multitool. Another biocell and multitool can be found on the two corpses floating in the water below, keep in mind though that the water is hot and you should get out as soon as possible.
Either way, once you're back to the area with the locked storage room, you will come face to face with several more nasties sent in by Bob Page: first three commandos will run in from the west, then a moving platform will arrive at the southern entrance carrying two troopers and a MiB. Luckily Helios has released two security bots to protect JC, so at least the commandos (who with no ranged weapons available would pretty much have to be rushed otherwise) should get taken care of; as for the second-wave trio, use the same approach as before and start with the albino. By the way, with level-3 speed augmentation it is possible to jump over to where the moving platform came from and grab an additional medkit.
Once the opposition has been taken care of head west, past the access hatch we have entered through and to the ladder from above. There is another staircase there, guarded by two grays: one walks up and down the stairs and one stays at the bottom; there is also a rifle-toting trooper on the catwalks outside, so stay quiet. Handle the opposition as you see fit, then grab the DataCube with the map of the next level from the bottom of the stairs (there is also a lockpick box there, but it's further away and you'll get irradiated - even without tackling the gray - trying to get its contents, so probably not really worth the effort).
Out to the catwalks, open the explosives storage using the code found earlier for 50 exploration points, then keep going down. Watch out walking down the stairs past the catwalks, there is a greasel hiding in the dark area underneath; it guards two storage crates, one of them containing a prod charger. Ai-yah, another of those big spiders...
This time it makes sense to finish it off, possibly doubling back up afterwards to heal and recharge. Ignore the locked storage closet and go ahead, where having encountered some more reading material and listened to a message from Savage or Paul you will find a passage to the final sector.
Sector 4: Megalomaniac, the Zoo and the Errand Boy
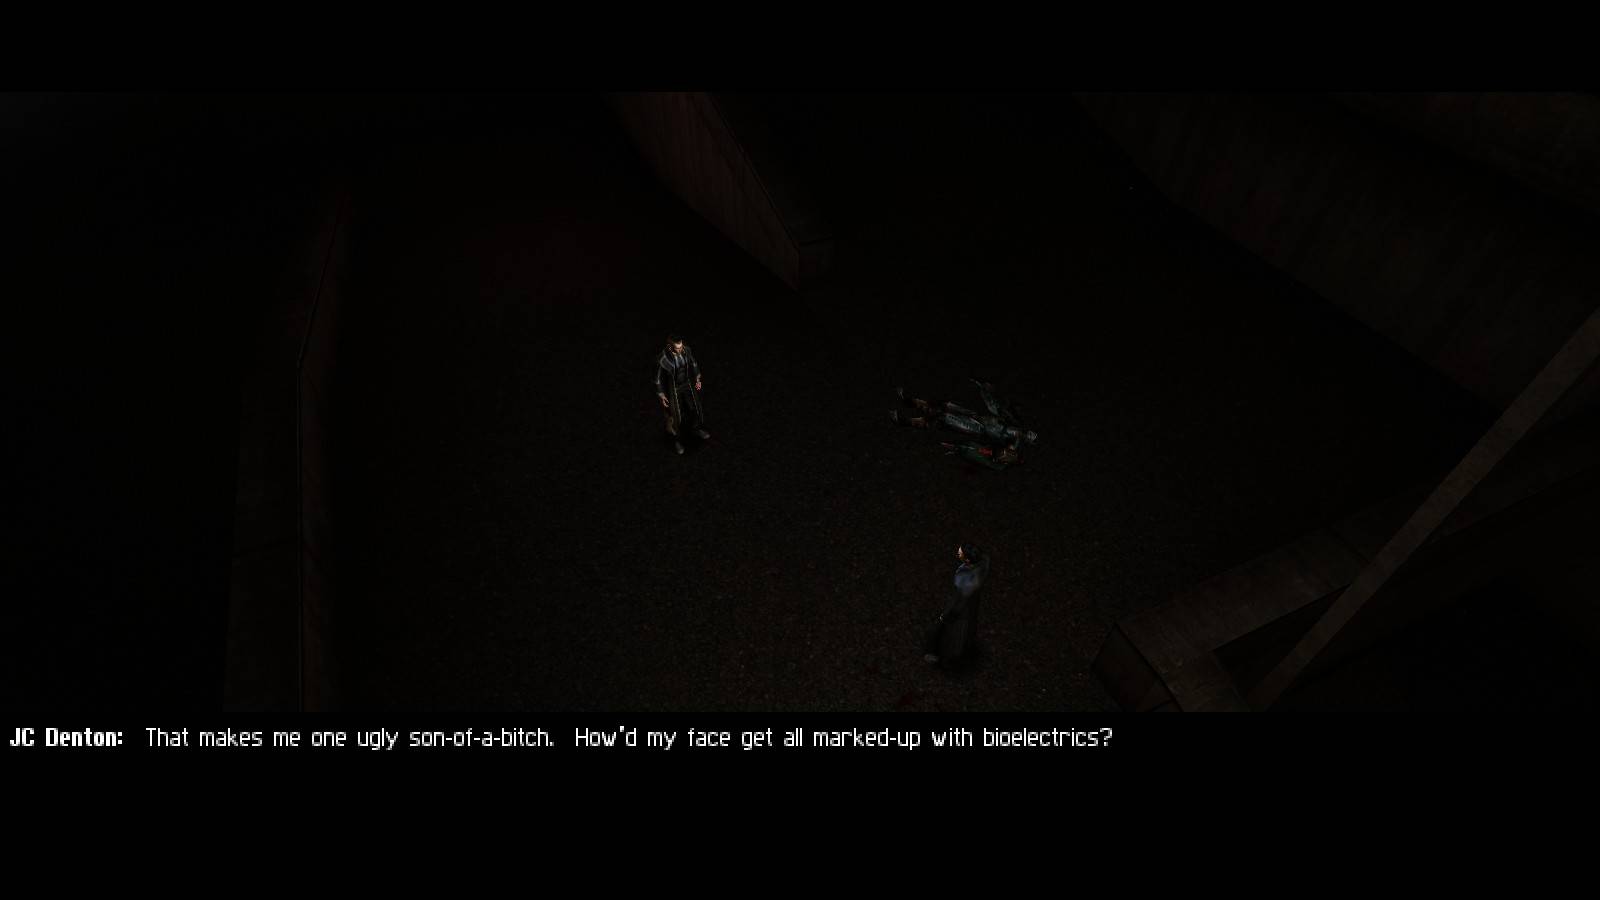
Home, sweet home... and if you don't know what this means you haven't been paying attention to the game, shame on you!
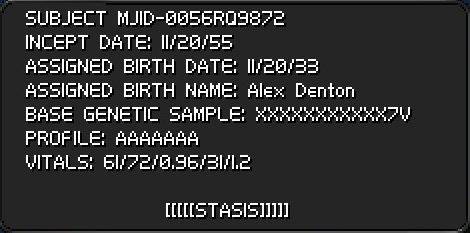
Hey, the protagonist from Deus Ex: Invisible War! A very nice touch!
Either way, having gone just ahead you can read the tags on two tanks and relieve the dead scientist of a biocell and a candy bar. There is another set of two tanks and a corpse on the other side of the room, but everything we have already gone through should have taught you not to trust the obvious path... so instead of taking either of the walkways, jump to the lower level in the centre of the room (there is a dead mechanic there, with yet another multitool) and go around the pipes. A good idea again, as it turns out - when JC comes close to the doorway in the northeastern corner Page blows it up, and being down there we get hurt by neither the explosion nor the flying door. Also down by the pipes, in a dark corner by the stairs leading back up, another deceased scientist holds a DataCube which allows one to make conditions in the nearby radiation lab somewhat more hospitable. Once you have it, head up to the remaining two tanks and get an upgrade canister - the last one in the game - off the final corpse.
Head north through the door between the tanks to find yourself at the entrance to the aforementioned radiation lab, with a nice view on its restless occupants and another door in the back, which we have to get to to get around the doorway destroyed by Page. Both doors can be opened with nearby buttons, but they take a while to slide out of the way and hanging around grays in their radiation-rich habitat is not the healthiest thing to do, especially with a readily available alternative! Hack or log in to the nearby terminal, disable the radiation field and open both doors, then simply run through before they close and you'll have a good chance of making it to the other side unscathed. If you want to dispose of the two grays, you shouldn't have a problem with that either - radiation emitters are pretty good at keeping JC out of their sight.
Keep following the only available path (on the way you will receive a message from Alex with potentially important information) and you will reach Bob Page himself, taking a nanite bath inside a force-field bubble - which by the way hurts JC if he approaches too closely, so don't. A conversation ensues, which however shouldn't distract you from another notable part of the scenery - two turrets, located on the northern and southern side of the chamber and temporarily surrounded by their own force fields.
Not if you don't look up JC!
Those two force fields will be disabled as soon as the conversation ends, so don't linger and turn left into the northern passage as soon as you can - or, if you don't like running around under fire (you will most likely have to get past Page at least once more before you complete the game) and can jump that high, take the Dragon's Tooth to them while staying close to the wall on one side and keeping Page's bubble between you and the turret on the opposite wall.
If you studied the map of this level you should know you are now close to one of the Area 51 Universal Constructors. The problem here is, thanks to the schematics obtained by JC from the Ocean Lab the UCs have been reactivated and periodically spawn new nasties to make our lives more unpleasant, with this particular one manufacturing spider bots. Luckily, there is a way of grossly alleviating the UC problem - but you have to be fast.
See the door straight ahead to the north? Wield the Dragon's Tooth, smash it and pull the handle located in the small room beyond to lock the Constructor down. All that's left is to take care of the spiders which did make it out, which you'll probably want to do by luring them to you (in fact, you most likely already have their attention!) and smashing them from the side of the doorway to reduce their ability to use their ranged attack.
Now, the obvious way to proceed from here would to go east take the nearby elevator down. However, since the moment JC enters the room below a massive explosion occurs which in addition to its own striking power releases a a lot of electric arcs all over the room, it makes sense to take a different route - jumping over the railing at its eastern end and sliding down the angled wall all the way to the bottom. Believe it or not, one takes less damage this way, especially with enabled speed augmentation.
Which says something about the force of the blast, doesn't it?
Once at the bottom, look just round the corner to the left to find a security terminal which allows one to release a friendly security bot, do so and you won't have to worry much about the menagerie infesting this zone - still, it won't hurt to lock down the second Universal Constructor which produces them and is just to the north from where we are, by repeating the procedure from the upper level. There should also be a wandering repair droid nearby if you are in need of a recharge. Ignore the door to the west, we won't need it.
Finally, the door next to which we have landed leads to the aforementioned dangerous area, but with more room to avoid the blast and a panel to disable the electric arcs. The room contains a terminal which is one of the ways of opening the door to the Aquinas Router (so if you want to get the Helios ending as quickly as possible you don't have to bother with anything else on this level), a hazmat suit, 2 biocells and a medkit in a cabinet, a multitool on a shelf in one of the corners; decide for yourself whether you want to bother with it at all.
It is worth mentioning at this point that there is a maintenance shaft on the southern end of the chamber which leads back to the upper level. Its door is locked - which can be considered a good thing too, as it keeps the transgenics out - but it can be entered through the crawlspace nearby (ignore the part leading north for now). There is also a lift on the outer wall of the shaft which is useful for getting off the ground level fast, assuming of course there are no greasels around which would be more than happy to spit at JC while he is stuck on a tiny platform. To complete the list of all the uses of the shaft, the DataCube at the bottom contains the second copy of the Aquinas router station code and, if you look southeast and down from the top, you will see a dead scientist you can reach by jumping down and who has the security password needed to release the friendly bots without hacking.
The Three Endings
From this point, each paragraph will be tagged in accordance to its relevance to each possible ending of Deus Ex: D for destroying Area 51 as suggested by Tong, H for merging with with Helios and I for killing Bob Page for the Illuminati. With the exception of actions in paragraphs marked with an asterisk (*), which cause the game to end and therefore are mutually exclusive, it is entirely possible to do what all of them say, even if just to listen to what each of the three sides says when you do something helping another goal; the order of the paragraphs assumes such an approach. If on the other hand you want to be more specific, all you have to do is figure out the shortest paths between locations described in subsequent paragraphs for your path of choice.
[I] The final MJ-12 UC is located on the mezzanine level of this chamber, spawns grays and as it happens is located very close to one of the blue-fusion reactors powering up Page's force-field bubble. Too many grays is bad news, so it would be prudent to lock that Constructor down as quickly as possible. Here is how to do this. Run to the southwestern corner of the large room, trying to avoid too much attention of any marauding transgenics but not bothering too much about them either; if you released the friendly security bot you should have little problems doing that. Head all the way up the stairs you find there (there is a small room on the way, containing another repair bot and, round the corner to the left, a cabinet with the code to the coolant control room - which we don't really need, as there is a better way in - a biocell and two flares), and leave the radiation room via the door to the north. At this point run REALLY fast (speed augmentation can help a lot here, if you can turn rapidly at the speed it offers) through gray-infested catwalks, keeping left, until you've reached the entrance to the UC chamber to the west. Unless you used cloaking or thermoptic camo on the way past the grays you'll probably want to work the nearby security terminal to release the second friendly bot before they catch up with you, then lock the UC down following exactly the same procedure as with the previous two. Take care of the remaining grays any way you see fit.
[I] With the Constructor and the grays taken care of we can start disabling the blue-fusion reactors. The closest one is on the southern side of the catwalks in the centre of the room and, with the grays gone, there are no distractions around to keep you from figuring out the missing digit of the deactivation code. The second on the other hand is in the southeastern corner of the radiation room, so you'll probably want to know the whole code before you get to it; there is also a pair of tech goggles on the floor nearby under the large devices in the room, if you're not tired of collecting the worthless things yet. The third one - you've probably already seen it, as it is located on the eastern side of the central structure of the bottom level of the large chamber. The fourth and last generator is on the top level and we will take care of it later.

[D] The coolant control system is located past to the door to the west from the second Universal Constructor. Unfortunately this is also the area where the few remaining MJ-12 troops have established their final bastion and while with his current level of augmentation it would be entirely possible for JC simply to rush in and finish them off even without ranged weapons, where would the challenge in that be? Therefore, let us take the stealthy way in and accomplish our goal first, leaving the troopers to be killed, knocked out or simply ignored for later. There is a locked door right next to the blue-fusion generator at the bottom level of the main chamber. You can get inside that room by taking the crawlspace to the north from the maintenance shaft, then again smashing the door will work just as well. Either way, open the hatch you will have found by pressing the button on the wall and jump in.

Well . . . yes, it took you this long to notice??
[D] I really hope MJ-12 use water in their cooling system... Swim to the first vertical tank (more on the subject of useless items: the corpse floating on the surface in the second one has tech goggles and there is a LAW at the very bottom underneath) to find a ladder out and, at the bottom, a dead mechanic with a biocell and a multitool. Take a peek out to make sure the commando patrolling the area is not looking in this direction, then climb up and walk as far to the west as possible on top of the fence to get out of earshot and closer to our target. Quietly drop down to the floor, sneak over to the control panel to the north and shut it down. Heh, you would imagine Page would stop sending JC messages every few seconds and actually send one to his troops to alert them to our presence... Leave the way you came by using the speed aug and/or nearby pipes to get back into the water.
[D, H, I] At this point we're pretty much done with the lower levels of the big room and almost at the end. Head back up to the upper level by taking either the maintenance ladder/lift to the south or, having disabled the arcs of electricity, the elevator to the northeast.
Alternatively, you could finish off what you started by taking out the remainining MJ-12 troops!
[I] Time to take care of the last blue fusion generator! Take a catwalk west from the top of the maintenance shaft at the southern end of the upper level, then north and down a short flight of stairs; you can ignore the box on the way and the crates under the stairs, as they contain nothing of interest. The generator is right there... and what do you know, shutting it down prompts Bob Page to release two hostile security bots right behind us. Since there is no way around them, either use thermoptic camo / radar transparency or power up and smack them with the Tooth round the edge of the doorway you are in. You could also try using the speed augmentation to run past them and/or jump over the railing to the east to bypass the short flight of stairs, then again the area is rather cramped so you will probably get a bit shot up in the process.
[I, H] Return to the east-west catwalk near the first Universal Constructor we have locked down. From there head east and round the corner to the south.
[I*] Go through the doorless passage in the western wall by the router door into the glass-walled cabin of infusion control. There is a button on the panel there, give it the usual treatment. Boom! No more Mr. Bobby Page.

[H] With the router room right next to infusion control, let's go there next. Once inside, use the med bot if need be and proceed with following Helios' instructions - press the buttons on the two units on the sides of the room, then use the console on the far wall (the AI will give you the password, but if you don't want to wait for it to finish talking you can just hack it).
[H,D] Retrace your steps to Level 3 and up the stairs to the area with the late two grays, a ladder up and a side passage leading to the integration chamber.
[H*] Head back to the integration chamber and witness the birth of a new, improved JC Denton.

Isn't that basically the whole point of organized religion?
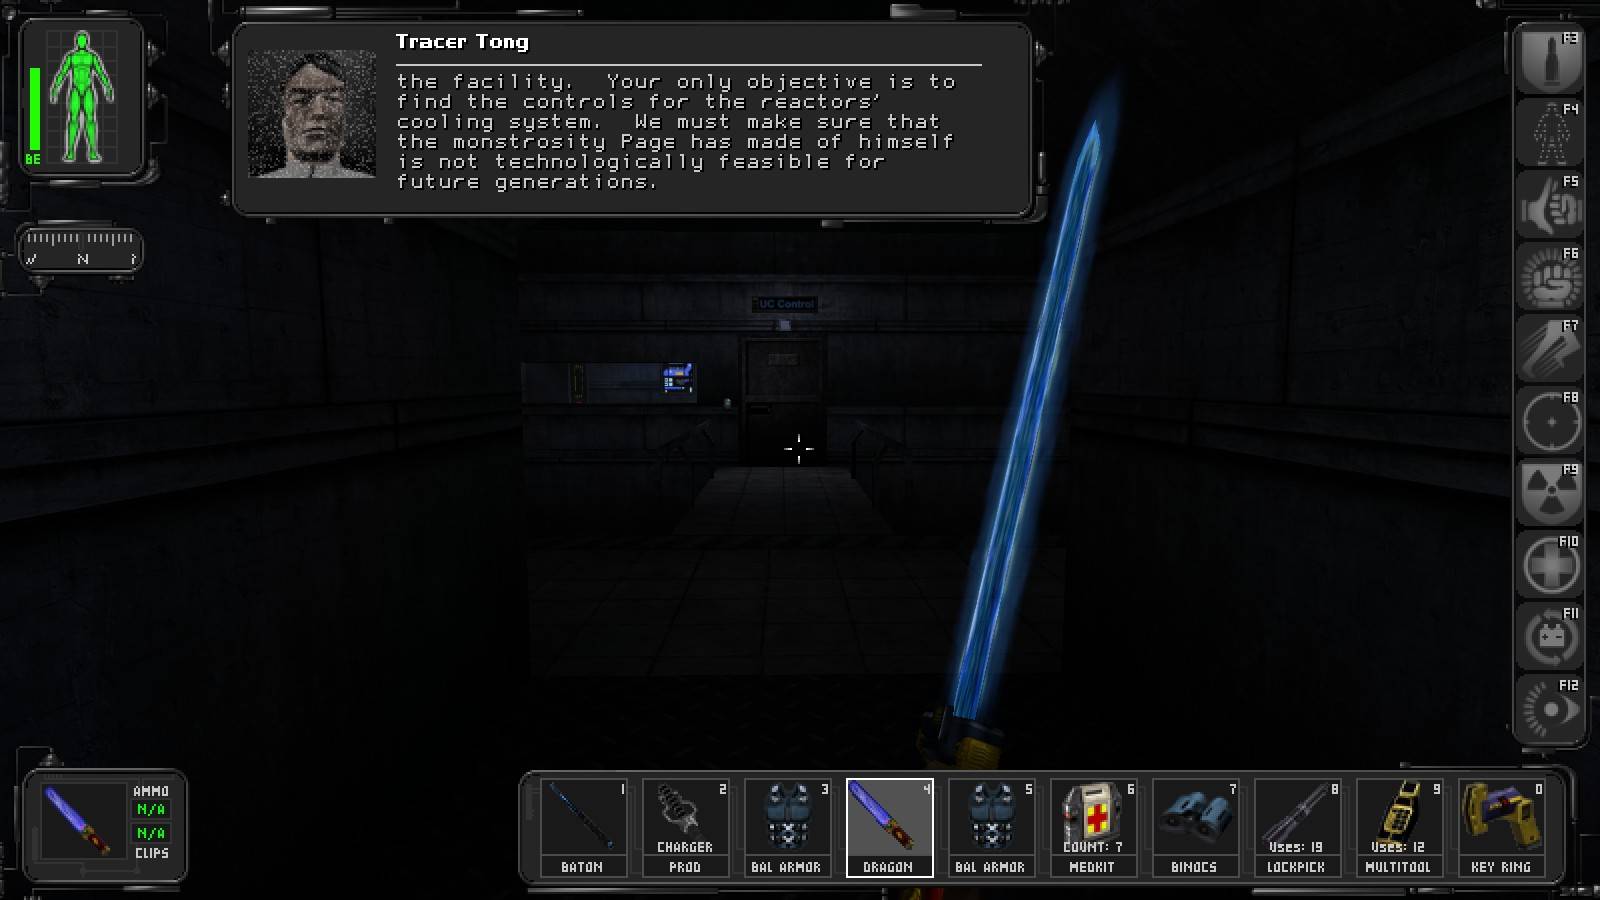
[D] Take the ladder up, go out of the room to the staircase, walk down and head right to the reactor room. The control panels Tong wants us to operate are right at the bottom of reactor pits, so one of the hazmat suits we have found all over the place will be very useful at this point. Also, note that the two pits are connected by a tunnel so there is no need to climb up and down, wasting time and possibly exposing JC to grays, if they are still alive. With both antimatter reactors enabled leave the hot zone, head to the control room and start toggling the safety interlocks - but keep in mind that the tech will turn hostile when you've flipped the third one. As it is not possible to engage the reactors with the mechanic still standing, dispose of him.
[D*] Once the interlocks have been disabled press the button on the panel and see how far back out you can run before the final movie sequence kicks in.

The Last Stand of MJ12 Troopers
So you want to make a point, eh? Who can blame you... Let us begin right after shutting down the cooling system for Tong.
Quietly head back south from the control panel and along the fence to the east in order to stay out of sight of the two soldiers watching the stairs in the pit to the north. The room to the east is the entry hall, with the large door on its end leading back to the big chamber. As mentioned earlier, there is a commando patrolling the ground level of this room; you should have no problem using the scenery to stay out of his sight until it's too late.
Speaking of too late, noticed anything unusual about the floor here? Even if you haven't, should you feel inclined to give this last commando a special send-off you can sneak past him to the northeast and, as the fellow approaches the centre of the room, press the button located on a panel near the dead mechanic to temporarily have the passage floor spew flames. Now, direct your attention to the catwalk above. Listen to or keep an eye on the soldier there, as soon as he turns west take the ladder up. Dispose of as you see fit. Follow the catwalk to the west to find another patrolling trooper, then further ahead and down you end up behind the backs of the two soldiers mentioned earlier on. That's it!
Items to be collected in this area:
- entry hall, shallow pit to the south: a medkit in crate, 2 prod chargers, binoculars, a biocell and a multitool in the cabinet
- entry hall, dead mechanic by the flame control button: a lockpick
- entry hall, dead mechanic on top of the big yellow device to the northeast (must be jumped onto from the catwalk): a biocell, a multitool
- entry hall, under-the-floor machine pit (can be entered by an air duct from near the ladder leading to the two troopers near coolant control): a multitool