- Home
- Walkthrough
1. New York 3. Return to New York Liberty Island Return to Hell's Kitchen The Warehouse Assignment The Wall Cloud, The Graveyard Ambrosia, Airfields, and Apostasy 4. Paris The Insurrection Finding Nicolette The Great Escape Finding Morgan Everett 2. Hong Kong 5. Southern California The Helibase Vandenberg Deactivating the Kill Switch The Gas Station Versalife The Submarine Base The Missile Silo Area 51 - Strategies
- Extras
Vandenberg
Introduction
If you didn't come to my site to read about scuttling the freighter, you're here to read about reclaiming Vandenberg! There is quite a battle ahead of you with the robots, especially if you don't enlist the help of the robots that can be turned over to your side. The biggest robots move so slowly that you can easily circle strafe them, just fire up armour before they blow, but the more agile ones are extremely dangerous. Once the robots are down, there are a few spider robots underground to cause us trouble, but fire up the combat strength augmentation and take them out before they can drain your bioelectricity and you should be all right.
We have only two invincible AIs in this mission, Sam Carter, and Gary Savage.
The Siege of Vandenberg
This is where you may feel the most sorry about playing melee-only - with the wide stretch of room the command building offers it is a veritable sniper's paradise... Oh well.
The one time where we can be the sniper instead of the sniped and we can't enjoy it!!
Have a few words with the scientist who has come to welcome you and head downstairs. Pause when you've reached the small landing with a railing on the left. Since both the sound and the light visible here suggest there is a camera one level down and it is quite obvious it is set to watch the stairs, simply jump over the railing and quickly take cover behind the door; it will also help if you activate the security terminal in front of that door, just make sure you get out of sight before it goes on. The troopers nearby may have heard you landing, but if you don't make more noise they shouldn't come to investigate.
In the room you are now in there is a medkit in a crate up in the rafters, but it is on the side the two troopers are guarding the elevator, so you'd better carry it away before smashing it open. As for going further down, you may get over the rafters to the elevator shaft (for which JC receives 100 skill points) or simply rush the troopers, but both scenarios will probably involve cloaking if you don't want to alert the two (yes, they can see you up there). There is a better option, which has the additional advantage of taking us close to one of our local destinations: the red-lit shaft by the ladder to the rafters.
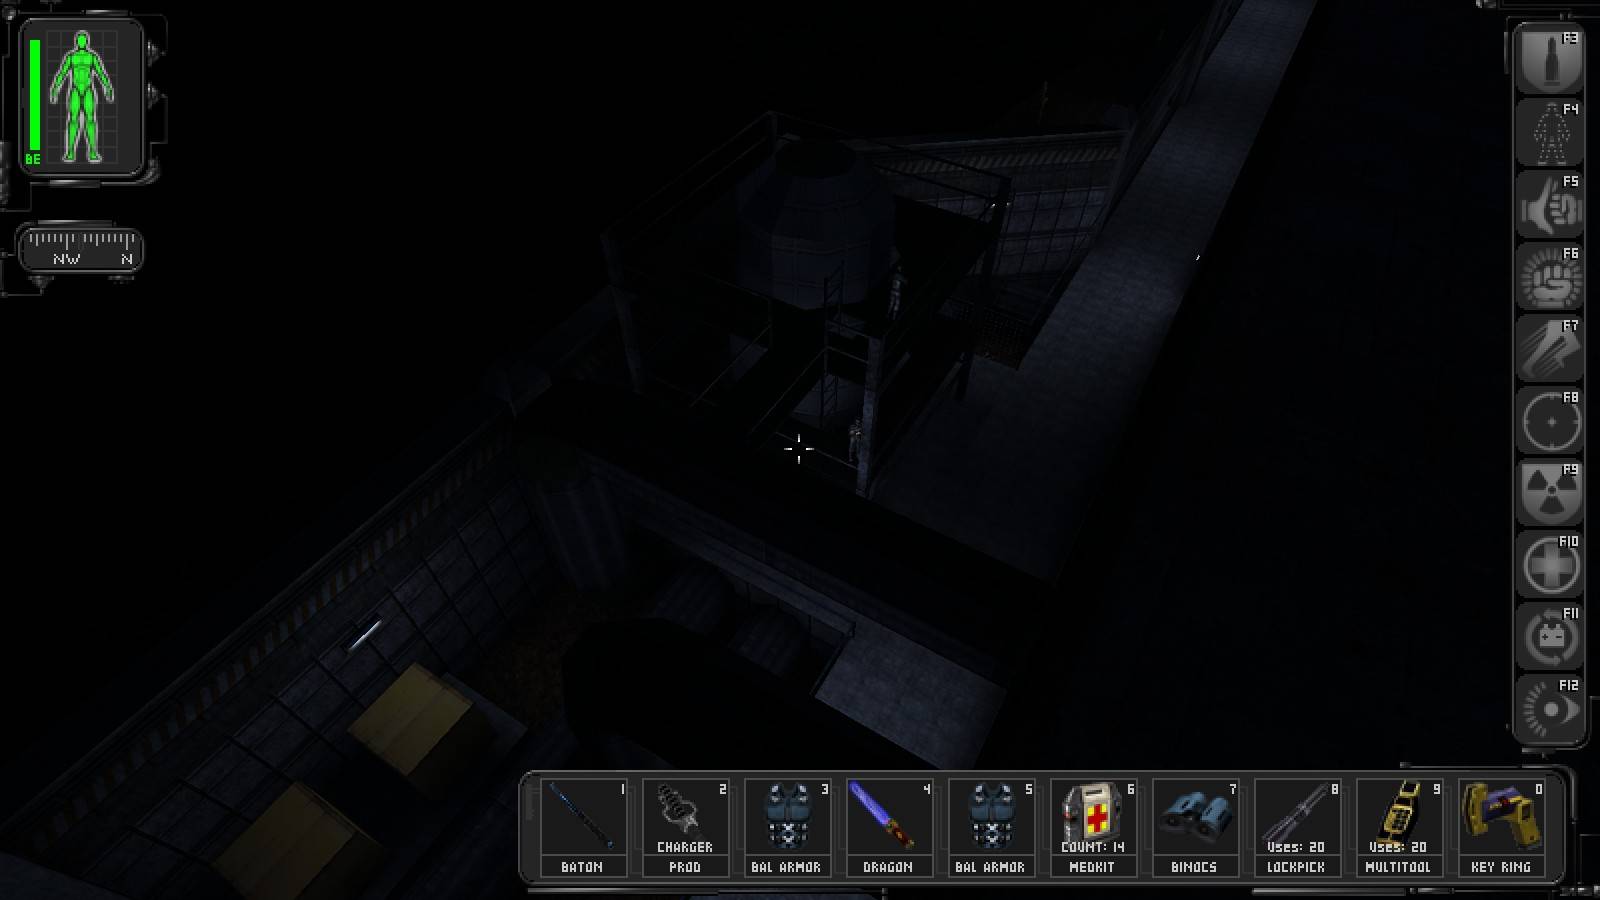
While it may look dangerous, jump down gradually using light fixtures and ledges for support and you will make it unscathed even without enabling the speed aug. You will probably alert some more enemies making the final jump, but they can't reach you at the bottom of the shaft so let them calm down while you collect the goodies (a rebreather and a HazLab storage key). Eventually, leave through the grate and you will find yourself right next to one of the power devices. Turn it on even if you aren't about to release the bots, there are quite a few skill points in it for JC.
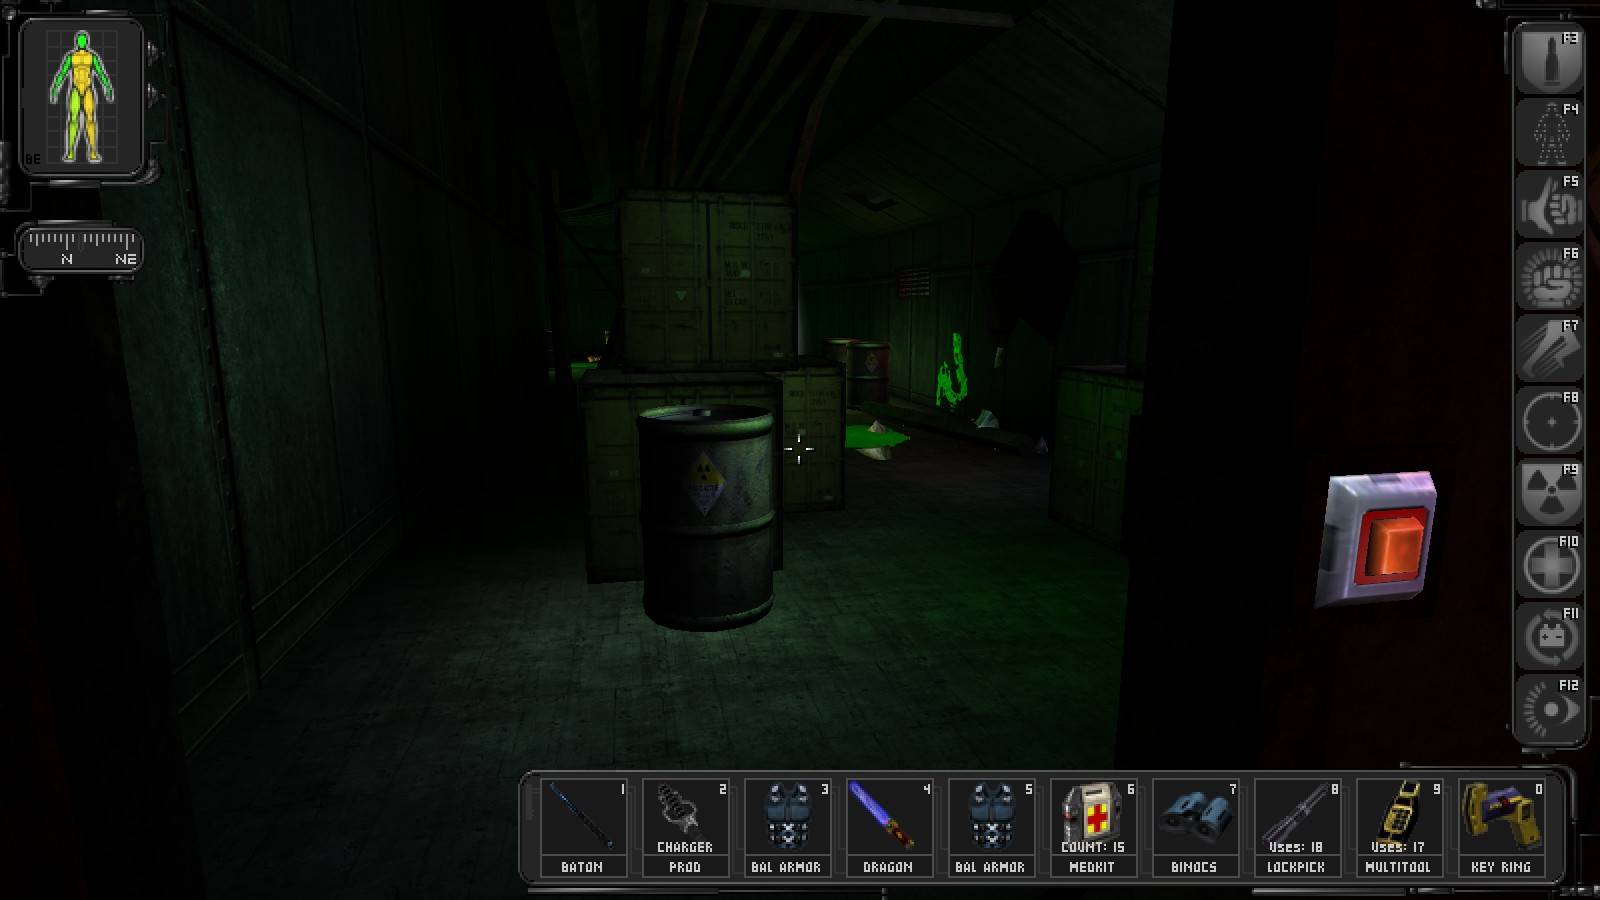
A few steps away from the power units there is a smashable cabinet which suprisingly does contain some useful stuff - two medkits, a biocell and a rebreather. Further ahead and up the stairs JC will find two MJ12 soldiers: chances are they will be patrolling the catwalk over the hall, then again if you managed to be quiet in the shaft they may be slacking off on the couch right by the door - but either way they are in our way and must be punished. There is also a box with a suit of armour nearby, but be careful not to get seen by the fellows flapping their jaws downstairs.
Though if you take too long to make your move they may not be slacking off for long!
Finally, you have probably noticed the soldier and the scientist in conversation on the opposite side of the catwalk - walk up to the guy (cloaking helps a lot with the last few steps, but rushing the fellow will most likely work too) and get rid of him. Why? There seems to be a bug in scripting, resulting with Dr. Maxwell becoming completely unresponsive - not to mention blocking some doorway - if she starts fleeing.
TNT -- the woman can't even spell her name right, no surprise to me she's the buggiest character in the game!
She may still do so, mind, but at least standing next to her while taking the trooper out will trigger her conversation with JC, one of the results of which is us learning the local security login. By the way, now it may be a good time to take the elevator back up and thus approach the two troopers from the direction they least expect it, then get on top of the elevator to collect those 100 points.
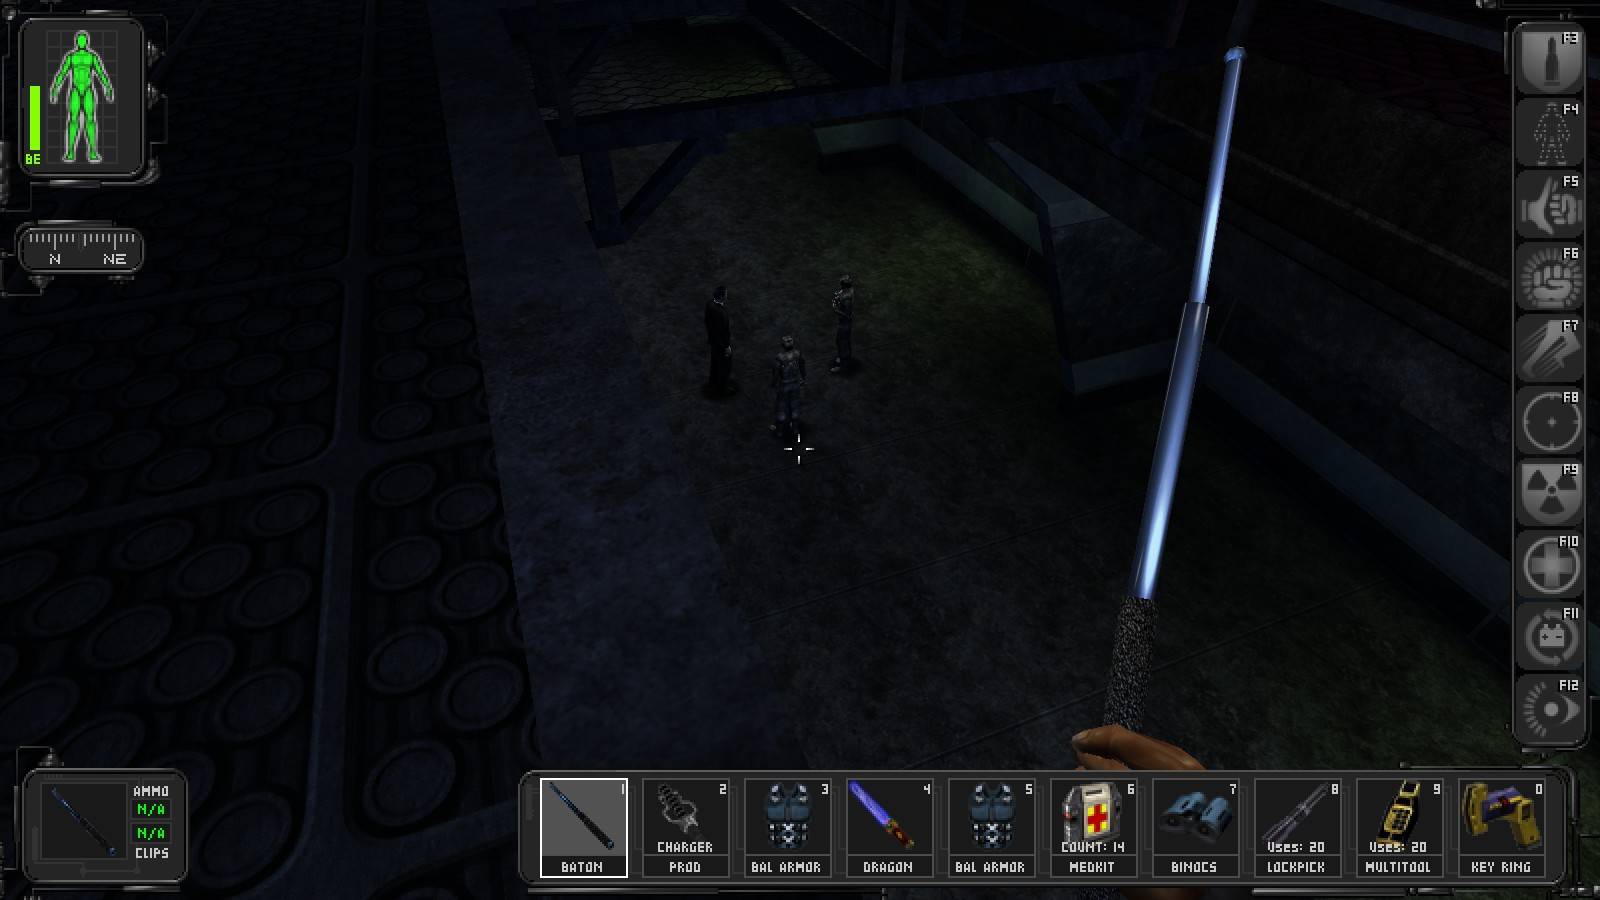
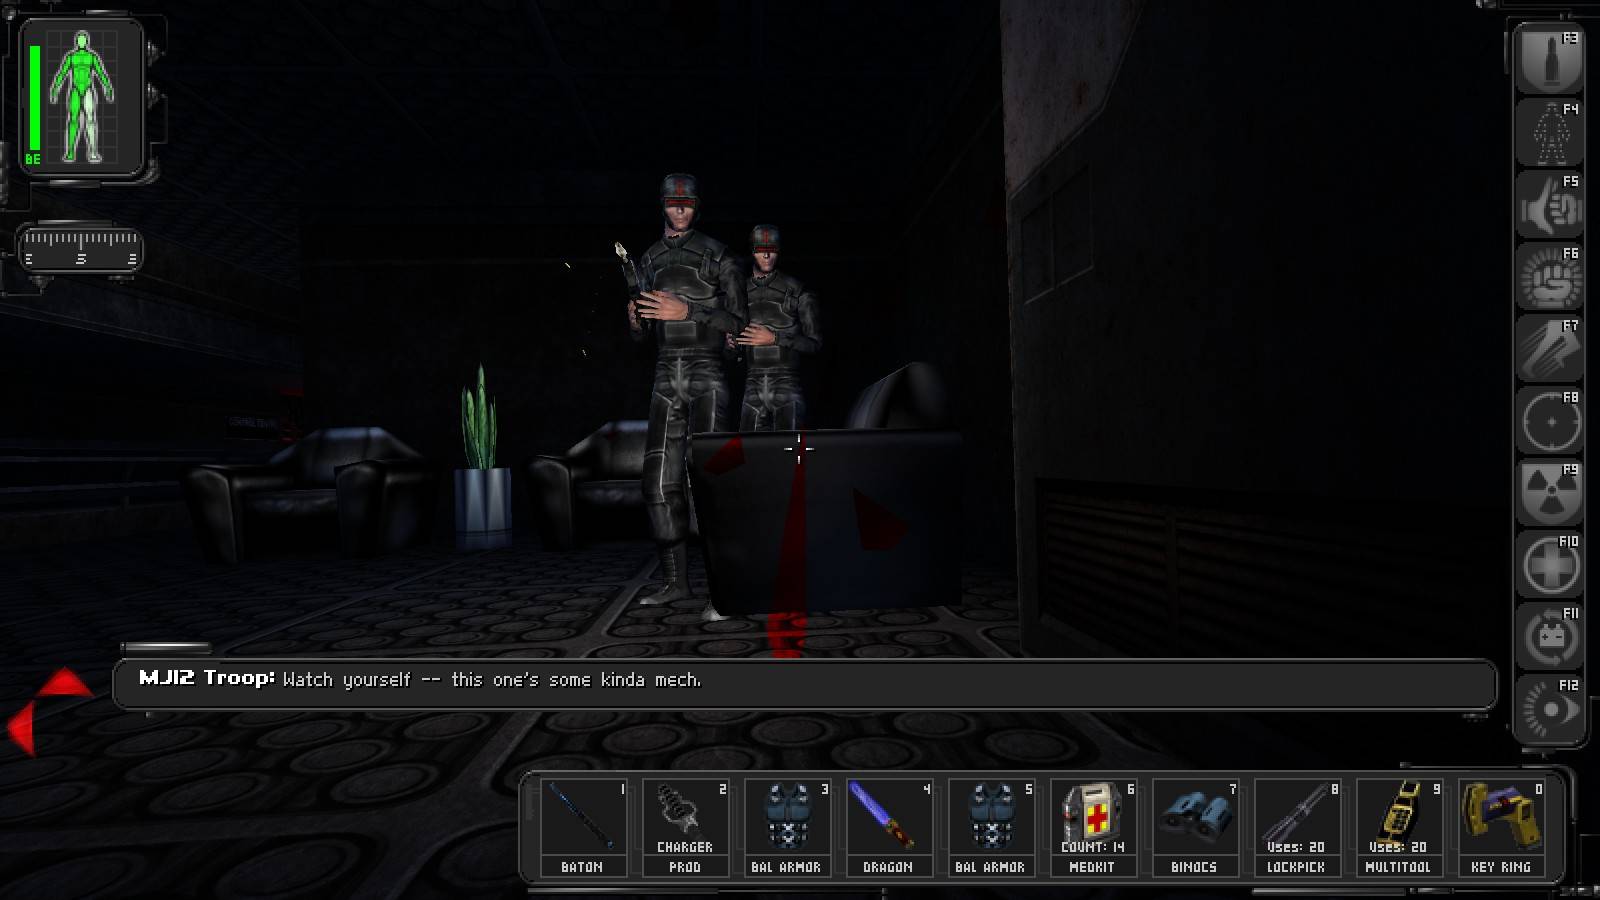
It seems we have been left alone with the MJ12 strike force commander (the MiB) and his escort... Obviously, it is next to impossible to take all three of them out quietly; luckily we can always count on the monochrome boy to explode. Sneak up on him, strike, watch the fireworks from safe distance and mop up the survivors. One very important thing to mind here is the TNT crate on a push-cart not far from the guy: push it away if you don't want to take advantage of it or push it towards the trio if you feel vicious, but don't leave it where it is or its victim will be you.
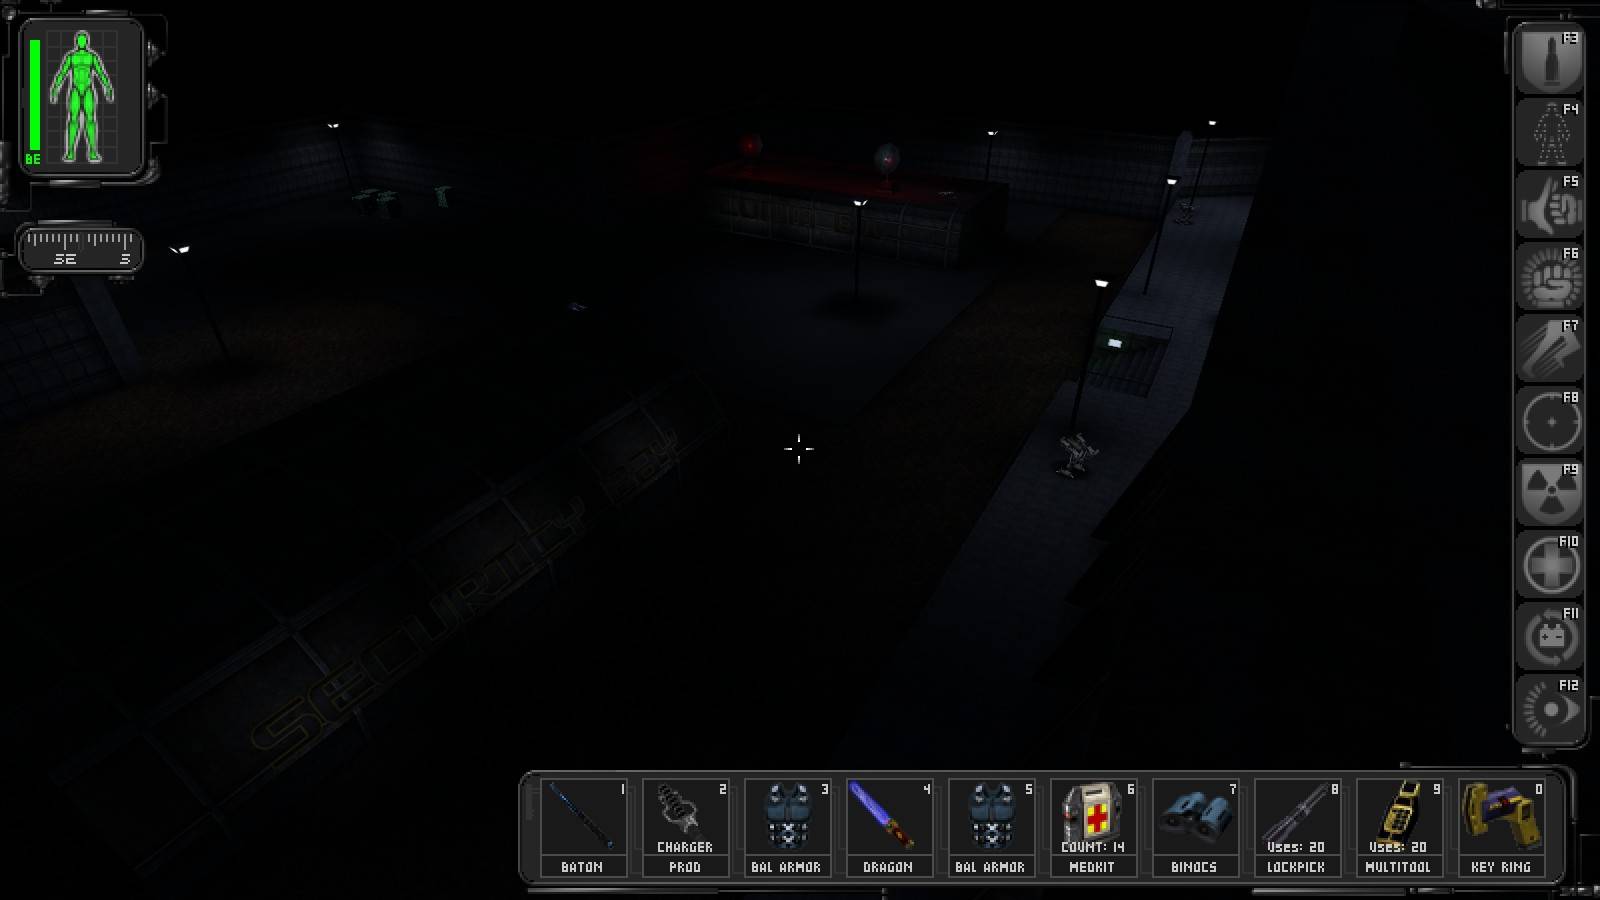
Check out the security terminal by the exit to disable cameras in the lobby, then head to the main entrance. Leave the bots alone for now, in fact make sure they do not see you, but at one or two of the moments they aren't looking in your direction you can safely dispose of the commandos - somehow they seem completely unaware of each other's presence and don't react to their comrade falling over all of a sudden. Now, go back inside, up the stairs and to the railing past the conference table. If you move close to the edge you will see two soldiers standing guard downstairs - let's make the remaining few moments of their lives interesting by jumping down on them.
Incoming!!
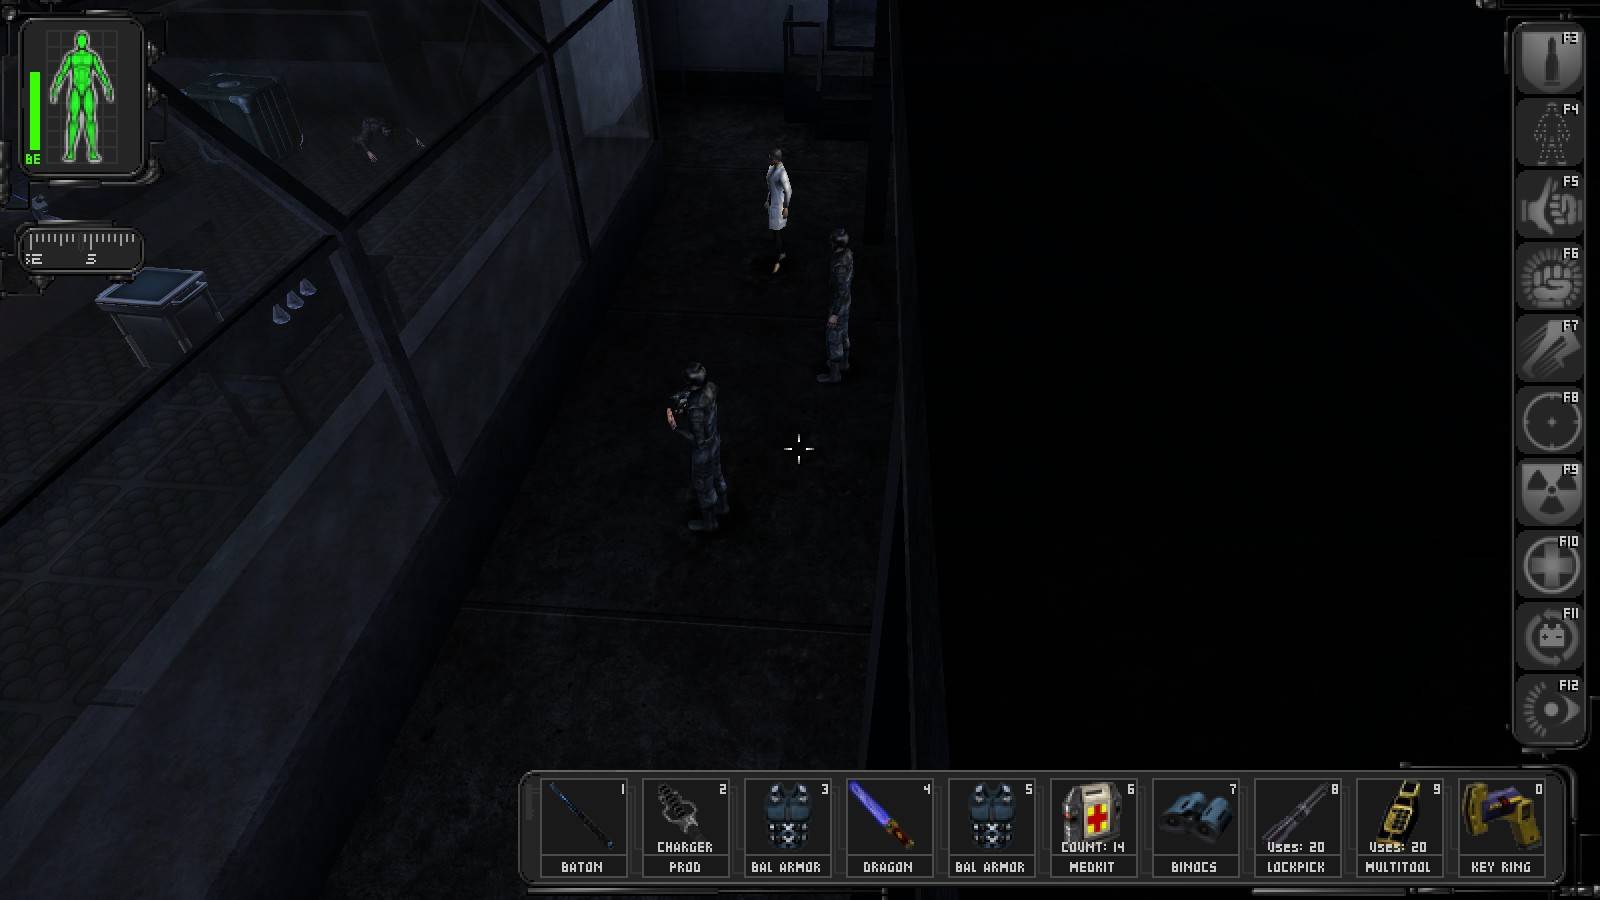
Talk to the scientist to get the local security code again, then peek inside the nearby storage room and chat up the lab assistant for a maintenance tunnel security login (...and now we know where we'll be going soon) and an EMP grenade. Hey, didn't the scientist say her assistant was taken away? I guess next door is a considable distance for nanoengineers... Also in the storage room you will find a biocell, a multitool, 4 bags of soy food, a medkit, 3 flares and a hazmat suit.
Take a few steps and enter the flooded laboratory. The water is electrified, you may disable the power using the panel the sparks are coming from but you may jump over furniture just as well, or even turn on some relevant augs and/or a hazmat and just plow through. One thing for sure, you should visit the room - there is quite a lot of goodies here: 3 biocells, a multitool, a medkit and a hazmat suit in the smashable cabinet ahead from the entrance, along with a suit of thermoptic camo, a medkit, an augmentation canister for Cloak / Radar Transparency, another hazmat suit - and 150 skill points for getting to the latter. On the other hand, the terminal by the hazmat doesn't grant JC access to any new subsystems and is therefore not important.
I'm sure we've all been in this guy's shoes at some point or another in the game!
Now, as you have probably noticed by now the passage back to the lobby is blocked by security beams. Don't bother working on the panel, it only disables a few of them. Instead, either simply cross the beams and wait for the alarm to turn off once you're past, or push the medical bot hanging out in the area and sneak through while it's blocking the beams. Both approaches take some time, so it's up to you. Once you're past, look for a vent to the left past the desk and smash the door you can find inside to obtain a somewhat quieter path outside. Quieter, but not entirely quiet - there are two soldiers guarding the tall structure to the left, so be careful.
Luckily each of them patrols a different level of the structure, so they can be taken out quite easily (just watch out getting off the ladder). By the way, see the fenced-off pit just ahead from the door? Go there if you want two more biocells, it accessible through a vent just left of where you are now. Anyway, the second and last generator is further to the left, in the corner. Proceed east from there, get rid of the fellow patrolling the area, get a medkit from the red-lit pool of water, then carefully approach the front of the building, jump down to the ground level when no bots are watching and follow the wall until you are close to the security building. Get across to the door, press the button and get out of sight. Rummage around the building to acquire a prod charger, a lockpick and a biocell.
If you want to release the bots, which will probably be the case given how hard the security bots are to defeat with melee weapons due to their abnormally high turning speed, do it now. Afterwards take care of the two troopers by the exit from the compound in whichever way you see fit, then power up all the attack and defence augmentations. Time to kick some robotic butt! Start with the military bots (preferably with the one circling security first, the one by comms tends to stay uninterested in what's going on in the area as long as you don't show yourself to it at close distance), as they are both more dangerous if they hit JC and easier to destroy: simply approach one of them keeping clear of the guns/launchers and keep hacking while circle-strafing. If you can read or assess their condition and have released the friendly bots, you may want to pull back just before the final blow and let the latter deal it to avoid the explosion. With these two down, either take your chances with the other two or let your bots take care of them. The lockdown has now been lifted and only the lone crossbow-toting trooper to the north of the main building, guarding a crate with a medkit stashed by the ramp there, keeps the base from being fully secure.
TNT -- unless you activated the security bots and they took him out for you, that is!
Why thank you!
Since we can now get to comms, do so. Chat to the scientist, then raid the place for 3 flares, a medkit and 2 biocells in the storage/hatch room, 2 cans of soda in the rec room, a DataCube with the tunnel security login in the open locker there and a multitool and an augmentation upgrade canister in the leftmost locker (locked, but can be smashed open). Last but not least, the scientist carries a tunnel access key - what it unlocks however I have no idea. Make sure you have at least one rebreather on you, then go down into the tunnel.
It seems you have a spider problem, mister!
We are welcomed in the tunnel by two spiderbots. There are quite a few hiding spots there, so you should have no problem taking them out. Don't go any further if you reach the terminal on the right wall there is a camera and a gun further down; you will be able to shut them down with this terminal after you get rid of the spiders. Also, a few steps closer to where you came from there is a niche with a wall box in it - one of the buttons inside will open the blast door at the end of this pathway. Press the button, then, go to the end (ignore the closed door to the right, for now). There are some beams there which will reclose the door and summon two more spider bots from beyond. Although it's fun lobbing a grenade into the elevator shaft and having the bots destroyed or disabled before they've even come up, it is out of the question this time; it is also tricky to jump over these beams. Therefore, unless you feel like tackling the bots simply disable the beams with the nearby panel.
There are three exits out of the small room past the blast door: the way ahead looks kind of unfriendly and will become even more unfriendly if we enter there, so unless you have good environmental protection and/or in dire need of a multitool (it is on the dead tech), don't bother.
Only the desperate or the masochistic need apply!
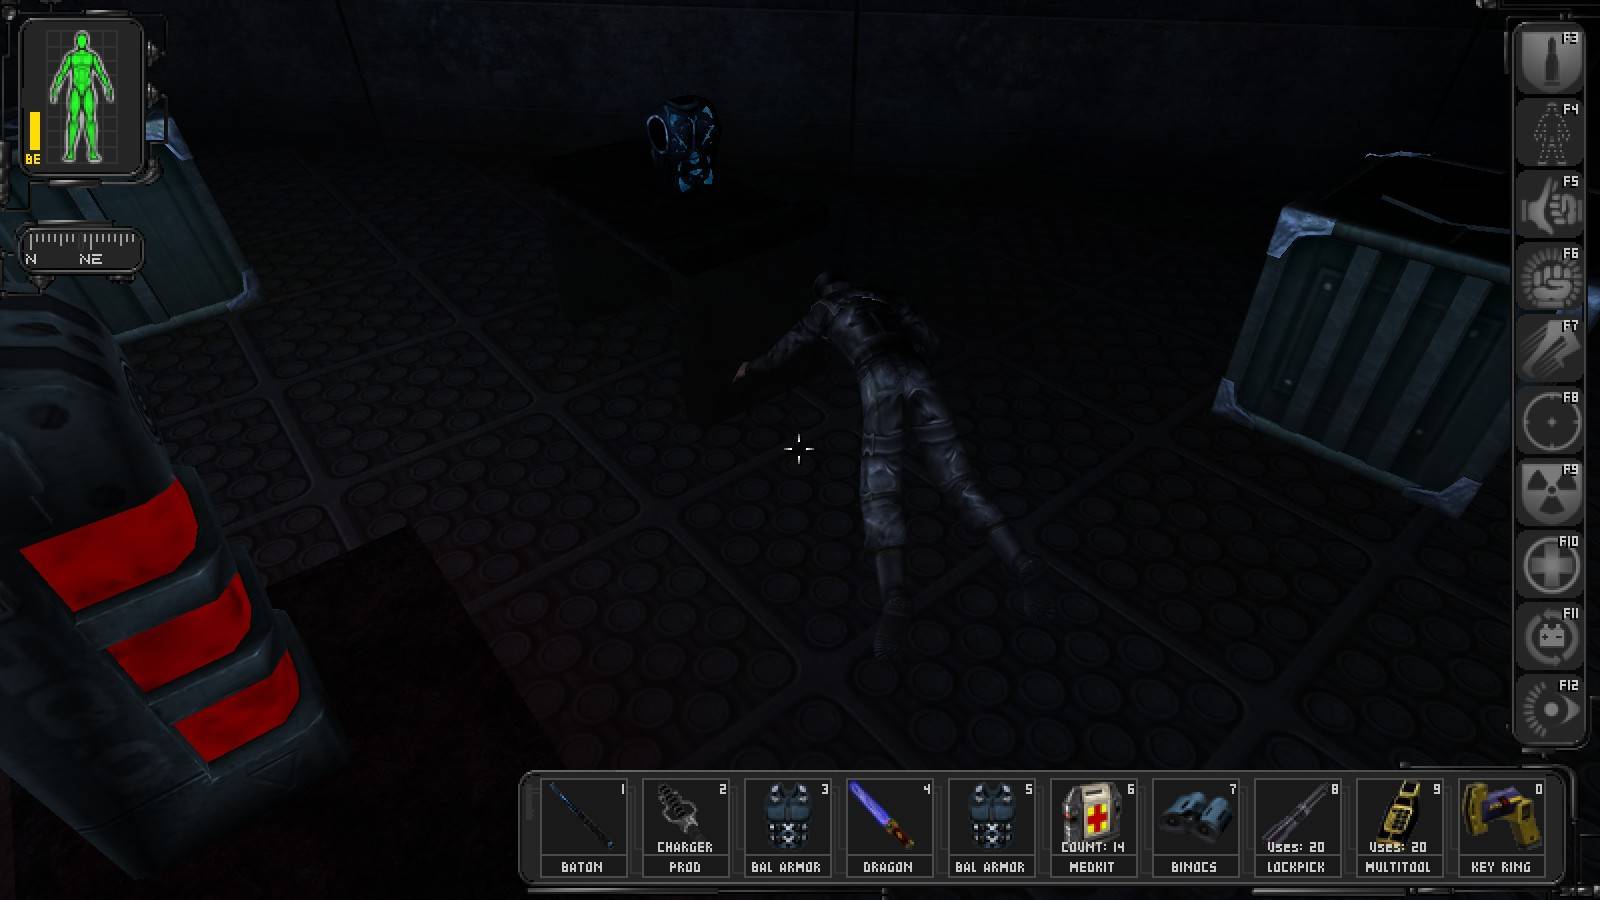
On the other hand, the way to the left is locked. That leaves us the vent to the right and that's where we shall go - all the way to the grate in the duct floor which JC can open, then down. Whoops! Someone has made a serious mess here...
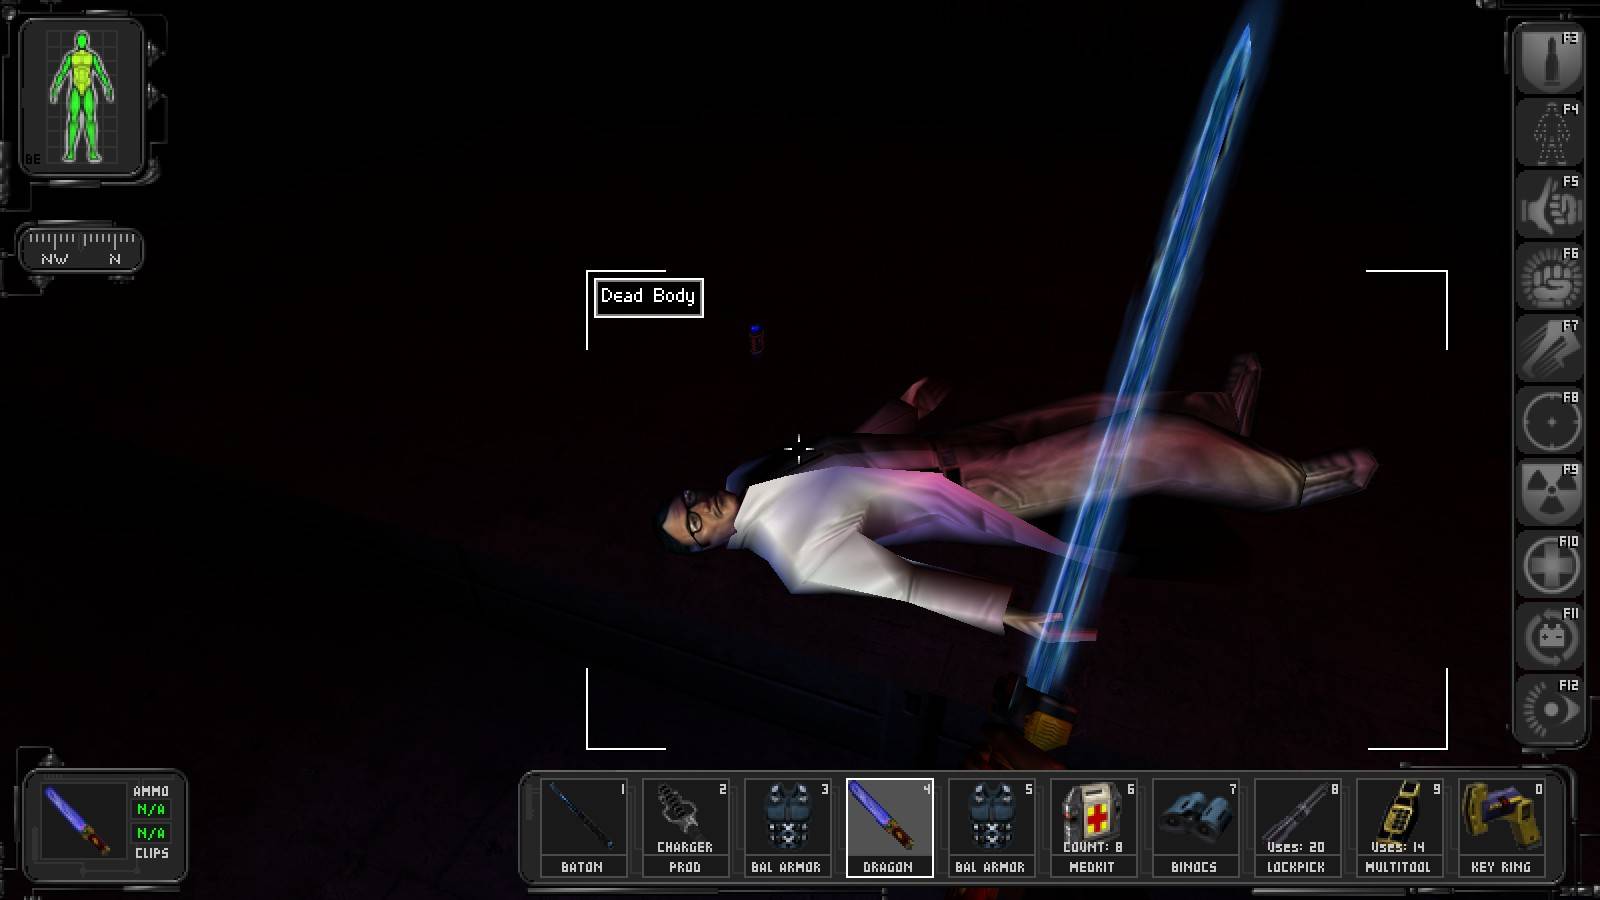
Swim over to the nearest corpse and although he has nothing in his pockets, we can find what used to be in there - a maintenance key - on the floor under him. Looking good... Other goodies in the room are two biocells on the second corpse and a medkit in a crate (deeper into water, near the southwestern corner of the chamber). Exit via the flooded corridor and you will soon find yourself in a staircase, just a few metres down from air - which of course means we will swim down. Activate the rebreather when your oxygen level drops too low.
There is a locked door at the bottom of the staircase which we can open by bypassing the keypad (make sure you don't float away from the keypad while working it - it will waste your multitool).
TNT -- the simplest solution is to get yourself underneath the keypad so you'll stop floating away from it.
Explore the rooms beyond for a lockpick, an upgrade canister (on the dead technician) and a suit of armour. Now go all the way up, use the button to open the door we ignored earlier from the other side, get back into the small room, unlock the left door with your new key, climb up the ladder, get onto pipes and safely cross over the hazards. Get off on the other side, right past the door below (not that you really have a choice...).
Oh boy, more spiders. Luckily they are deaf, so if you stay out of sight you should have no problems jumping down ahead and attacking the one at the bottom while it's turned away from JC. What you should watch out for is the radioactive barrels, don't stay too close for too long. There are two lockpicks and a medkit there, but make sure you pull the supply crates off their shelves before you smash them or you may have a bit harder time reaching their contents.
Exit via the doorway, walk up to the lift control room (there is another medkit there) and raise the platform to the top level so that you can cross it. All that remains here is run through the beams in the nearby corridor (you should be able to get out of the turret's field of view before it hurts you, unless you opened the panel concealing it yourself - so don't), and possibly get two medkits from the bottom of the staircase. Go all the way up, wreck the final spider bot on the other side of the platform, get the key from near and the multitool off the dead scientist (it really sucks when one fails having gone that far, doesn't it) and climb out of the tunnel. Grab the nearby lockpick and head to the command centre.
Now that had to be extra painful, getting that close to the exit . . .
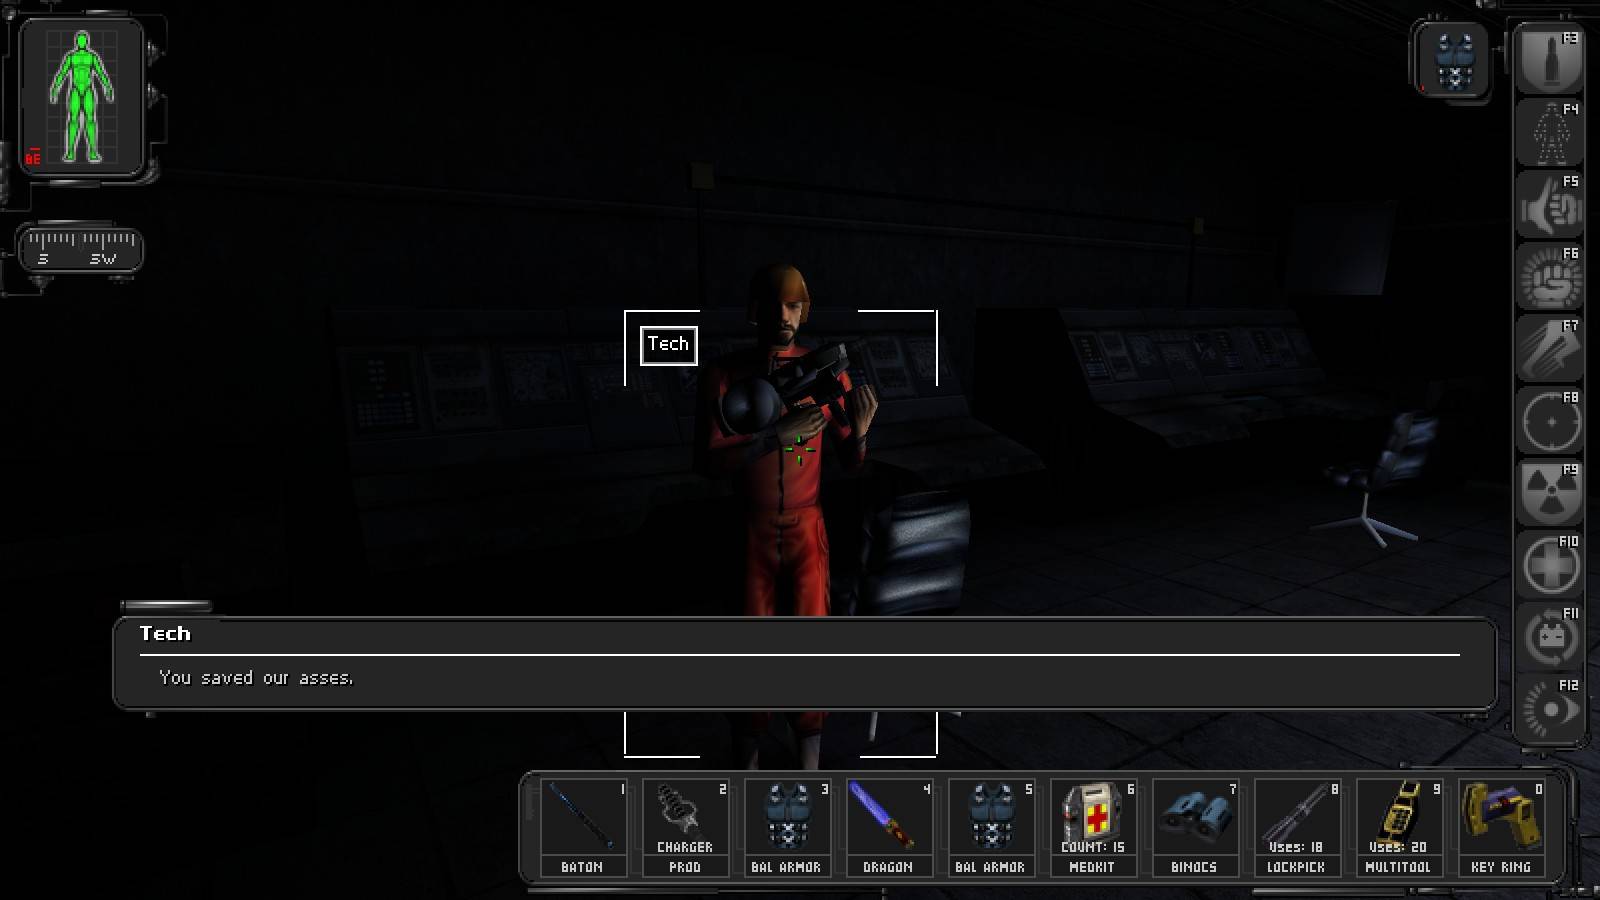
We're in Command
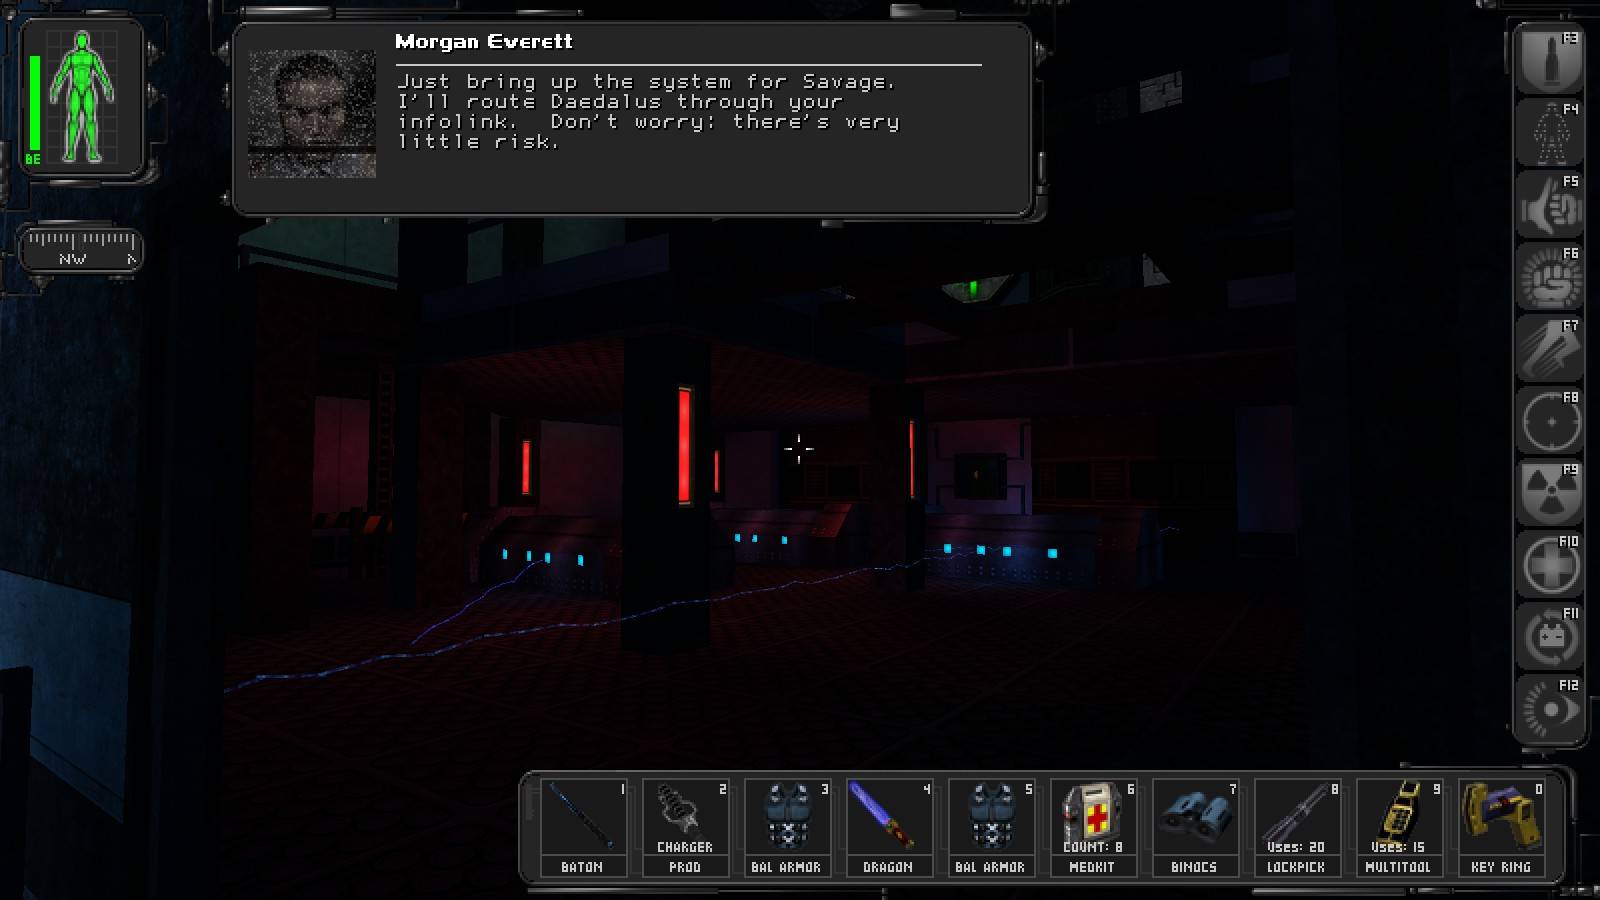
Head down the stairs and talk with Carter, then Savage. A computer problem? No shit! Head to the door Carter is standing by, but don't go too far inside - instead, nick the key and the biocell off the push cart and get out again. The key you have just got opens the door to the server room on the top floor, where in addition to a biocell and a multitool we can find a weak-looking fan JC can quickly convert into a passageway (note that a power smash is necessary to break both the blades and the support structure). Go through, jump onto the lift platform one floor down, quickly run to the computer console and activate the uplink.
TNT -- I don't know what the hell happened, but on my screenshot run I was utterly unable to power smash the structure blocking the fan. I have no idea why, it was the original game, but I found myself forced to go around it and burn through a heap of multitools taking the long way around.
Oh my, another mess. Who could have guessed? Go back to Savage, listen to Bob Page's message and talk to the scientist, then to Carter again. That's it! Go outside to the main gate of the base, talk to Tong and take off to head to the gas station.