- Home
- Walkthrough
1. New York 3. Return to New York Liberty Island Return to Hell's Kitchen The Warehouse Assignment The Wall Cloud, The Graveyard Ambrosia, Airfields, and Apostasy 4. Paris The Insurrection Finding Nicolette The Great Escape Finding Morgan Everett 2. Hong Kong 5. Southern California The Helibase Vandenberg Deactivating the Kill Switch The Gas Station Versalife The Submarine Base The Missile Silo Area 51 - Strategies
- Extras
Versalife
Introduction
We'll be dealing with the rest of Hong Kong here,from the end of our first visit with Tong straight until we leave. Check the amount of skill-points you have now, you can probably upgrade your low-tech weapon skills to Master level. There's not much to cover, this won't be terribly difficult unless you do something crazy.
Getting Lab Access
From the front door of the compound, we want to head back towards the Lucky Money club, which is to the west. Follow the signs back towards the club, then, when you go down the stairs to the mall, stop at the doors part way down. Use the code Tong gave you, then enter the elevator and take it up.
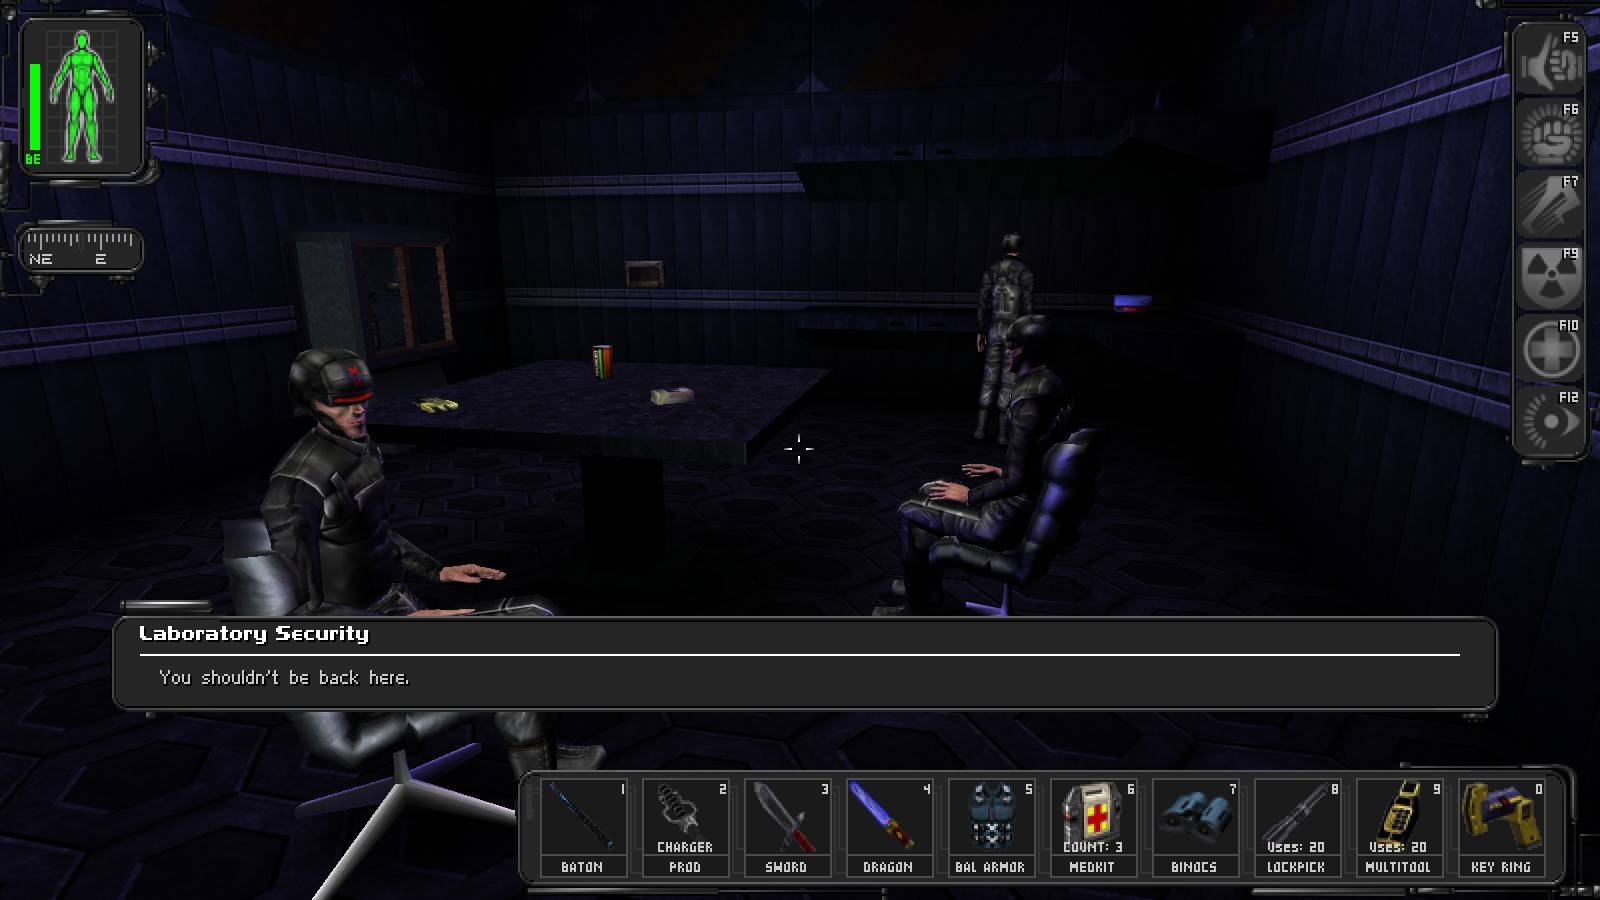
When you arrive on the upper level, it's time to clean the place out. There's a guard to your left as you leave the elevator, try prodding him in this nice, out of the way area, there shouldn't be any witnesses. Head west and up the stairs, then talk to the receptionist if you want. Go to the man standing by the windows, and prod him. If you can, grab him right away and hide the body before dealing with the secretary. If not, right afterwards, race over and prod the secretary. The guards in the room with one way glass windows will probably sound the alarm, and when they do, activate your ballistic protection augmentation, because all hell's about to break loose. Take out anything that moves on the first and second floor.
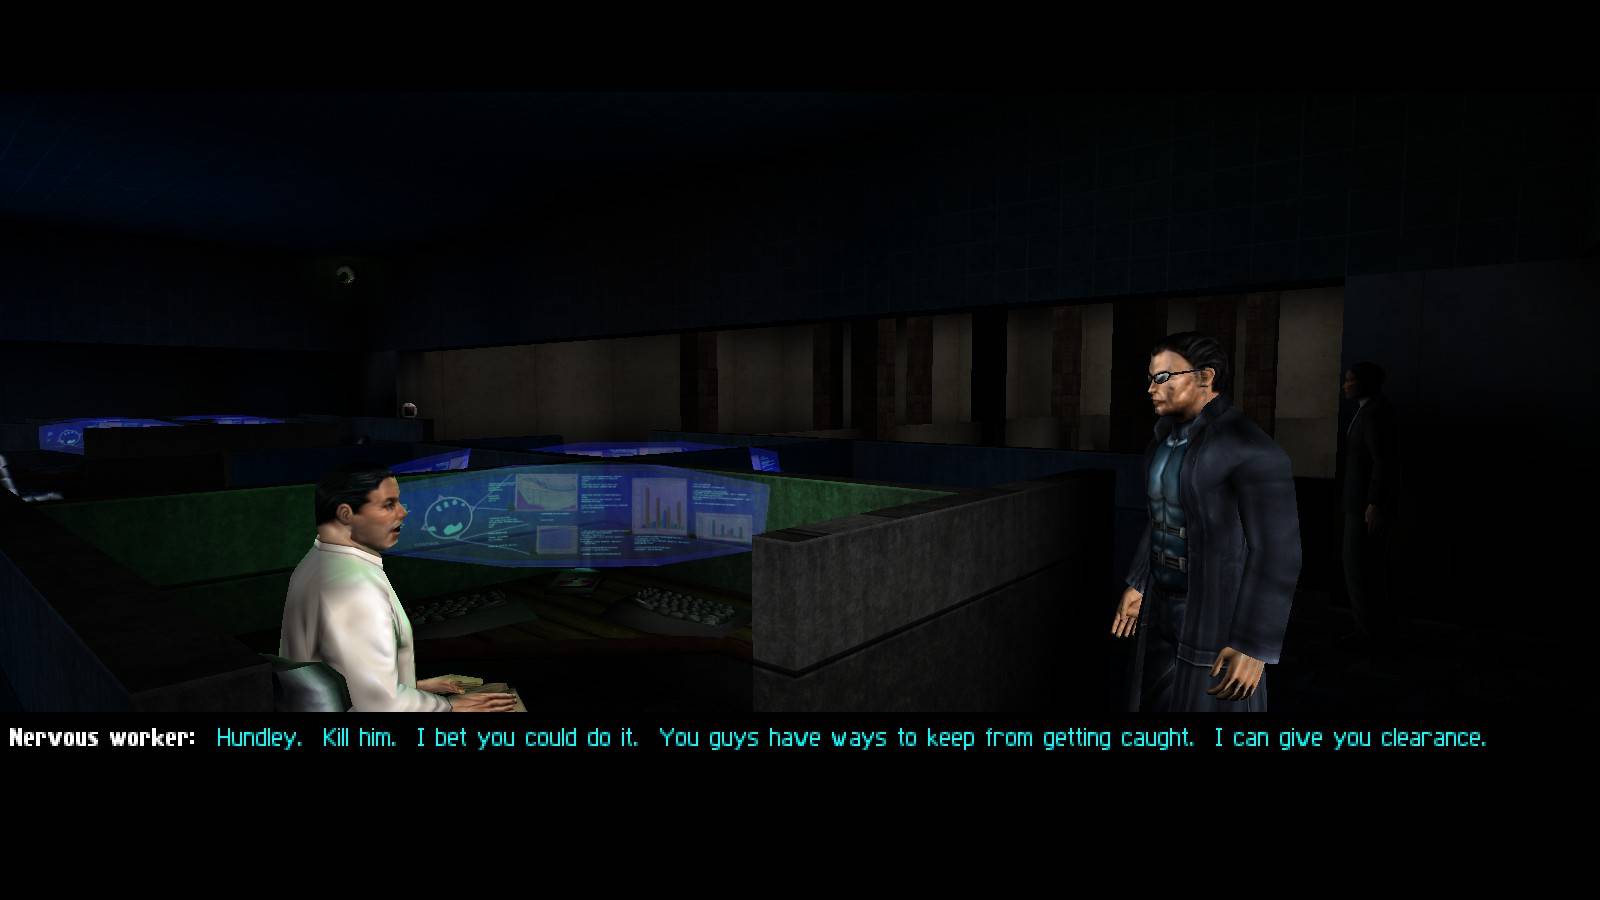
Once the first two levels are free of humans, search all the bodies. One of the workers has Zyme on him. In the room with one way glass windows, you'll find a bioelectric cell, and a few data cubes. Head up to the third floor, and talk to a nervous worker down the hallway from an elevator. He'll ask you to kill his boss; odds are, you already have. He'll give you a code for the elevator doors, and we'll be able to get down to the labs.
But if you haven't, it can lead to some amusing situations! Check the shadows behind JC . . .
Finding the Hidden Stairs
And if you believe that, we have a bridge to sell you!
Once you arrive on the lower level, a man will run up to you and more or less tell you not to get into trouble. Don't worry, when we do, we'll make sure we won't get caught! He charges you when he sees you, so get him to run right into the elevator. When the doors close, prod him and toss his body out of sight of the rest of the hallway.
Next, it's time to deal with the commando and the guy with the GEP gun that patrol the lower hallway, unless you want to leave everyone conscious. It's actually easier that way I found, as long as you don't hang around after setting off the alarms nobody will even see you, and the only people you'll have to worry about are, in fact, these two gentlemen.
If you want to clean the place out in advance, be warned that the commando will fight you, while the guy with the GEP gun will simply run for the alarm panel. The safest way to eliminate them is to wait until they walk right by each other, take out the commando first, then the guy with the GEP gun as he tries to run for it.
"Someone please save me!!"
When you reach the big stone hand, go left, down the hallway to the elevator. Take it to the top level, then prod the man in black you find, let's not risk having our legs blown off, shall we? Get the key off the table, then use the security computer terminal to shut down the cameras, and open the door to the stairwell leading down to the hidden lower level. Take the elevator back to the bottom level, then head back to the hand.
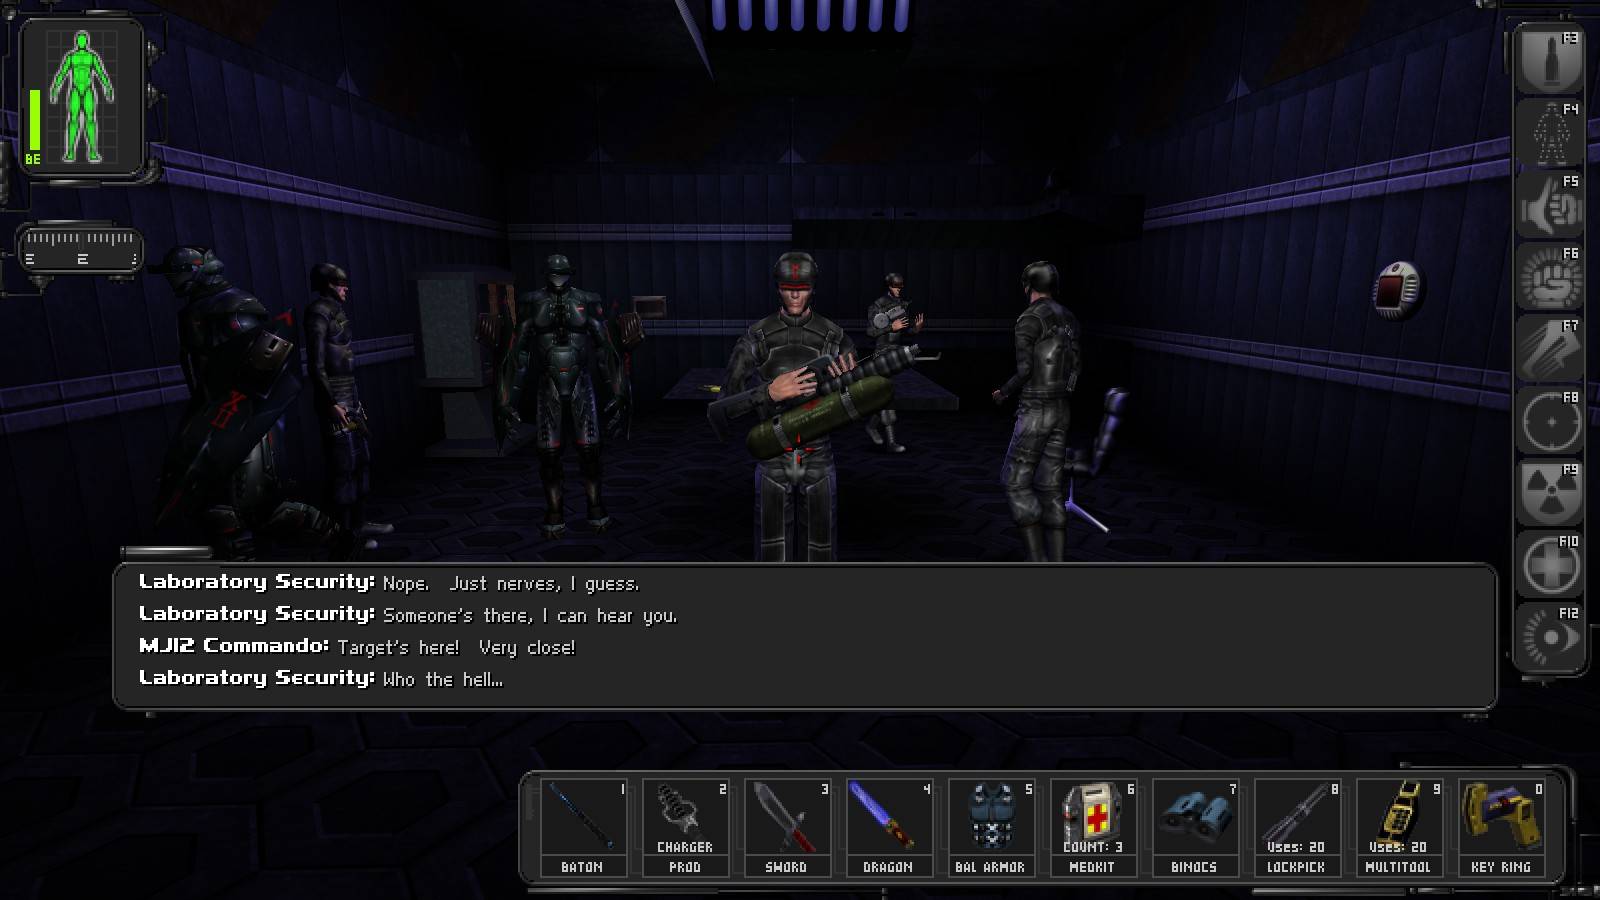
You can go up the stairs opposite the hallway you're in, and take out some MJ12 troopers, if you like. I like eliminating everyone right now, so we're going up there next. Eavesdrop on the conversation in the conference room now because they'll likely be too upset to continue it once the festivities start. You'll want to prod the MJ12 trooper in the breakroom first, then move onto the guy with the flamethrower before he roasts you. Prod or kill anyone who comes to greet you, then when the dust settles, check the room across from the conference room for any remaining MJ12 troopers.
Oh yeah? Let's see you try to do anything about it!
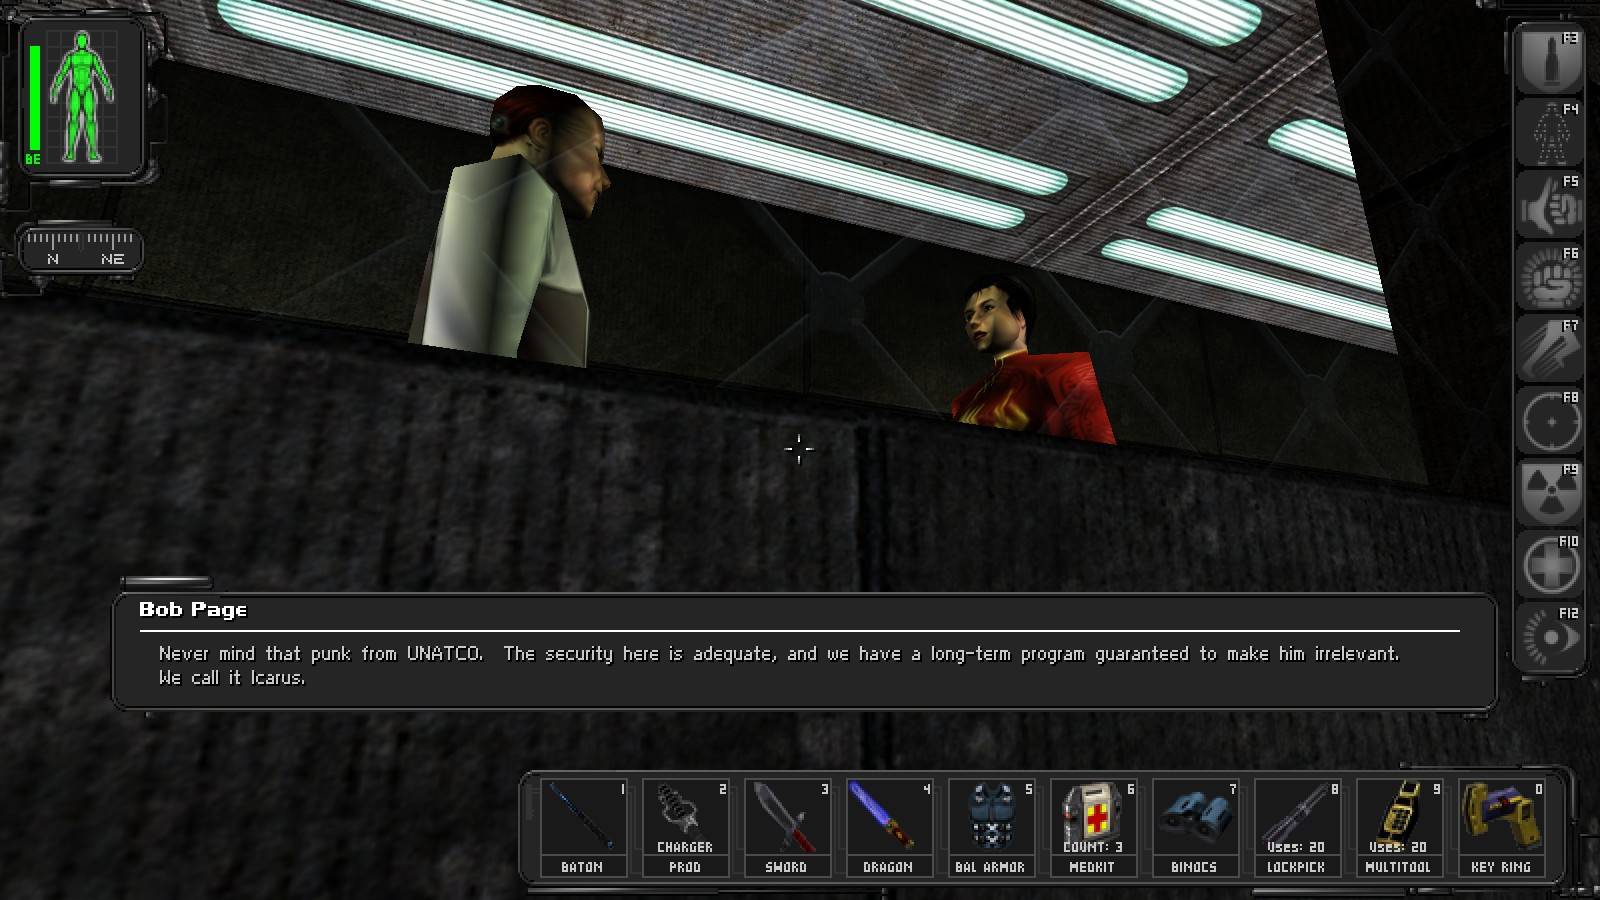
In this room, there's a suit of ballistic armour on the top of the shelves in the corner of the room, and there's also a cabinet when a datacube inside it, smash it open if you want it. If you go into the breakroom, you can rob the fridge and buy cans of soda from the machines. In the conference room itself, there's a cabinet with a bioelectric cell, and two datacubes inside it. With the information from one of these logs, and the log by the security computer near the now unconscious MiB, we can slip into many computer accounts. We know Maggie Chow's computer account information, and she has full access to everything right now.
Once we're done up here, we can proceed back down the stairs, and down the stairs in front of the real big hand. Alternatively, if you want extra skill points, you can enter a vent in the bathroom to enter the nanotech lab. You'll run into a single greasel, but if you go straight, then right, you'll come to a series of ladders that will take you straight to the augmentation canisters.
Robbing the Nanotech Lab
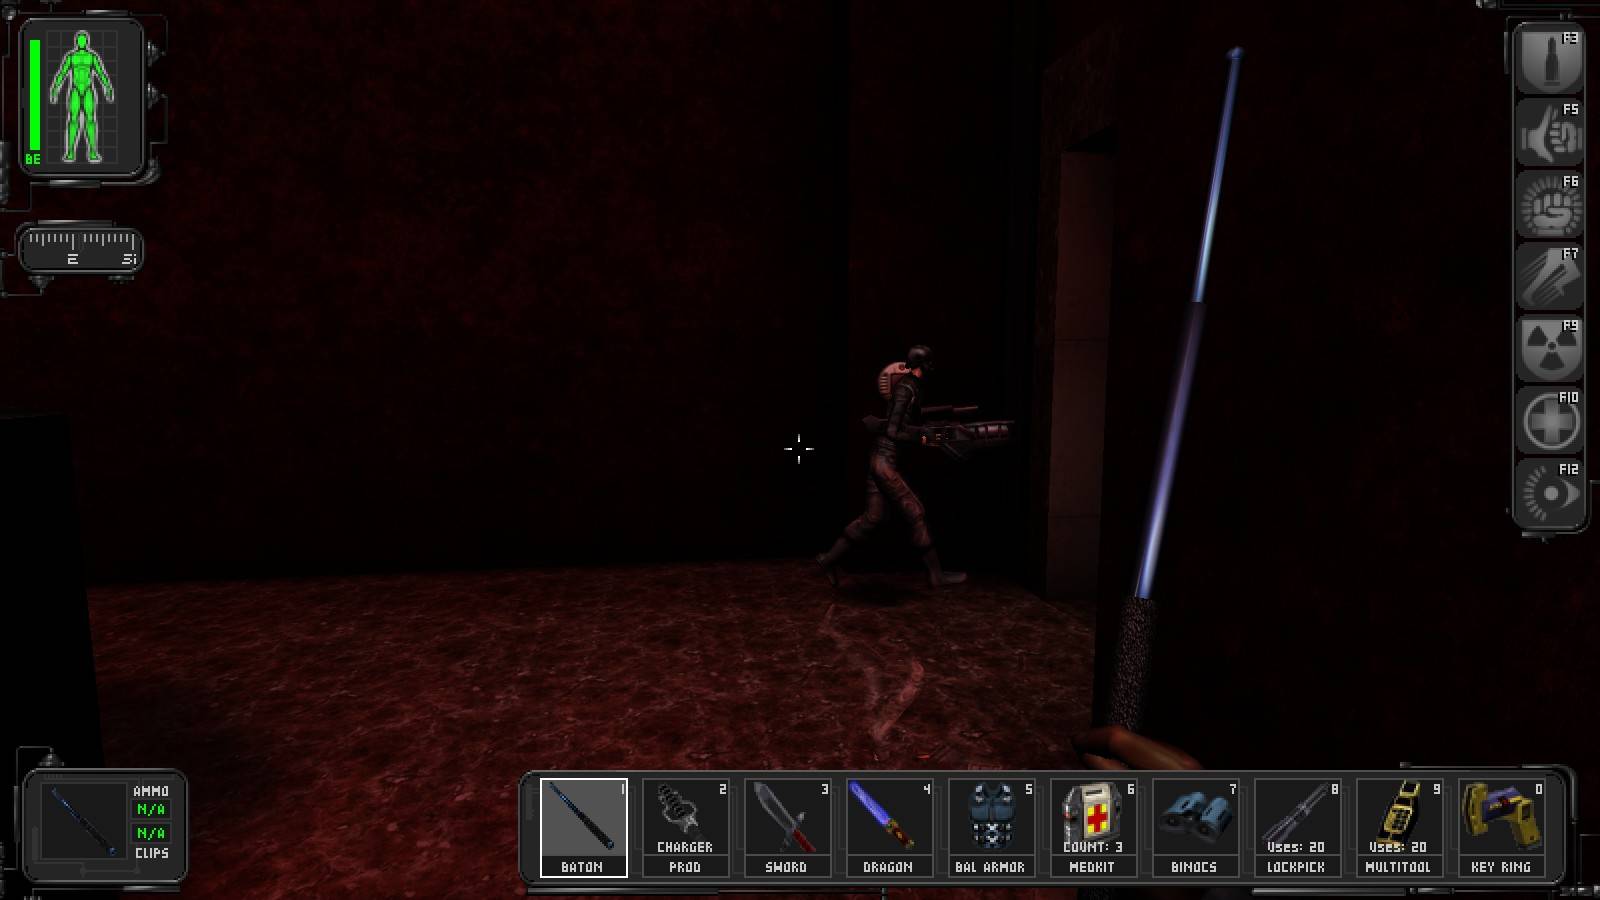
We don't have to, but I strongly recommend cleaning out the nanotech lab down here as well. To get there, from the bottom of the stairs, head west, down the ramps, (after dealing with the MJ12 troopers, of course) then down the long hallway to the west. There's a MJ12 trooper and the first woman in black patrolling the hallway, I'd recommend hiding and prodding them when they least expect it. In the best interest of your legs, you probably should go with a non-lethal attack, so they don't detonate and leave you slithering across the floor.
Next, head into the barracks. There are two sets of stairs leading to higher levels, one has bunks, the other doesn't, but both have MJ12 troopers either standing up there, or patrolling through there. I recommend taking out the one who patrols the higher level across from the one with the bunks first, then take down the other guy. They don't mind if you steal their stuff from their lockers, but they will come after you later. As for stuff, you should find a lockpick, a multitool, and 100 credits. In the bathrooms, along with another MJ12 trooper, you should find a candy bar. Now that we're done in here, we can take out the 3 troopers at the table under the bunks just for kicks. I recommend starting with the guy toting the sniper rifle, just to ensure you don't lose any limbs.
Adequate security? Buddy, check your three o'clock . . .
From the barracks, go left, and you should arrive at the nanotech lab. If Maggie is still alive, we'll see her again here. I recommend prodding the remaining Woman in Black, as we don't need any unnecessary noise. There are 3 MiBs to deal with if you want to take everyone out, prod them if you would like to keep your limbs intact. There's one in the shadows not far from the radioactive room containing several augmentation canisters, and another one in the northeast corner of the room to the east.
The final one is in the far north east room, in the corner next to an explosive barrel, which will cause the whole area to be filled with poisonous gas. Let's just say, we don't really want to deal with that much of an explosion, you'll want to spare his life. Just whip out your non-lethal toy and knock him out.
Now that we're safe in this area, let's explore! Head to the southwestern room, where you saw all the augmentation canisters. Use the computer terminal nearby to shut down the radiation in the room, then open the containment units to gain access to the canisters themselves. Take all 3 of them, as well as the bioelectric cell, then head to the med bot. Install as many canisters as you can, throw away the remainders, then head east until you reach the deranged bum. There's a key on the table next to the Gray corpse, I vote for freeing him! Let the insanity flow free!
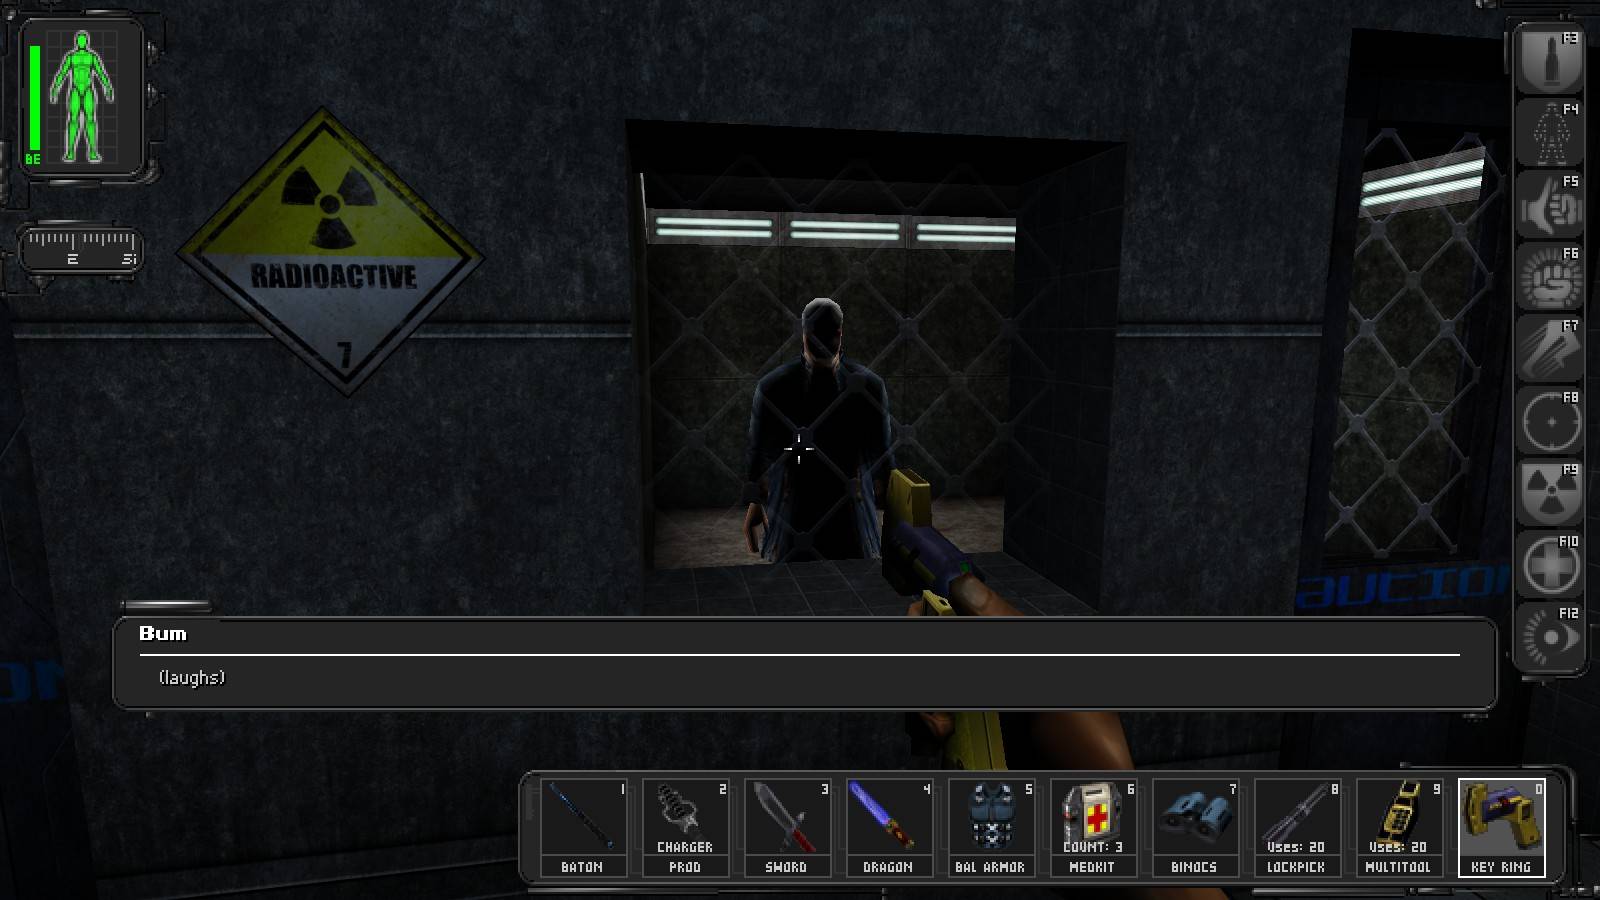
Are they seriously keeping this poor bastard in a radioactive room??
From here, head west, then north, then east when possible. You should eventually reach two women near an unconscious MiB, there's a hazard suit nearby, and a lockpick on the counter to their left. Turn around, then head back up the stairs, as we're done here. Return to the long hallway we entered from, and continue until you reach an elevator.
Uniting the Triads
Take the elevator up to the second level, then use the computer terminal, and upload the Nanotech blade information. Get back on the elevator, take it to the lower level, and alarms will start sounding left, right, and center. However, if we've cleaned out the place, there's nobody around to respond. If you left everyone conscious, haul ass onto the ramps to get out of sight. Unless you're seen, the only real resistance you'll find comes from the MJ12 trooper with the GEP gun and the MJ12 commando upstairs, you'll want to take out the latter first because he'll attack and you have no way of making a non-lethal attack once he sees you.
It's time to leave, Tracer Tong tells us we need to go to the temple beside the compound to meet with Gordon Quick and Max Chen. Backtrack to the elevator which takes back to where the nervous worker is, talk to him if you want, then head downstairs and take the elevator back down to the market. Again, if you left everyone conscious, so long as you stay crouched you should get out of here in one piece. The only person who'll see you is the man standing next to the elevator.
From the elevator, go left up the stairs, then east to the compound. Head into the temple next door, talk to Gordon Quick, then head north to the compound and go meet with Tong, taking the same route I gave before. Chat with Tong, then charge and heal up.
Side Quest - Investigating the Tunnel Collapse
As Tong just told us, Versalife lost one of their scientists in the Canal Road Tunnel collapse. He's carrying an augmentation upgrade canisters, and, assuming you're trained in swimming and can deal with baby karkians, you'll be able to get it without getting hurt.
To get there, we need to visit the Old China Hand, which is by the canals. The quickest way to get there from Tong's compound is to head southwest from the compound door, you should see a stairwell heading due west with an Old China Hand sign right over it. Head down it, walk through the passageways and stay to the left to find the front door.
JC really is a people person, isn't he?
When you go through the door a man will race up to you and talk to you thinking that you're Paul, if you keep trying to talk to him, eventually he'll offer you a few things for fairly steep prices. I don't bother buying anything from him, usually. He has 100 credits on him, and the whore has 2 vials of Zyme, (take care of us, indeed) so swinging a weapon a few times couldn't hurt. Us, at least.
Head into the back room (to the east) and go through the large door in the back of the room. Walk down the hall, and follow it as it curves left. See those crates? We need to climb to the top of them, get onto the pole (or whatever it is) that the carcasses are hanging from. Everything in this room is slippery, so don't move too quickly, or you'll slide right off whatever you're on.
Once you're on the pole, head towards the vents. Open one of them, and crawl into them. Hang a left once you can, and keep going. You should get some skill points as an exploration bonus part way through the vent, keep going, and you should pass over a bridge which goes over the water. Keep going, you should eventually go down a ladder, and end up in a hallway with a maintenance sign at the end of it.
Get ready to swim! We need to dive into the water down here, and swim west, north into the tunnel, then west again. If you follow the road, you should surface before you start drowning. Quickly kill the two baby karkians up here, then head over to the scientist by the rubble. He has a bioelectric cell and an augmentation upgrade canister on him, along with a little light reading material.
And that's that! Backtrack out of there, killing the other baby karkian by the doorway while you're at it. If you want to waste a rebreather on a pitiful helping of skill points, swim to the other end of the tunnel before heading out. Leave the Old China Hand behind, and if you want more Zyme, board the large ship in the Canal Road map, and pull the lantern under the bridge. You'll gain access to a maintenance bot and a crate you can smash open. The cardboard boxes inside it contain several credit chits and vials of Zyme.
If you want, swing by the Lucky Money to see Gordon Quick and Max Chen. You'll get four bottles of wine all together, you might want to drink or smash four from your inventory before talking to them. If you don't bother them, they'll chat about different stuff, worth eavesdropping in on for a little extra plot info. Once you're finished, return to Tong's compound, and pick your poison!
Return to Versalife -- The Madman's Way
Marecki wrote a walkthrough for entering Versalife through the front doors. If you're not ready to try something this insane, you can enter through the back door.
First of all, there is a commando southwest from the elevator door, watching it. If you can, use the cloak (if you have only one suit of thermoptic camo, DON'T USE IT HERE!) to get behind him - that will let you take him out without the second commando, patrolling the area between the stairs and the reception desk, noticing. The other one often stands with his back to the stairs and is thus rather easy to defeat. The third and the last commando on this level is right next to the elevator leading down, unless you can reach him very quickly without taking too much damage (think lots of armour and/or high-level speed aug) you should either use the cloak again or try to make him come to you. Ride down.
Just look at that big juicy bastard!
The first thing you shall see at the lower level is a spider. Correction: a Freaking Big Spider. As far as I know, there is no way of approaching it undetected and while it doesn't deal too much damage, you are extremely likely to lose all your bioelectic energy. If you have thermoptic camo with you, now's the time to use it. There is a commando down the ramp under the hand so if you can't reach him fast enough, don't want to get your hands dirty or want to get your hands dirty with more blood, take the right stairs instead.
At the rec area upstairs there are three commandos at the armoury. The door keeps opening automatically when you approach it, but you can sneak past them and reach the restroom anyway. If you decide to take on the guys, you'll probably want to stay at the door and cut them as they come to you, that will let you avoid getting shot. Now, take the air vent to the nanotech lab.
A friendly warning folks -- anyone you left conscious during your initial visit will still be there upon your return!
The last two commandos to take care of, if you don't count the one at the ramp we are now able to approach from a better direction, guard the catwalk leading to the Level 2 elevator. The best way of approaching them is to take the right-hand stairs from the room with the nanotech ROM computer, then crouch behind the railing and walk the long way around the room so that you approach them from the side. With luck, one will go down unaware of your presence and the other won't have time to react. Enter the elevator, collect your 100 skill points - and either ride down or go back to the market and use the back entrance. You'll get more skill points if you use the back entrance, so go for it!
Return to Versalife -- The Tame Way
Starting from the front door of Tong's compound, head east to the Canal road tunnel. At the bottom of the stairs, hang a left, and follow the road. Go past the car crash, behind it you'll find a door. Use the code Tong gave you to open the door. Duck under the pipes and go to the large pipe to the left of the door. Use the Dragon's Tooth sword rather than a lockpick to break open the grate, and you'll fall down to the water below.
Climb onto the pipes in the room you land in, to get into the large pipe on the south side of the wall. Once in the pipe, follow it through into some kind of passageway, stopping to read the datacube to the right of the pipe's exit. Hang a left, and go down the passageway until you can hang a right. Go through this passageway, then when you reach the end of it, pop around the corner to your left and use the keypad here. Punch in the code 768, then walk through the opening doors to the west. (For extra fun, try waiting unto the commandos are in the hallway above you so they'll be trapped by the doors.) Continue until you reach what appears to be a dead end, and check for a keypad and a white button to your left. Press the button, and the ramp ahead of you will lower.

What the hell is up with those ceiling lights?!
Go all the way up the stairs, then look to the west. There's a security computer and a keypad on the pedestal. Use the computer with the logins you used on Level 1, but leave the keypad alone. Now, we need to go back to the stairs we used to come up here. If you want to make a non-lethal approach, go all the way down the stairs, moving the ramp if it's in your way, and disable the laser panel to enter the next area silently. If you don't mind getting your hands dirty, smash apart the locked grate in the stairwell, and climb down the ladder. Crawl through this airshaft, using the Dragon's Tooth sword as a light source, and you'll find the computer terminal right below you at the end of it.
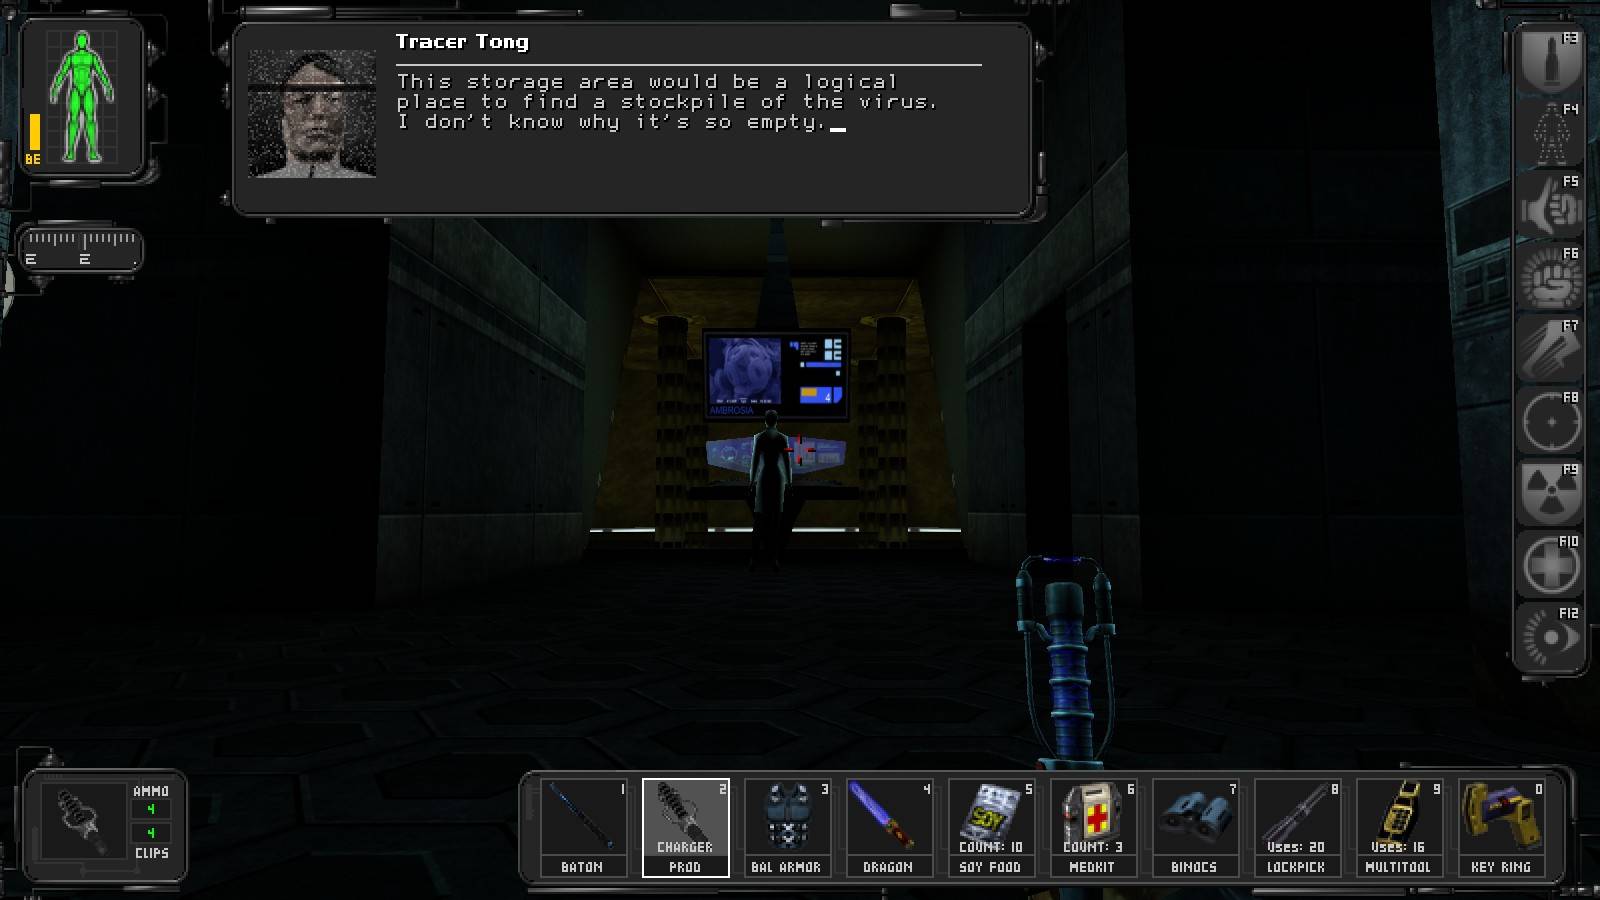
Gee, Tong, could that be because someone could intend to use a stockpile of the virus for nefarious purposes??
If you entered through the stairwell you can walk past the bots and bop the scientist and MJ12 commando without them knowing you were there, but you'll be heard when you drop out of the vent. It's best to wait until the commando is directly below you so you can nail him before has a chance to turn around, then eliminate the scientist before she had a chance to set off the alarm. If she does, run into the room to the southwest of the computer terminal and hit the 'robot maintenance' button in here. There is also a multitool in the top shelf in the corner of this room.
There's a cabinet in this room, smash it open to gain access to a hazmat suit, a bioelectric cell, and a datacube. Hack the security computer in this room, choose both special options, then shut off as many cameras as you can before getting caught. Return to the computer terminal in the room you originally dropped into, hack it, chose both special options, then return to the security computer to hack it again, and shut down any of the cameras you might not have turned off during your first hack.
Now, head down the hallway slightly to the south of the room with the security computer in it. Follow it until you reach a ladder on your left. Climb down to the catwalk, then follow it around to the room with some augmentation canisters, you'll likely only be able to use the Power Recirculator / Synthetic Heart augmentation. Take whatever you can use, then leave the room via the catwalk leading north. If you didn't get a chance to open the things they're in while hacking, you can get them after the UC explodes, but you might be electrocuted in the process. Go down the ladder, install the augmentation canisters with the med bot down here, then head left over to the pedestal. If you didn't kill Maggie Chow earlier, she'll be here, but your Dragon's Tooth Sword will make short work of her. So will the riot prod if you want to spare her.
How stupid are you, lady?!
Use the code 525 on the keypad, then be ready to move. Leap over the pedestal and jump towards the ladder, preferably with your speed enhancement augmentation (if you have it) activated. Get your ass down the ladder as fast as you can, then swim around the pipes in the floor of the chamber, the one we're using to leave is the one to the south west.
Swim through the pipes to leave, there's a baby karkian to deal with along the way, but one tap from the Dragon's Tooth sword will result in him limply bobbing to the surface of the water. Keep swimming until you reach a pipe which shoots you up to the surface, then climb onto a ledge by the water. Follow it north, grabbing a key and multitool along the way, then climb into a pipe on the left side of the passageway. Drop into the water and go right, there's a ledge we can climb onto here which will get us out of the water.
Climb up the stairs, talk to the man here, then head south to a ladder. Climb up it, go through the door, and you'll see a very familiar Tonnochi road sign. Go left towards the Lucky Money sign instead, and continue down the passageway to the compound, then go track down Tong to receive your new orders, and visit with any new arrivals, Paul Denton and / or Jaime Reyes.
Dammit, you survived . . .
Having talked to Tong you'll know it's time to go to New York and try to track down a man called Stanton Dowd. Before you leave the compound, heal yourself and replenish your bioenergy. Talk to everyone you want to; if you asked Jaime to leave UNATCO he will now give you an augmentation upgrade canister, if you saved Paul you will be able to talk to him here as well. Leave the laboratory, go to the courtyard of the compound and get on the helicopter for one final return to Hell's Kitchen.
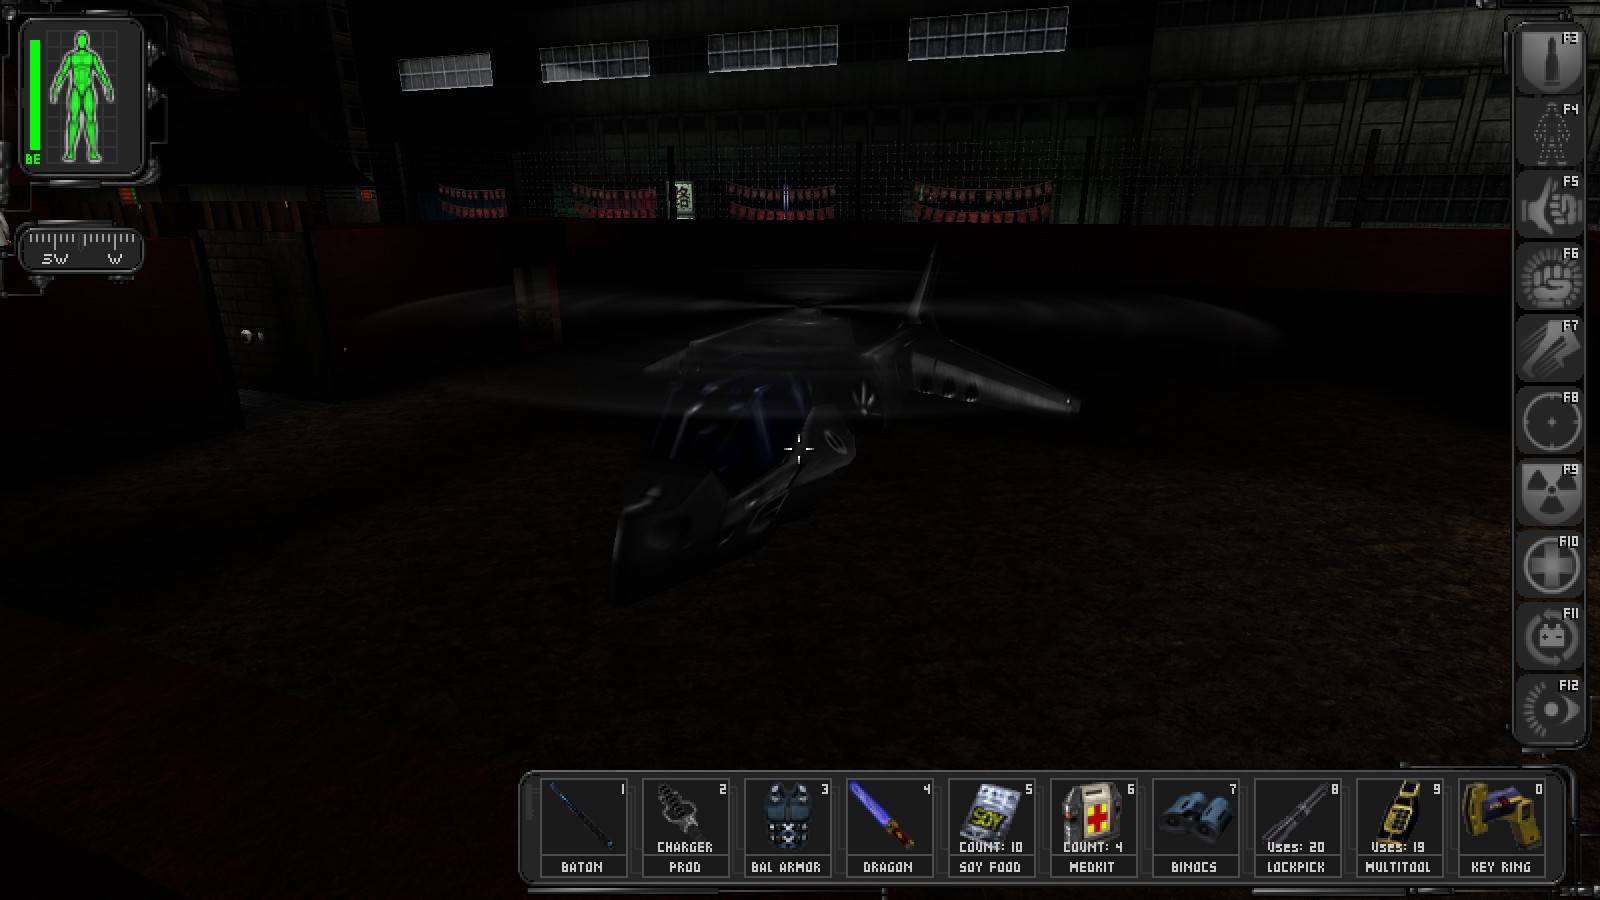
This is also your first good opportunity to jump into the helicopter blades and make JC giblets. Just don't do what I did and jump into the blades only to realize that your last save was made before you returned to Versalife . . .