- Home
- Walkthrough
1. New York 3. Return to New York Liberty Island Return to Hell's Kitchen The Warehouse Assignment The Wall Cloud, The Graveyard Ambrosia, Airfields, and Apostasy 4. Paris The Insurrection Finding Nicolette The Great Escape Finding Morgan Everett 2. Hong Kong 5. Southern California The Helibase Vandenberg Deactivating the Kill Switch The Gas Station Versalife The Submarine Base The Missile Silo Area 51 - Strategies
- Extras
The Great Escape
Introduction
There isn't much to go over here. You start off with nothing aside from an open door provided by an odd person named Daedelus, but you'll find supplies along the way. Oh, and all the ammunition you had coming in here will still be on you. Because really, how much trouble could one person get into with large quantities of gunpowder and napalm at their disposal? For that matter, why the hell didn't they just kill him??
The invincible AIs in this mission are Paul, (if he's still alive) Jaime, Alex, and Sam Carter.
Now, let's get the hell out of here!
Escaping the Cells
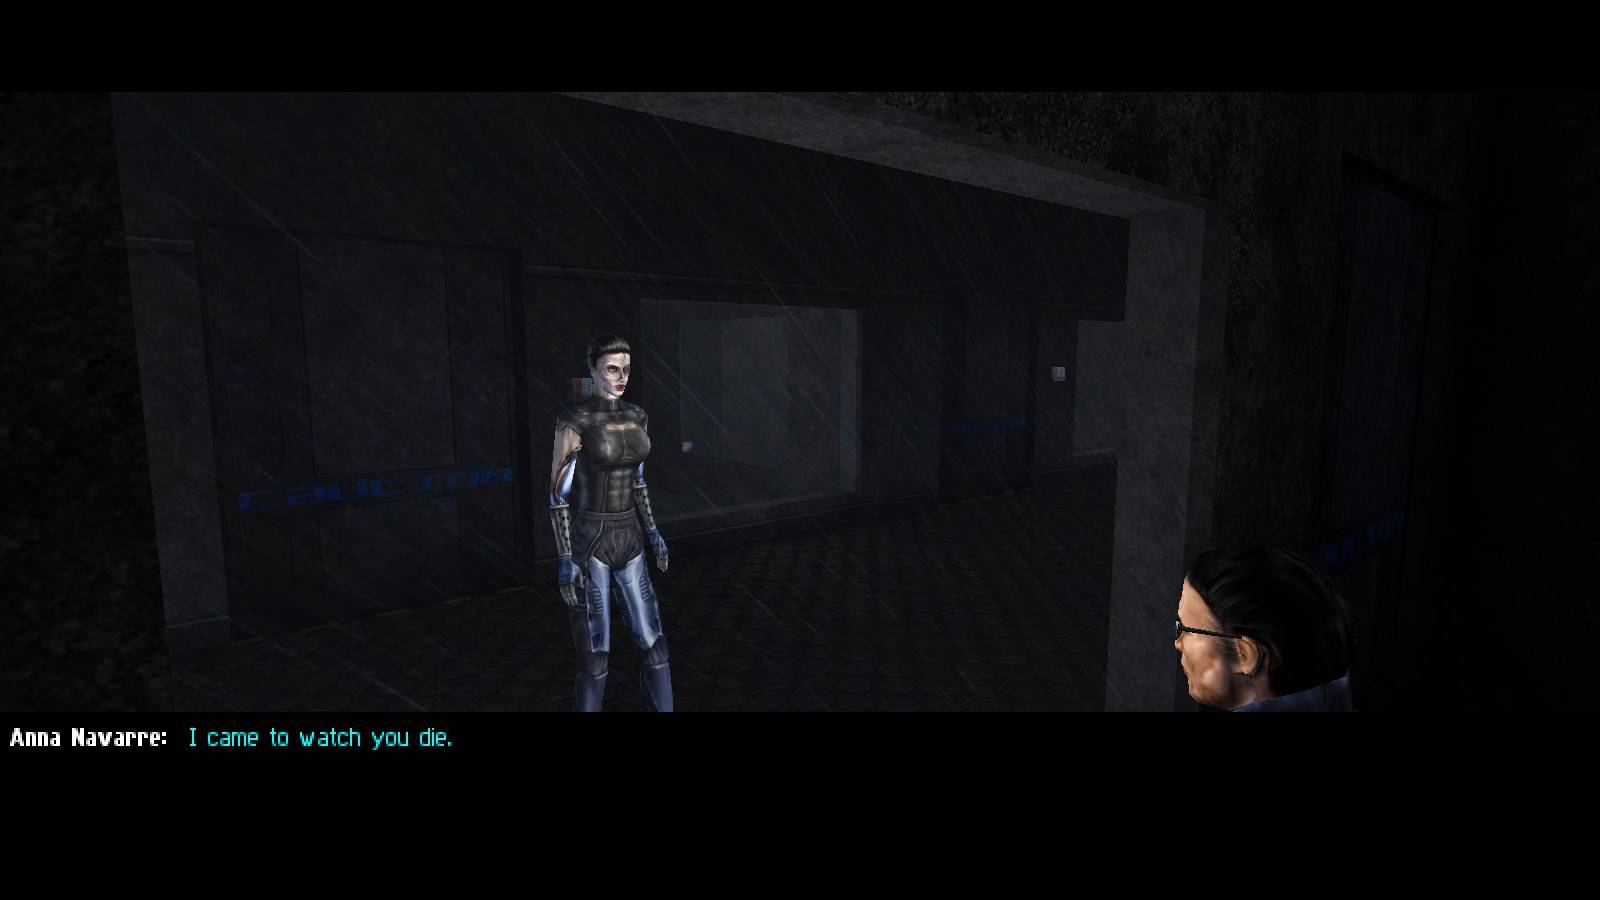
Hello to you too darling!
If Anna is still alive, she'll speak to you for a moment, and soon afterwards, or when you approach the cell door if she's already dead, Daedelus will e-mail you, then open the door to your cell for you. Time to show them what happens to those who dare challenge JC Denton!
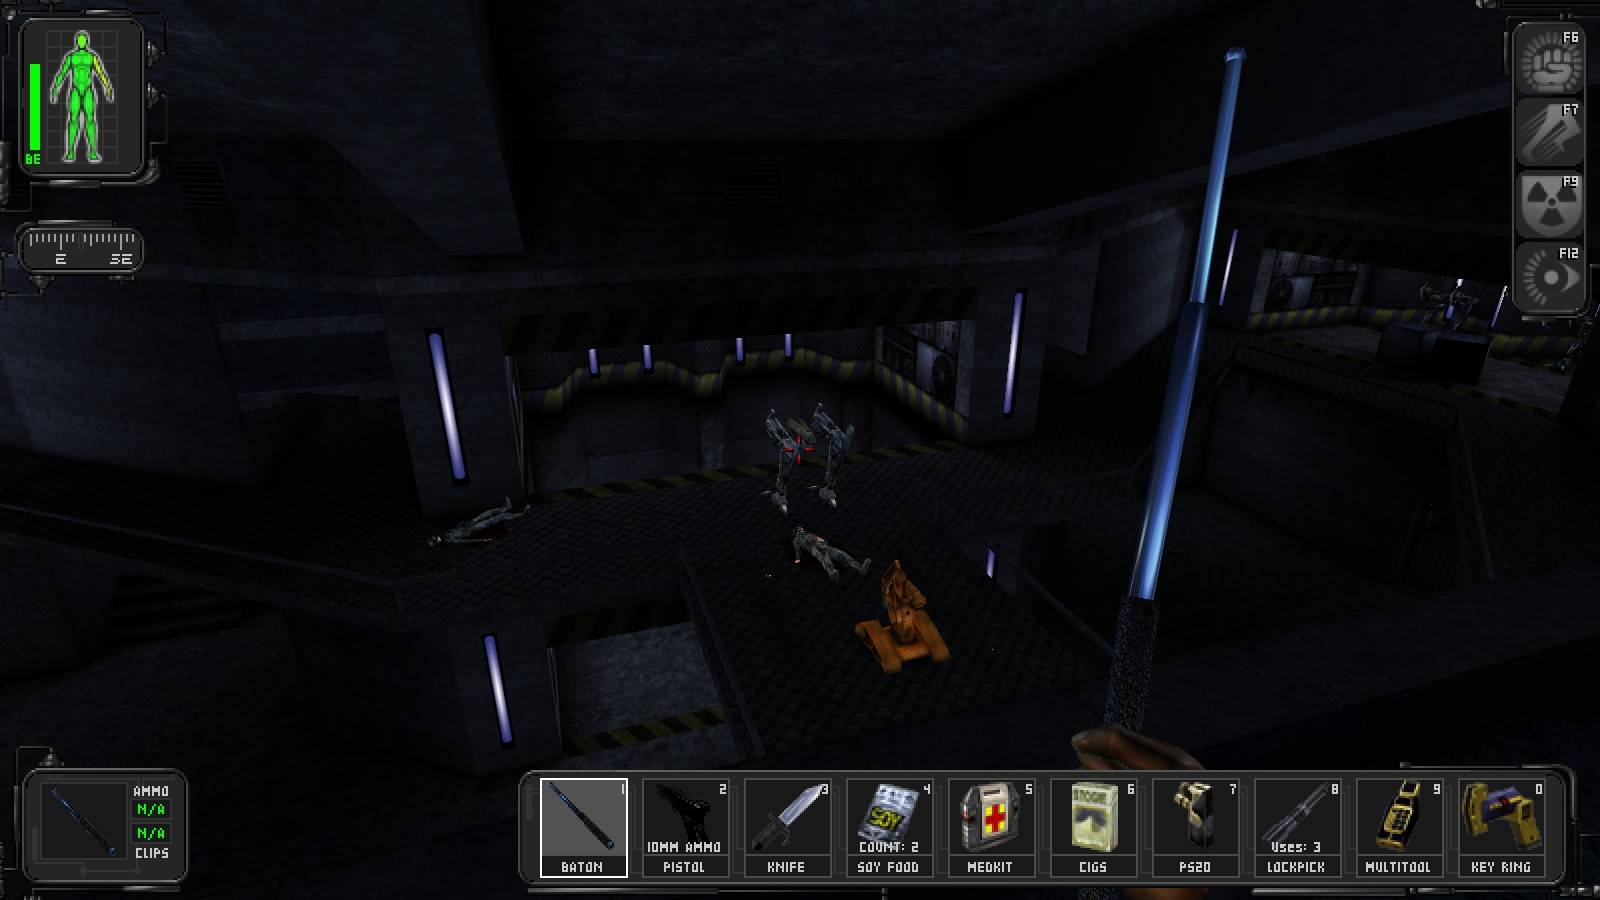
Creep down the hallway towards the MJ12 trooper until he gets up and walks away. Take the baton on the crate, then the crate itself. Crack it open, out of earshot of the MJ12 trooper preferably, and take the riot prod inside. Less than a minute out of our cell and we already have the only weapons we need to finish the game! Duck back into your cell, and wait. The MJ12 trooper will come down the hallway and walk right past the open door without the slightest hint of concern. Wait for him to stop and face the fire extinguisher, then whap him upside the head with the baton. Search him, then go to his desk and read the datacube.
Armed with the code to the cells, open all of them. The one on your cell's side of the hallway holds two soy food packets. The one across from your cell holds a med bot, and a corpse with 2 lockpicks. The one beside that holds an NSF trooper, who tells you of your brother's fate, and gives you a med kit. You can break him out, but there's no reward for it. The simplest way to handle the situation is to tell him to follow you, then shut the door. Despite the fact he's shut in the cell he'll reappear at your side when you enter the next map -- and probably yell something in your ear and scare the hell out of you since you'll have forgotten all about him by then.
"How the holy hell did you get out?!"
Now, check the drawers beside the MJ12 trooper's desk. There's a multitool in one, a forty of beer in another, and in the locked drawer, there's another multitool. Now, make a break for the exit to the cells, avoiding the camera. Once through the doorway, stand to the right of it. You'll get an e-mail from Daedelus. So, where to now? If you want to skip the armoury, skip ahead.
Retrieving your Equipment
Head northeast and pop behind the column here to discover a lockpick in the shadows. Head east, then south, and you'll come down a set of stairs which leads to the security bot maintenance facility. Get behind the crates ahead of you, and watch the patrols. When it looks safe, make a break for the nearest stack of crates, to your right. There's a supply crate containing a bioelectric cell back here, and if nobody's around, or if you want to lure someone to you, you can smash it open.
Wait for everyone to look away, then slip around the wall to the south, and run for the crates. Get behind them, then take a multitool from the top of one of them. You should have seen a non-hostile worker by now, if it looks safe, go over and talk to him, pay him for the security login, and hide behind the crates to the south before anyone spots you. Take the multitool on top of one of them, then make a break for the shadows next to the stairs to your east. Once you're sure you weren't seen, go up them, and walk right. Here's my original, non-personal way of doing this next section:
Try to bop the MJ12 trooper with the sniper rifle, but be ready to run when you're seen. You want to go up the stairs to the third level, to the security computer, and alter the robot so that it attacks the troopers. Once that's done, run like hell back to the first level, and hide behind your new toy. He will obediently slay anyone and anything that doesn't like you.
Though he may change sides . . . my guess is that it had something to do with the alarm being triggered here!
Or if you feel it's personal, you can try taking out all of the troopers out by yourself. Wait on the railing of the eastern stairs for the sniper, he'll walk right past JC without noticing him, but watch out the guy at the third level who looks through the windows. After that, move onto the troopers on the way to and on the third level (in the order you encounter them), and complete the mop-up with the ground-level trooper. It's possible to take him out without the two mechanics freaking out, but it's tricky. You might want to take out the level-two mechanic first, just in case.
Once the area is clear we can go up to, and search, the third floor in peace. Go to the first set of stairs stairs and peek behind the column on the right hand side of the hallway for a lockpick. Go up the rest of the stairs, on the first desk you'll find a datacube, and a can of pop. If you go into the back room, you'll find a lockpick and another datacube, containing the code to the armoury, on a desk.
With your new information, return to the ground level and head up the stairs to the south, but make sure you aren't spotted by one of the two deaf military robots up here. Follow one of them, and eventually you'll come across a door with a keypad next to it. Look up, behind you, and to your right, and you'll see a ladder up there. Let's explore!
Or just look up for a suspicious and pretty green glow!
Climb up it and pick the lock on your right to close a valve. Hop up on the pipe, and use it to cross the hallway, then go right, on your left is an unlocked air vent. Climb inside, hang a right when you can, and you'll find an air vent which opens onto a pipe on the second level of the armoury.
Carefully jump down, activate your legs so you don't get hurt, and after swiping a spare riot prod and charger from one of the tables, sneak over to the security computer. Shut down the military robots and the camera, turn on the turret for a laugh, then sneak down the stairs and bop the MJ12 trooper if the turret didn't get him.
Well, as Daedelus said, we've found our equipment! Dump whatever you have on you and pick up only your stuff,odds are you had so many multi-tools and lockpicks you won't be able to pick them up otherwise. Make sure you have your Zyme, it's by far the easiest item to bypass. Use the metal crate to check all the top shelves in case they put something little, like your Zyme, up there.
After you're certain you have all of your stuff there's no reason to stay. Leave the armoury and go north until you're back at the detention center door, heal up if necessary.
Command Center
Surely you've noticed a nice big panel in the floor that opens to a crawlspace? Let's hop into it. Go left, and keep going until Daedelus tells you you're beneath the command center. You should be at a T-junction, hang a right, and open a floor panel here. There's an MJ12 trooper patrolling in here, bop him. Use the security computer to turn off the cameras in the area. Now, walk along the high ledges around the outside of command center, and take out all the MJ12 troopers. If a nice little doggie comes to play, zap him with the prod. I can slaughter everyone else in the game, and I'm a cat person, but dammit, I just can't kill a dog!
Nanotech Lab
Return to the panel in the floor you entered from, and head south slightly, then left. Ignore the panel you entered through, and keep going until you get a message from Daedelus saying you're beneath the nanotech lab. You'll be at another junction, walk towards the dead cat and follow the crawlspace until you reach a panel opening in the floor. Your first MiB (unless you were crazy enough to help Paul in the hotel room assault) is just above you. Prod him in the waist area to knock him out, or if want to kill him, get out your crowbar, activate your combat strength augmentation, and start swinging. When he falls, dive into the crawlspace under the floor before he detonates. Wait for things to calm down before you stick your head out of the floor again.
Once it's safe, climb out of the crawlspace and hide under the desk. Look up in the direction of the computer, and back up until you can use it. Hack the computer, and when the options come up, don't release the greasels, but do take down the containment field around the nearby augmentation canister, which contains the Aggressive Defense System / Spy Drone upgrade.
Sneak to the doorway leading into the rest of the nanotech lab, and check to the right for an MJ12 trooper. Bop him, then go to the left, past the medical bot, towards the stairs leading up to the platform another MJ12 trooper is walking on. Bop him, then return downstairs, into the room you found the MiB.
In the locked filing cabinet on the opposite side of the room from the augmentation canister, there is a multitool, a useless datacube, and, in the bottom right hand corner, a datacube which contains all the logins for all the UNATCO personal computers. In the crate beside the augmentation canister is a med kit, and the augmentation canister itself gives you access to the aggressive defense system and spy drone augmentations. The latter I don't allow, so get the aggressive defense system aug when you visit the nearby med bot.
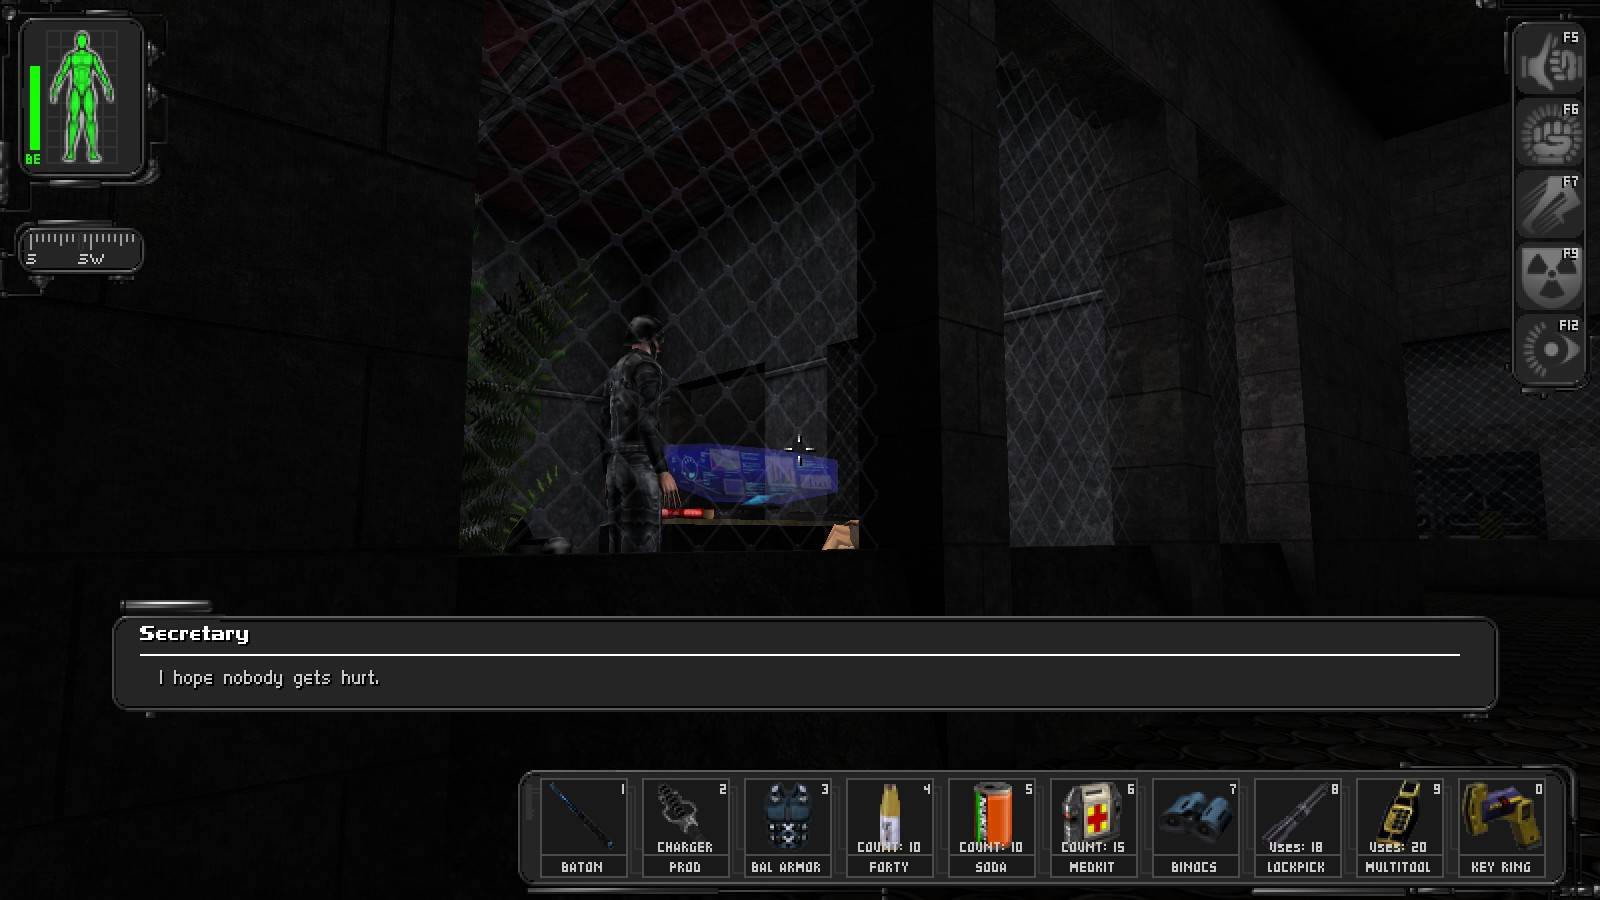
Leave the lab via the southern doorway, and you'll run into a guy who'll give you the code for the med lab, which is where you'll find Paul. Head north through the hallway until you see glass windows on your left. Get your crowbar or your riot prod ready, and run into the room and eliminate the chatting trooper and secretary.
Don't worry, it'll be quick!
Proceed south, then up the stairs, crouching to avoid alerting the motionless MJ12 trooper up here. Make sure he stays motionless, then shut down the security systems with the security computer up here, but don't continue south from here yet, you'll run into two MJ12 troopers guarding the door to the medical lab. However, there are 2 Karkians in a containment room right across the hall from them. Across from the security computer is a white button. Push it if you feel like having your work done for you. Oops, the Karkians are loose! Stay out of the way, and let them do their thing.
Or, for the ambitious, instead of letting them out, use the air duct on the opposite side of this area (needs to be opened with lockpicks, but you should be swimming in them at this point) to enter the medical zone. Ambush the two MJ12 troopers from behind, open the containment room and finish the Karkians off yourself. You can either circle-strafe them or lead them towards the stairs (which they can't climb) and repeatedly walk forward, smack them with your weapon of choice and quickly move back to avoid their jaws. If you want this to take less time, subvert the turret in the room and go do other stuff for a while before returning to finish the job.
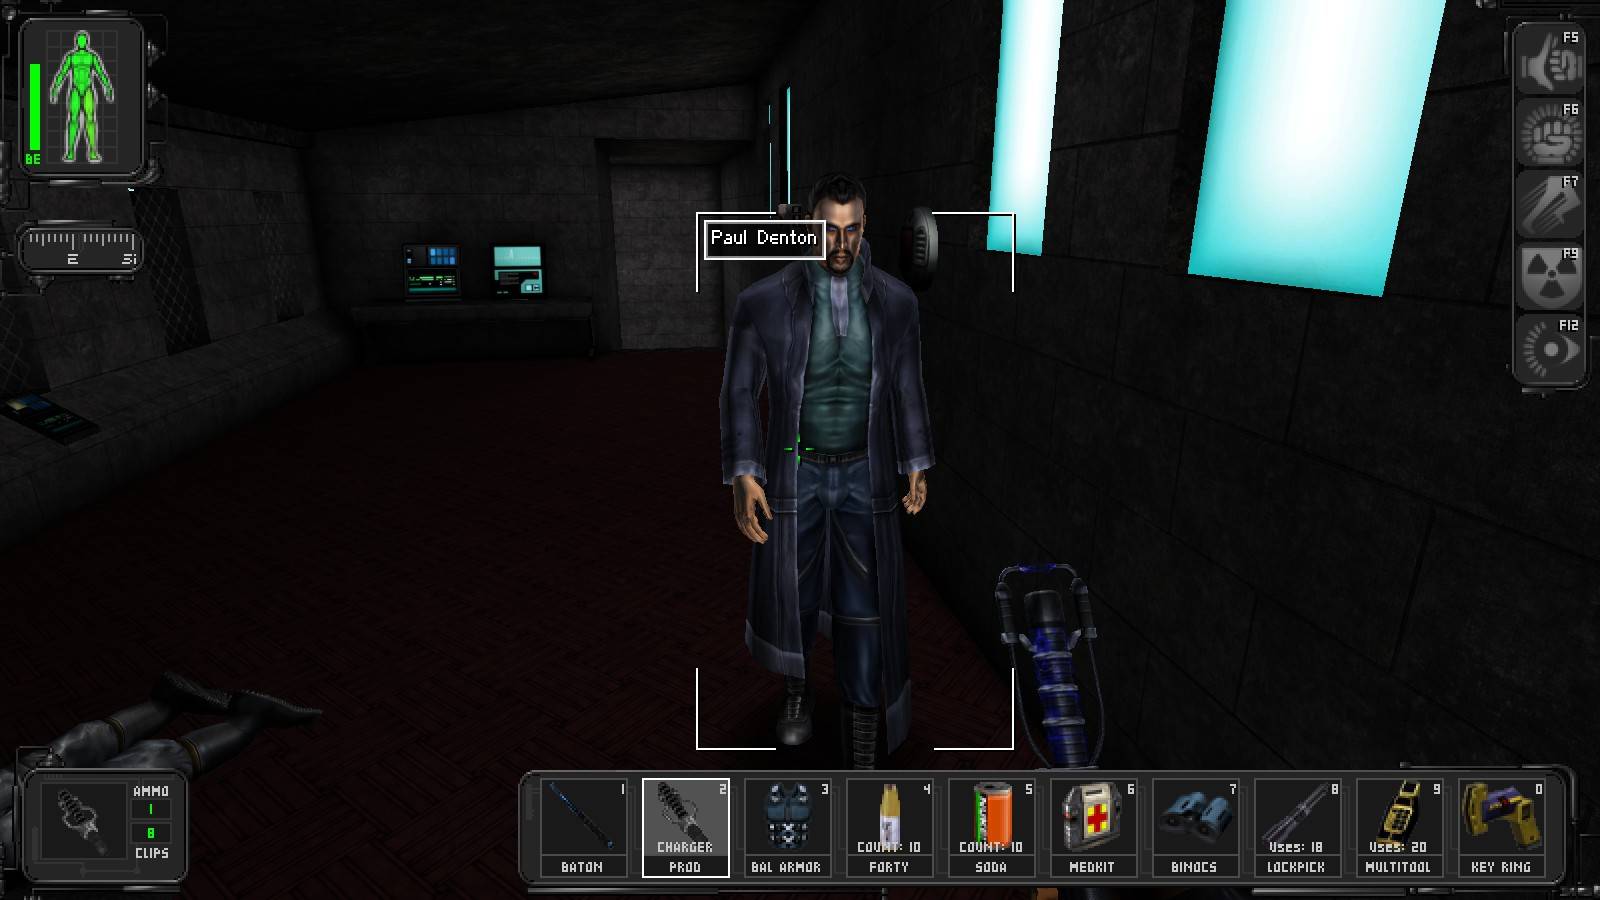
Place a body or two inside the containment cell when it's semi-safe, (if you didn't try Marecki's way of doing things) then wait for the karkians to return to the cell to dine. Shut the doors behind them, and you're safe! Proceed down the stairs and you'll find the medical room's doors right across from the containment cell doors. Either talk to Paul or violate his corpse, either one will make Daedelus happy, and he'll give you the code to the door leaving out of the MJ12 facility.
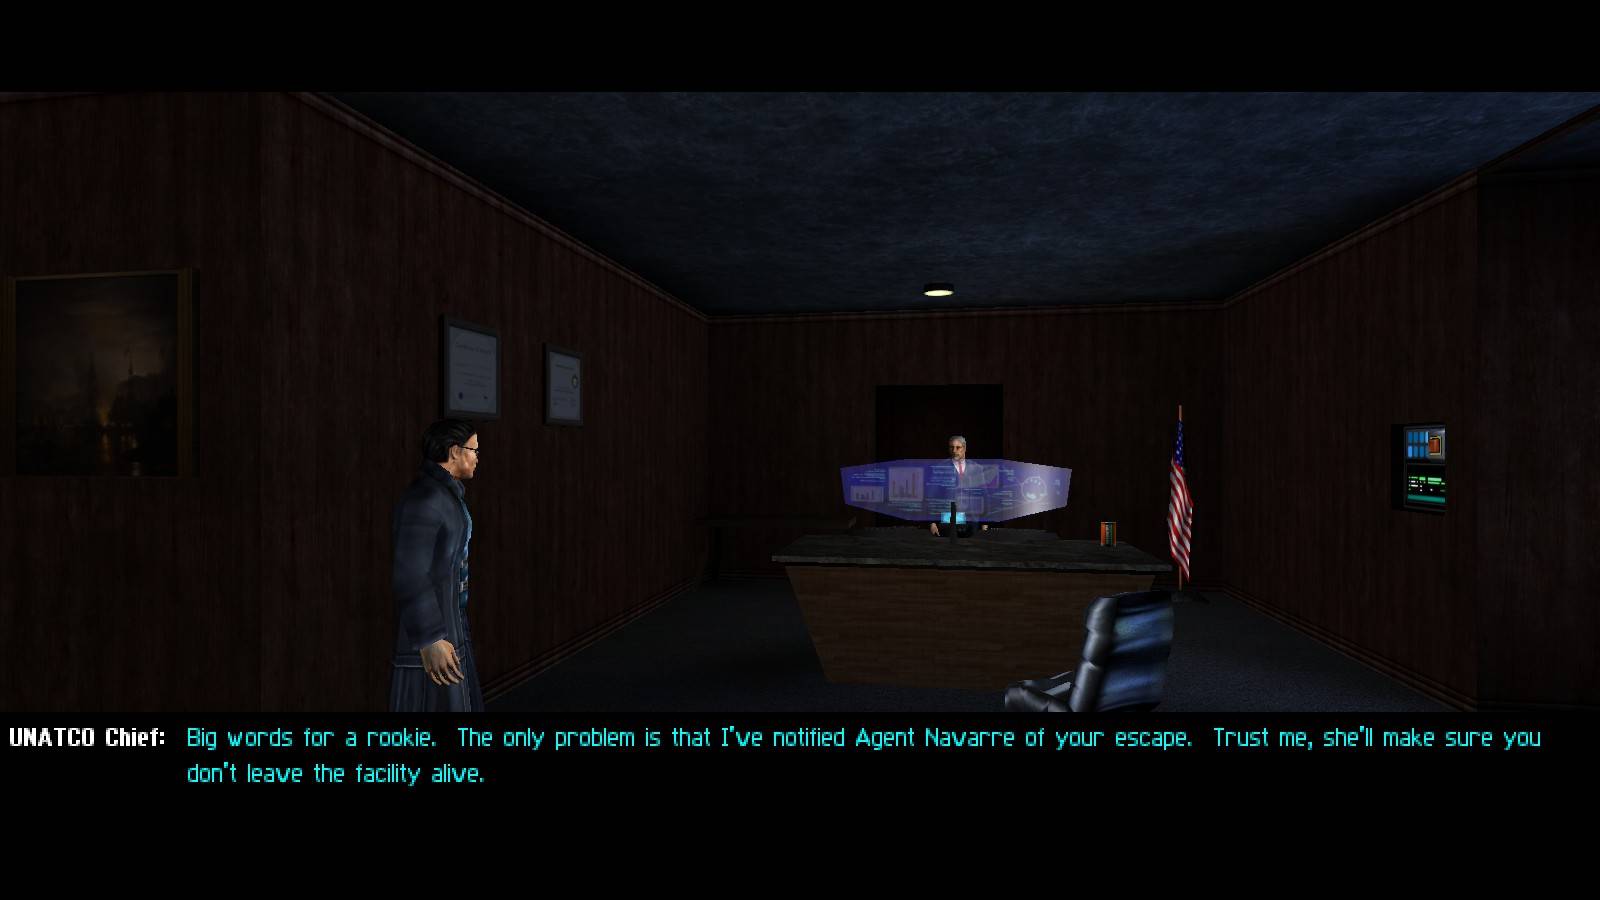
PAUL FUCKING DENTON! I let you live for the first time in years, I knock out the MJ12 troopers so you have a clean shot at the exit, and what do you do? You run past me and trigger the fucking alarm???
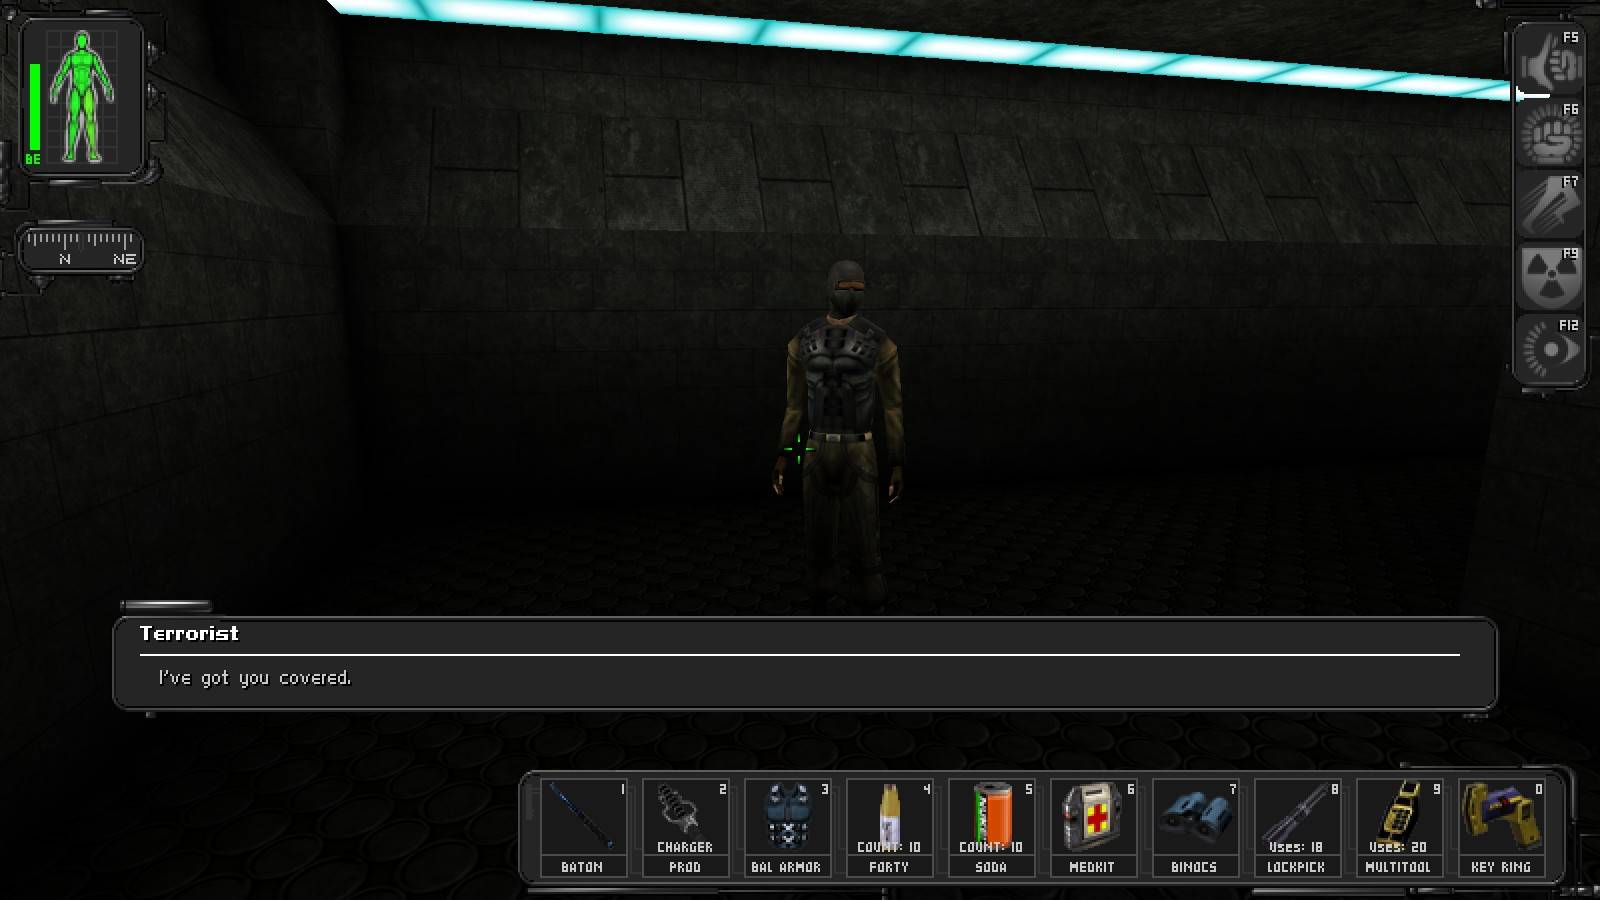
Well, we've done all there is to do. We may as well head on out! Swing by the detention cells and let the terrorist know to follow you if you didn't use the cell door trick, then head to the exit door with him tailing you. There's one last trooper at a computer terminal up ahead, get the terrorist to wait, then eliminate the trooper. Tell the terrorist to follow you, and walk down the hall until you're in . . .
UNATCO HQ
You find yourself in the basement of UNATCO HQ, behind the mysterious retinal scanner you may have noticed already. Go through the door and prod the trooper, then tell the terrorist to wait, but make sure he's on your side of the retinal scanner before that, it sucks having him get trapped! Alas, he can open the door from the other side, so we can't trap him the way we did with his jail cell, if you want to help him escape you'll have to come back and get him.
Naw, why would anyone be worried about a little thing like that?
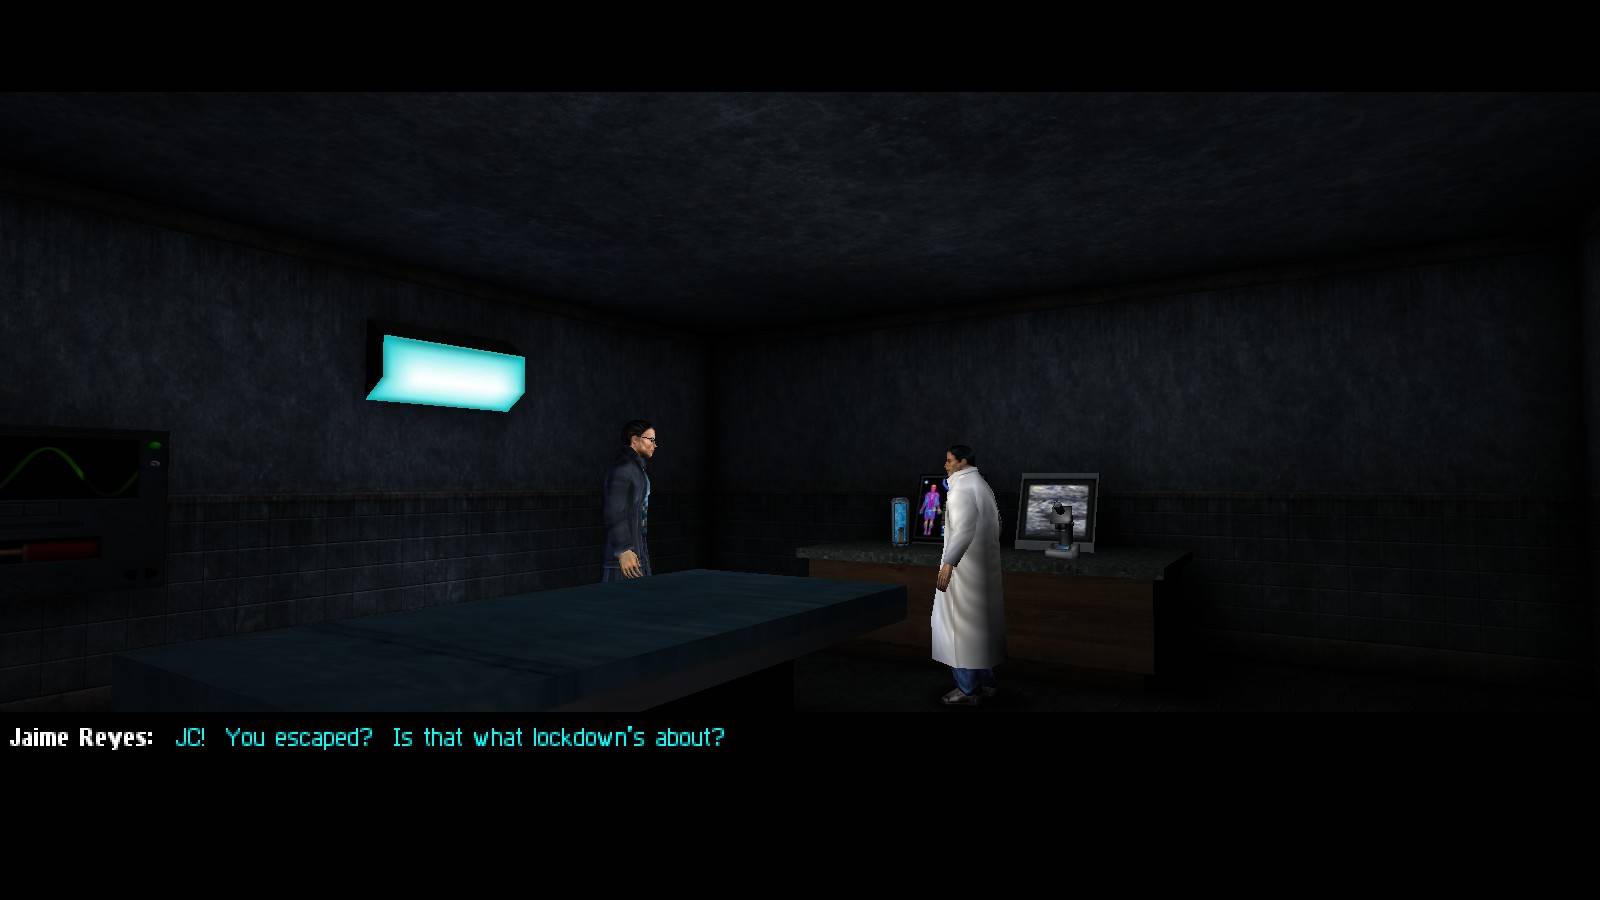
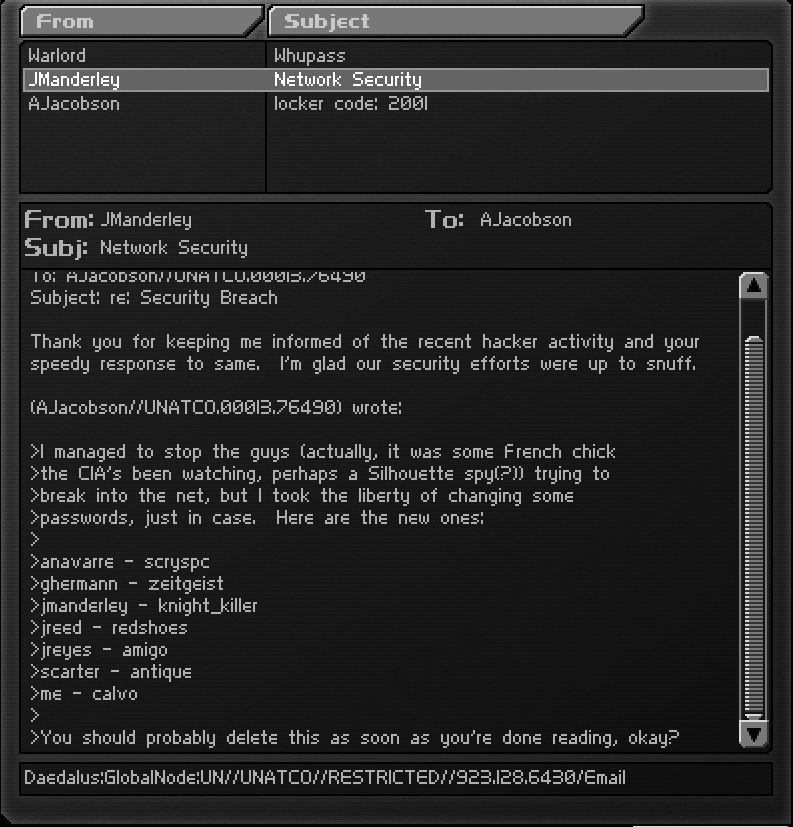
Go up the ramp and visit Jaime in his office, and pick up the precious augmentation canister he has beside him. When the fork in the conversation comes, you have the option of having him meet you in Hong Kong, where he'll give you an augmentation upgrade canister, otherwise he'll turn up Paris with Gunther's kill phrase. You won't need it at that point in the game, but again, it's your choice. If you wish to read through his e-mail or anyone else's, here are the logins.
When you find the med bot, install the regeneration augmentation, it's probably the most useful one in the game. Heal up, check the medical supply closet for a med kit in a crate, then leave the office and pop across the hall to Alex's office. Alex will give you a key to the front doors if Navarre's dead, otherwise you'll have to make a return visit after taking care of any unfinished business. Pop open the false floor in his office for 600 credits, then crack open the closet with the keypad locked door for a bioelectric cell, and a lockpick. There's a multitool on a table near here.
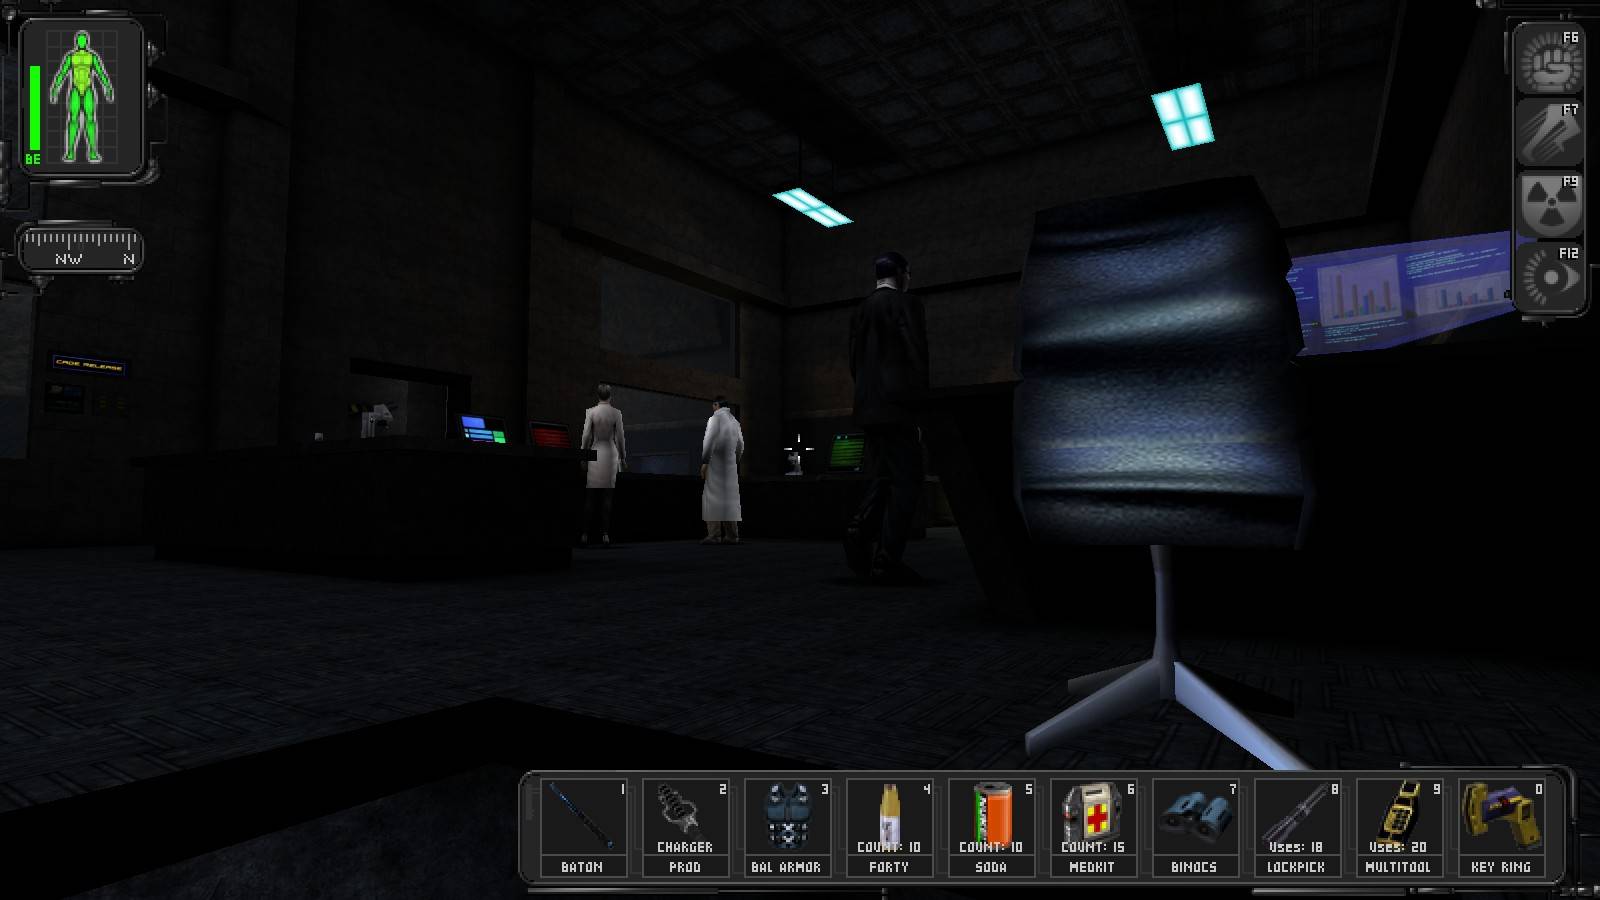
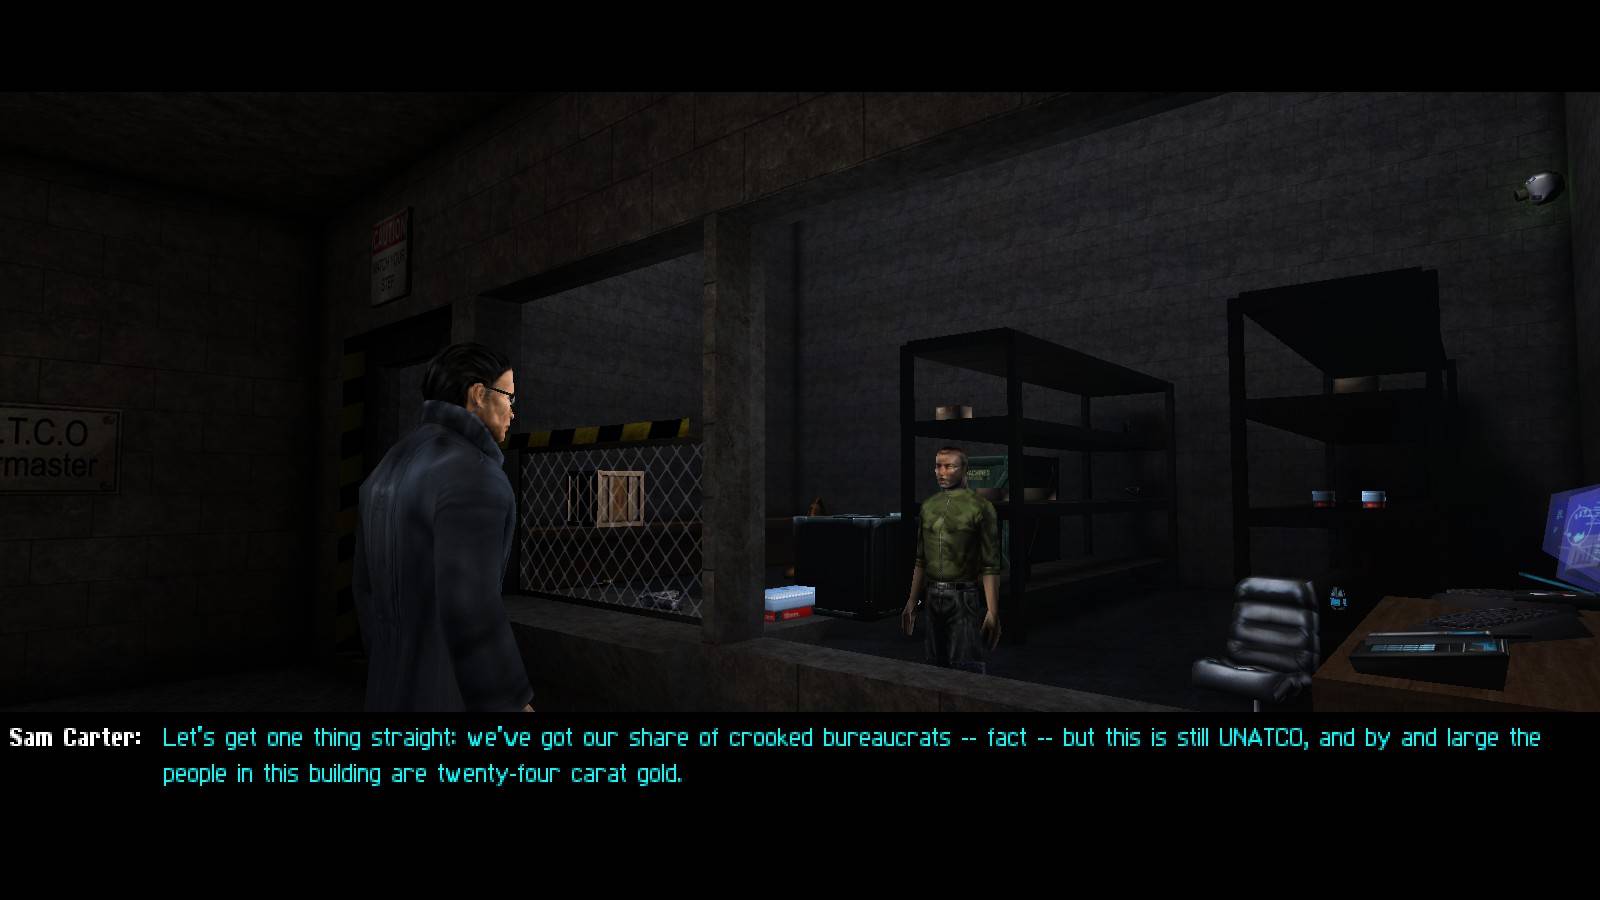
Leave Alex's office, then hang a right. We'll be paying a visit to Sam Carter, but there's a trooper patrolling the offices on the left side of the hallway who we should knock out first. I wouldn't recommend going all the way back to the detention cells to take out everyone back there, but there's a can of soda on the computer desk near here. If you didn't kill Navarre yet, and want her kill phrase, hack this computer to decrypt part of it.
Isn't someone quite the sunny little optimist?
Go say hello to Carter once it's safe, and he'll open the armoury for you. There's some nice goodies here, including:
- a bioelectric cell
- a repair bot
- a rebreather
- an augmentation upgrade canister
- a multitool
- a lockpick
Pay no attention to the man in the mirror!
Leave, and head up to level 2 after bopping a UNATCO trooper in the men's room, he won't hear you run past but he will hear the NSF trooper when you lead him out. Unless Navarre's alive, go up the stairs to level 1, into the first office on your right, and bop the UNATCO trooper here. We don't want anyone hearing Manderley's death screams, now do we? There's a lockpick on the bookshelf up here. Go down the hall to the other office on this level, and you'll find a multitool on a bookshelf, as well as a datacube warning of gunshot sensors in Hong Kong. Well, we're not going to be having to worry about that, are we kids?
Go down the stairs to level 2, ignoring your empty, locked office, unless you want to read an e-mail from Daedelus. Slip into the breakroom via the door closest to Manderley's office, and prod both troopers. Do the far one first, the one closest to the door won't even notice his buddy's lying unconscious on the floor. Go through the door in the breakroom to the trooper watching TV, give him a hearty prodding, then talk to Shannon. Leave the breakroom and check the supply closet nearest Manderley's office for a bioelectric cell, then head into the office. Deal with him however you see fit, then leave. Keep in mind he'll shoot you the second you're far enough away, so you can't just spare him unless you intend to run for it.
Again with the optimism!
The final part of Navarre's kill phrase is on his computer, so decrypt it and you'll be able to kill her easily. If you insist on doing things the hard way, upgrade low tech weapons to master if you're able, activate some ballistic armour, your arms, regeneration, and then charge her. Her method of attack is to back away from JC and then shoot him, so if you get right in her face she might not even be able to shoot you. Use the crowbar and keep swinging until she goes down. Once she's down, you're free to search the other offices.
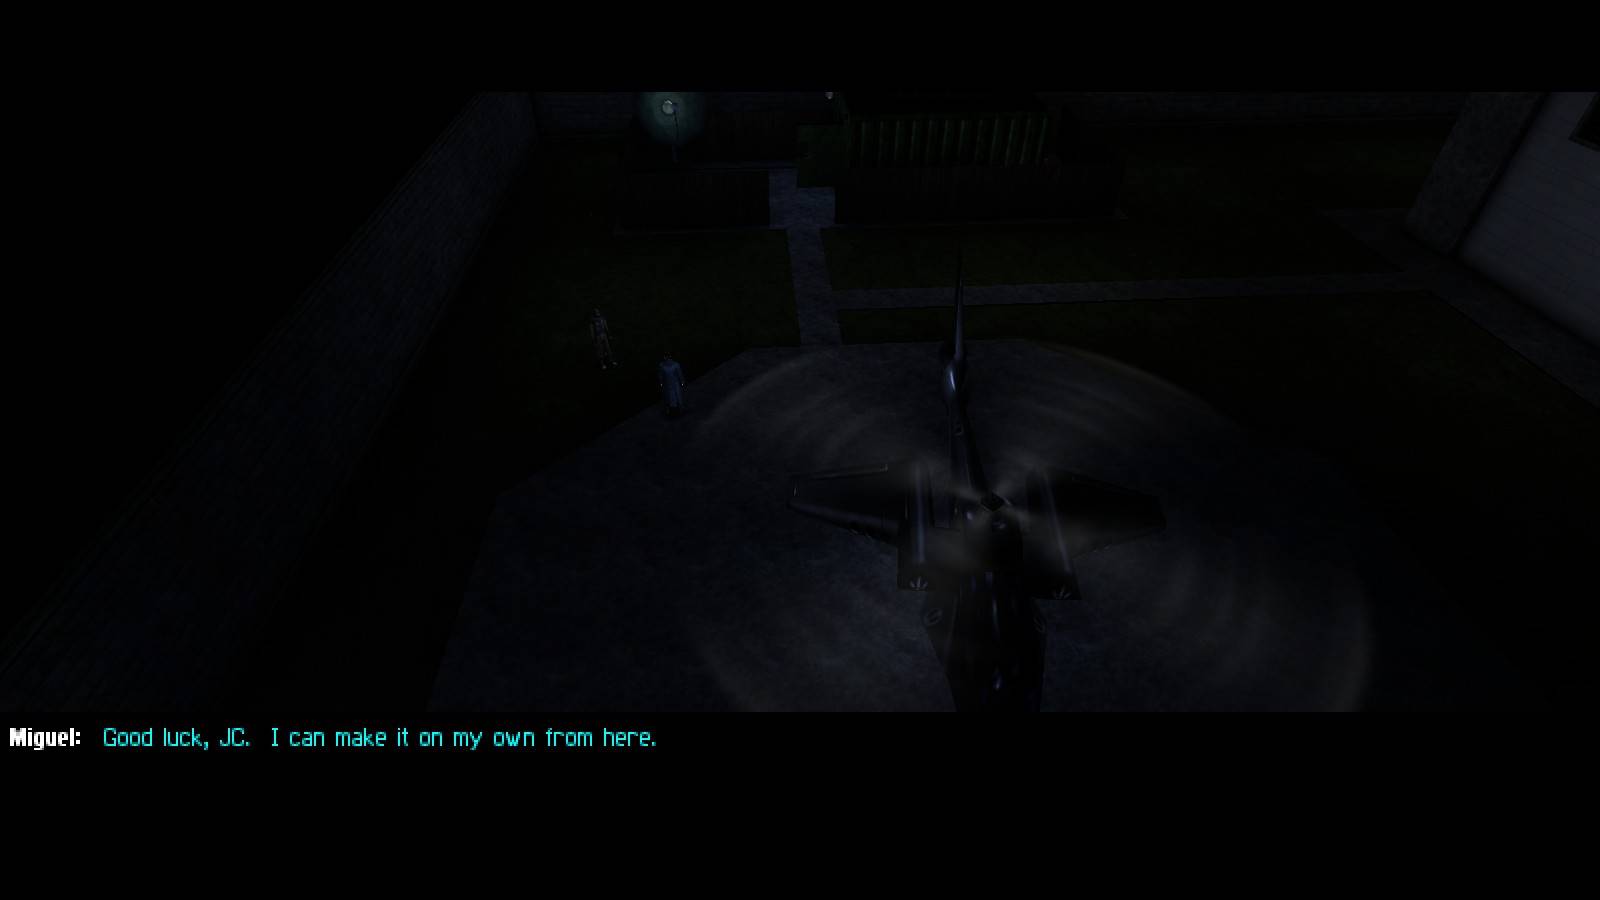
Otherwise, I think we're done here! Retrieve the NSF trooper if you're helping him break out, and get the hell out of UNATCO HQ, and ignore the door boy who'll chase you out. When you reach the Liberty Island map, tell the terrorist to wait while you bop the friendly guy up here, then tell him to follow you again. Go to the comm van, there's a multitool in a crate in front of it, then go to the chopper. You'll soon wind up, rather appropriately, in a helibase in Hong Kong, a trip of about 8,100 miles / 13,000 km, which Jock just completed himself no less. Seems that the couple from the 'Ton hotel aren't the people in this game with insane levels of endurance, and there have been some incredible advances in the fuel efficiency of helicopters . . .