- Home
- Walkthrough
1. New York 3. Return to New York Liberty Island Return to Hell's Kitchen The Warehouse Assignment The Wall Cloud, The Graveyard Ambrosia, Airfields, and Apostasy 4. Paris The Insurrection Finding Nicolette The Great Escape Finding Morgan Everett 2. Hong Kong 5. Southern California The Helibase Vandenberg Deactivating the Kill Switch The Gas Station Versalife The Submarine Base The Missile Silo Area 51 - Strategies
- Extras
Liberty Island
Introduction
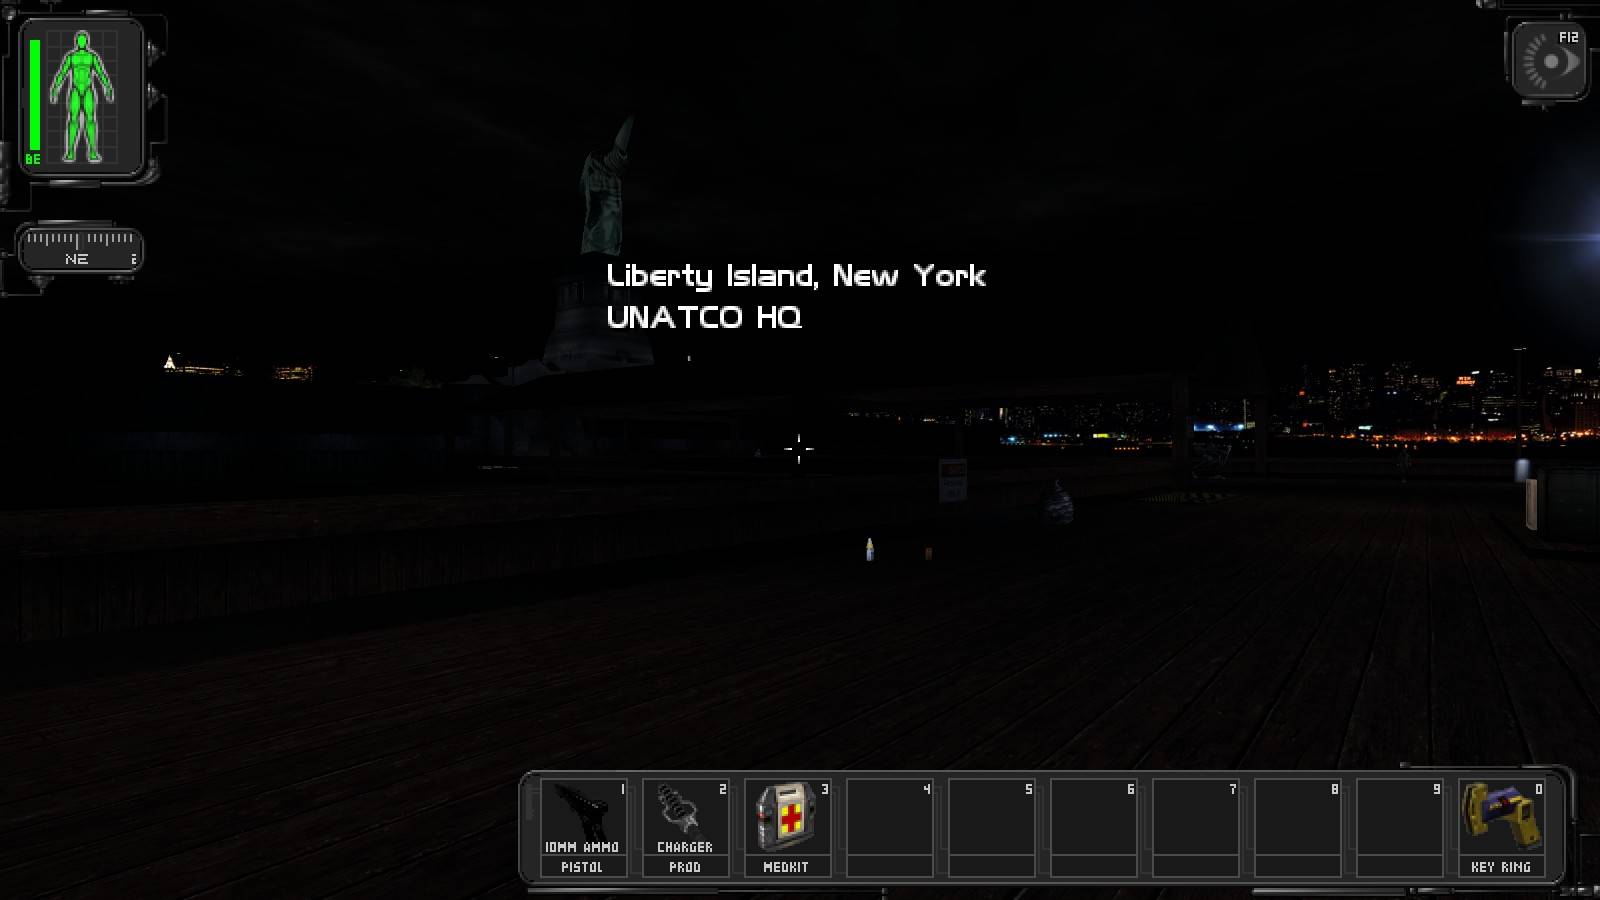
Time for the first mission of the game! The NSF has captured a top UNATCO agent and taken over the Statue of Liberty, as well as most of the island. We only need to reach the NSF commander at the top of the statue, but you should complete the other objectives for the skill points. If you get into trouble there are several allies who can help; you'll find 'bots at both docks, Paul Denton and Corporal Collins at your starting location, and finally Kaplan and a nameless friend at UNATCO HQ, but as they're mortal it's best to leave them alone. Gunther will also take out anyone who gets in his way if you free and arm him.
The invincible AIs in this mission are Paul, Harley Filben, Gunther, almost all of the UNATCO troopers which appear after the "mission accomplished" message from Alex, and Private Lloyd. (This list of invincible allies, as well as all of the ones in the following pages, are courtesy of Marecki.)
That's enough rambling for now, let's get going!
Liberty Island, Reaching the Statue
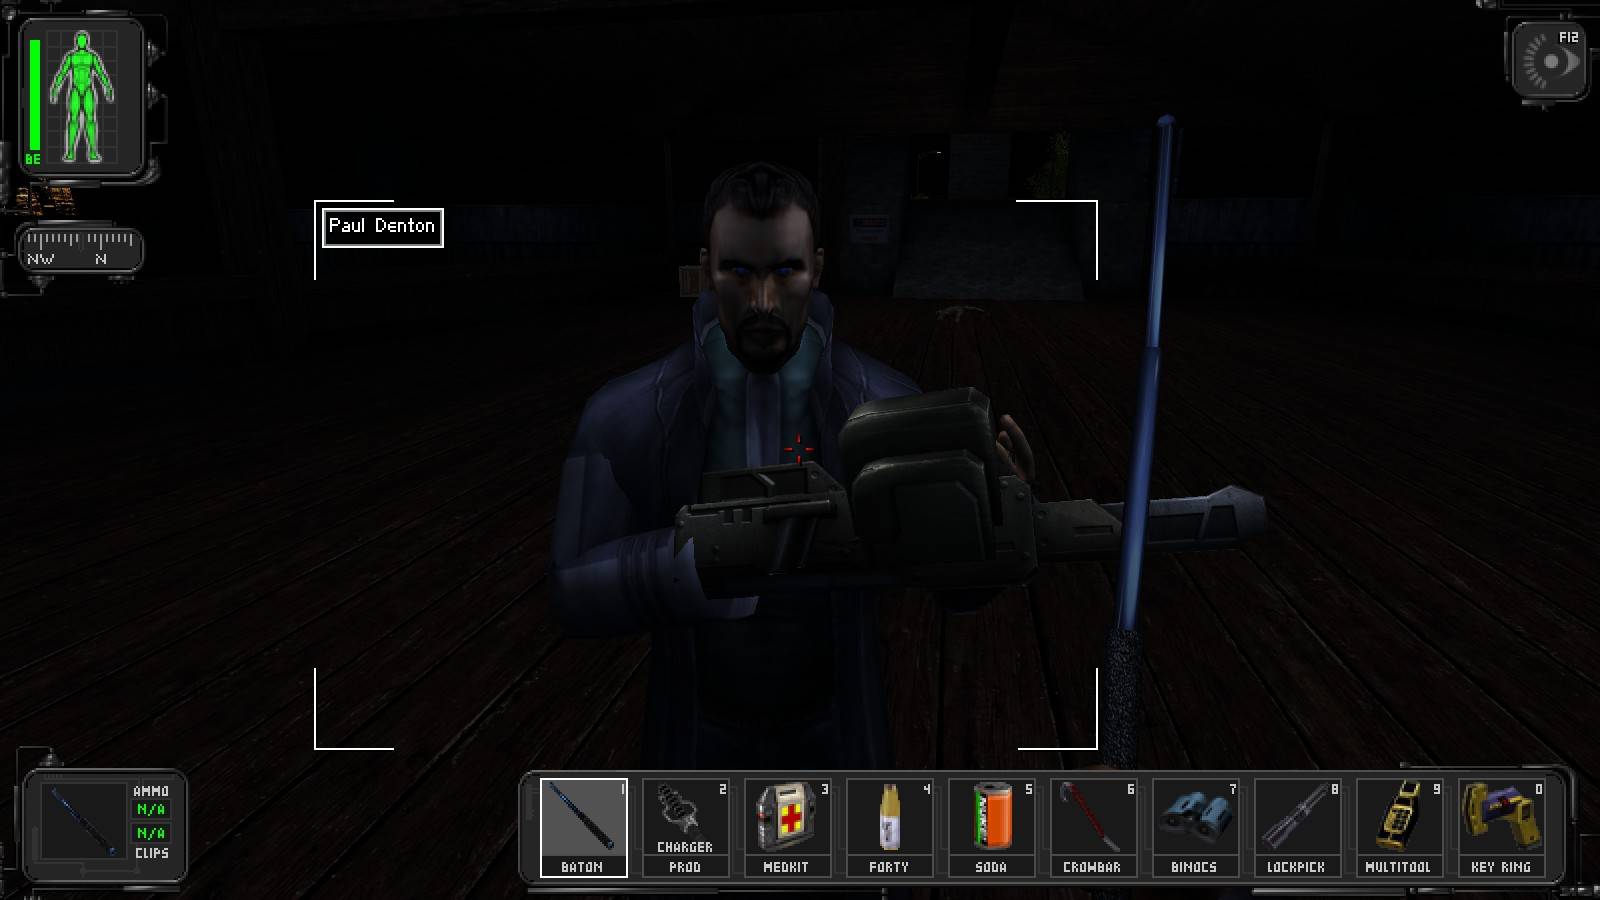
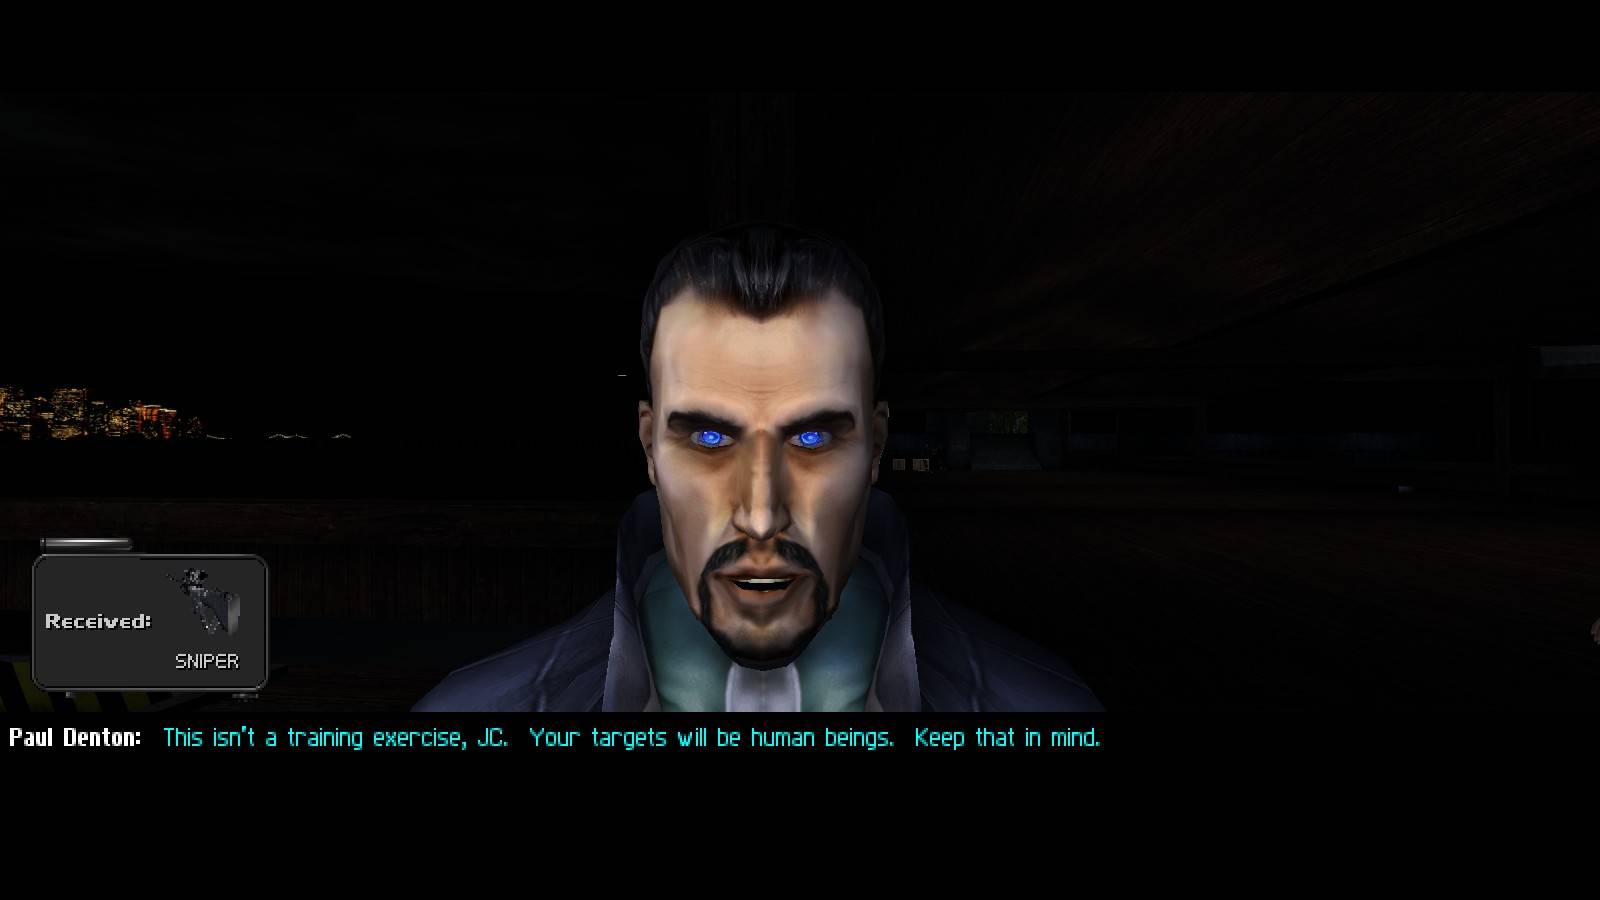
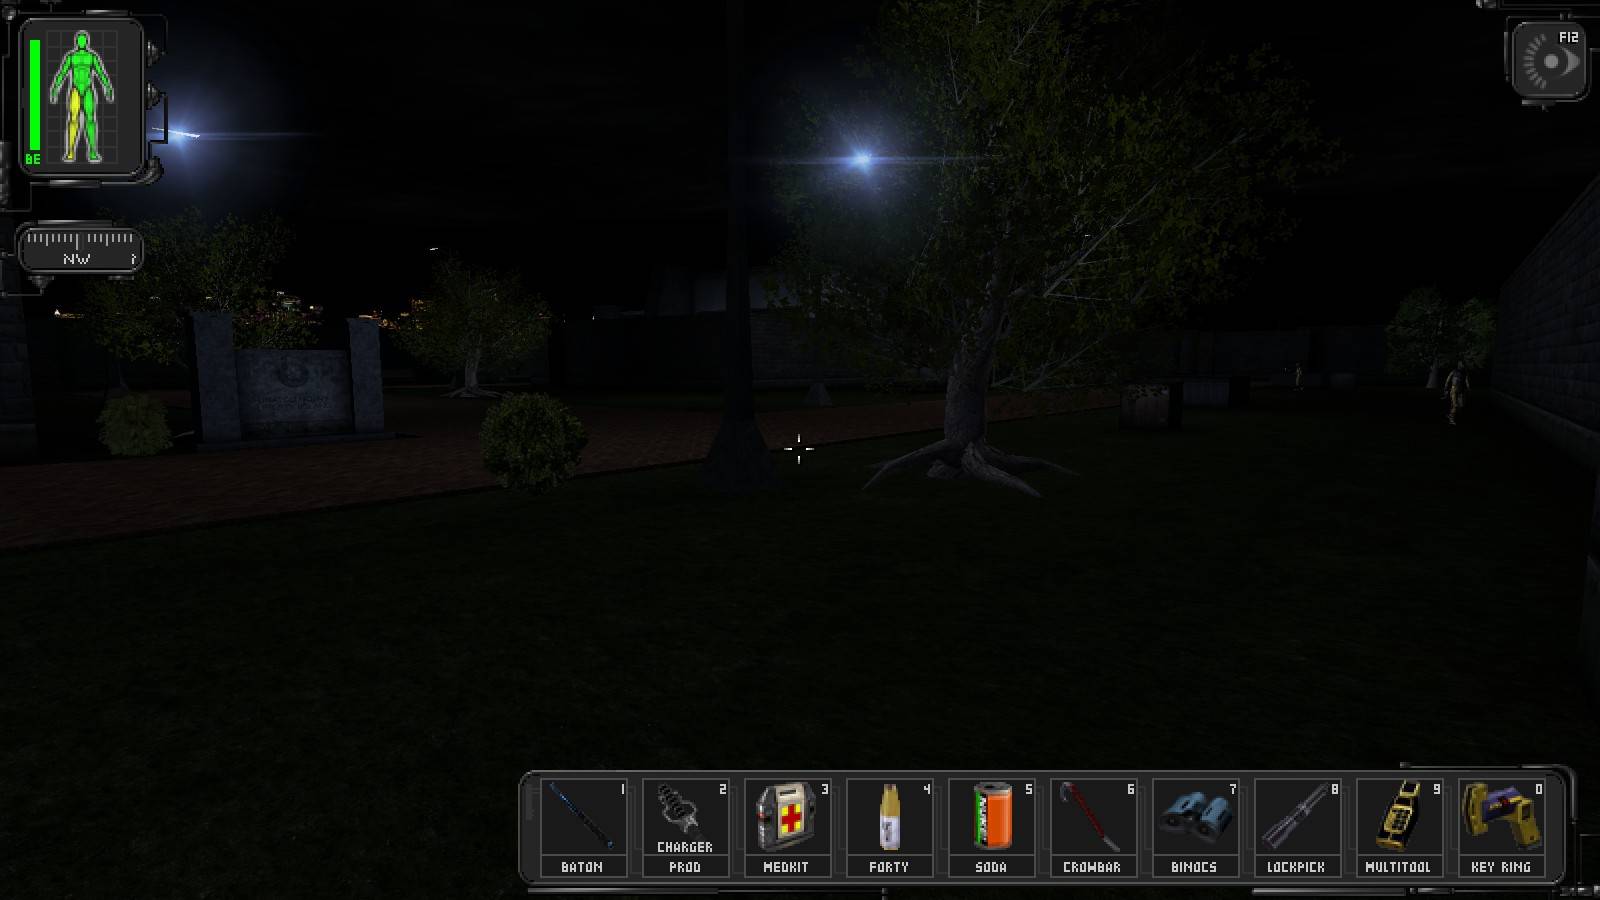
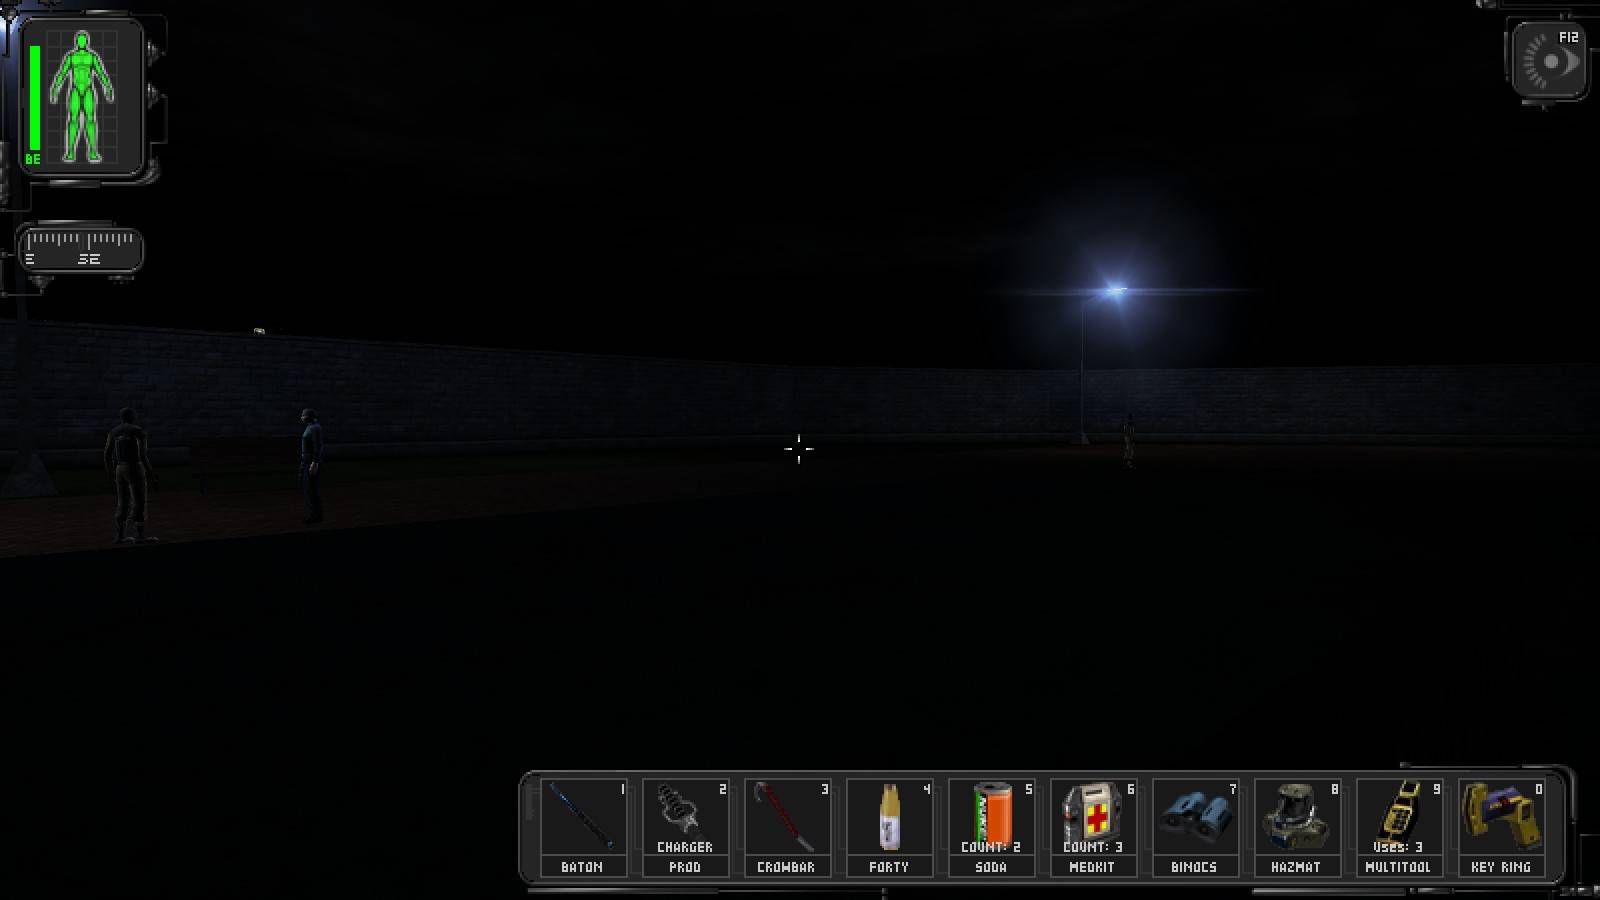
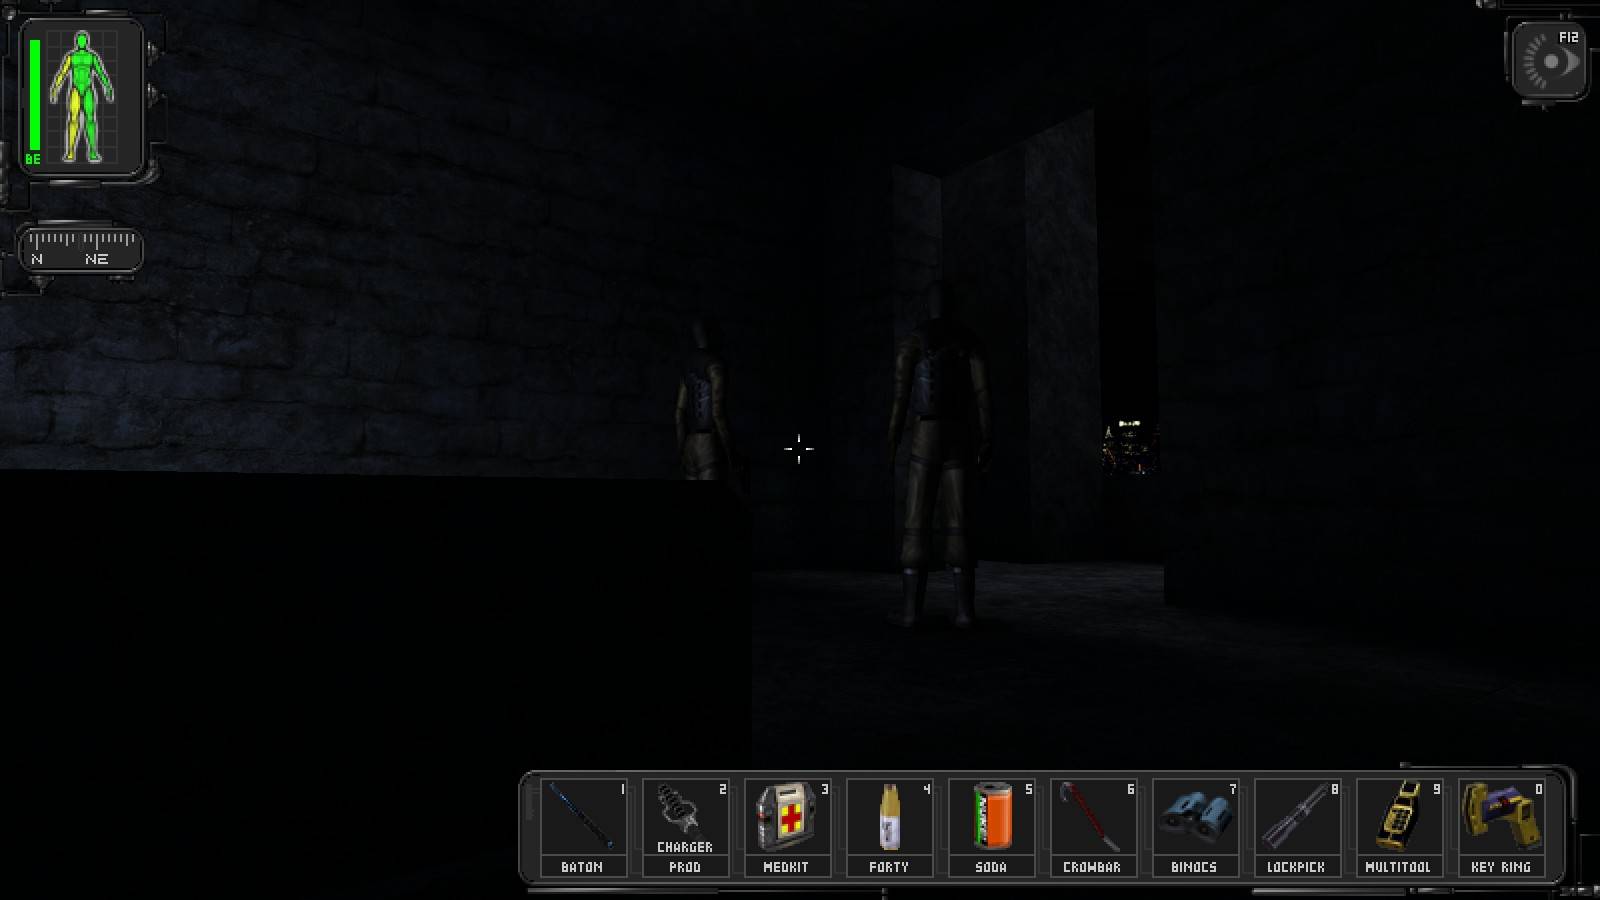
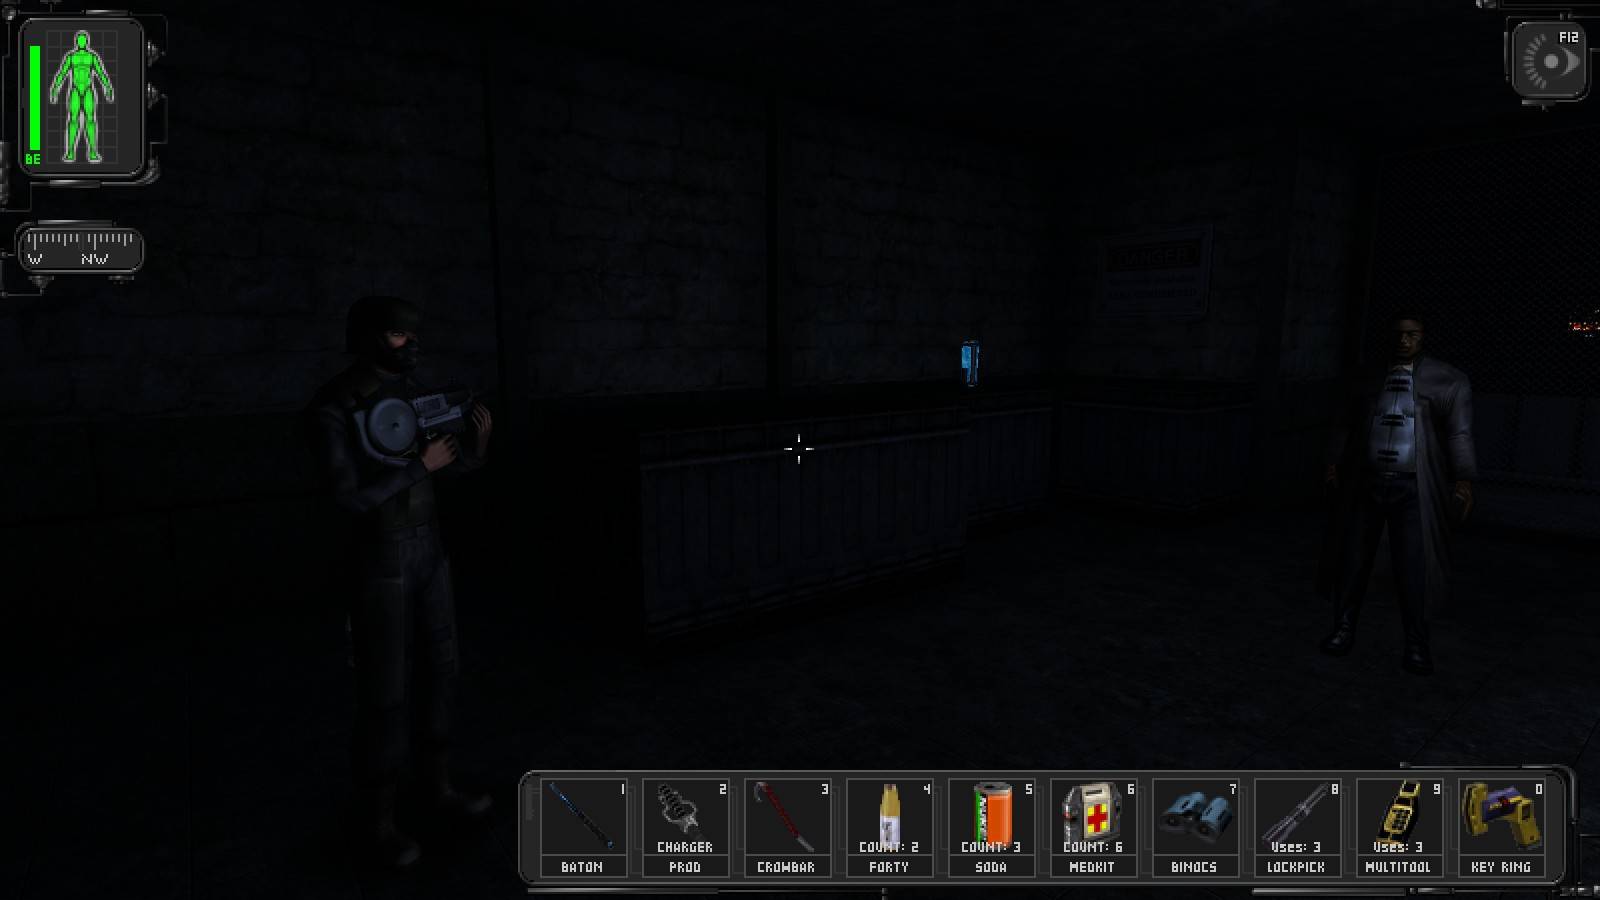
When you arrive, you'll be on the docks, near the boat that took you there. Directly north-east of where you are, there's a bottle of beer and a can of soda lying on the docks. Swipe them, and you'll soon be warned by Alex Jacobson about an impending meeting with your older brother. Head south east and swipe a crowbar off the docks, then crack open the crates here to get a lockpick, and binoculars. Paul should have found you by now, talk to him and grumble about how you're only offered ranged weapons. I like to pick the sniper rifle just to upset him, but whatever you pick won't matter, you'll be throwing it away anyways. Talk to Paul twice more, then talk to Corporal Collins.
For fun, try hitting Paul a few times. Be sure to save first as it will likely be the last thing you ever do.
Afterwards, go down the ramp in the dock into the water, and swim over to 2 crates. Crack them open, then collect their contents, a bioelectric cell and a multitool. Walk back up the ramp, go around the corner of the dock, heading for the ramp which leads up to the island. To the left of the ramp there are three crates containing a dart clip, 10 mm ammo clip, and a riot prod charger.
When you go up the ramp, there will be one terrorist patrolling directly ahead of you, and another to your right. Lure them to the 'bot if you so desire. If you're not running the Shifter mod, it's also highly entertaining seeing Paul blowing them away and then turning around and having the gall to lecture you about your killing spree.
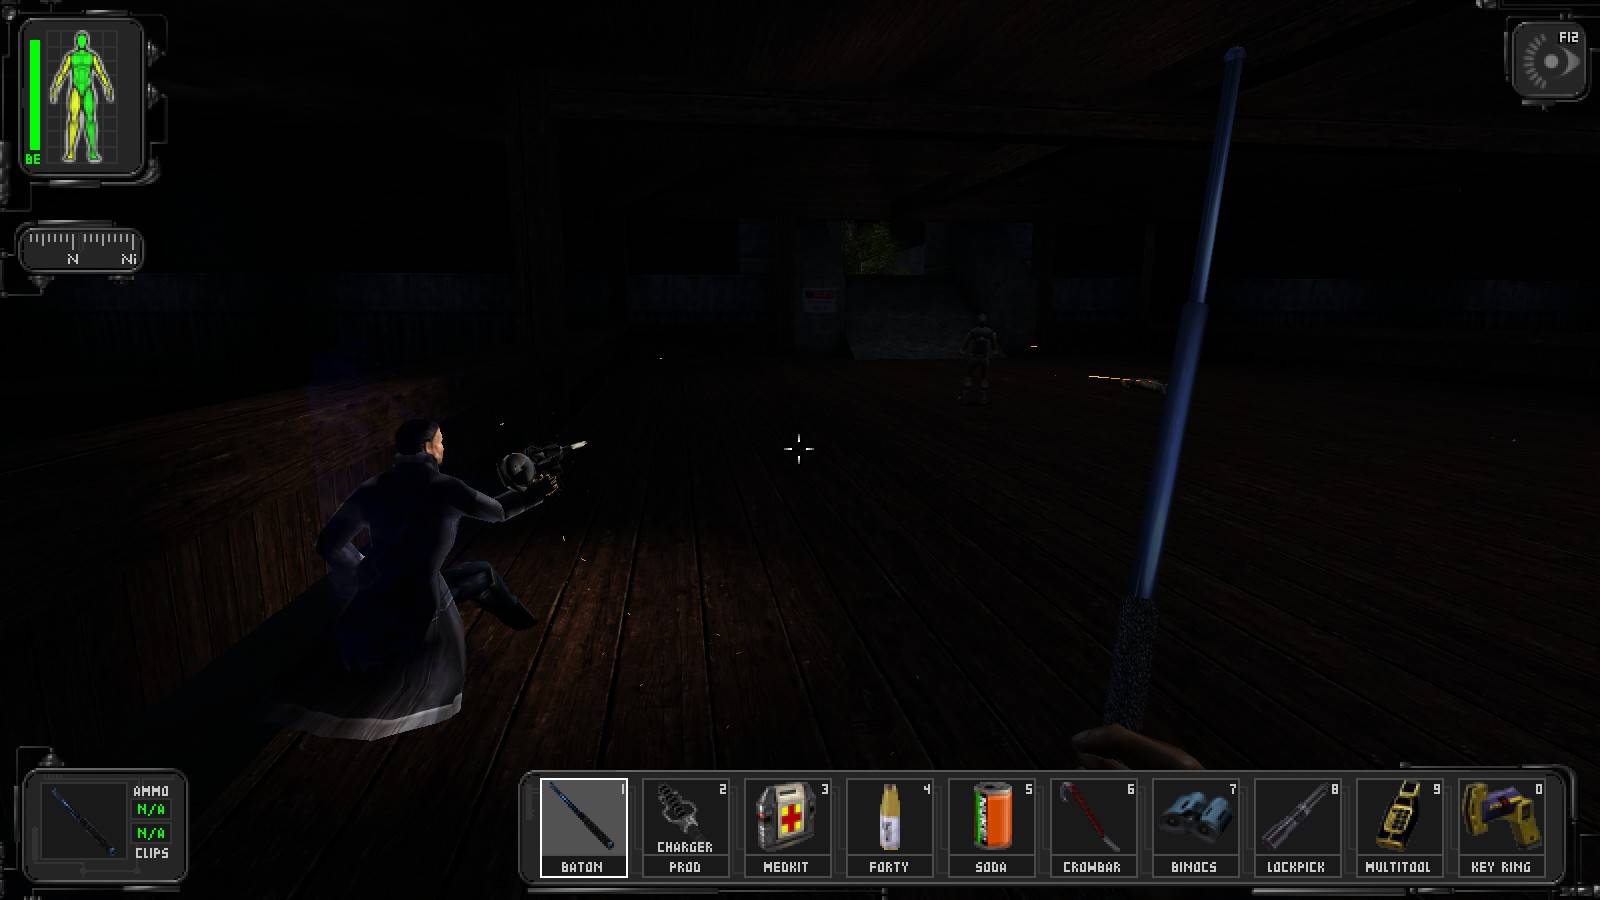
Doesn't take long for the little hypocrite to start showing his true colours!
Once the area at the top of the ramp is safe, check the crates to your left. There's a small door in one of them that conceals a group of med bots. The wooden crate on top of them yields nothing interesting, just a lone gas grenade. Head down the path, minding the two NSF troopers down the way, and take the first left. You'll wind up at UNATCO HQ, and run into Kaplan. Chat up with him a bit, and when the fork in the conversation arrives, tell him you're going to clean the place out if you want the code for the comm van.
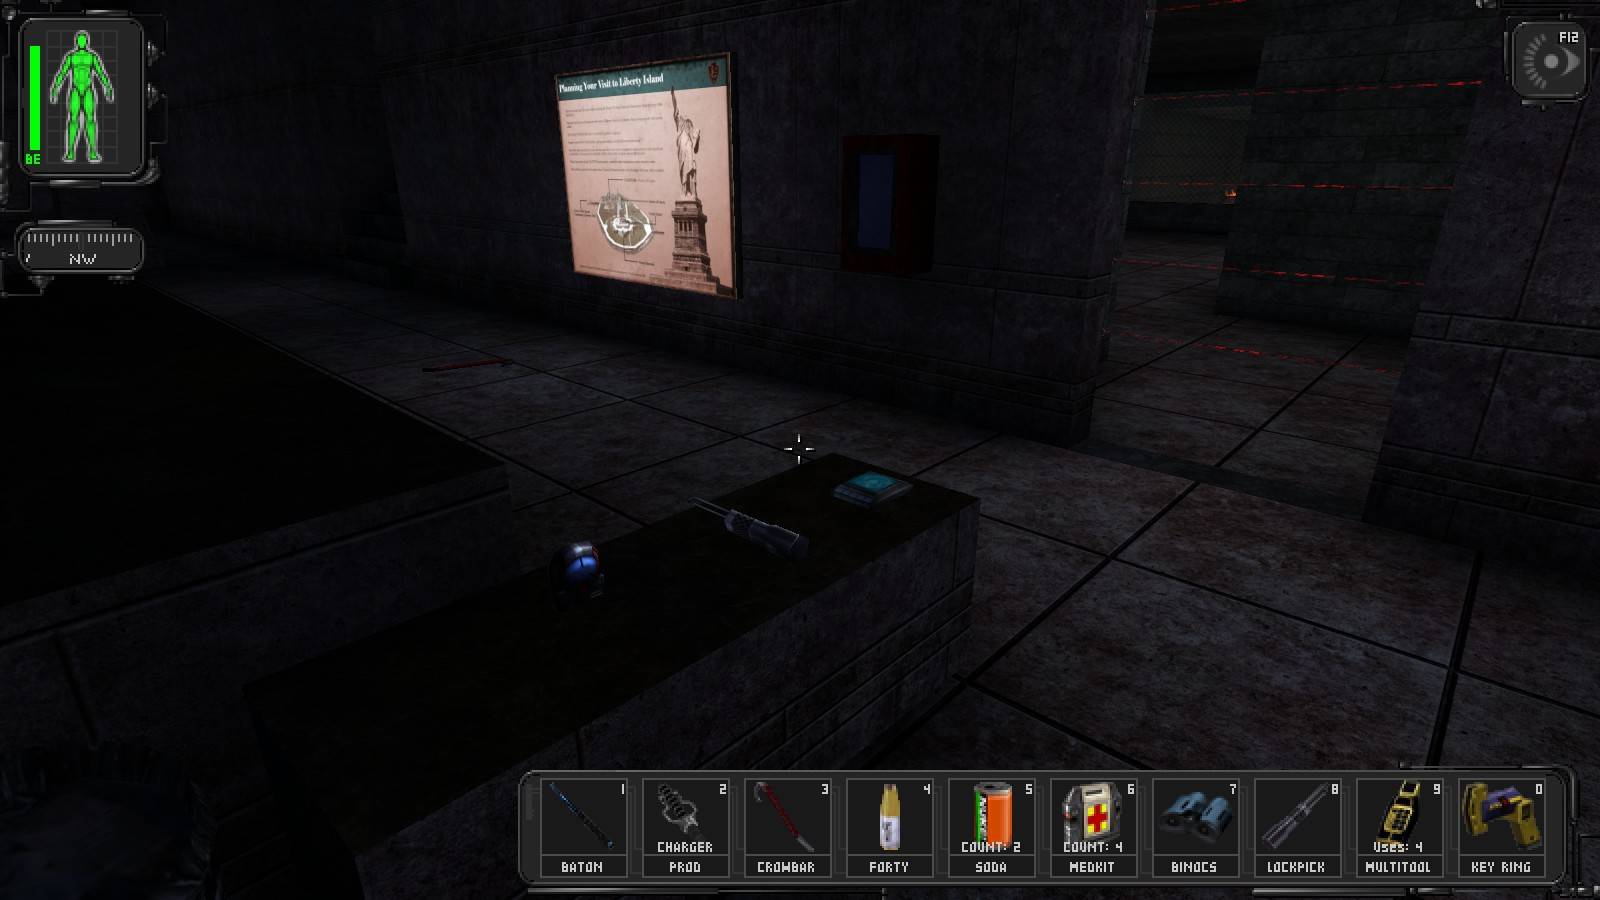
Enter the van using either the code you were given or a multitool, and lift a med kit from the top of the computer to your left. Then, read the data cube under the table to your right, use the login on the security computer, and open the hatch outside the door. You won't be able to use the EMP grenade you'll find, but the skill points make up for that. Before leaving, smash the crate in front of the van and take the multitool, then go behind the van, smash another crate, and take the lockpick.
Leave UNATCO HQ, staying to the left, but beware the two NSF troopers in the area. One of them stops near a low, gray crate, wait for him to stop before you make your move. The other one thoughtfully stops near the datacube crate, take him out, and read the data cube, it'll give you the login information for the security computer by the front doors.
Raiding the Island
This section is optional, you could easily wait until after UNATCO reclaims the island and loot the place without anyone harassing you if you'd prefer. If you want to go straight inside, jump ahead to the Entering the Statue section.
There's a building north of the datacube crate, with a NSF trooper patrolling to the west. Duck inside when he isn't looking and you'll find some flares, plus a locker, hidden in the shadows. There's 30.06 ammo and 100 credits in the locker, a waste of your lockpicks in my opinion. Stay out of sight until the trooper turns around and begins walking away from the shed, then sneak up behind him and bop him.
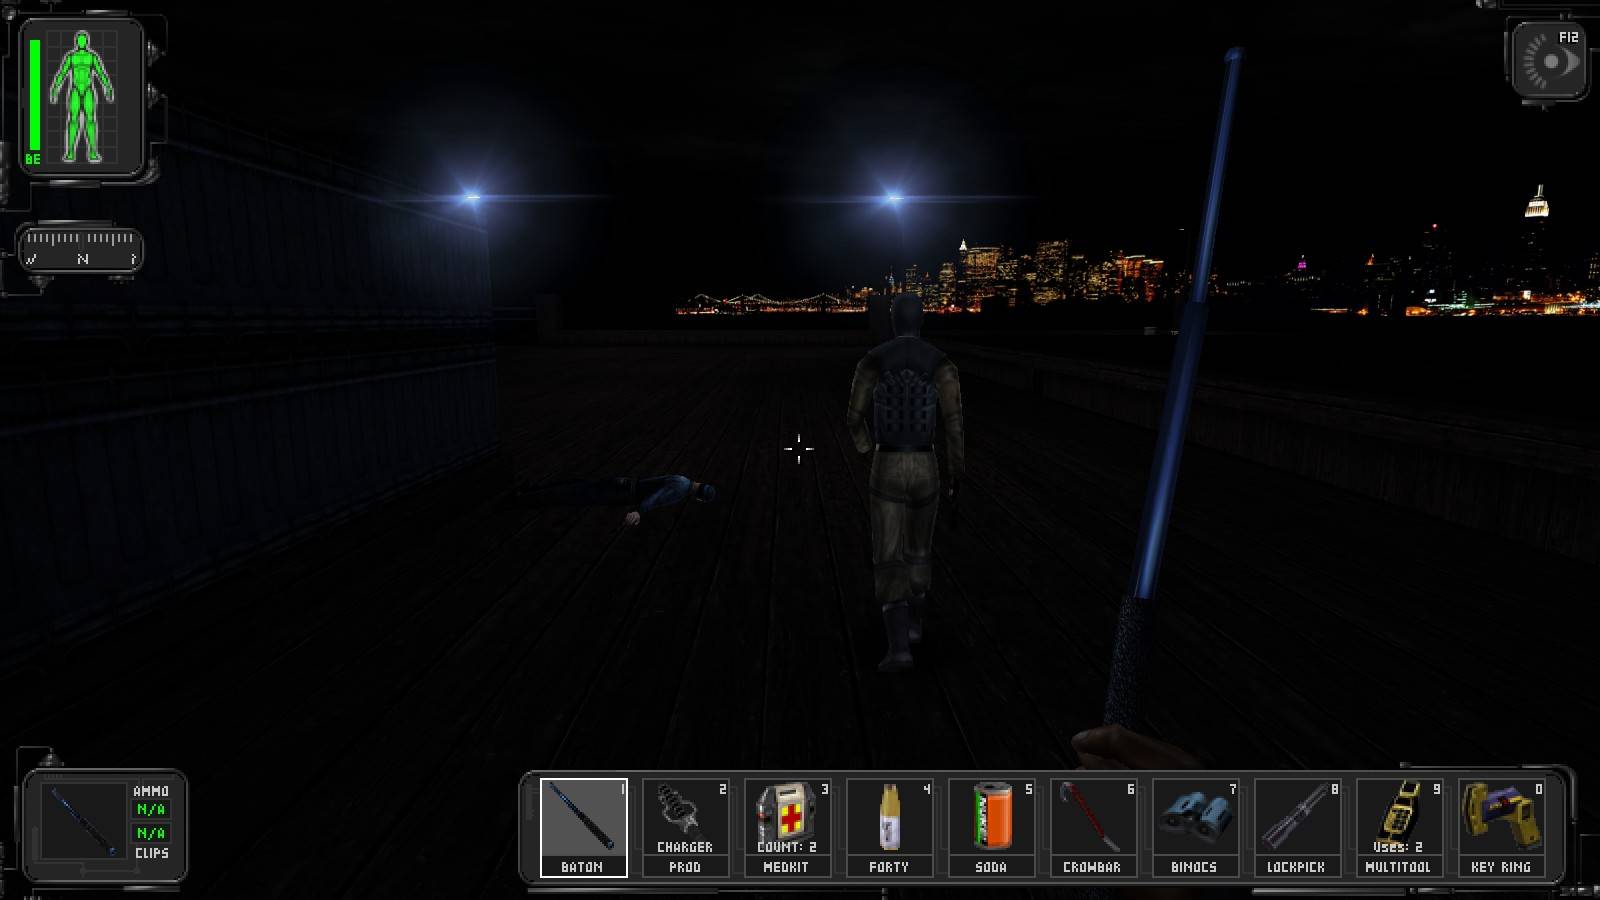
Northeast of the shed you'll find an NSF trooper patrolling a grass pathway, and although we won't be going that way, it would be best to eliminate him as he carries a sniper rifle. If he spots you, odds are you'll be dead before you realise you're in danger. Head north from the shed, bop another NSF trooper, then follow the path right / east, and bop the mercenary thug you'll soon find. Follow the path, and take the first left to arrive at the docks.
There are two men near the crates on the docks. The NSF trooper patrols counterclockwise around the crates, while the mercenary thug is stationary. Wait for the NSF trooper to turn his back to you, then crouch and walk towards the crates, being careful to stay out of the field of view of both men. I recommend waiting for the NSF trooper to walk behind the crates before bopping the merc, then take out the NSF trooper.
But there's no great rush!
There's nothing of interest to us in the crates, just some 30.06 ammo and GEP rockets, so head over to the shack on the dock and talk to Harley Filben, picking up the can of soda first. Tell him you'll leave the NSF commander alone, and he'll give you a key to the statue doors, although we won't need it. His female companion has interesting information, but uninteresting merchandise. When you leave you'll see a ramp leading from the docks down to the water, where you'll see a sunken ship. There's nothing we can use in there, although you do get a 50 skill point exploration bonus if you want to sacrifice a lockpick.
Leave the docks, and when you get back to the path, turn left, (east) and head towards the large stack of crates in the distance. An NSF trooper patrols around the underground storage area, bop him. There's a breakable crate near the large crate stacks, but it only has some 10 mm ammo in it. If you have hoarding tendencies like mine, though, you'll get all the ammo you can just for the hell of it! You can also climb the crates to find a back entrance to the statue, which we won't be using, but since you can enter through the front door Alex won't send you a message, and you won't get skill points for it either, so there's little point.
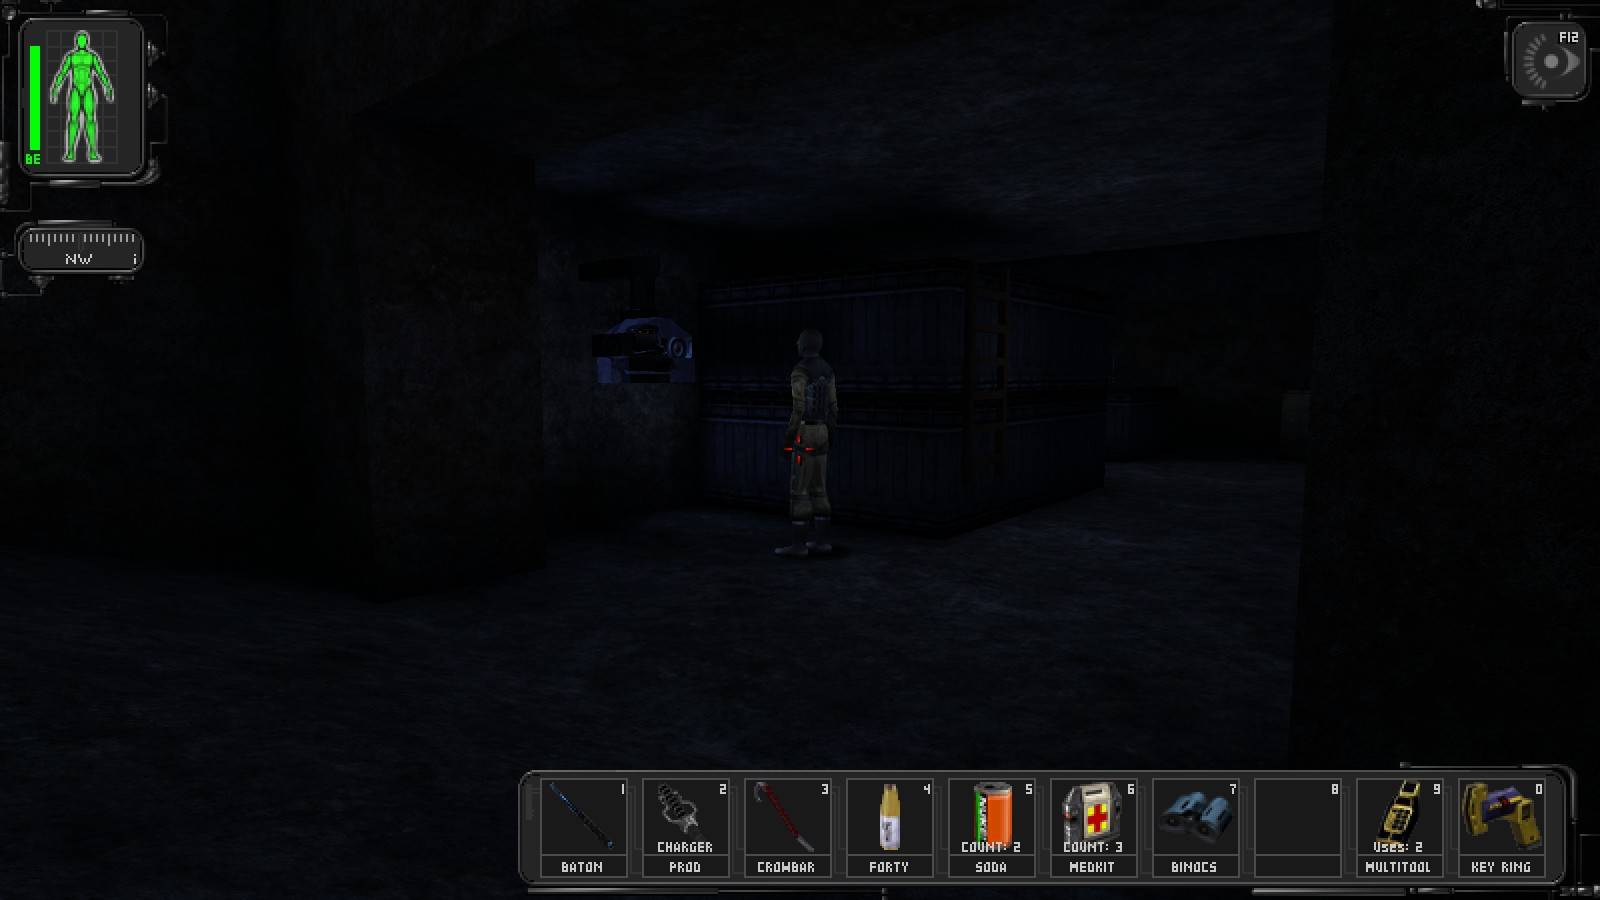
In the underground storage area is an NSF trooper, we'll need to send him to nap land before we continue. (Alas, luring him through the electrical arcs we'll soon find only wounds him, so we can't arrange for him to have an Accident!) He stops and looks at a hazmat suit before walking towards a fried power box, as soon as he faces the hazmat suit it's safe to charge and bop him. Take the hazmat suit, and climb the little ladder on the crate stack, you'll find a multitool hidden up there.
We need to get past the fried power box before we'll get a nice helping of skill points, and there are several different ways. Mine is to push the button on the nearby forklift and hop on the forks before they get too high, afterwards you can walk right over the power box and to the back of the room to receive 250 skill points.
The more important piece of loot we'll find back here is our first fire extinguisher, as it's the only reliable way to put yourself out if you're set on fire, be sure to grab it. Even if there's water nearby it's much simpler to open the inventory screen and activate it. There's not much of interest in the crates back here, although there is a bioelectric cell. Take it, then grab the metal crate and use it to hop back onto the power box and leave.
Walk parallel to the path heading away from the underground area, staying in the shadows to avoid upsetting the nearby troopers. There's an NSF trooper who patrols a long area that stretches from the underground storage area all the way back to, and past, an NSF trooper and mercenary thug, who stand beside a low stack of crates you can hide behind. If you want to be thorough, take out the walker at one of the far ends of his route, and use the Soda Can Maneuver to lure the two stationary men as far away as possible. They will return to their starting locations, and it's a simple matter to bop them both as they're calmly walking back.
Keep walking parallel to the path, and keep an eye out for two NSF troopers who talk about Gunther a bit. One may spot you, but as long as you don't hang around, he won't come after you. If you want to knock them out, use the Soda Can Maneuver again. From here, you can stay on the path until you can see the crate stack containing the med bots in them ahead of you. Depending on whether you took him out earlier there may be an NSF trooper here, so keep an eye open. On the crates directly west of, and furthest from the med bots, you should find a breakable wooden crate that contains a multitool. From here you can proceed north to the statue.
Entering the Statue
Keep in mind that the little 'bot patrolling near here is deaf, so you don't have to worry about him too much. There are crates directly in front of the front doors, use them for cover if the 'bot is around. Wait for him to leave the area before using the security computer to turn off the cameras and perhaps turn the turrets to your side. Personally, I shut off the turrets inside, and turn the one outside to my side and let it take out the 'bot for me. If you do that, keep the doors closed so nobody inside is alarmed by the gunfire. Apparently the hole in the wall above the door large enough for a grown man to climb through doesn't conduct sound.
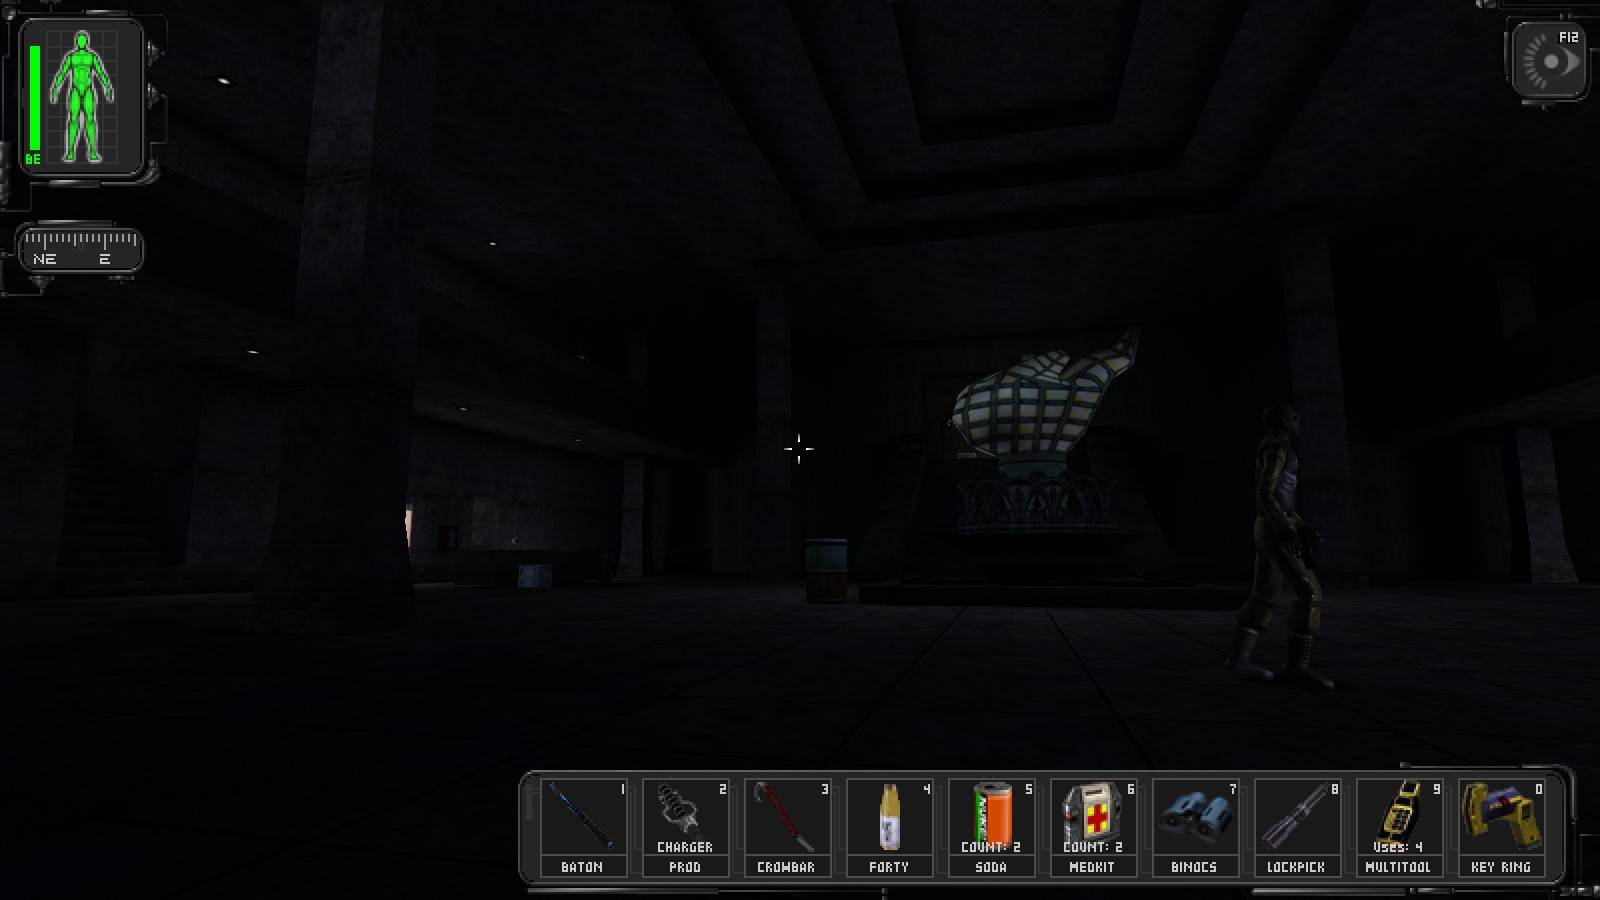
Smash the crate the camera was watching over to receive a lockpick, then sneak inside. Assuming you left the turrets alone, you should be able to take over the statue without anyone noticing you. In the first room one NSF trooper patrols the room counterclockwise, while another patrols upstairs. He'll see you bopping his comrade if you're to the right of the front doors, so I'd recommend going upstairs to deal with him first.
Once they're unconscious, you can crack open the crates without alerting anyone. If you go up the stairs to the right of the front doors, you'll find beer on the stairs. Turn left at the top of them, and smash another crate to get a med kit. In the crate to the left of the front doors, on the first floor, you'll find another med kit.
Rescuing Gunther
We'll be busting Gunther out of his cell here, obviously, but if you want him to be a grumpy bastard to you later, you can move ahead to the Capturing the Commander section. Be forewarned, Gunther will kill anyone who gets in his way during his escape, so if you're planning on a no fatalities game you'll want to knock out everyone between the statue and UNATCO HQ.
Seriously, why didn't they put a multitool there so that every single method of getting past the lasers was provided to us?
You probably saw a crate of TNT by the counter near the laser tripwires, swipe the lockpick nearby. Use a multitool on the laser panel, but listen to the patrolling NSF trooper. If he sounds like he's coming towards you, wait until he walks by the doorway and is heading to the right / east. Once the lasers are down, get your baton ready, and go down the hallway leading right / east, and take out the NSF troopers as fast as possible. Take the first left and bop the NSF trooper that stops closest to the windows first, then take out his buddy.
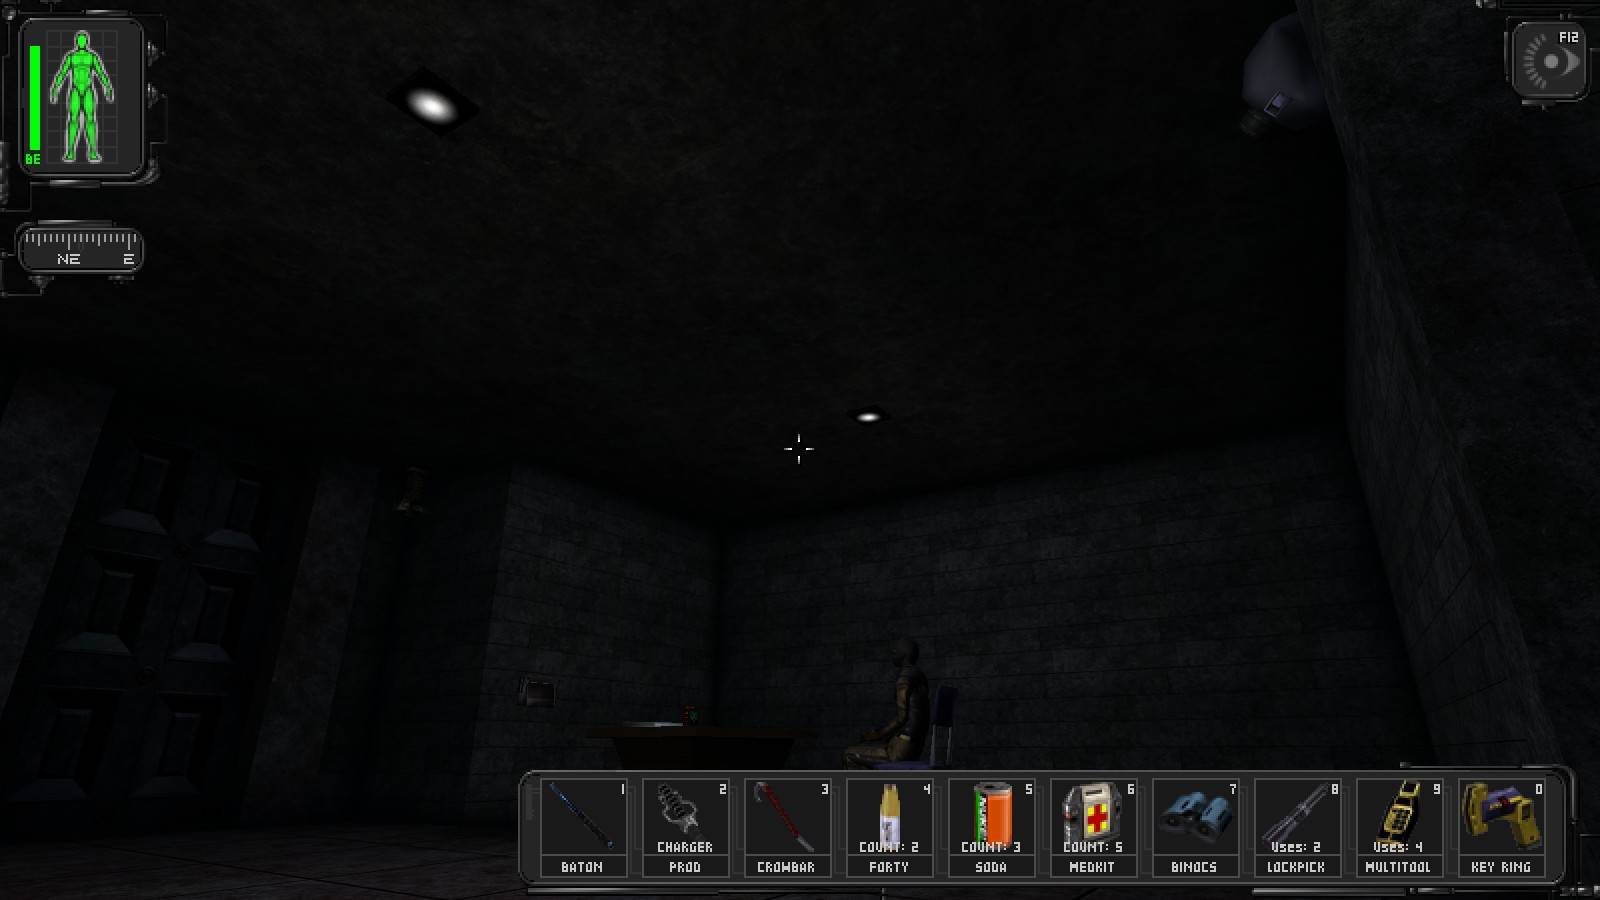
Once both are unconscious, double back and look for the NSF trooper sitting at a desk with an accuracy mod and newspaper sitting on it. There's a camera that watches the desk, and it'll see you as you come in the room. You can disable it with a multitool to make life easier, but it's not necessary. To take the room with the camera active run in, render the NSF trooper unconscious, (the riot prod is highly recommended for this job) and then dive behind the desk before the camera triggers the alarm.
Use the security computer in front of the desk to turn off the camera and open the door, then run in and say hello to Gunther. Odds are you have a pistol on you from searching the bodies, give him that and he'll be far friendlier to you later in the game. If that suits you, of course!
Get some wine out of the holding cell, then leave the area. When you pass the laser panel again, turn left, and slip into the vent behind the column. Keep walking through it until you reach the first break, pick up a bottle of beer and multitool, which are to your right, then go left to the door and pick up some soy food. Return to the tunnel and continue crawling through it until you reach the second and final break, read the datacube on the table and take the medkit. Backtrack out of the tunnel and once you've emerged, head left and go to the ATM, use the login you found in the datacube to steal some cash.
Capturing the Commander
Go to the stairs across from the front doors and go up them, smashing the crate under the camera to discover a lockpick inside. Continue up the stairs until you see a crate of TNT ahead of you. If you want a med-kit, rush towards it, and hide behind the wall. An NSF trooper should be along shortly, ready to receive a hearty bop on the head from the baton. Stay well away from the exit, there's a NSF trooper outside who walks right past it. The med kit is in a crate to the left and around the corner from the doors, but be careful, there's a big helping of NSF troopers wandering around here. If you go clockwise around the building you'll discover enemies roughly in this order:
- NSF trooper by doors
- NSF trooper by crates
- NSF trooper wandering by the high ledge
- NSF trooper and mercenary thug by the statue head
Return inside on the lower level, then go upstairs, staying low to avoid alerting the mercenary thug and NSF trooper, and keep going until you get an e-mail from Alex Jacobson about the missing Ambrosia. If you want to take them out be warned that it's very risky to use the Soda Can Maneuver while standing in the stairwell, there's no cover and it's very well lit, if both run into the room it's very likely you'll be caught. I would recommend you to disarm the gas grenades at the other exits, and try luring them outside.
Be very, very careful as you come to the top of the stairs, there are 2 NSF troopers up here who'll have a conversation when you get close enough. The trooper on the left will turn his head enough that he'll see you as he comes up the stairs, so wait for the conversation to end before moving. When it does, creep up the stairs and go right, hugging the wall to avoid being seen. If you want to take them out, you can take the nearby one out with the baton, but this will upset his friend and you'll need the prod for him.
Whatever you do with them, afterwards, grab a candy bar in the corner of the room, then follow the wall until you find a ladder, and climb it. Alex will remind you to leave the commander alone in an e-mail part way up the ladder. Keep climbing, rescue some beer, then talk to the commander. Bear in mind that if you threaten him he'll start shooting, and if he doesn't outright kill you, taking him out will get you into trouble.
If you'd like to stir up some trouble and take out the commander, here's what Marecki sent me on the subject:
The most obvious way of verbally provoking him into a fight doesn't work too well in melee-only mode because he starts shooting fast and JC has to re-wield a weapon after each coversation. Sneaking up doesn't work either, as the conversation triggers whenever JC approaches him closely enough. However, it is possible to cheat the trigger!
Having climbed the final flight of stairs, turn around and, hugging the wall, walk over the rail to the other side of the room so that you can approach the commander from behind. Ready your weapon of choice and jump at the guy, swinging in mid-air; if you manage to score an airborne hit the conversation will not trigger and attacking from behind means you probably won't have to swing again too many times - with advanced Low-Tech Weapons I managed to take the commander out with two baton swings.
If you'd rather not break the trigger, it is possible to survive a head on assault with the commander without cheating the trigger, and I didn't find it too difficult. Two words -- riot prod. You will take at least one round so you'll want to heal up first, but if you can nail the commander with the riot prod, the fight's over.
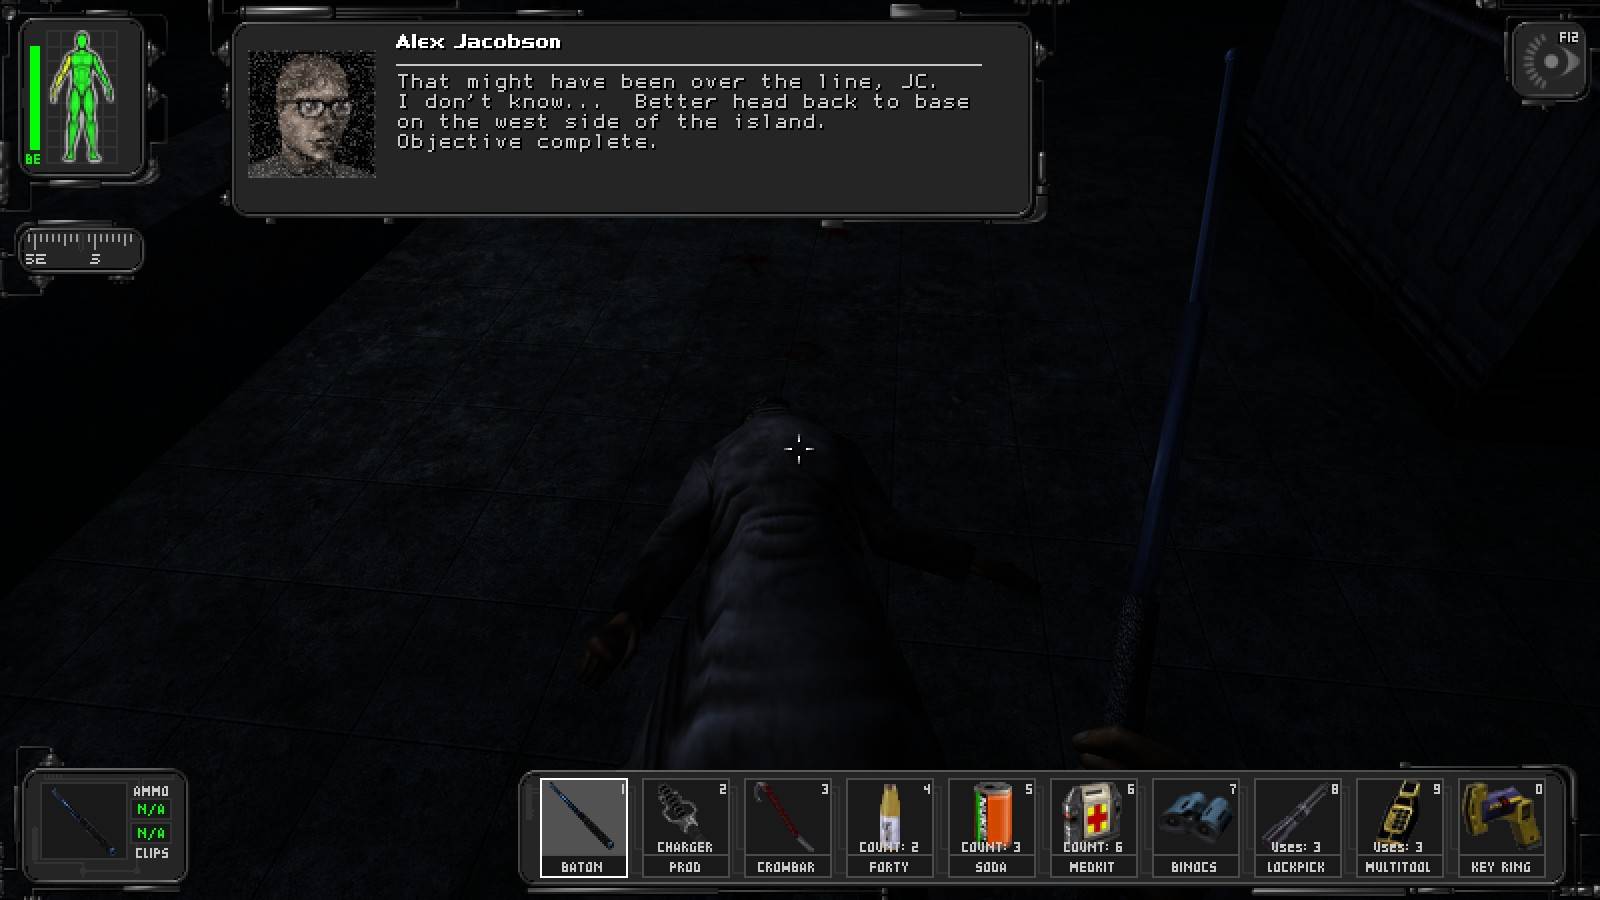
Once he's handled, one way or another, get the augmentation canister from the nearby table, and return to UNATCO HQ, unless you feel like having a little more fun! The UNATCO trooper with the assault rifle who arrives after you speak to the commander is the only trooper who appears at this stage of the game who's mortal. I like to knock him out and leave the commander to try to explain what happened.
UNATCO HQ
I feel stupid for writing a walkthrough on something as simple as healing up and getting a new assignment, but hey, when was I ever accused of doing something sensible? Besides, I'm hard-wired to ramble!
When you arrive at UNATCO HQ, Paul will be there to greet you. If you killed even one person, he will tell you to pace yourself, yet another reason for me to wish that JC could have the pleasure of killing him manually. If you didn't kill anyone, he'll approve, but Kaplan won't. You should head on inside now, and there's actually a fair bit to do in here. From spying on women in the bathroom, (she should've been a brunette!) to breaking into offices, to breaking beer bottles over the head of your boss, to upsetting people by stealing things right from under their noses, UNATCO HQ can be quite a bit of fun.
First of all, let's head on inside. Steal Private Lloyd's soda and candy bar, then keep going until you reach the retinal scanner, go through it, then keep going until you reach the wooden door. Go through it, and go left, down the small flight of stairs, then left again down the larger stairwell to level 3. At this point Alex should tell you to get some supplies from Carter, and to meet with Jaime Reyes for a medical check-up. Let's do that, shall we?
When you get to the bottom of the stairs, go past the bathrooms and take the first left, then turn right to arrive at the armoury. Carter will offer you ammo, a multitool, or a lockpick. Obviously we're only interesting in multitools or a lockpick, I picked a multitool since I didn't have very many on me, and since you need several to pass one area in a melee-only run, I'd recommend picking it.
Turn around and enter the offices behind you, you'll find darts on the shelf to your left, soda behind the computer on the desk to your right, and a bioelectric cell on the table past the computer. Proceed down the hallway to discover another computer with another can of soda on it, take it for yourself.
Leave these offices, and when you can see Sam Carter again, take a right, and then a left, to end up in the hallway where you'll find Jaime Reyes' office. Enter the doorway on your left to meet Alex Jacobson, and to get a nice supply of goodies. On various tables you should find 3 cans of soda, and 2 candy bars, along with a key under a false floor.

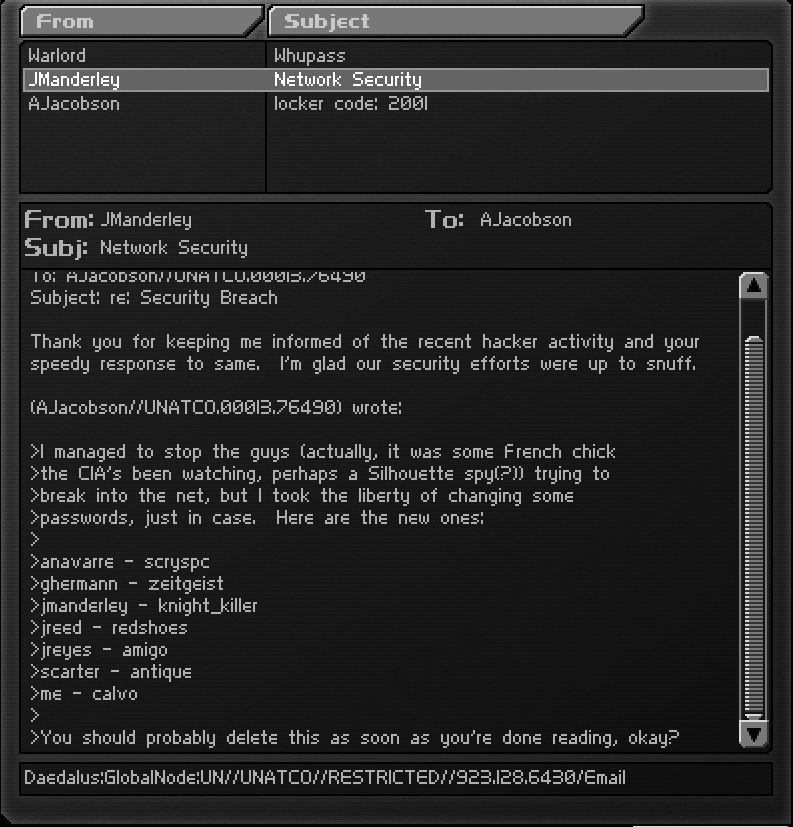
Talk to Alex, then go to the usable computer past the door locked with a keypad. Hack the computer, and you'll discover the code for the door is 2001. There's quite a bit more interesting information on that computer; you can get all of the logins for all of the other computers. Crack the door open, and after you've bashed all the crates, pick up a lockpick and a bioelectric cell. As we're done robbing Alex, let's move on, shall we?
When smartasses unite!
Leave the room and go through the door across the hall, into Jaime Reyes' office. Chat with him a few times, allowing JC to further express his concerns about voyeurism, then steal his can of soda. Move the plant on the shelves near his computer desk, and get the key hidden behind it. Use the key on the door across from the dead NSF trooper, who has some throwing knives on him, I never use them but like to keep them as souvenirs, and get the med kit out of the crate.
"Because every man claims to be the sixty minute man and no man ever is . . . "
Track down the med bot, and heal up, then install the augmentation. Steal the can of soda next to a datacube on a table nearby, then leave the office, and head back to level 2, perhaps stopping to take a peek at the lovely Ms. Shannon. She doesn't appreciate peeping toms, though, and will be cranky towards you for the rest of the game if you do.
Once at the top of the stairs, go into the first room on the left, which is Manderley's office. Talk to his secretary, steal the key on her desk, then proceed to Manderley to get your new orders. Steal his can of soda on his desk, then get a candy bar off the bathroom sink, the door is right behind Manderley. Once you have it, leave his office, and go left, going into the first room on your left. There's nothing of interest in the closets, at the moment. Go into the back room of the breakroom, and listen to the rather amusing conversation between Navarre and Gunther.
Talk to them afterwards, and then leave the breakroom. Hang a left, then go straight into your office. You can read your e-mails and the books on your desk if you want, but there's nothing important in them. After you're done, leave your office, hang a left, go up the stairs, then go into the office on your left. There's a lockpick on the back shelf, and a multitool on the low shelves beside the door. Leave the office, going straight down the hall to the only office we haven't robbed yet. Go inside, there's some readables, and a key we already have, check them out if you want. Leave the office, take the first right, and head on out of UNATCO HQ. Once you're outside, follow the path and return to the docks in the south. (You can return to Harley Filbin, who'll make a comment based on how you handled the commander, but he provides no useful information.) Hop on the boat, and we're out of here, heading to Manhattan for our next assignment!