- Home
- Walkthrough
1. New York 3. Return to New York Liberty Island Return to Hell's Kitchen The Warehouse Assignment The Wall Cloud, The Graveyard Ambrosia, Airfields, and Apostasy 4. Paris The Insurrection Finding Nicolette The Great Escape Finding Morgan Everett 2. Hong Kong 5. Southern California The Helibase Vandenberg Deactivating the Kill Switch The Gas Station Versalife The Submarine Base The Missile Silo Area 51 - Strategies
- Extras
The Insurrection
Introduction
Once we return to base, we'll find out things aren't going well at all. Paul's kill-switch has been activated, and you're being sent to Hong Kong to work against his allies. Jock, however, will be taking us back to New York. Sadly enough, we can't keep working for UNATCO any longer. Or maybe that's a good thing, because the thought of writing a walkthrough for each branch of the game makes my blood run cold.
There are several different ways we can go about this mission. We can go straight to the warehouse and send the message, or go to the warehouse and find the information Paul was talking about, then send the message. We could knock out all the UNATCO troopers while they're still non-hostile, or we can wait until after sending the message to go after them. It's a very good idea to get them early, but the Shifter mod rewards you for waiting quite nicely since you don't get skill points for knocking out an ally.
Once we get back to Paul's apartment, what you do determines whether Paul lives, or dies. If you go out Paul's window after the MiBs arrive, he'll die, even if you help him clear out the entire hotel beforehand. I normally let him die since I can't stand the bastard, (has anyone figured that out yet??) but it's your call of course!
As for invincible AIs, we have only Harley Filben, Paul, and Gunther.
So, not much else to cover, let's move on, shall we?
UNATCO HQ
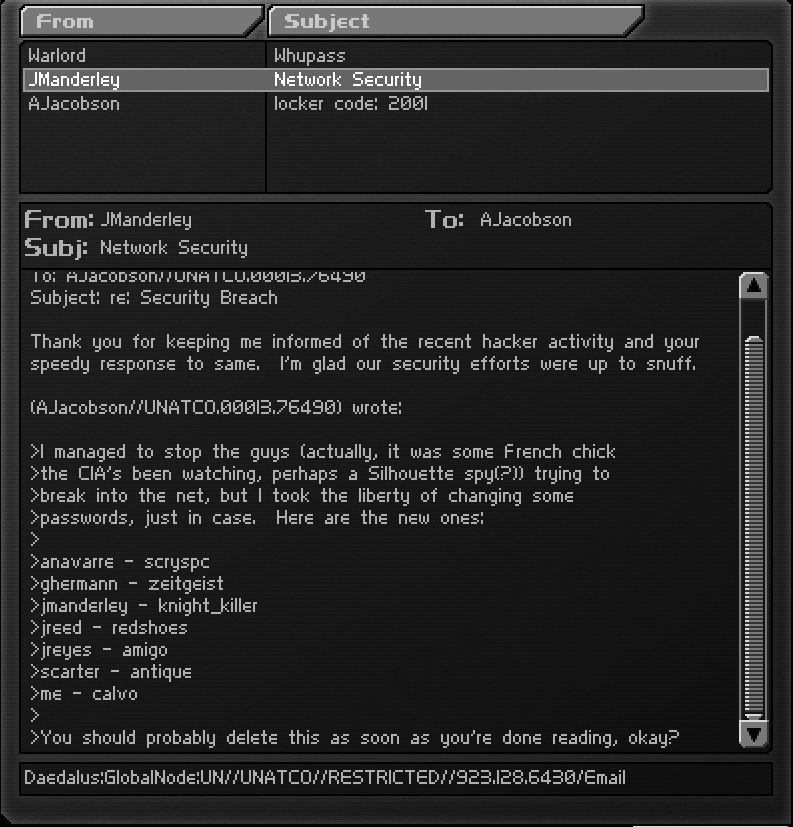
When we arrive, head on into HQ, there's nothing of interest until you reach the first level of HQ. If you plan on reading e-mail as you go along, the logins are here. Go into the office on the far right side of the hallway to find a bioelectric cell on the shelf, then head downstairs. In your office, you'll find a multitool on your desk, and a prod charger on the low bookshelf beside the door. Head into the breakroom, in the back where we heard the infamous orange conversation, we'll find Jaime and Walton Simons talking. Eavesdrop, talking to Jaime a few times, then Simons. Leave the breakroom, then head right towards Manderley's office. The far supply closet, on the left side of the hallway, has a crate with a lockpick inside it. Next, head into Manderley's office. Depending on the events on the plane, he could praise you, or he could tear your head off.
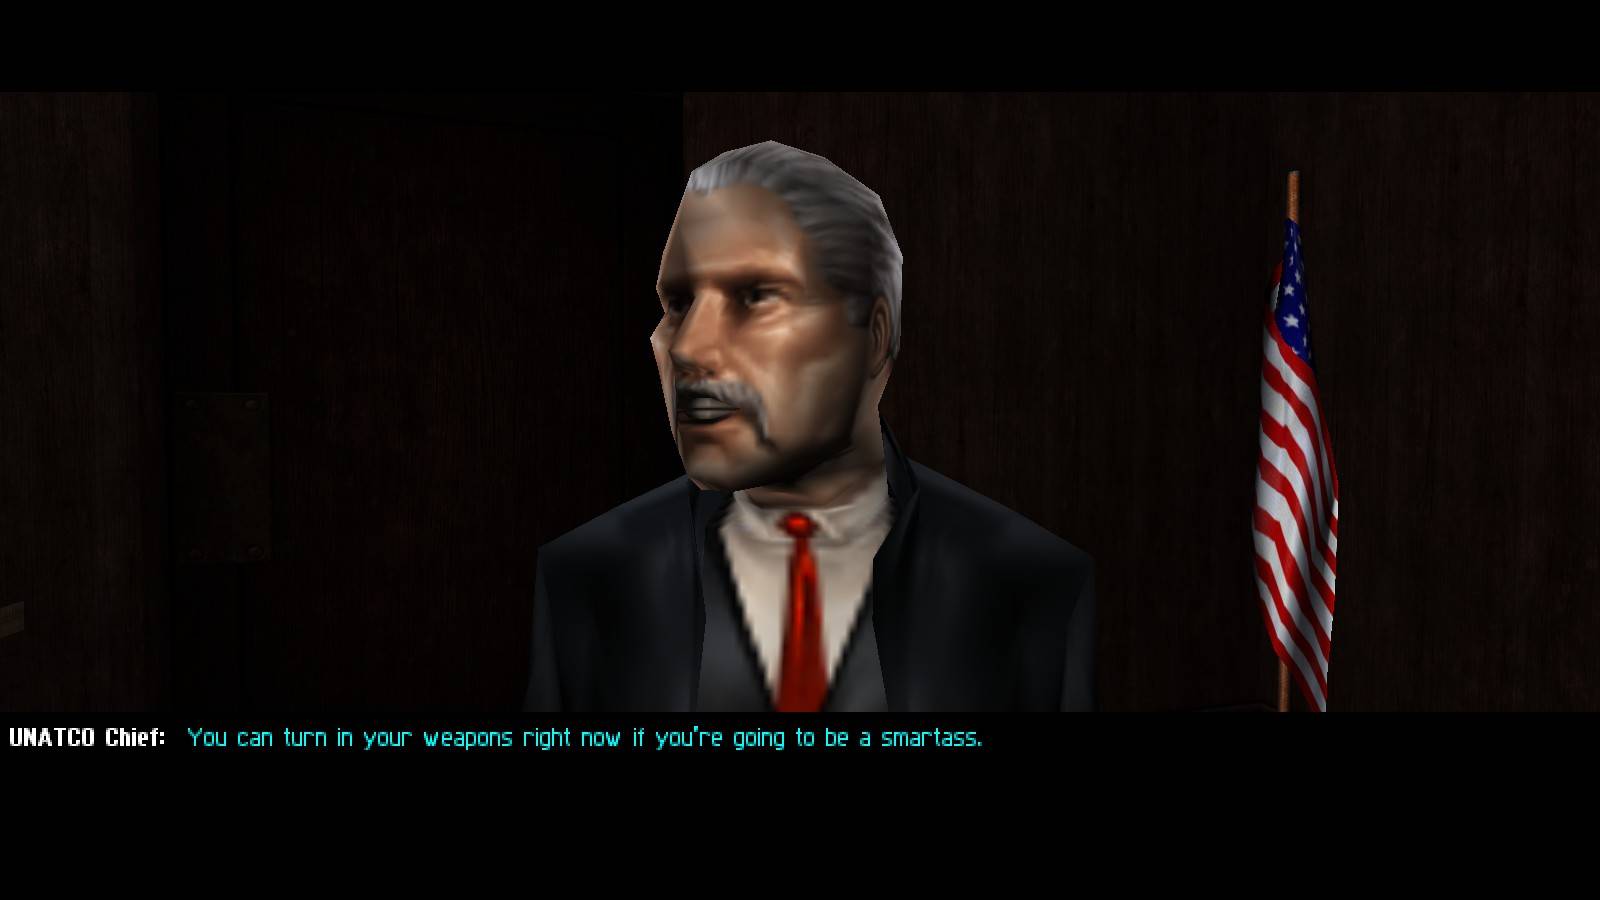
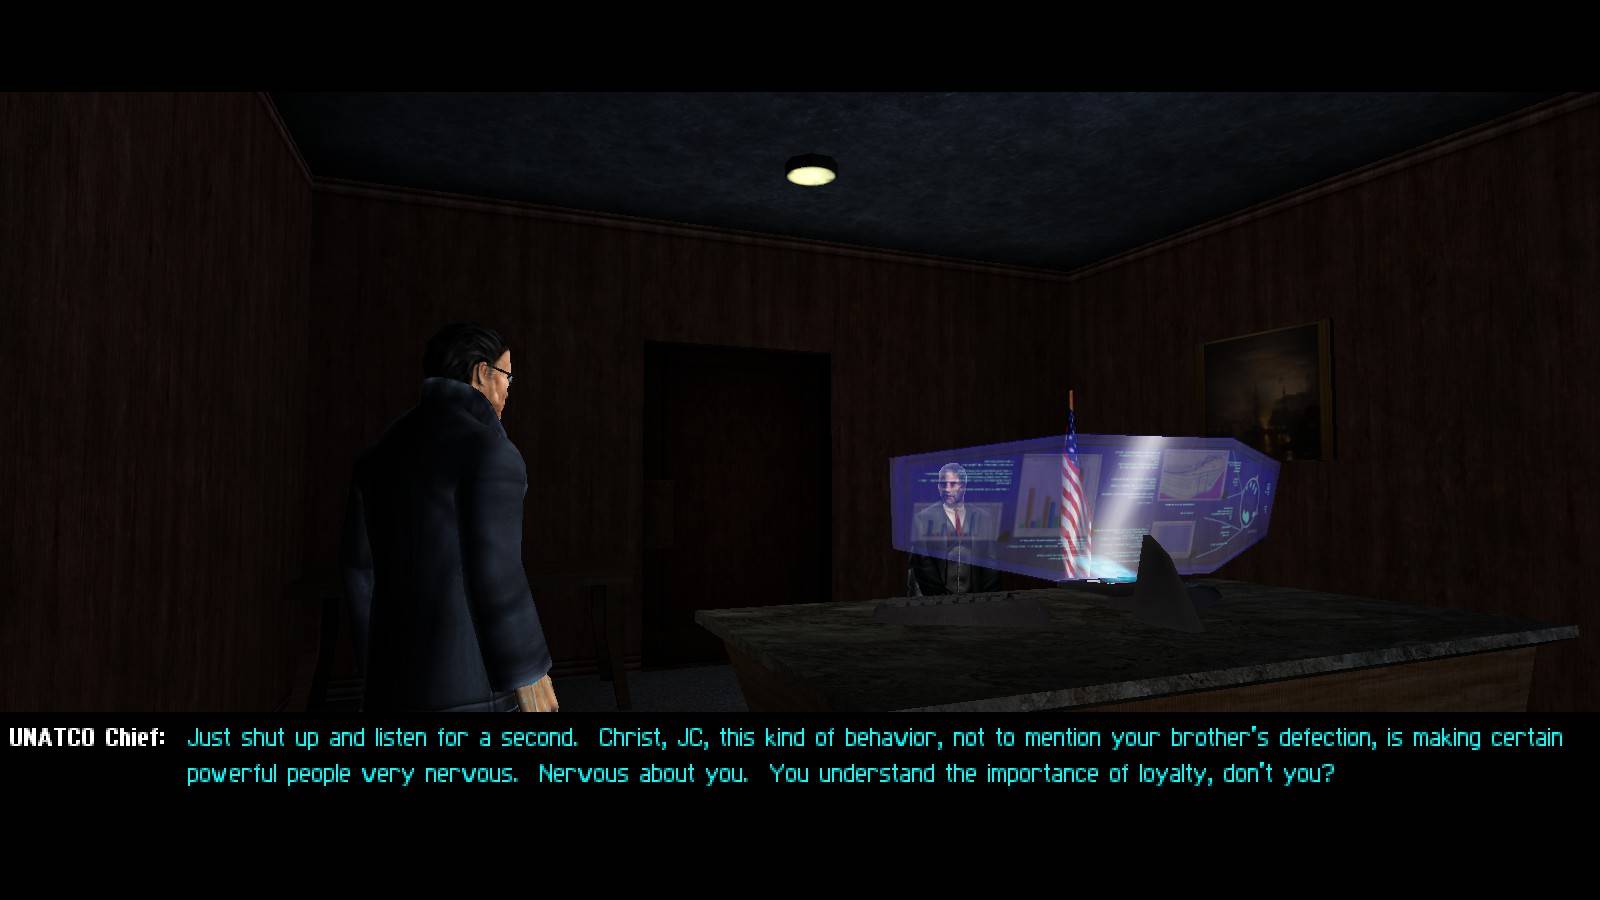
I forgot how much fun it can be to piss people off in this game!
Go down to level 3, and you'll find a trooper talking to Shannon. Hey, it's the trooper who got shot! Amazing how much a leggy blonde can cheer up a man, isn't it? Talk to Shannon if you want to upset her some more, then go down the hallway behind them, and visit Sam Carter. He won't give you anything useful, though, but he is a sympathetic ear if you didn't follow orders on the plane. Go into the offices across from the armory, where Walton Simons is standing, and you'll find a prod charger on the bookshelf to your left. There's a can of soda and another prod charger on the computer desk beside Simons. For fun, why not throw that chair at his head?
Head to Jaime Reyes' office, and get a med kit off one of the surgery tables, then a bioelectric cell, med kit, and augmentation canister from the medical supply closet. On the counter across from the supply closet, you should find a candy bar and a can of soda. Track down the med bot, patch up, and install an augmentation if so desired.
Leave Jaime's office and head across the hall to Alex's office. Go talk to him, then swipe a lockpick from the computer in front of him. Go back up the stairs, getting a can of soda and a candy bar off the desk ahead of you, then go through the door with a keypad next to it, there's a crate containing another lockpick in here. There's not much left to do, so let's head out, shall we?
For added fun, hit Manderley over the head until he's hostile, then see if you can make it out of HQ alive.
Hell's Kitchen
Once you arrive, climb down the ladder to the north, and slip in the open window. We're back in Paul's room, so go talk to him, then raid his secret closet. You should find a lockpick, a multitool, and an augmentation upgrade canister.
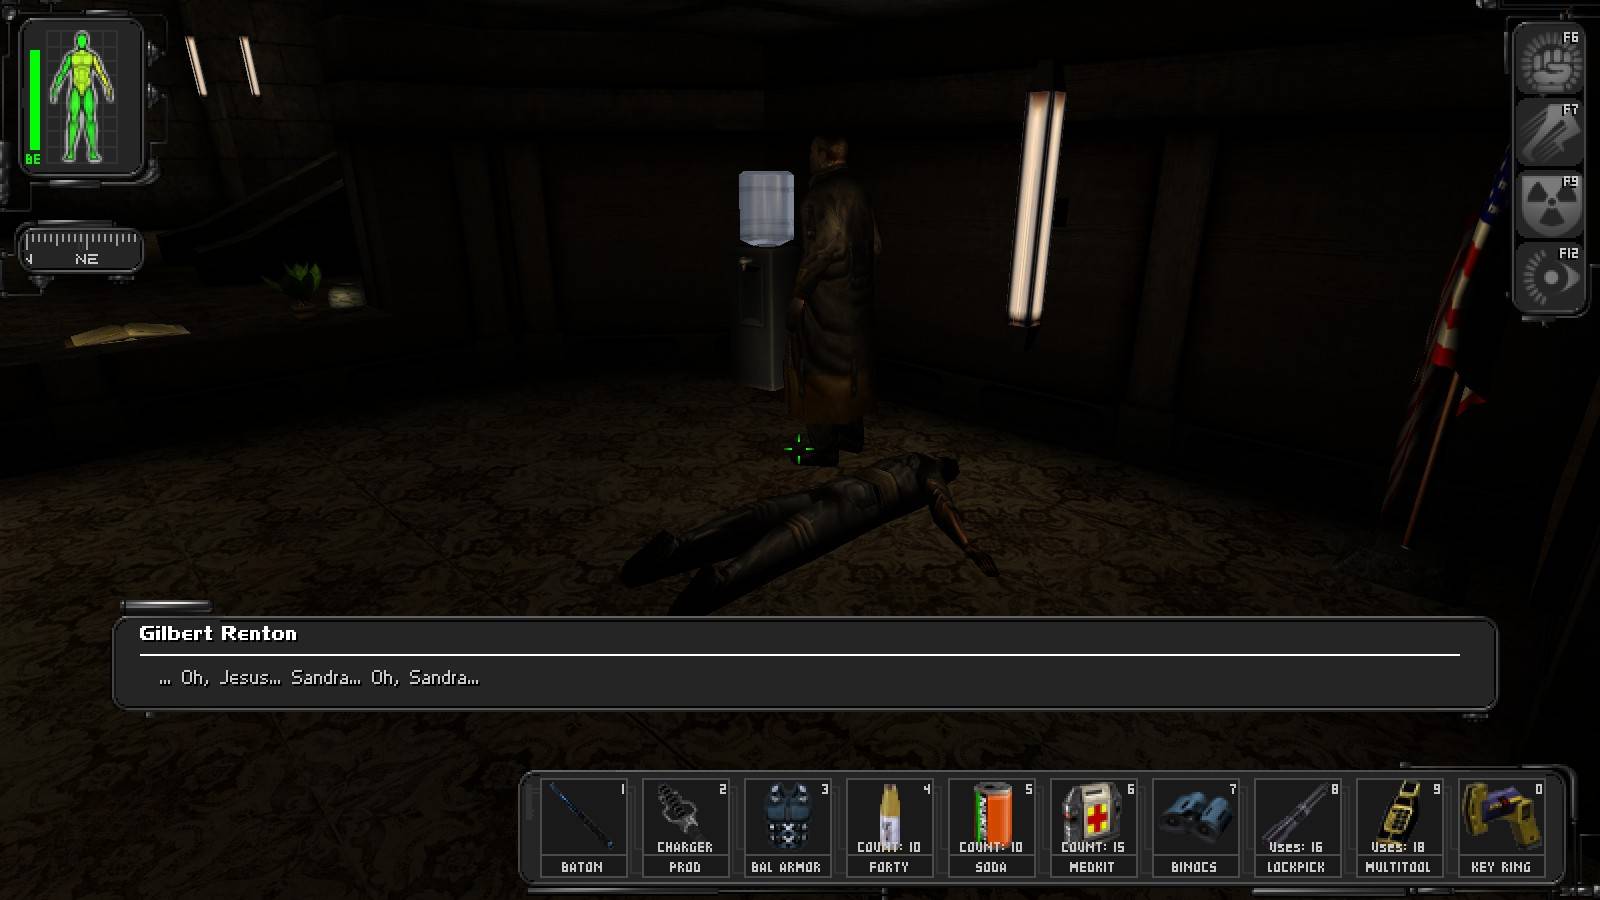
Leave the apartment via the front door after getting some soda and soy food from the kitchen, and go downstairs to the front desk, where Sandra Renton and her father are arguing. If you want Sandra to stay in New York, give her dad a weapon, if not, leave him unarmed. Borrow 50 credits off the back table while you're at it. Go upstairs and you should bump into JoJo. Wait for him to come downstairs and get in an argument with Sandra, then when the fight breaks out, unleash a can of Whupass onto Jojo. Once the fight's over, Sandra will stay or leave depending on whether you armed her father.
Now that we've done all the damage we can do in here for now, it's time to head on out of the hotel. Grab the multitool at the bottom of the elevator shaft, then leave via the front door, and head north up the street to Smuggler's place. Enter via the front door, and use the multitool by the laser panel to disable it if you didn't trick it your first time in. When you reach Smuggler, you'll find a candy bar on one of the work benches. Head upstairs, you'll find a lockpick on the bookshelf by Smuggler's bed, and behind the mirror, there should be some ballistic armour. Head back to the front door, if you want another lockpick, there's one in a crate beside the ladder entrance.
Seriously, what's the point in installing lasers when you're going to leave a multitool to disable them right beside the alarm panel??
Once you've left Smuggler's, go north a little ways to the turn in the road, and start heading west. If you want, you can swing into the tavern and shoot some pool, or pop back into the sewers, you'll find 60 skill points and thermoptic camo on the bridge. Follow the road west, and keep following it until you see a UNATCO trooper standing by some barricades. There will be cardboard boxes on your left, and behind them will be some ammunition crates, one of which contains a prod charger. Continue past him after bopping him, and you should see some cardboard boxes in the shadows. Smash them up and you'll find a crate containing a med kit behind them. Proceed down the road until a new map loads.
The Warehouse
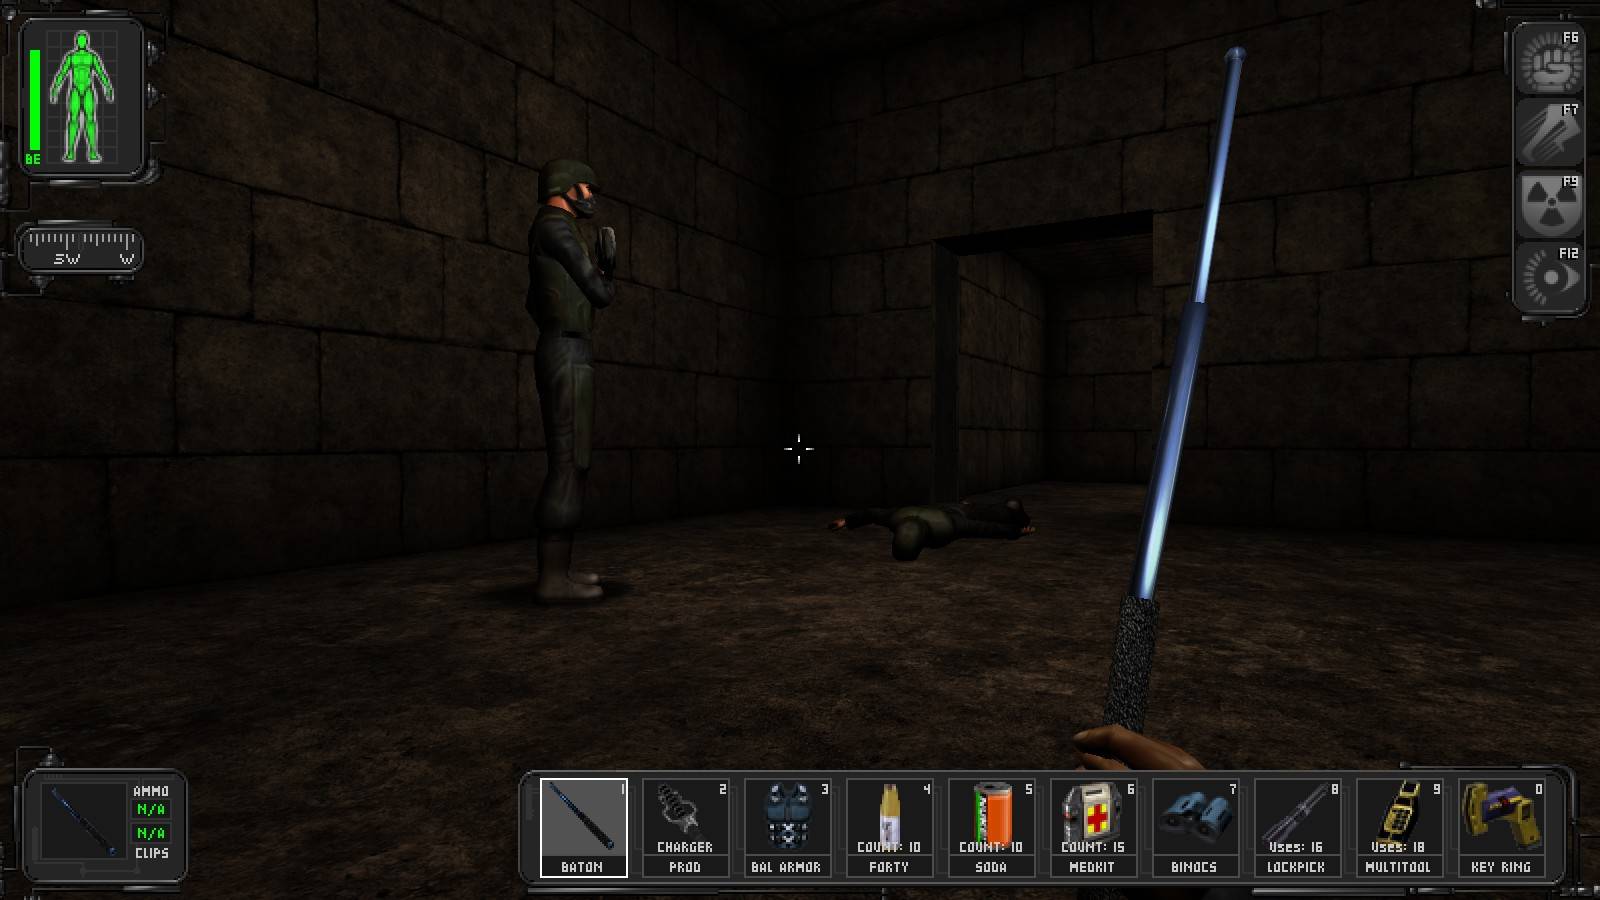
It's best to take care of everyone sooner rather than later, and I'll tell you how to do just that. (To be fair taking everyone out later is mostly the same, but requires more caution.) From where we are, on the ground level, there are 3 UNATCO troopers in front of the warehouse, and another patrolling a balcony overlooking them. The one who patrols closest to the street we enter from we will take out first. Use the baton on him when his back is turned, and when you can't see anybody around. Quickly whisk him away into the shadows, or the other map, for extra safety.
Now, walk around the warehouse, to the north. You'll see 2 UNATCO troopers wandering around here. They aren't hard to deal with, but we need to eliminate a possible witness first. Go north, then east through a narrow alley, you should end up with a ramp on your right. Go up it, bop the potential witness, and listen to see if the 2 troopers below noticed anything. If not, put the fresh meat under the ramp, then bop the other two troopers, making sure neither of them see any bodies and get upset.
Now that we've eliminated potential resistance from the outside, let's head inside. Enter via a green metal door on the west side of the building. You'll probably take one look at the amount of troopers here and shudder. We're going to bop them all, but we need to eliminate witnesses from above first.
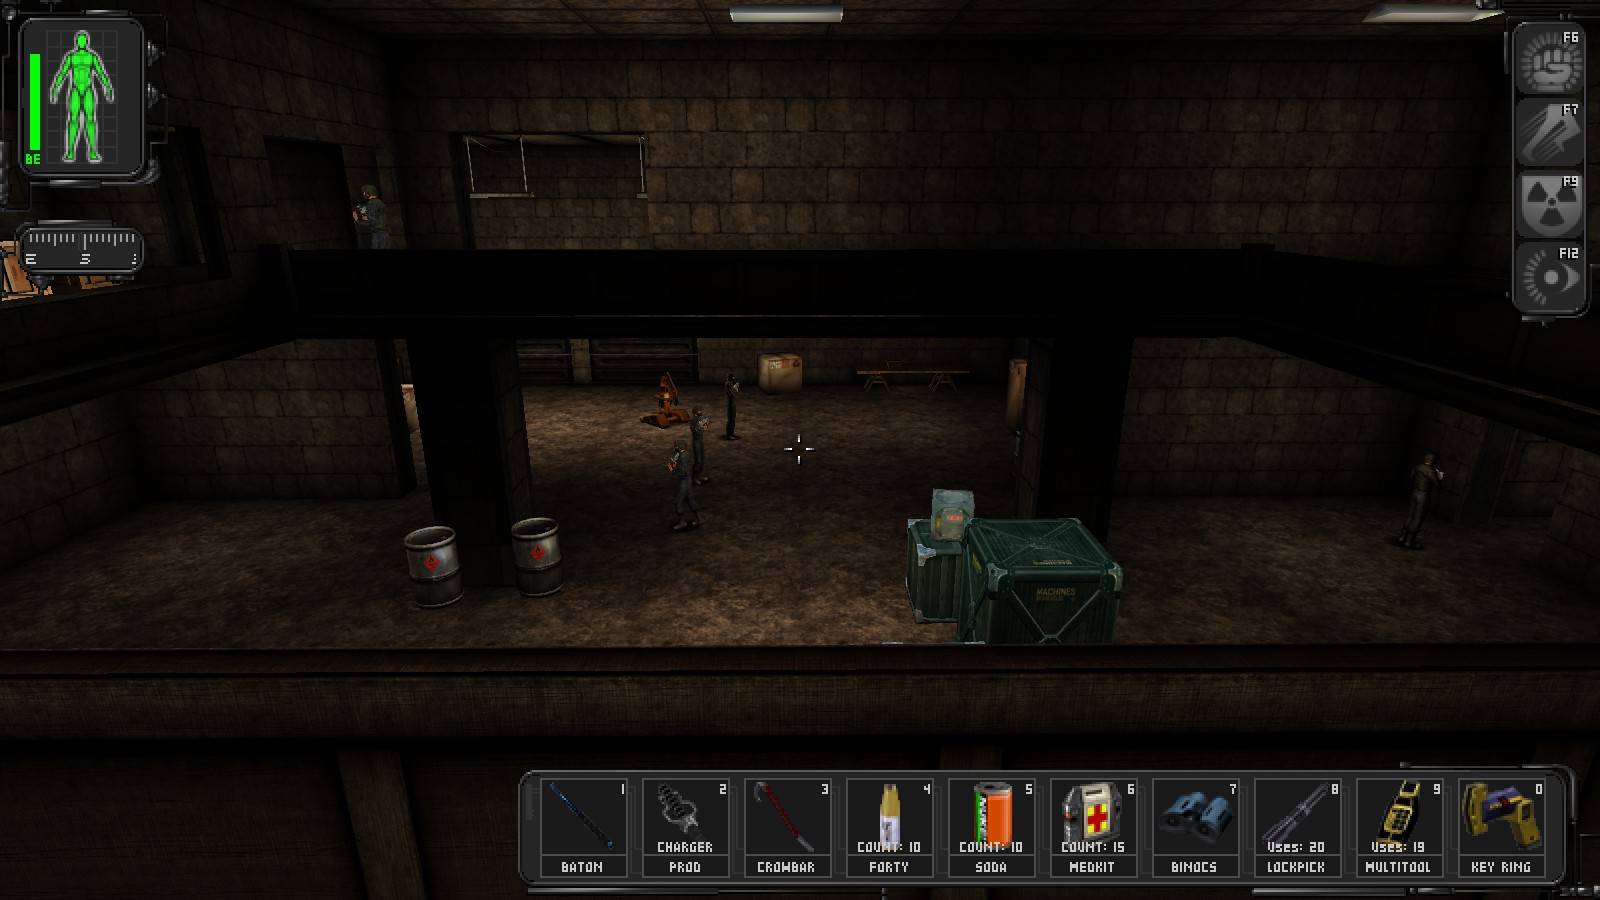
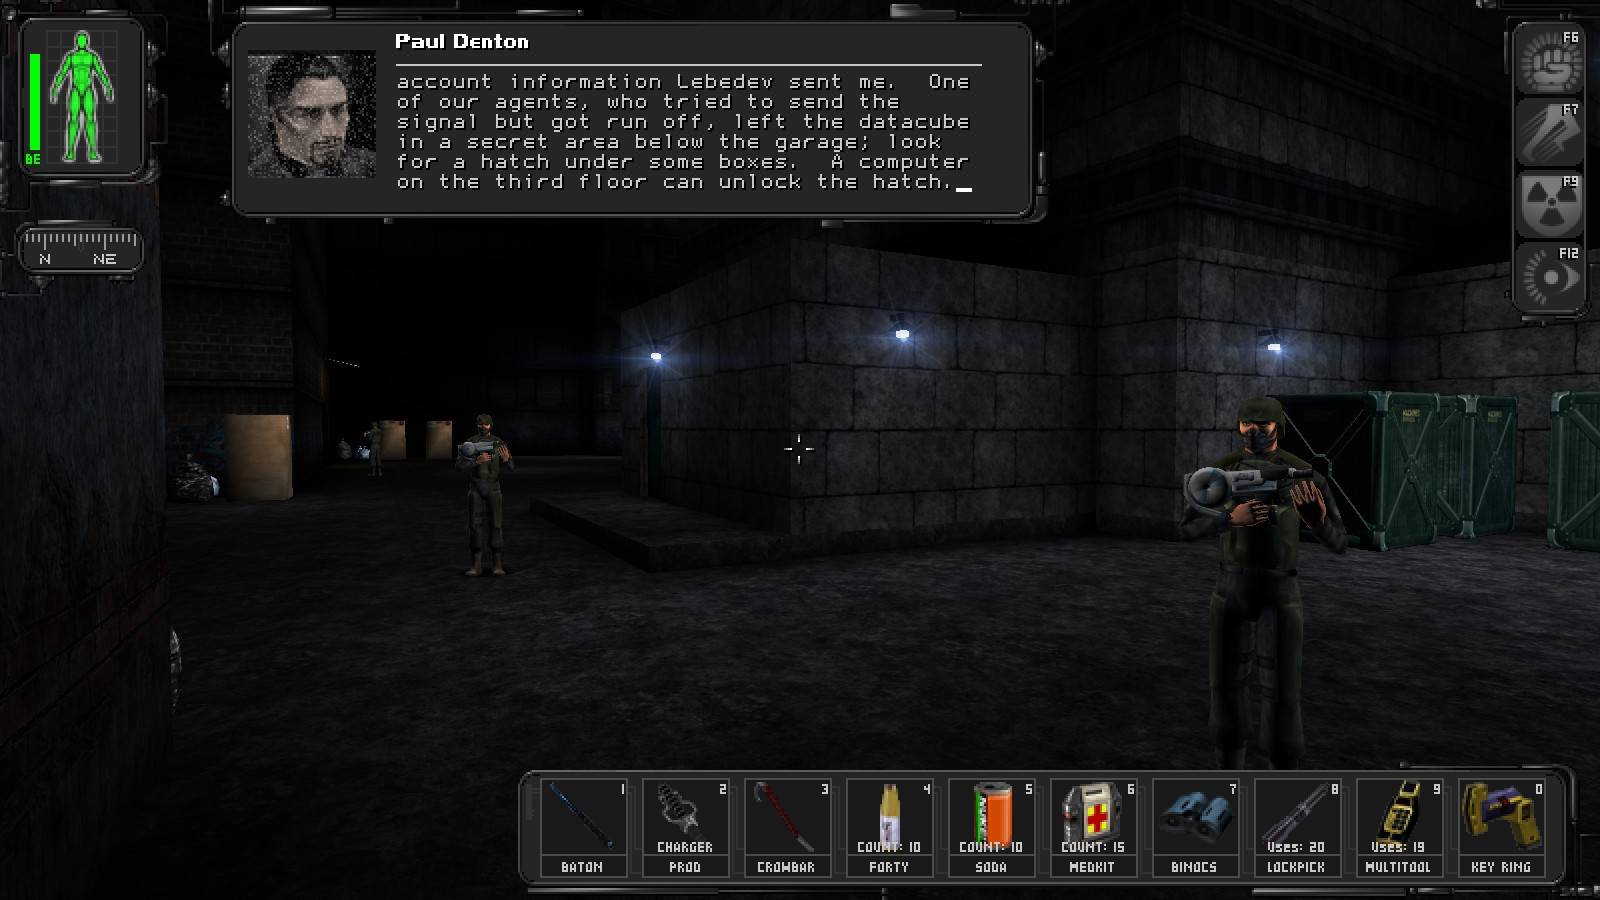
Heads up the ramps all the way to the roof, and bop the trooper up here. Go down the ramp to the next level, and bop two more troopers patrolling up here. Place the bodies under the ramp, and go down the ramp to the next level. Bop another trooper patrolling here, and put his body under the ramp. There's a door on this level, let's poke our nose into there, shall we? There's a med bot, can of soda, and some soy food in here, as well as an on/off venting button. If we read the datacube on the table, we'll learn that the room nearby will kill us if we go in there without a hazmat suit, or pressing that button. Push it, then walk through the room until you reach the security computer. Hack it, open the door to the secret area Paul was talking about, then leave the room and return to the ramps.
As usual, go down one level. Bop the UNATCO trooper patrolling up here, then sneak into one of the rooms up here. The one nearest the ramp leading up a level contains 2 troopers. You're going to need the prod, stun them as fast as you can. Check the table near them for 2 candy bars and a can of soda, then use your combat strength augmentation and crowbar to bash down the locked door nearby. Head into the far, back corner of the room to find a datacube and a bioelectric cell.
Now, go to the ground level. You don't necessarily have to take them out, you can leave a different way, through the room you just broke into, but I always clean the place out. I start with the guy at the front door. Watch the other troopers, when they look away, bop him and whisk him out of sight, out the front door preferably.
Or not?? "I never liked him much anyway."
Race to the northeast corner of the room we were just in, there should be two UNATCO troopers near each other there. Bop them both as fast as possible, but if you think the third and final fello will see you, don't risk the second one. With only 2 left, it's a simple matter of waiting for one to turn his back on you and your intended victim.
*WHAP WHAP*
Nice and easy.
Now, we don't have to find the information Paul was talking about, we can go straight to sending the signal and trying to escape. However, I'll do my best to walk you through finding it, I get lost very easily down there.
Snooping
Go to the hatch we opened with the security computer, then down the ladder, and through the door. Go through the door on your right, and you'll find yourself right in front of some laser beams. Yikes! Past two laser beams, on the left side of the hallway, there's a little crawl space we can enter. Run through the lasers and get your ass in there before it gets blown away, then grab one of the crates, and use it to block the nearby laser beam. You should be able to place it without leaving the crawl space. Wait for the alarm to shut off, then grab another crate from the stack nearby, leave the crawl space, and use it to block the first laser beam you walked through on your way to the crawl space. This will set off the alarm again, but stand under the turret and laugh at it until the alarm shuts off.
Return to the crawl space and walk through it until you reach the hallway again. Hang a right, and you'll find yourself on the other side of the stack of crates we used to block the laser beams. There's another on this side. It's higher than the others, so blocking one of the beams isn't quite as easy. Standing under the turret on this side of the crates will put us in plain sight of yet another turret, so we need to get into the same crawlspace which we have used for cover twice before. First, clear a path to it by moving crates out of the way, but be careful not to run into the beam.
Next, take a crate, then drop it near the laser beam, then push it directly under it. Grab another crate, toss it on the one you just placed, then high tail it into the crawlspace. Wait for the alarm to shut up, then go through the crawlspace and through the door on your left.

My legs!!
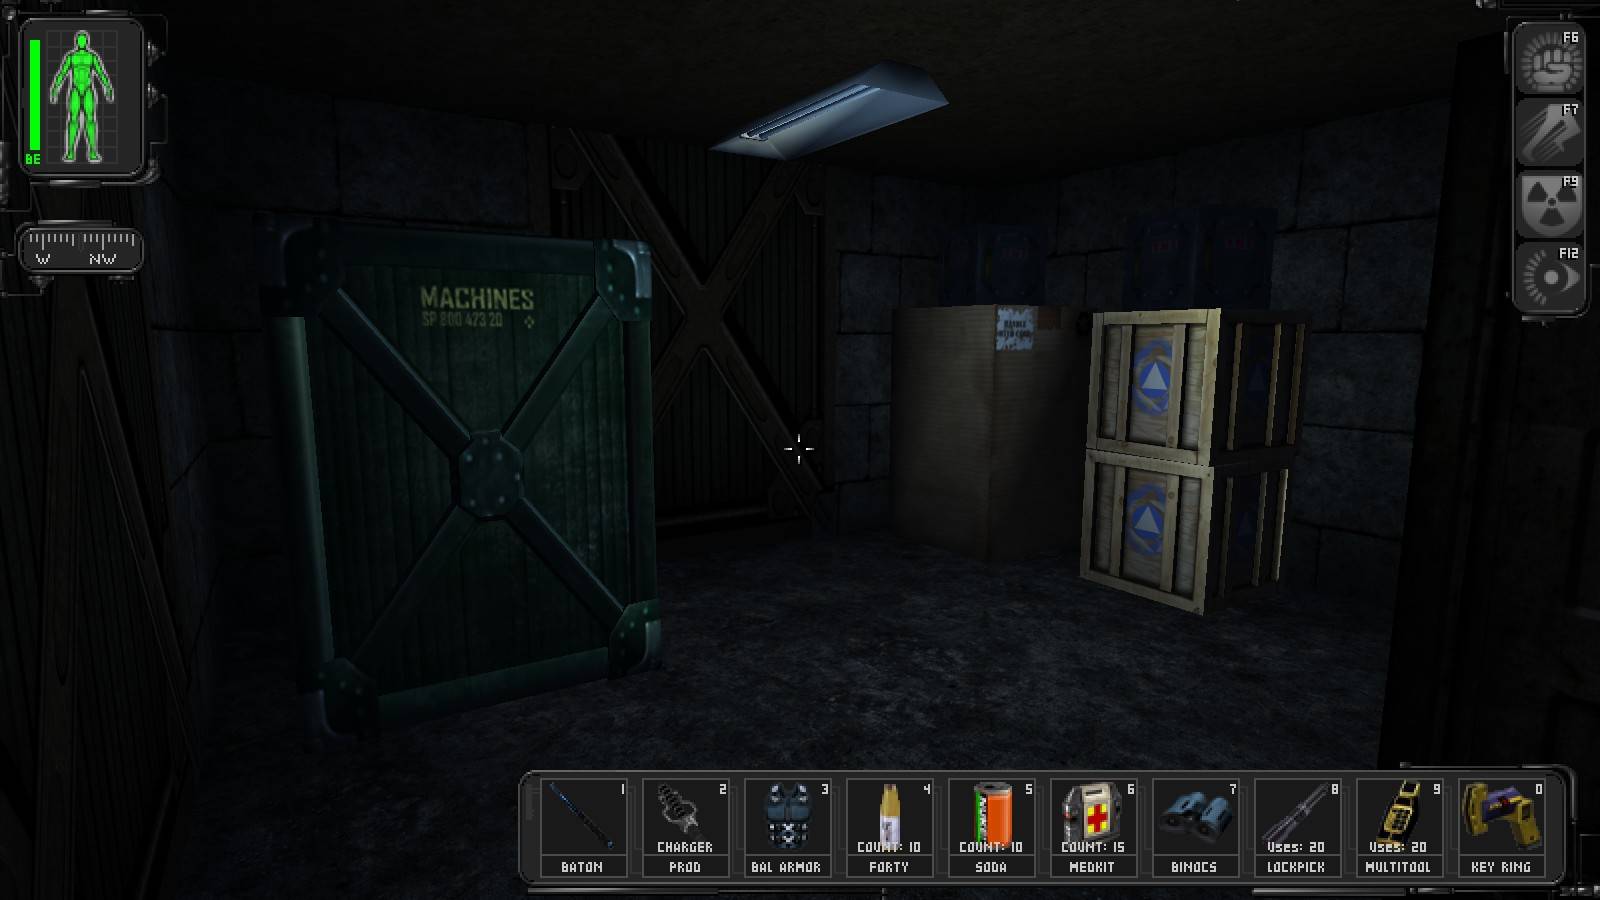
Ah ha, supply crates! Don't do what I did, remember to move those TNT crates before smashing the ones below them, just in case you, like me, accidently hit the TNT crate. For that matter, the TNT crate falling that causes an explosion anyway, which can admittedly be handy for clearing the way a little. There's a lockpick and a multitool in the crates. Go through the only useable door here, and you'll find yourself in a place with even more laser beams and turrets. Yippee!
Grab a crate, and block one of the first laser beams, then quickly back up. Make sure you're not in sight of the turret to the right of the lasers when you stop moving! Grab a small crate and place it on the white circle in front of the closest turret. Get a crate of TNT, and check for the alcove nearest the first turret, the one with a white circle in it. Put the TNT on the circle, which will trip the laser beams, and hide from the turrets until the alarm shuts off.
Now, grab another crate, preferably the large medical supply crate, and carefully place it by the next set of lasers in the hallway. There's an alcove that's handy to hide in right by here, but there are lasers blocking the entrance. If you set the crate down just right, you can actually stand inside the lasers and not get shot by the turret. Eventually the alarm will stop sounding, and you can leave. Go right, through the door, after picking it, of course.
There's a hazmat suit behind the locked door to the east. Go west through the unlocked door, bringing a crate of TNT with you. You'll find yet another laser panel, block the bottom beam with the crate, and get right under the turret until the alarm shuts off. Duck under the remaining lasers and get onto the stack of crates ahead of you. You'll see two more laser beams ahead of you, toss a crate down to block one of them, then leap into the alcove on the south side of the hallway before you get perforated with too many turret bullets. Block the second beam the same way, then hide again. Before leaving the alcove, pick up the ballistic armor and med kit in here.
Move some crates from the stack ahead of you so you can walk through the middle of the hallway and avoid both remaining lasers, then jump onto the crates, and walk off them. Check the alcove ahead of you and to your right. There's a laser panel here, smash open the crate for the multitools you need to shut it down. Duck under the remaining lasers and go through the door here.
If you go around the large computer ahead of you, then up the stairs, you'll find a door which leads outside, it's operated by a button. However, we're not quite ready to leave. We haven't gotten our well earned skill points yet! Go to your left and pick open the cabinet here to receive 2 bioelectric cells and a lockpick. Go through the door, around the computer to your right, and read the datacube on top of the cabinet. Pick it open if you want, and you'll find a riot prod, a charger, and another datacube.
Now, let's head up those aforementioned stairs and get the hell out of this laser tripwire infested hellhole!
Attempting to Flee
We might as well search the crates around here before we leave. On the first floor of the warehouse, under the ramp leading up, is a crate with a hazard suit in it. On the second floor there's a med kit in a medical supply crate in front of the ramp leading up a level. There's nothing of interest on the third or fourth floors, nor the roof.

Let the festivities begin!
Either hack the computers up here, or use the logins, to align the satellite dishes and send the signal. Once the signal is sent, Paul is rather cheerful, while Simons is rather pissed, so we'd best be on our way. Head on back to the hotel now, but you can take a quick side trip if you want. Go down to the subway station and talk to the hooker, then head out to the basketball court.
Remember the trailers we used to get into Smuggler's before we got the proper code? Via the alley to your left? Go back there and smash open the doors with your crowbar, you'll find a multitool, lockpick, and bioelectric cell in one trailer. Afterwards return to the hotel and head upstairs. If you happen to hear the, ahem, "activities" going on in Paul's neighbor's room, you can marvel at the fact that they don't stop, even when the whole damn hotel's getting shot up. Serious points for concentration and endurance!
Head into Paul's room and talk to him. Now, you have another dilemma on your hands. Do you stay with Paul, or leave the man who tried to kill his own brother to die, creating serious continuity errors with Invisible War in the process? It's much easier to get to the subway station by going out the window, and the extra skill points are far more useful than Paul in my humble opinion, but of course, it's your decision. First off, though, my advice is to hide in Paul's secret closet whether you want him to live or not and lay low until the shooting stops, and then either escort him out of the room or go out the window, and climb down the fire escape.
Well, Paul had to have at least one bad ass moment in the whole game, right?
Paul can take out everyone in the lobby himself as well, but if you want to make it out the front door you'll need to check on him regularly, otherwise he'll disappear like Ford Schick. I lost sight of him for too long and he disappeared with most of the men guarding the door alive. I used thermoptic camo to get out without getting shot only to find another UNATCO trooper watching the front door like a hawk. He doesn't move and you can't make it past him without being seen so whatever you do, don't stop running even if the suit is about to die, and duck through the hole in the fence.
One way or another you should now be in a position to dash into the Underworld Tavern. If you need to heal up, get some soda and candy bars from Jordon Shea, then head out via the other exit. As soon as the patrolling UNATCO trooper and robot pass you, heading west, take off running for the east. If you keep getting spotted, try slapping on some thermoptic camo. Run to the subway station, punch in the code for the door, then run to the subway car and get in.
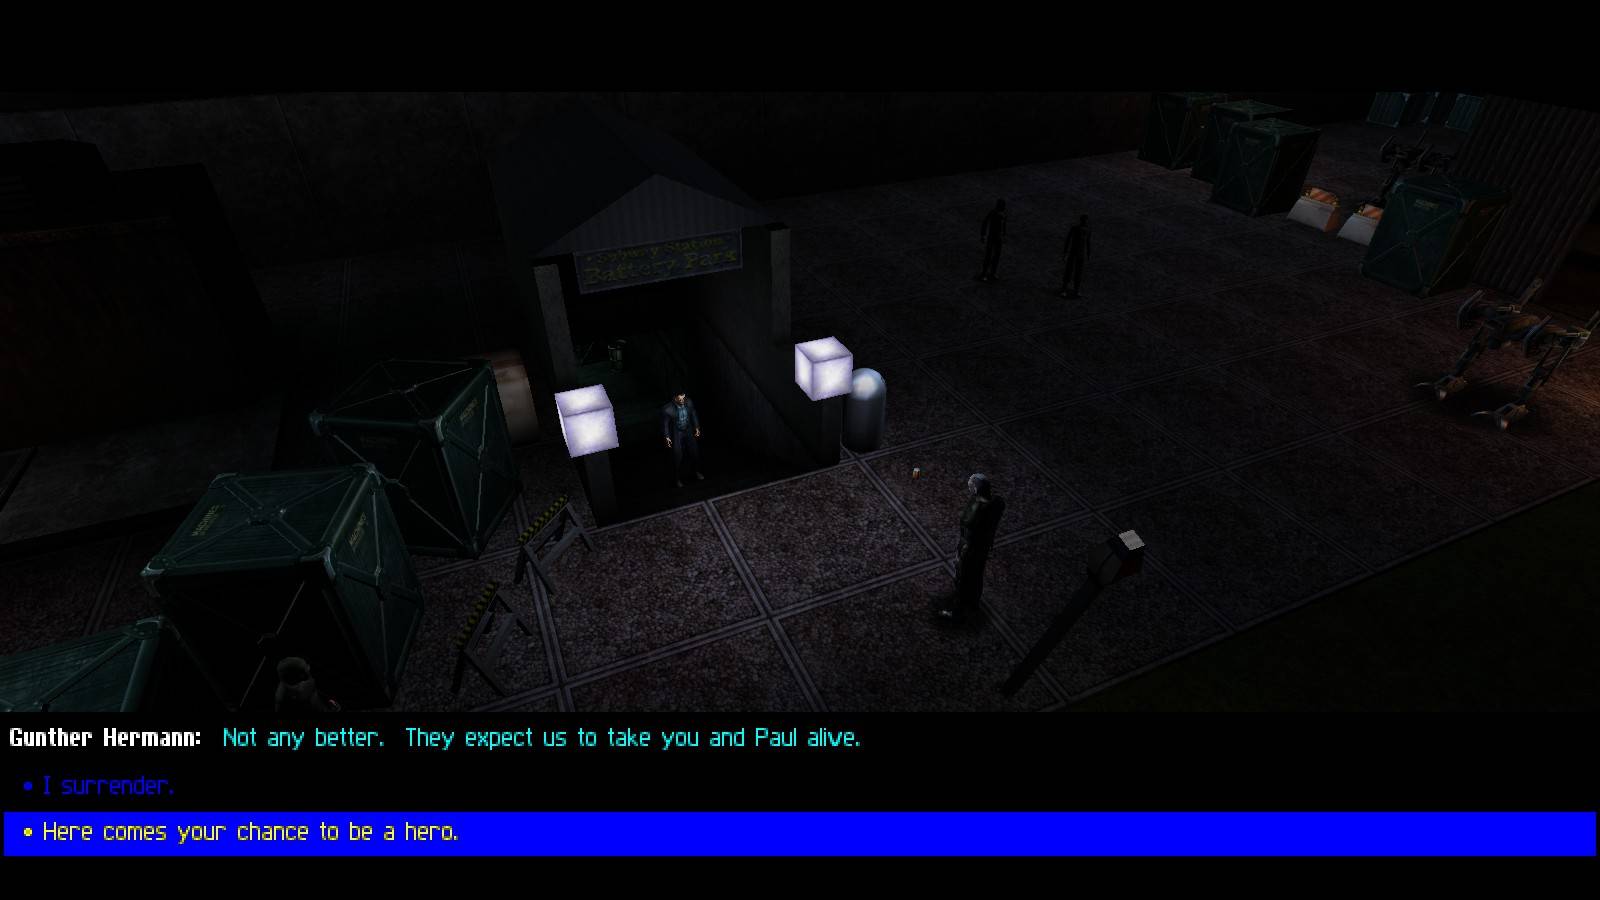
Once in Battery Park you'll have your second opportunity to kill Anna Navarre. There is no way to attack her from behind here short of using thermoptic camo, so you're stuck with a frontal assault. She seems to try to back away before shooting, so the best thing to do is to back her into a corner, get right in her face, and start swinging.
Whether you manage to kill her, decide to run for it, or she's not present, go up the stairs to meet Gunther. Surrendering will leave you with more health for your escape, but since there's a med bot right there, what's the point? Telling everyone off can be rather amusing!