- Home
- Walkthrough
1. New York 3. Return to New York Liberty Island Return to Hell's Kitchen The Warehouse Assignment The Wall Cloud, The Graveyard Ambrosia, Airfields, and Apostasy 4. Paris The Insurrection Finding Nicolette The Great Escape Finding Morgan Everett 2. Hong Kong 5. Southern California The Helibase Vandenberg Deactivating the Kill Switch The Gas Station Versalife The Submarine Base The Missile Silo Area 51 - Strategies
- Extras
Scuttling the Freighter
Introduction
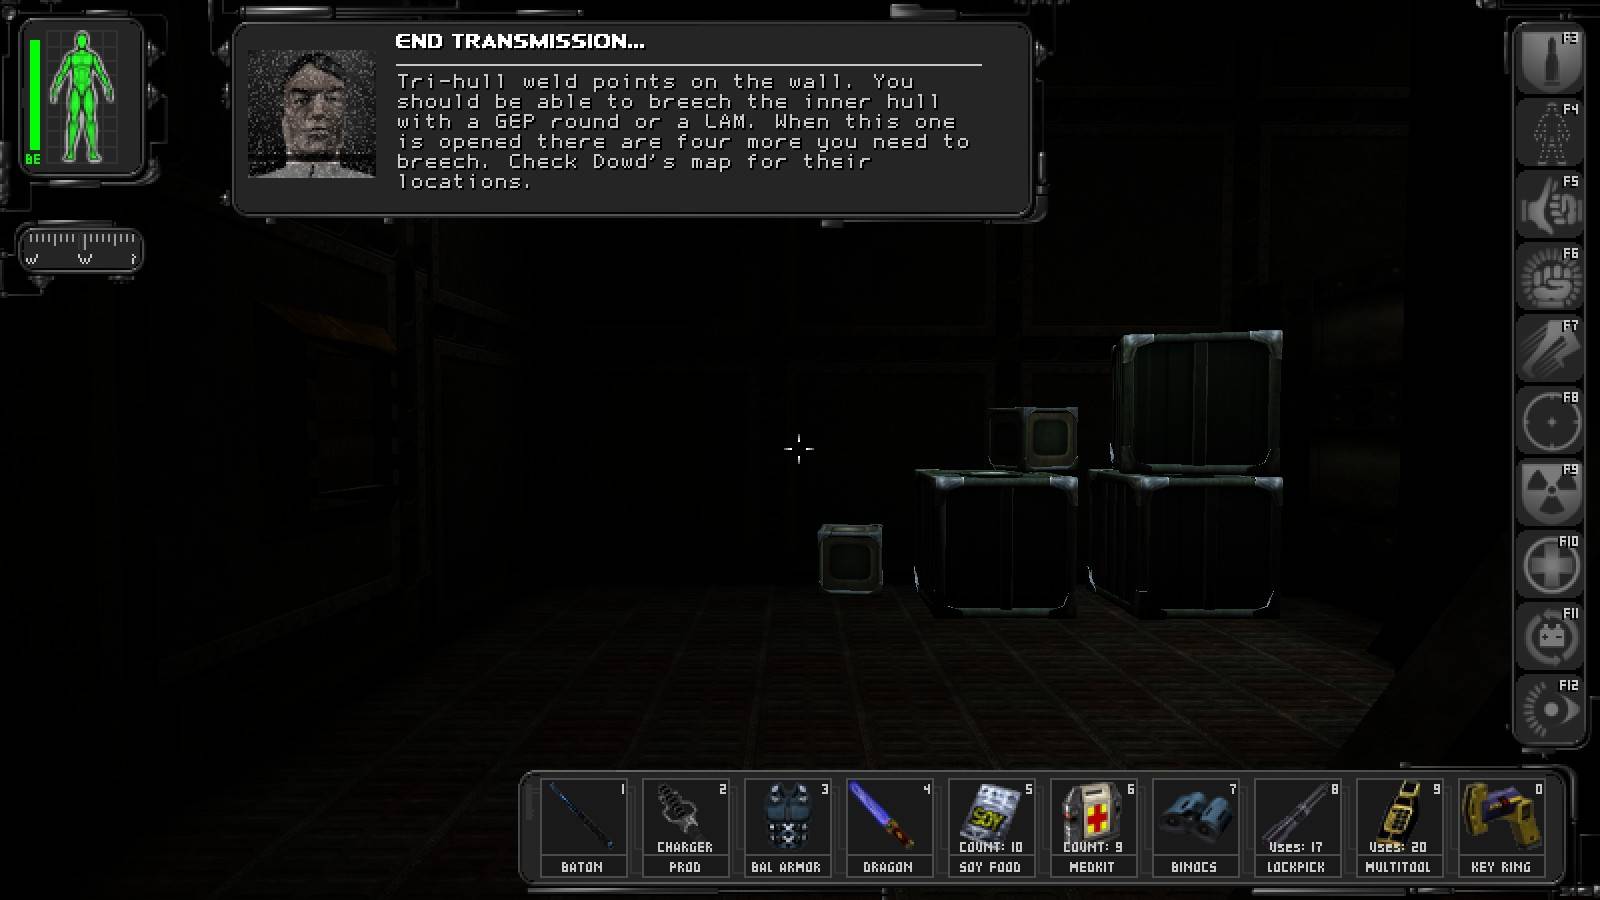
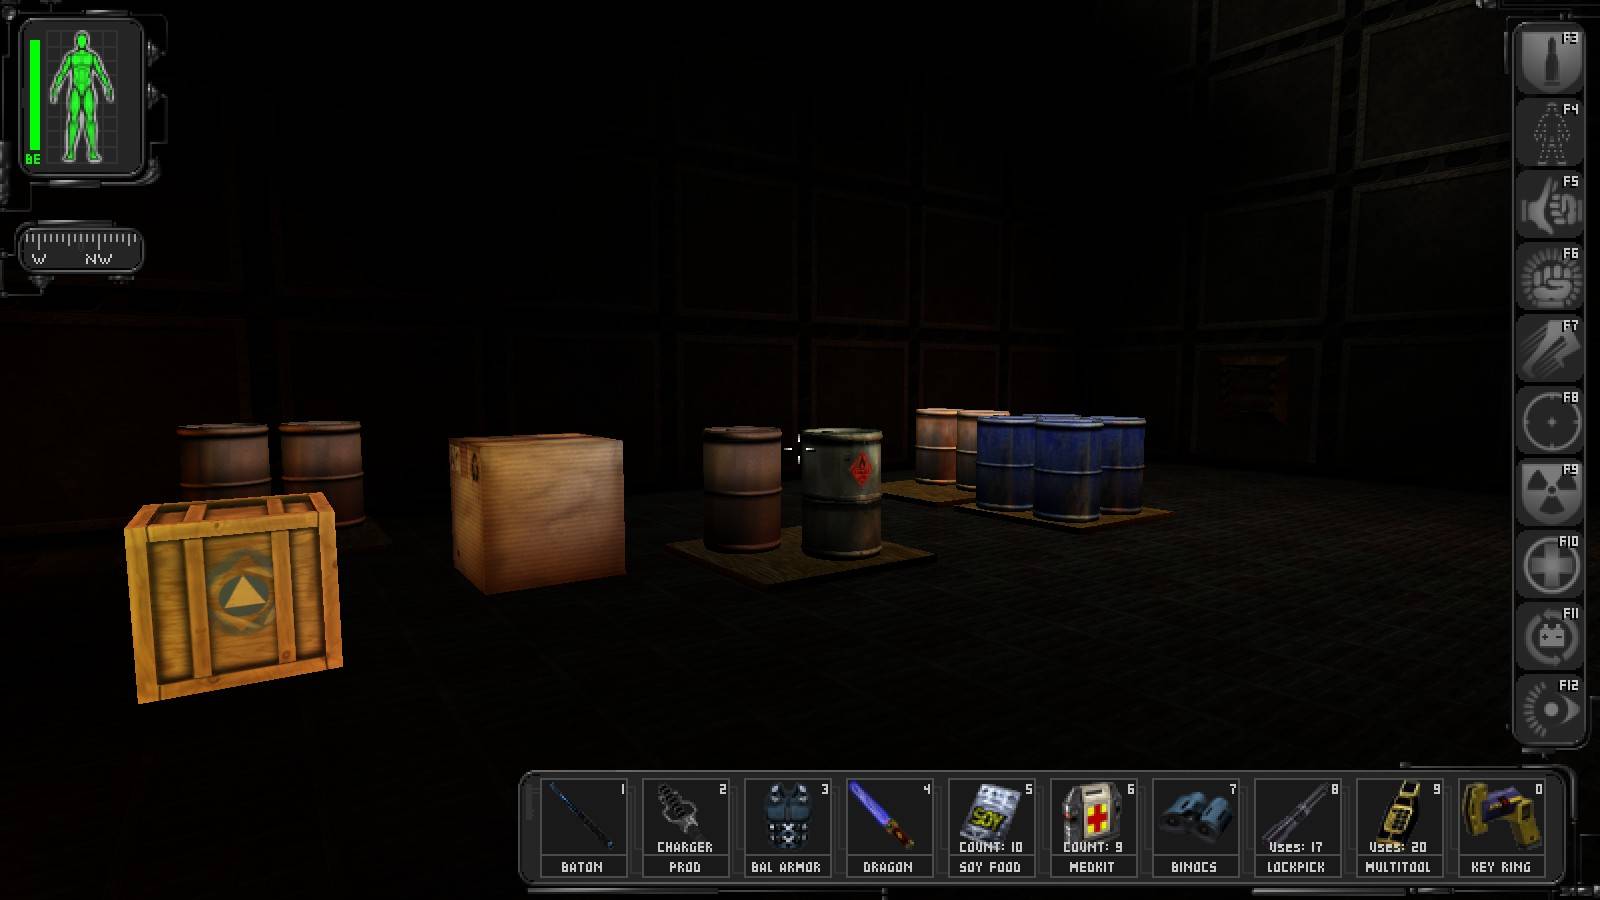
This part of the game is probably the only reason you came to my site in the first place! It is an absolute requirement to either have environmental training at advanced level or microfibral muscle to make it through this area. If you intend to destroy the weld points with the Dragon's Tooth Sword, you'll need combat strength and low tech weapons maxed out, and you'll also need two suits of ballistic armour to get you between the five weld points. If you have microfibral muscle, you'll need to use the heavy explosive barrels and crates of TNT to blow the weld points.
Well, enough of this, let's get to work!
Vandalising Government Property

Actually, good sir, you underestimate the glory of the Dragon's Tooth Sword!
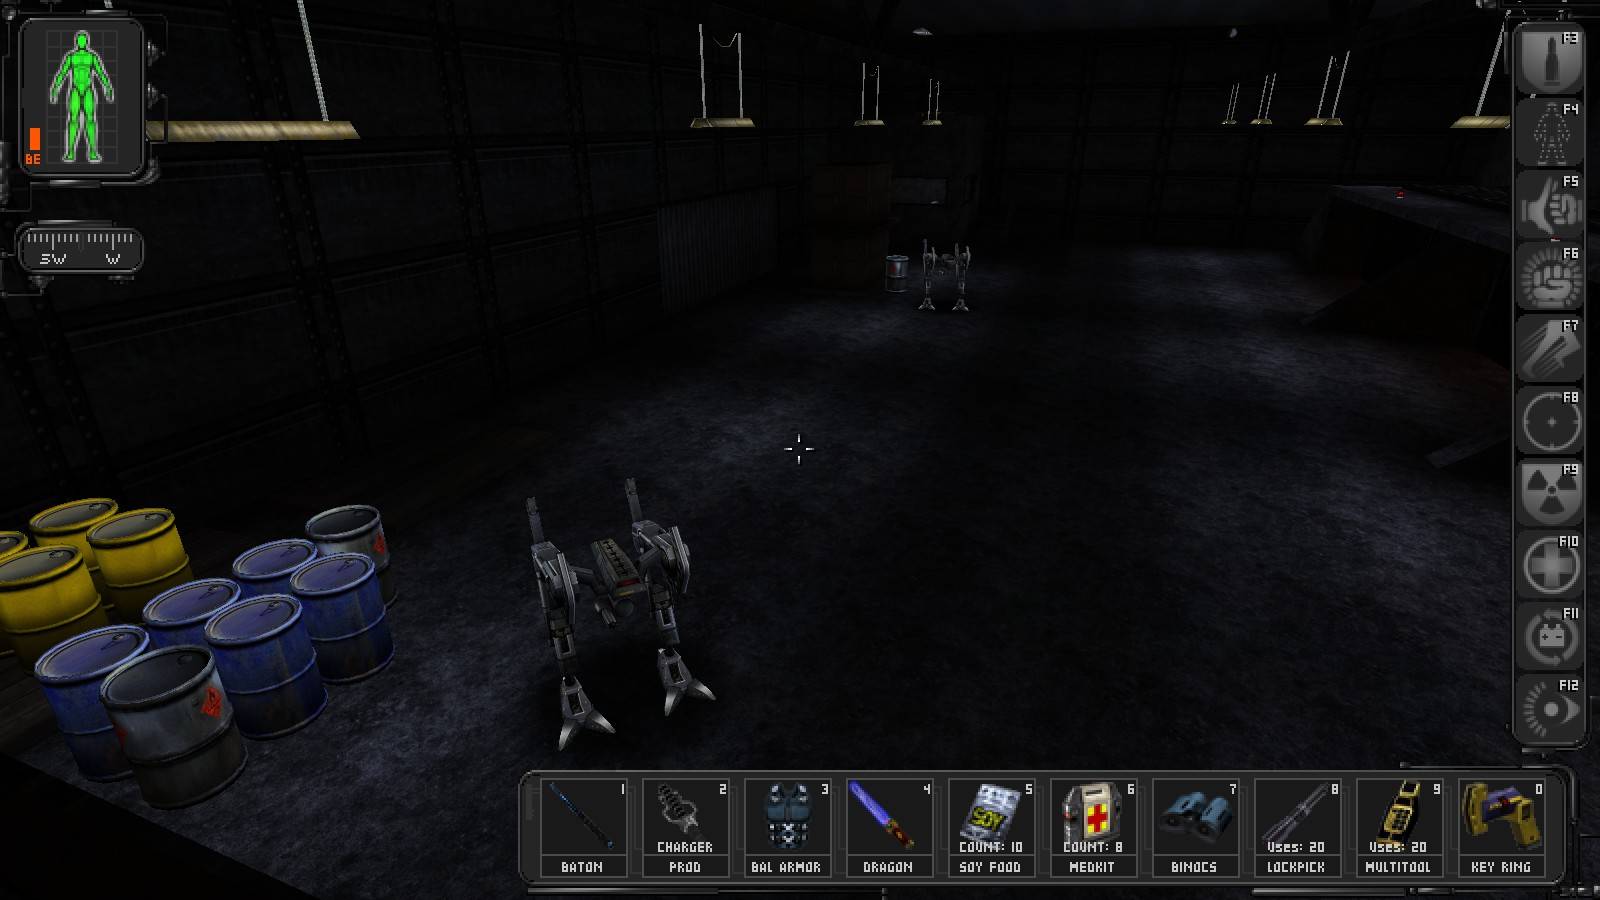
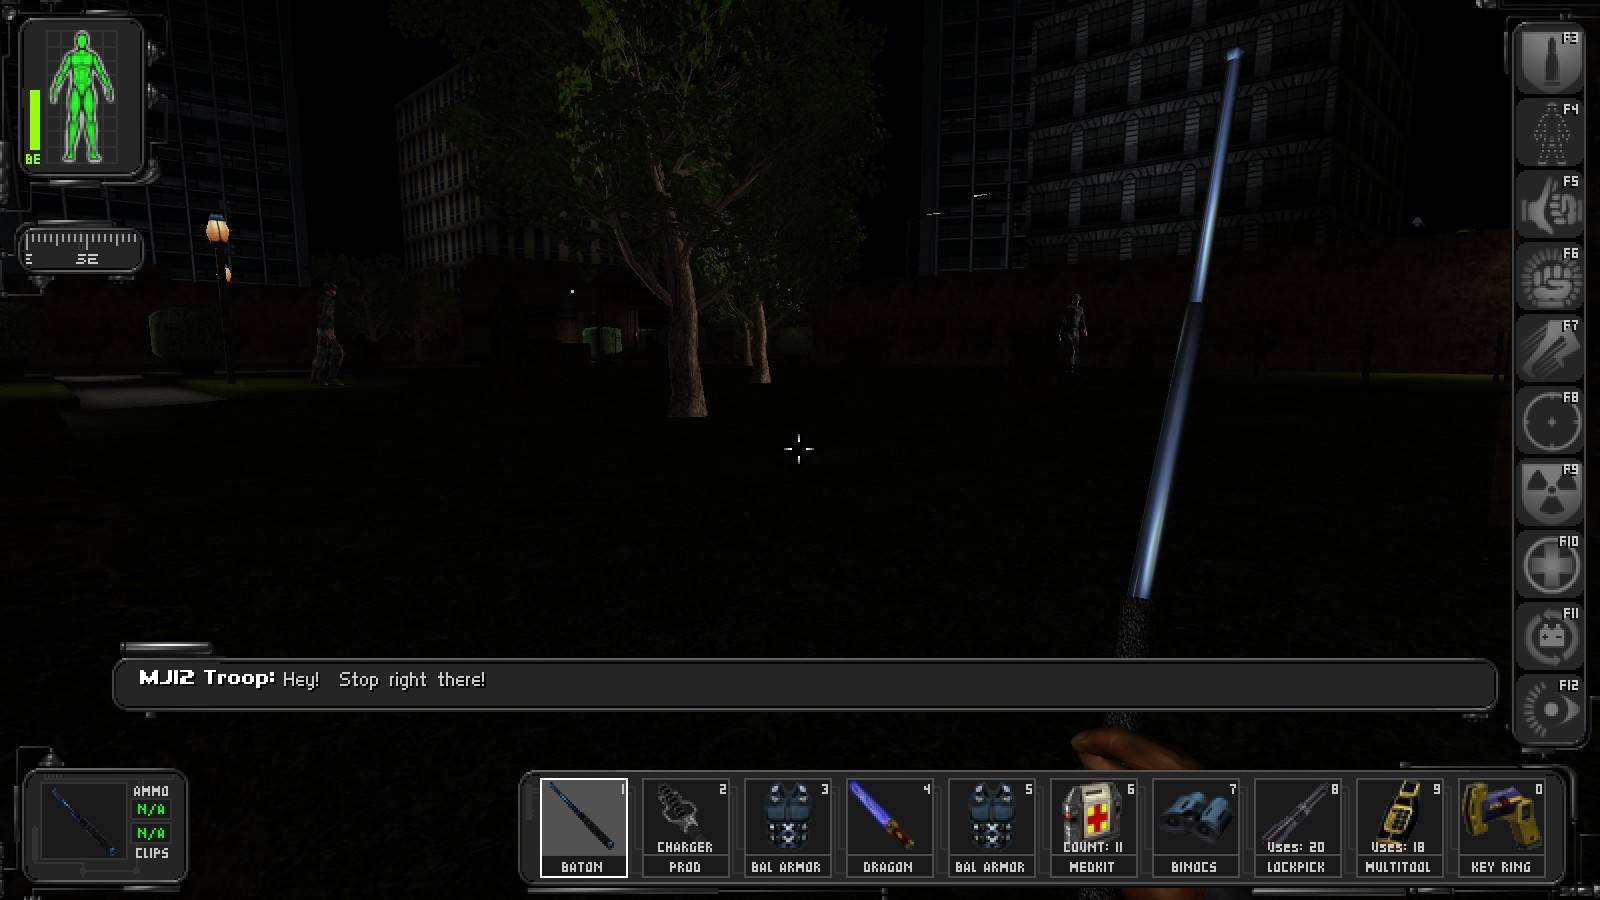
After Jock has dropped you off, exit the landing zone and walk up to one of the soldiers guarding the shipyard gate. If you agreed to help Vinny, you will get a friendly welcome and a key to the gate. If you didn't, you will pretend to be one of Page's men and get told to buzz off - but can get the key anyway by simply taking out either of the three soldiers. Although in theory it is possible to enter the base via the sewer nearby, it's not worth the effort. First, you have to make several jumps over a pool of water with a live gas grenade attached to the far wall which will go off if you fall. Then, you end up against spiderbot-releasing sensor beams of which the nearby power box disables, after a lot of hacking, only the middle one each. Just jump over the water if you want an extra 40 skill points, then go back and through the gate.
If you need a medkit, there is one in one of the two trailers on the eastern side of the courtyard, the door of which can be smashed easily. From there head towards the dark corner of the warehouse, where you can listen to two mechanics talking and wait for a FEMA man patrolling the courtyard. Once he's down, raid the trailer in front of the warehouse for a lockpick and a biocell, then open the small door and get inside.
Watch out for the camera to the left. Straight ahead and behind the vending machines there is a security terminal which disables it. If you cannot hack it the password can be found on a DataCube inside the desk in the office the camera in question guards (use the desk to hide from its view), along with another key. The terminal can also open a keypad-protected door inside the office, head there and devastate the desk to find a bunch of keys. Use another security terminal to disable more cameras and, if you're feeling mischievous, reprogram the robots outside to attack everything in sight. On your way out of the office, stop by the toilet to learn a code to the sub pen door - and if you are powerful enough, break through the locked door to get... well, nothing useful.
If any of the two FEMA men patrolling the warehouse remained inside despite the sounds of the havoc wreaked by the robots, take care of them. Afterwards climb the stairs leading to the top of the office and take out the guard outside - he is quite a nuisance up there, even though we're not going to walk to the other warehouse this way. Despite the fact that we can unlock it, this path is only for people who like getting shot at by robots.
Seriously, just don't!
Speaking of robots, listen if the shooting has ceased and if so, use the reprogramming terminal again to reset the bots to standby.
Pick up one of the small metal boxes lying around, leave the warehouse the way you entered and head west. Minding the camera on the building opposite, place the box by the southernmost, dark window of the building you've just passed, break the glass and get inside. Whoo, the Commander's office! We've already opened the office the DataCube contains code for, and don't bother with the safe unless you have the Shifter mod installed, it contains only an Environmental Resistance / Aqualung augmentation and the schematics of Simons' augs. The desk itself contains 100 credits, and a key to the hard-to-smash locked door in the office we've already been to. Once done, make sure the lights are off, unlock and open the office door, peek outside and to the right, activate the security terminal and go back insidebefore the camera sounds an alarm. Using the usual login, disable all cameras (including the one we've just hidden from) and open all doors. You can now raid the room and the supply closet for goodies, which include:
- ballistic armour
- a multitool
- binoculars
- 100 credits
- two candy bars
- a medkit
- two biocells
- a lockpick.
Get outside via the Commander's window, grab the box and run to the building opposite. You might try to smash the door, but if you can't do that simply repeat the break-and-enter procedure on the window. Inside you'll find a repair droid, two multitools, a lockpick, three sodas. Charge up, then get outside, go on on further north and enter the second warehouse. If you do it as far to the west as possible, the robots won't notice you and you'll be able to reach the control room to the left. The security terminal inside will let you disable them for good. Get a lockpick from the roof and a multitool and food from under the console. Now, use the three buttons on the console to open munitions bays.
The stuff inside the bays is not as interesting for a melee-only player as for everyone else, but there is a hazmat suit, ballistic armour and a handful of skill points. You'll receive some for entering the third bay, and more for climbing the raised platforms to reach the catwalk on the side of the warehouse. There is nothing interesting on the other side, so once you've got the points go back down, head outside, to the west past a fence gate, then north towards the crane (the shed on the way contains another suit of armour, if you're not sick of them yet and care to open the door).
Fair warning, if you don't enter through the front door, the soldier will be hostile even if you agreed to help Vinny.
Now, there are three ways of entering the sub pen. The first one involves riding up the crane, jumping over to the roof of the pen and breaking into the ventillation system - which is infested by spiderbots and thus rather demanding for people with no ranged weapons. The second is to use the code we have found to open the pen door, but if you haven't agreed to help Vinny the second door inside the will have to be picked, plus the soldier guarding it will, instead of giving JC useful information, be hostile. The third approach is to go through the tunnels and that's what we're going to do now. Head past the crane towards a small shed near the wall of the sub pen, there is a grate nearby you can open to climb down to the tunnels. The gate blocking them should be open due to our machinations with computers, but if it isn't - get rid of the shack door and turn the valve inside. Disarm the LAM hanging there and head north to enter the pen.
Avast, Ye Landlubbers!
The ship lies directly ahead and there are three ways of getting on board. If you just want to get it over with, swim to its northern side and take a ladder up.
If you want to make a semi-legal entrance (or maybe just to have a pretext to harass the three MJ12 troopers guarding the dock), you can extend the ramp leading to the deck. If you need a code, it can be found on two DataCubes (one in the guard room near the door from the outside, one on one of the lockers in the mechanics' bathroom) or, if you agreed to help Vinny, by chatting up the mechanics in the common room near the dock.
Finally, for the sophisticated there is the aerial route - go to the crane control room at the far end of the dock to move the crane arm to a more convenient position, then enter maintenance corridors in the same section, open the big grate and walk over to the ship. From the point of view of skill points, it's good to do all the three things: you get 20 points for climbing the ladder, 40 for entering the crane control room, the same amount for both climbing the ladder into maintenance corridors and entering a corridor near the elevator shaft. It ends with a grate which can be opened with the nearby button; just remember not to go anywhere where the spiderbots are, no points there.
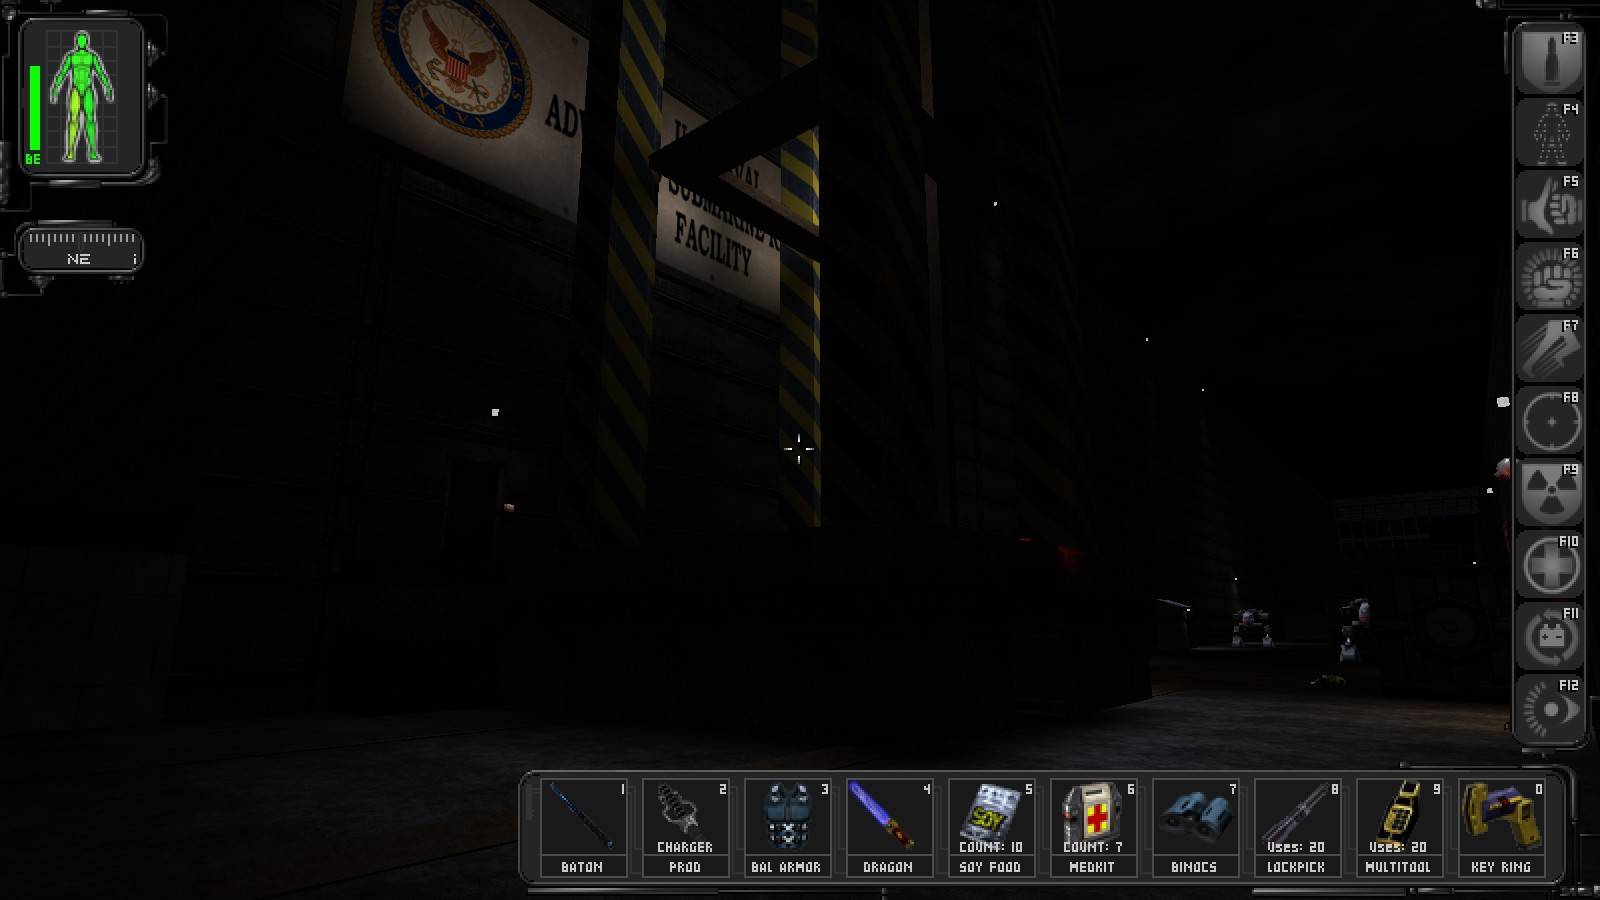
There are five Chinese soldiers patrolling the deck: two walking between the containers west of the helipad, one hanging around in the bow section, one patrolling on the port side and one inside an empty container near the northwestern corner of the helipad. There is nothing interesting here other than a medkit and a suit of armour in another empty container in the bow section and 50 skill points to be obtained by walking the starboard railing to the bow and approaching the weapons crate hidden there. We can use the western loading crane to get inside the ship from an unexpected direction. Climb up until you've reached the arm, get on top of one of the nearest container stack and make your way to the flat area on the starboard side of the ship, with a door leading inside. Of course it helps to do any jumping as far to the south as possible so that anyone who is inside will be less likely to hear the noise.
There is a camera watching on the bridge which is likely to spot JC, but there is a desk underneath one can hide under until it has stood down. The terminal just outside lets us shut it down and open two normally-locked doors: a side one to the ops room (not particularly useful, as there are two soldiers inside having a conversation and they are looking that way) and one to the armoury. Go down the stairs.
There are three sailors patrolling this area of the ship: one stays on the first floor balcony, the other two walk around on all three floors. If you feel like dodging them - and the cameras if you didn't turn them off - there are air vents hidden under various stairs which one can use to get between rooms while staying out of sight. The one on the second floor also contains a ladder leading back to the third floor, providing access to all the rooms there - but with the amount of noise JC makes jumping down, we'll ignore it. The armoury contains thermoptic camo and two lockpicks, but the really interesting stuff can be found on the opposite side of the floor, behind the locked door. While we could smash them open, we'll take a different approach.
Use the door opposite to the locked one to enter the infirmary. In the desk inside is the belowdecks key, our goal for this section, but we'll stay in this area for a bit longer and see if we can find more interesting stuff. As it happens, we can - also in the infirmary, there is a DataCube with a code to raise a certain bridge in Engineering; there is also a medbot and two packs of soy food. Now, look to the left from the door to find a vent, go inside and ahead to get to the locked electronics room and more goodies - 4 multitools, 2 biocells, 2 cans of soda and two DataCubes. One of them contains a code to the ops room upstairs, another seems to be a log of a failed OS installation... say, isn't that a root password? In fact this is probably the most important DataCube on the whole ship, as the password in question works on ALL devices you can find here; copy it to the clipboard and you'll be able to access them in no time at all.
Leave the room and retrace your steps to the ops room to nick a key to the security area access panel (which, alas, I have no idea what is used for) and a DataCube with a code to captain's room next door. Go there, read the cap's e-mail (his personal login can be found under the bed, if needed), relieve him of 2250 credits to be found in the desk drawer, pinch the second belowdecks key (near bed) and the armoury code (inside right-hand desk cupboard) if necessary and listen to the holomessage left by Simons.
Nothing else to do here, so go the laboratory two floors down and get an augmentation upgrade canister from the safe (must be picked open, nothing short of explosives can actually break its door) and, it you feel helpful, a small canister of Ambrosia from the counter. There are also some food items to be found in crew quarters on the same level, just don't bother unlocking the unsmashable lockers there - the only stuff in all of them are 100 credits and a multitool, that's hardly worth the lockpicks we would have to use. Finally, unlock the door at the bottom of the final flight of stairs and head...
Belowdecks
Go all the way down the stairs. There are two soldiers down there, guarding a small passage leading further inside the ship. Leave them be for now, there are several cameras in the area, but when they're down I suggest you take the soldiers out, just rush them, carrying out a silent approach here is not worth the effort. While it is possible to sneak past them, we'll be making a helluva noise soon and the last thing we'll need is getting shot at. At this moment walk around the tower-like structure until you can see a keypad, punch in the code you got from the infirmary, and cross the freshly-raised bridge and enter the tower.
Once inside, walk ahead, carefully climb the ladder when the patrolling sailor on the upper level is not looking, activate the security terminal and climb back down before it has opened. You can now disable those pesky cameras, so if you haven't taken out the soldiers yet and want to do so, now it is time. Afterwards enter the second tower room, collect armour from the shelf, smash the glass window and, using the nearby crate, make your exit. Follow the pipe till the end and get down into the partitioned-off area of the room. Remember how to get here, you should see a weld point down here. This is Target #1. We're saving the weld points for last, and if you do things just right, you'll only need 2 suits.
For now, stack the crates so you can get out of here, pick up the biocell here, and hop the wall to leave. Head north, past the engine block, and you should find Target #2. You can collect a multitool from nearby and a biocell from behind the cooling units to the east.
Exit the engine room and head right, ignoring the dark niches. At the end of the corridor there is a door and, near the last niche (which, unlike the others, does contain something useful to us - a lockpick), a security terminal. Use it to disable all active cameras and open some useful doors, then take out two soldiers guarding the pump room. There are times when both of them have their back towards the door you are at, so just watch for other soldiers that pass through the area once in a while. Swipe the multitool and the prod charger. There's a weld point in here, Target #3.
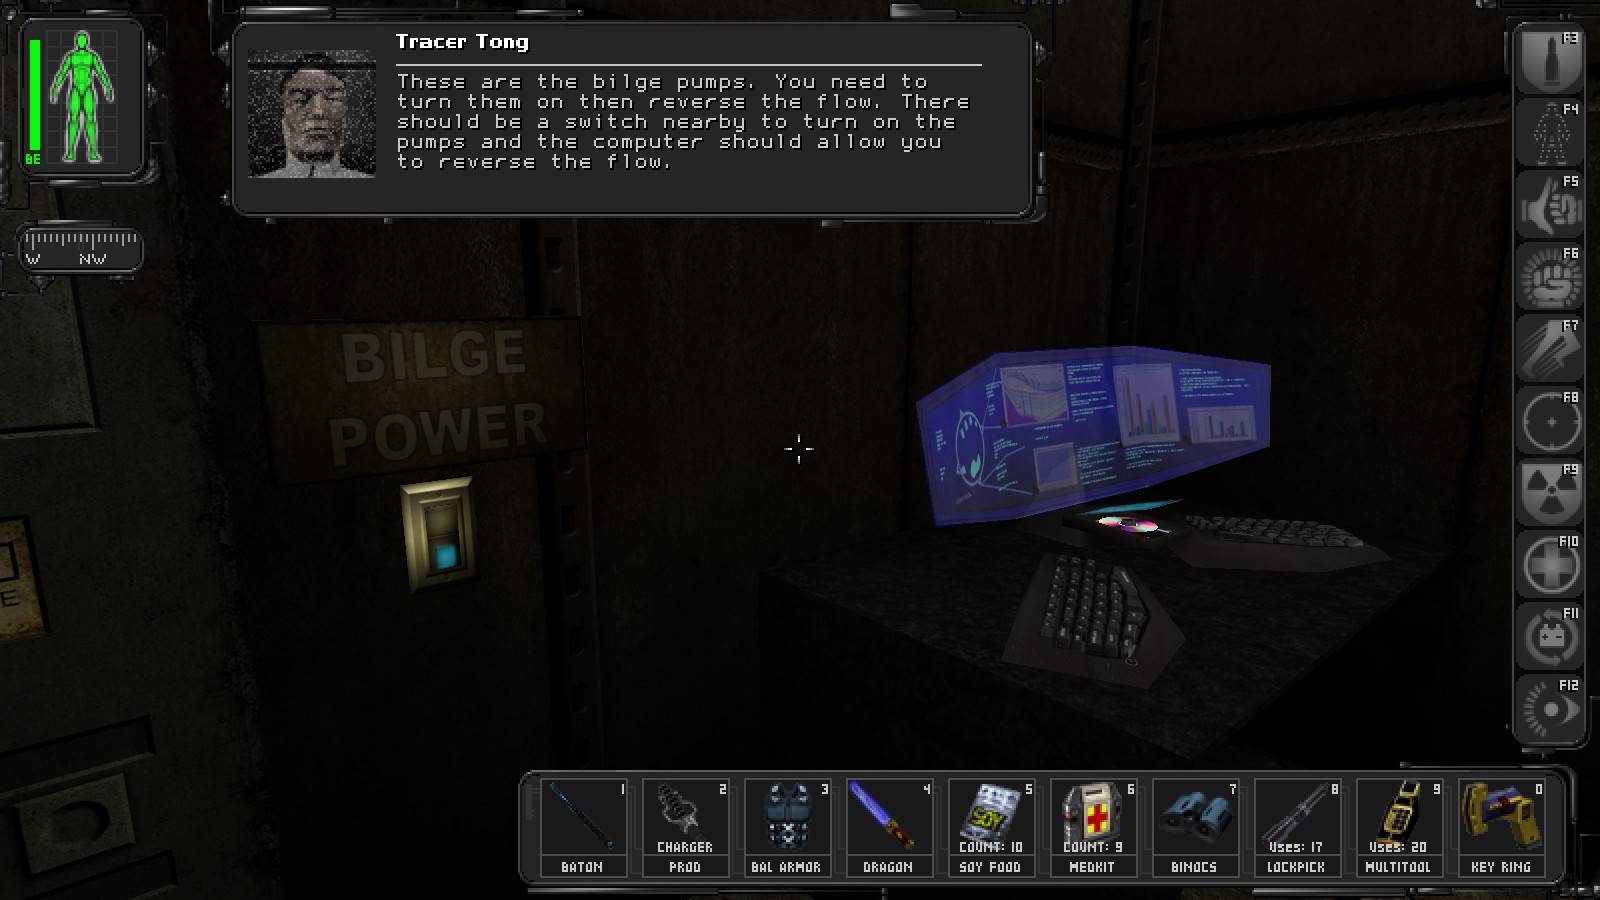
If you're running with optimal stats, you can get Targets 1-3 on one suit of armour and still have your good looks, so we'll shoot for victims 4-5 on the second suit of armour. Just in case you have enough armor to get to the last weld points later, you'd better fire up the bilge pumps and reverse the flow now.
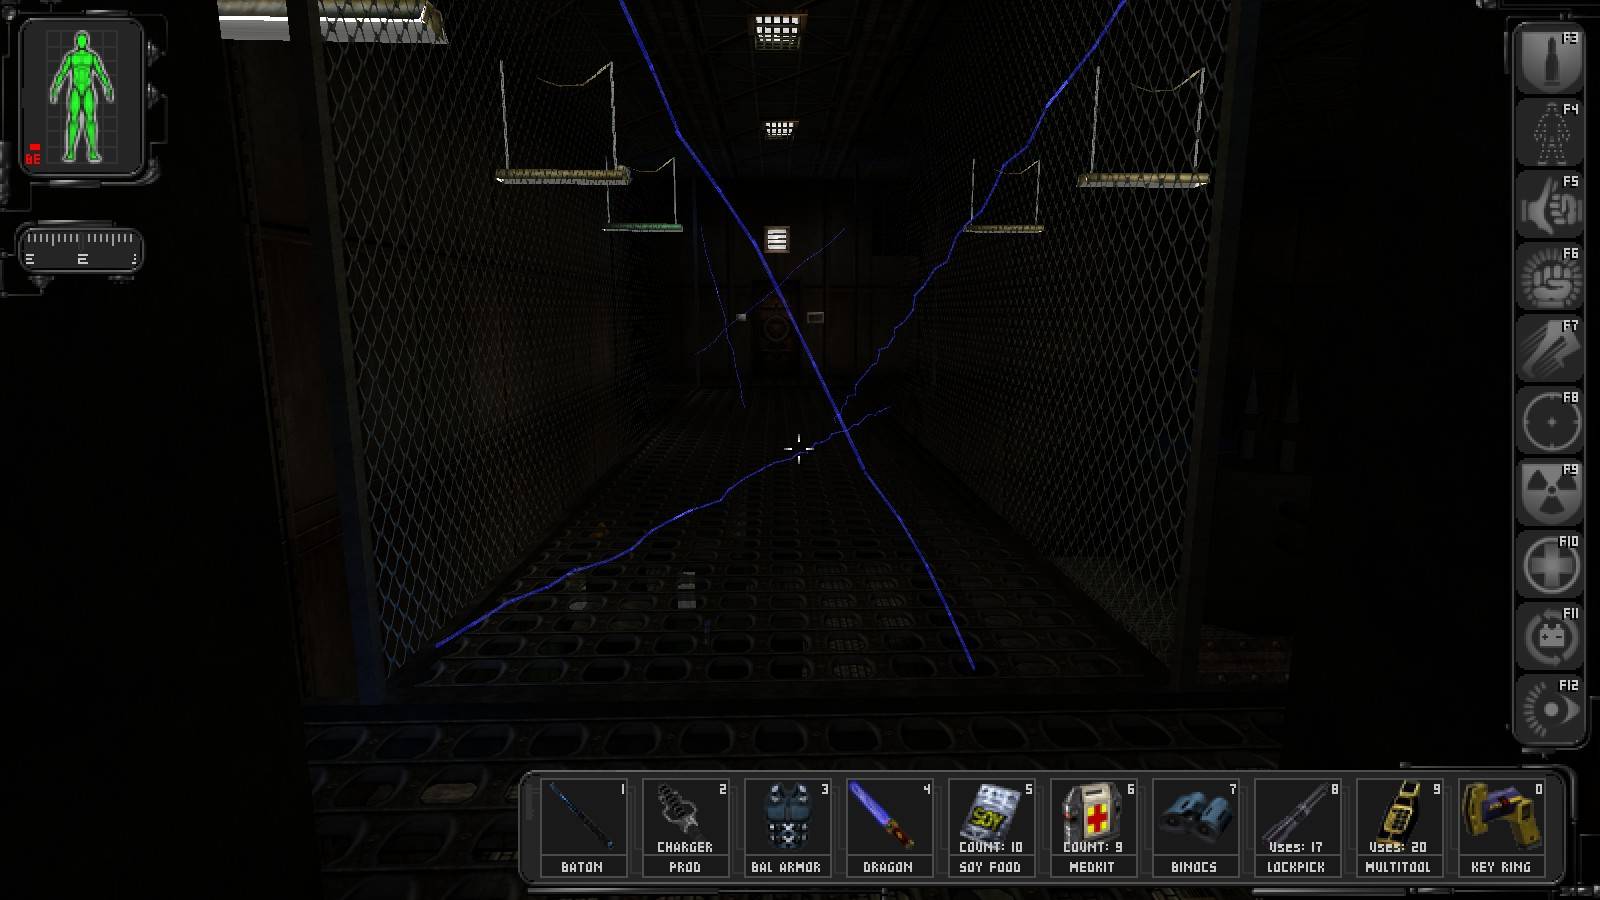
The corridor upstairs will lead us past another terminal (each of which gives you access to at least some new cameras and doors, so use them) to yet another one, in a room with lots of electric activity. Our 4th target is at the far end of its main level, which means having to either walk through the arcs (which will be painful, even with protection) or shut the power down. If you feel brave and lucky, and want to try the former, simply skip the next section. Otherwise get down the ladder and exit the room via nearby door.
Do ya feel lucky, punk??
Talk to the mechanic, swipe his key and multitool off the nearby crate and use the repair bot to replenish your bioenergy. Pick up the crate and re-enter the room you came from, then quietly put it down somewhere and try to sneak up on the spider bot. Since, as always with bots, we've got both ranged attacks and the final explosion to worry about it may be useful to fire up some protective augs, but don't waste ballistic armour here (we need that for weld points). Another useful strategy involves opening one of the floor grates and keeping it between you and the bot. For some reason the latter will not shoot at JC through the grate even though he is entirely capable of reaching over and hitting it with the sword.
Either way, once the bot is gone work on the panel in the southwestern corner of the room, open the grate next to it, go back to pick up the crate and go down. The second panel we have to disable is at the end of this section of tunnels and is guarded by a single blue tripwire, crossing which releases another spiderbot. While it can be disabled with a multitool to the panel nearby, what have we got crates for? Block the beam, work on the second panel and get back up.
TNT -- this particular beam opens and closes the door that releases the spider bot. A simpler solution is to cross the beam, then double back and trip it again. If you do it fast enough the spider bot won't even see you.
Cross the catwalk and access the security terminal. Open the nearby door and disable all the cameras that remain active, but be careful not to re-enable the one you've already taken care of - it happens to be looking straight at you. Get inside while the wandering soldier is not looking (his companion won't bother you unless you make enough noise to have him turn around), locate a small grate approximately behind the sitting one and get down the ladder. Once there, nick the medkit if you need it and use the button to open a way out.
There are four soldiers guarding the hangar, two of which walk around the perimeter and therefore pass near the door you've just opened. Since once again we are going to make a lot of noise, it is probably a good idea to wait for them to pass by and, ahem, relieve of their duties. Then again, it is quite easy to leg it out of the area without being followed, using a service tunnel starting just a few steps away from the 5th and final target.
You can use some rather creative methods to relieve the soldiers of their duties, as some carry LAMs and aren't too careful with them. Arrange for a similar accident and a master of environmental training will only need one suit of armour here!
By the way, there are 40 skill points to be awarded by entering this tunnel and taking a few steps along it. The choice is up to you. When it comes to goodies, there are a medkit and a lockpick to be collected east from the door you entered through, plus there is a repair bot hanging out near the weld point. Moreover, if you don't have any more armour, you can get a suit - along with a DataCube containing somewhat useless code to the hangar door - from the guard quarters under the helipad; keys to the lockers are on the two guards.
Make your way back to the pump room. For some extra points and goodies, you can take an indirect route through the roundish room west from the hangar containing a biocell and a multitool, up the ladder and the vent turbine room, through vent shafts to the south and then to the east. The room with a window you find there, occasionally visited by a patrolling guard, contains two prod chargers (one is inside the tunnel you've entered through) and a biocell; furthermore there is a Cloak/Radar Transparency augmentation canister and a lockpick inside the locked room, but they're probably not worth the resources needed to gain access unless you intend to install both augmentations. Follow the corridor and you'll find yourself up on the small platform over the pump room weld point, richer by 80 points and with another medkit to collect.
The Weld Points, by TheNightTerror
Backtrack to the engine room, and go down to Victim #1. If you have augmentation upgrade canisters and intend to take out the weld points by hand, invest them in your combat strength, ballistic protection, if you have it, regeneration, speed enhancement, and power recirculator augmentations, listed in order of importance. As for regular character skills, max out your low tech weapon skills immediately, and your environmental training, if you can.
Walk up to the first weld point, and swing with your Dragon's Tooth Sword, until you hear it connecting. Remember this distance; this is your only chance to get a feel for it, and it could save you time and hitpoints. If you intend to smash TNT crates to blow the weld points, you're going to need to place the TNT crate as far from the weld point as possible, and then stand as far back from the TNT as possible, to have a hope of survival.
Once you're ready, activate all the augmentations mentioned in the last paragraph, activate a suit of ballistic armour, and swing. With Victim #1 gone, turn around and race up and over the wall, your crate staircase should still be in place. Head north to Victim 2, and swing. This explosion could be quite painful, considering the amount of explosives in the area, so you'll want to make sure you're fully healed prior to swinging.
After it's down, deactivate your combat strength and ballistic protection augmentations to save power, then sprint for Victim #3. By the time you get back to the bilge pump room, your armour will be almost gone, but if you're a master of environmental training, you should have time to take out Victim #4 before it dies. If you run out of armour after #3, stop and take a breather.
Victims #4 and #5 shouldn't be a problem to get on one suit, and once they're gone, be ready to run for it. Hard save before taking out #5, this is a very dangerous time for the game, it tends to become extremely unstable. Sometimes quick saves will be corrupted if made during this part of the game, so make sure you have something to fall back on if this happens. Get above decks, and get out of the ship, but you're not out of the woods until you're in another map.
Naw, don't worry, I don't have anything against mechanics!
Once you're back in the sub pen, Tong will tell you to use the ventilation system to get to Jock. And run into more spiderbots? No thanks. Instead, simply leave via the front door and ride up the crane. From here you can complete the last of our business in New York the paranoid person's way, or the gullible person's way.
The Wrap-up, Marecki's Way
Ring the bell at the cemetery gate, having been let in look around a bit. Is it just me, or is ammo scattered all around a place like that somewhat suspicious (sadly, the only thing of interest to us is a biocell in one of the graves). To make things even more interesting, inside the gatekeeper's hut there is a skewed painting concealing a keypad, bypassing which opens a secret room with a strange device... Take the gatekeeper out and you'll find he's been carrying a stealth pistol - either something fishy is going on here or Dowd will be seriously pissed off. Better safe than sorry, so nick the guy's medkit, multitool and beer if you feel like it, then take the Tooth to the device. Finally, go to the mausoleum.
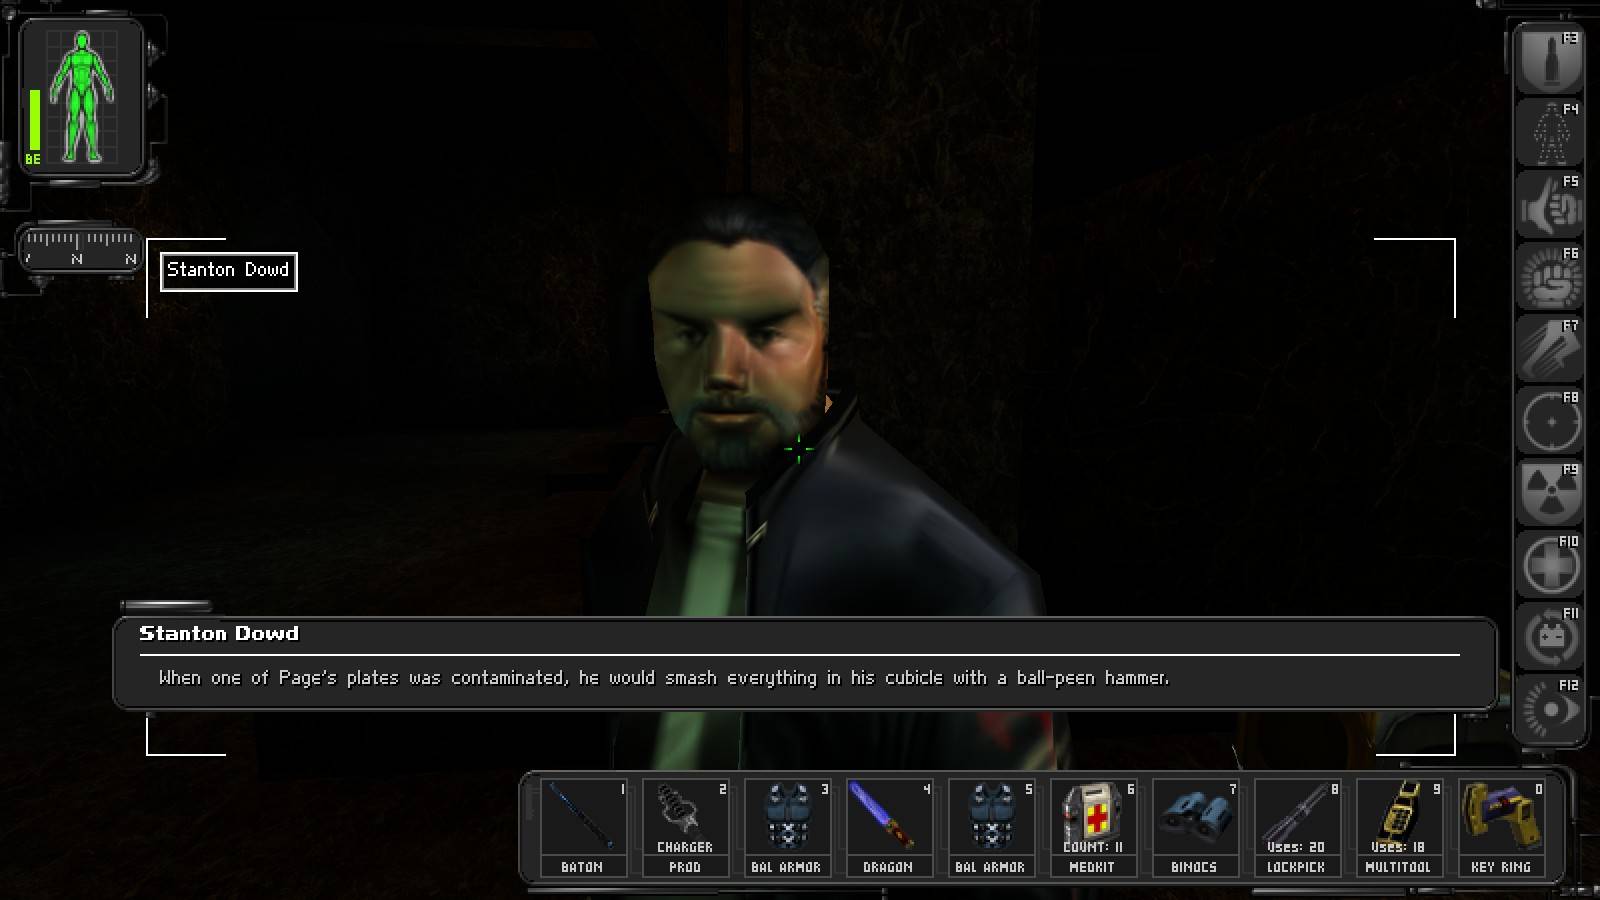
Too bad he turned evil, sounds like Page might have been one of us once upon a time!
Having finished talking to Dowd, look around for goodies. The power-smashable wall safe contains an aug upgrade canister, in addition there is a multitool on the desk, a lockpick inside a crate, some food items inside the southwestern tomb and some skill points awarded for visiting the tunnel under the stairs, the one with automatic secret door. Finally, exit via tomb near the safe, collect the lockpick you've landed on and a medkit from further ahead, climb up the ladder somewhere on the way and move the tombstone to get out.
On the surface we are being awaited by eight MJ12 troopers. Luckily Jock is already there, so unless you feel like bashing heads (for which you'll probably need invisibility, since the cemetery is better-lit than it looks and the troopers tend to stay in each other's field of view), just make your way to the helicopter. Make sure you either start the conversation having the chopper between JC and the troopers or rush through it, there is nothing more annoying than getting shot during that split second between the conversation and the cutscene.
The Wrap Up, TheNightTerror's Way
Hey, I can finally contribute something! In some ways it's almost easier to play the mission as if you don't know what's going to happen, only four MJ12 troopers spawn at a time and you actually stand a chance of clearing the place out. I won't bother repeating the instructions on finding the loot though. Fair warning though, with the cemetery being so well lit that anyone on a non-lethal run is still going to make heavy use of invisibility to take everyone out.
As soon as the attendant lets you in, head straight to the mausoleum to talk to Dowd. Afterwards the first four troopers will spawn, and since it seems like you're always spotted, I can't offer any solid advice on a stealthy approach. Charge them and take them out, and if you have any ballistic armour left, I won't judge you for firing it up before heading outside.
See? I can't even take pictures of them without being caught!
When you return to the gatekeeper's hut he'll be hostile, but he won't present much of a challenge for you, especially if you threw on a suit of armour before the party started. I like to power smash the bookcase and then the device, at which point the next four MJ12 troopers will spawn. The rude little bastards nearest to the hut like to watch the door like a hawk, so you're going to have an extremely difficult time getting out unseen. It's best to just charge and start swinging.
Four new party animals!
Once they've been eliminated, you can stroll on over to the chopper and hit the road.