- Home
- Walkthrough
1. New York 3. Return to New York Liberty Island Return to Hell's Kitchen The Warehouse Assignment The Wall Cloud, The Graveyard Ambrosia, Airfields, and Apostasy 4. Paris The Insurrection Finding Nicolette The Great Escape Finding Morgan Everett 2. Hong Kong 5. Southern California The Helibase Vandenberg Deactivating the Kill Switch The Gas Station Versalife The Submarine Base The Missile Silo Area 51 - Strategies
- Extras
Ambrosia, Airfields, and Apostasy
Introduction
We've just returned to UNATCO HQ, and not a moment too soon! We near got blown to Kingbuktu (I can't remember the improper (sober) version of the word*) blowing up the generator, but, no matter how many pieces we may be in, we survived. And no matter what we do, the following people will also survive in this area: Harley Filben, Paul, Gunther.
*Timbuktu! But it's amusing seeing my little drunken comments some thirteen years down the line so I'm just gonna leave that one there.
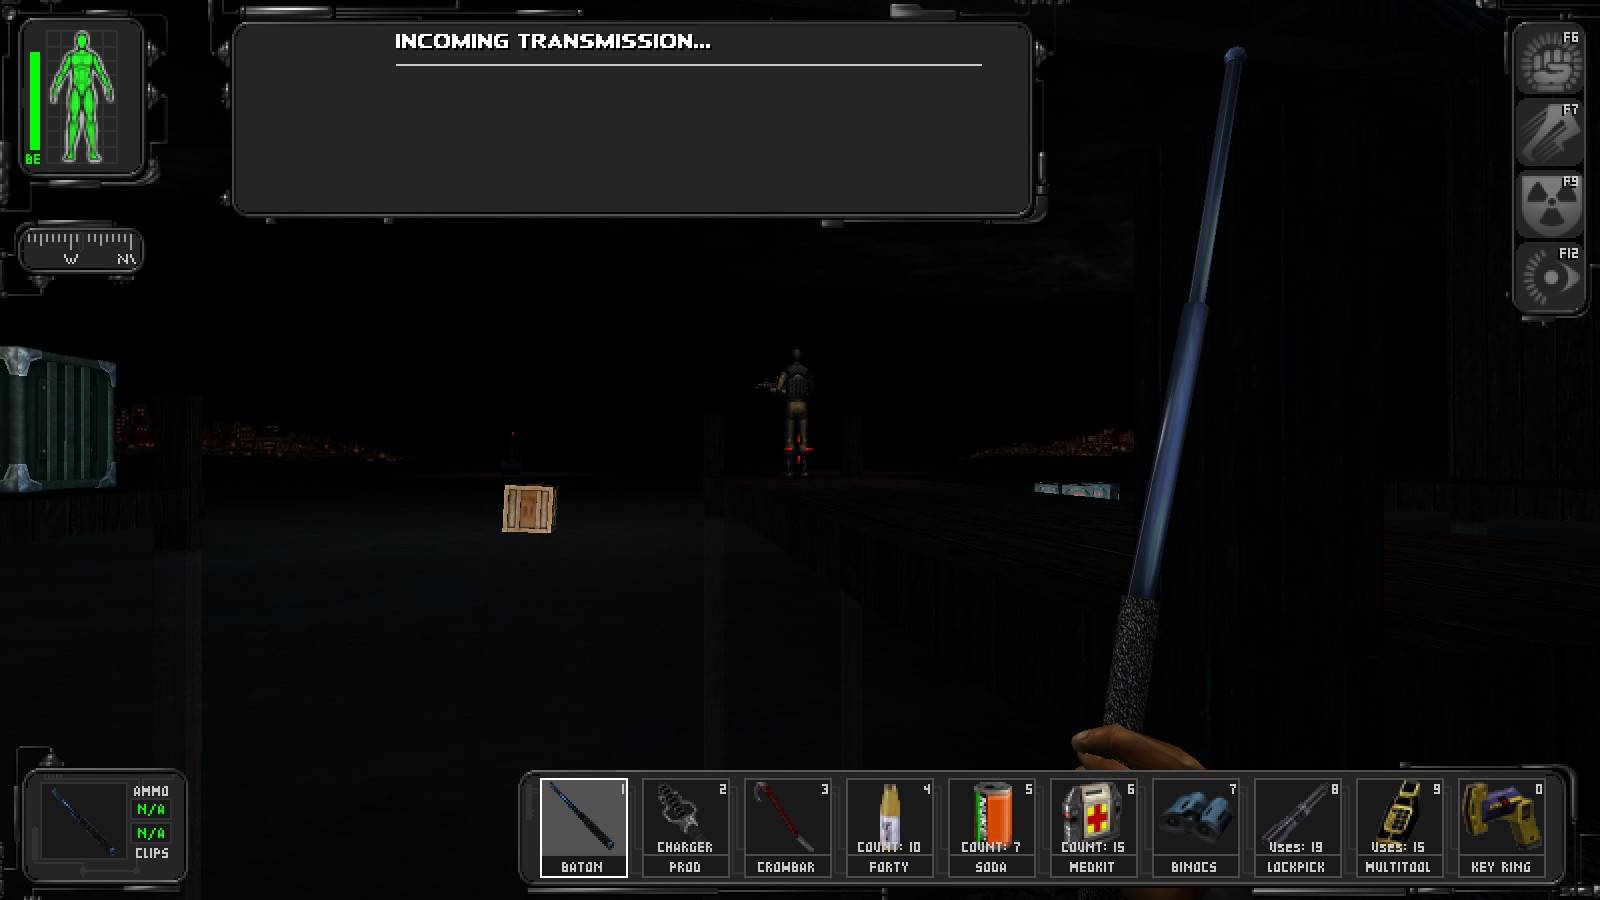
We'll soon be returned to the mainland to find some more of the Ambrosia, and find out that something isn't quite right with Paul. Some well-planned attacks, carefully planned routes, and quick wits should get you through this alive and well. You shouldn't even run into significant resistance until you reach the helipad if you're stealthy enough. My only real advice is to invest in swimming skills so you can get to the airfields via the stealthy route without getting hurt. Well, let's move onto the walkthrough, shall we?
UNATCO HQ
Ah, here we are, back home. Return to the comm van to discover a lone multitool behind the hatch door, and crack open the van itself (with our favorite code, of course) to discover a repair bot tending to the computer we used recently. If you've used up some bioelectrical energy, charge up, then, after getting the lockpick hidden behind the comm van, return to the front door of UNATCO HQ. Talk to one of the Men in Black, then head inside. Once you reach the lobby, swipe a lockpick off a bookshelf in the office to your left, then go down a flight of stairs to level 2, and enter Manderley's office. After the brief cutscene, approach Manderley's office door and eavesdrop on his conversation.
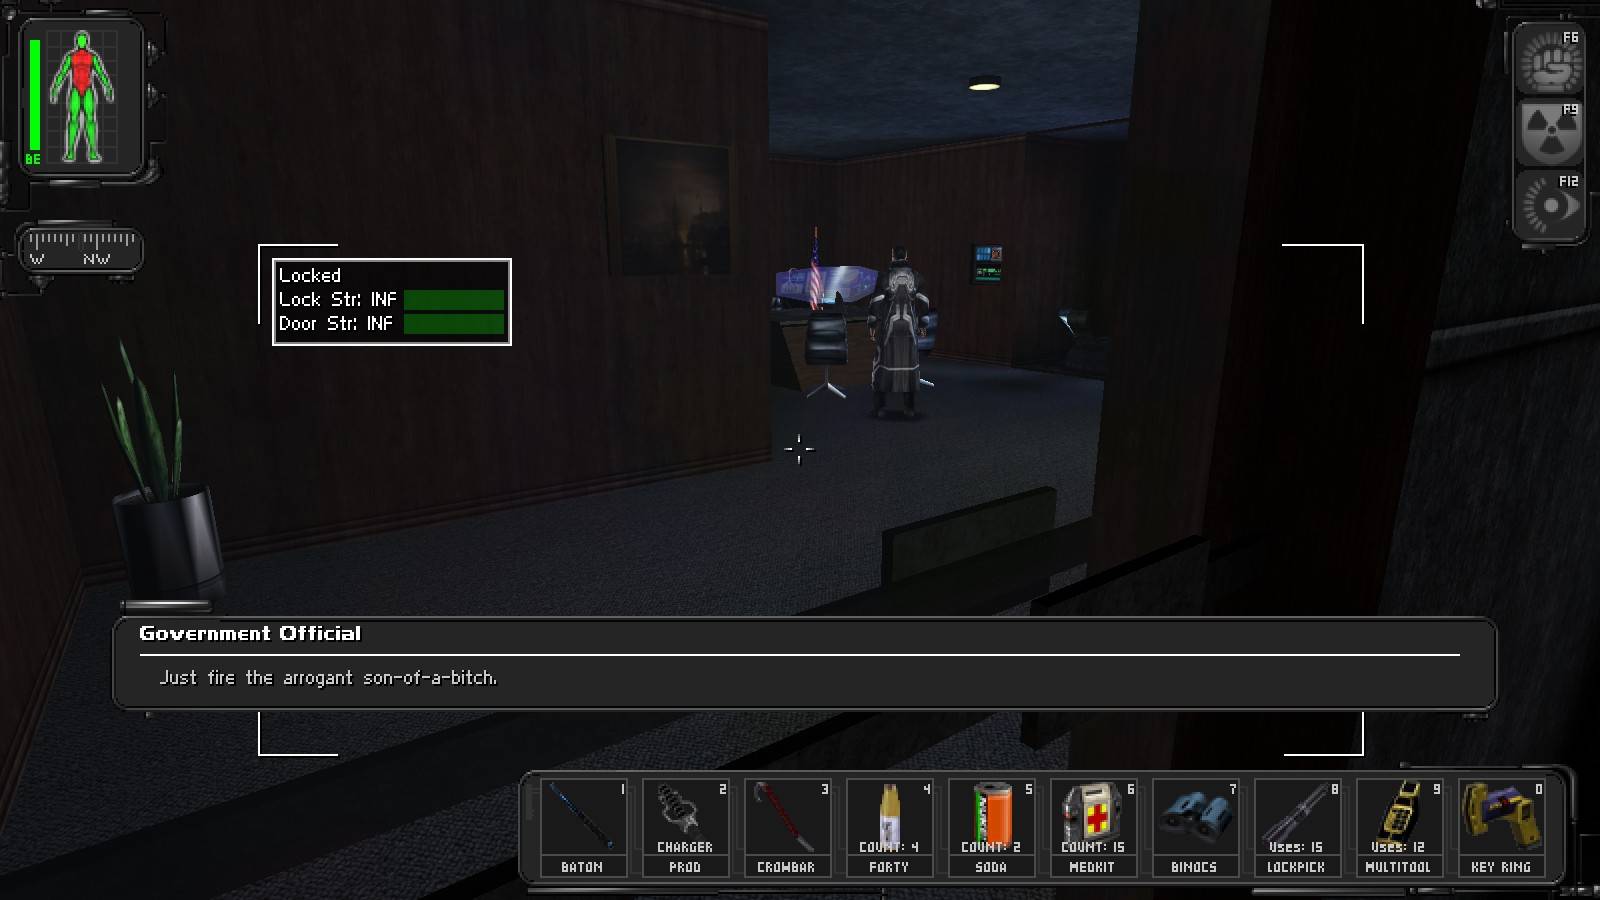
There's a good first impression to have of a man!
We're going to be following Walton Simons downstairs, so don't let him get too far ahead of you. Talk to him a few times if you want, but be sure to follow him into the cell with the prisoners, you only have one opportunity to get in the door. You'll get yelled at for it, but when did we ever let a thing like that stop us? You can talk to the NSF trooper in the corner between conversations between Simons and the prisoner. He'll get frustrated and blow them both away eventually, unfortunately there's nothing you can do to save them.
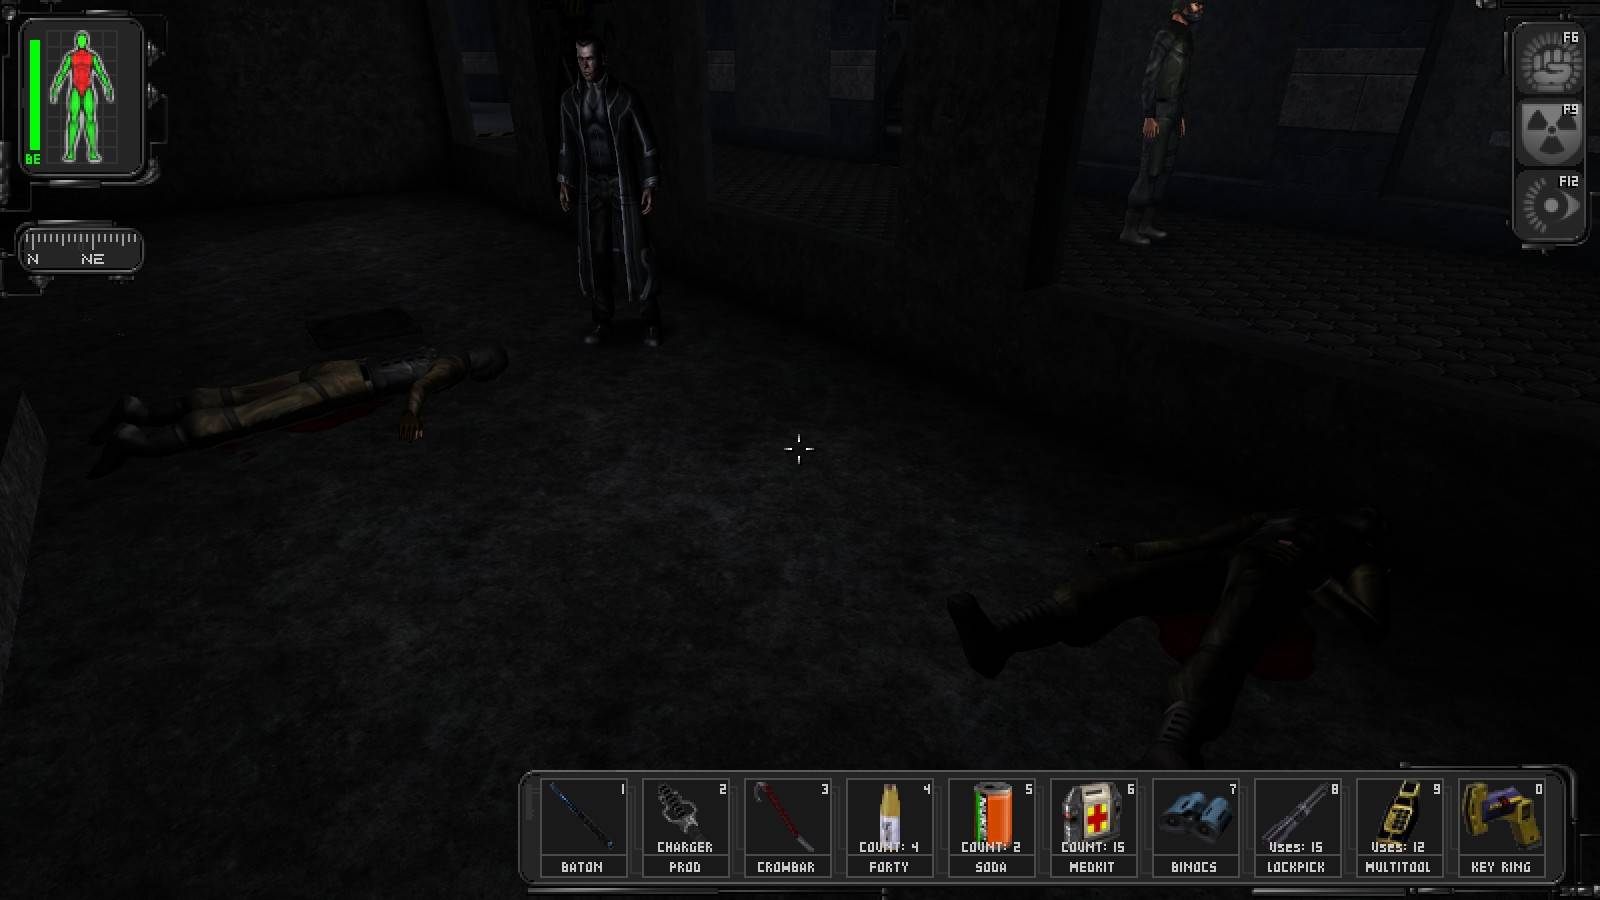
Again with the good impressions! Could he possibly be a villain, I wonder?
Leave the cells, and head towards Sam Carter, picking up the can of soda and candy bar off the computer desk to your left, and a bioelectric cell off the bookshelf to your right. He may or may not give you ammo, depending on whether you were seen during the fighting in Castle Clinton, but he will give you two multitools, regardless. Toss the weapon mod somewhere.
Leave the armoury and go see Jaime Reyes. If you wish to start reading everyone's e-mails again, the login screenshot is here. Talk to him, the two wounded troopers, then heal up with the med bot and install any augmentations you've acquired. Check out the supply closet for 2 med kits, then leave the office and go across the hall to Alex Jacobson's office. Pop open the door with a keypad next to it to discover a crate containing a bioelectric cell. Alex Jacobson isn't here, but he left a multitool on the large computer he was sitting at when we first met him. Let's borrow it, shall we? Open up the false floor in Alex's office, and take the lockpick and 100 credits hidden under it.
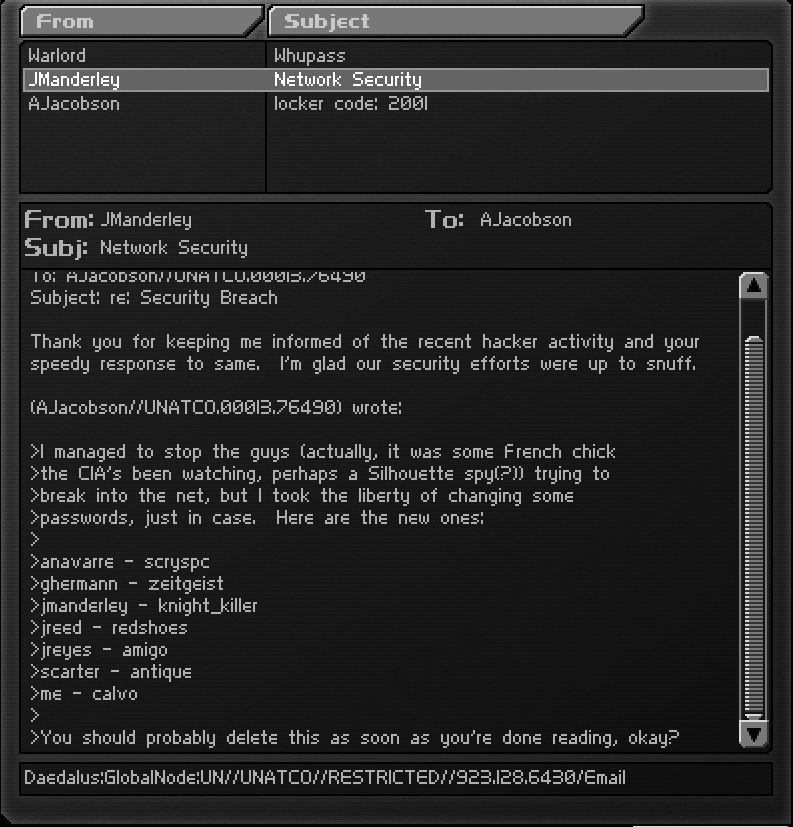
Head back towards the stairs, and talk to Shannon to freak her out some more if you peeked in the ladies' room at the beginning of the game. Return to Manderley's office, taking his office key from the bookshelf, and the other one on the table behind Manderley. Once you have your new orders, and op bonuses, if any, it's time to head back out to the helipad.
Battery Park

Helluva place to be hiding hard drugs . . .
So, where do we go from here? Let's head to the subway station, but first we should swing by the eagle to the southeast, there's another vial of Zyme in the exact same location as before. Return to the subway station, and check the shacks around the entrance to the station. You'll find a woman and a man standing around a burning barrel. If you saved the bum in the basketball court back in Hell's Kitchen, you'll have the code Curly wants. If not, you'll need to pay Harley Filben, who's in the subway station, for it, or smash open a fairly weak crate containing Curly's diary. Once you have the code, go down to the subway station, and punch 6653 into the keypad in the phone booth. Go down the hallway you should arrive in, until a new map loads.
Brooklyn Bridge Station
Keep going down the hallway until you reach a ladder, then go up it into Brooklyn Bridge Station. Hop up onto the platform to the northeast, and talk to the bum you see here. It's Charlie, but he wants the water turned back on before he'll give you the code. Shit! We can't use explosives, and we're not powerful enough to clear the obstruction with the crowbar, so we can't get the code that way.
Go to the far west side of the station, and into the men's bathroom. There's a junkie in here who has a LAM. We don't need it, but if you search him, you'll find he has a candy bar. Leave the bathroom, go south a little ways, then go upstairs via the stairs on your right. Go to the northwest, and you'll find a man who offers you a free LAM for killing a dealer downstairs. Explore and you should find a few multitools; one is on top of a payphone near two rooks, a male and a female, and the other is in the far east section of the station, near the wooden boxes. Get on the other side of the spinny things and search for a normal crate among the boxes.
Once you've got them, go downstairs and go to the south east corner of the station, you should see a big guy who looks augmented. This is Rock. Get out your weapon of choice, get behind him, and nail him, he shouldnt need more than one or two hits. You're supposed to kill him, but for added hilarity, try leaving him alive!
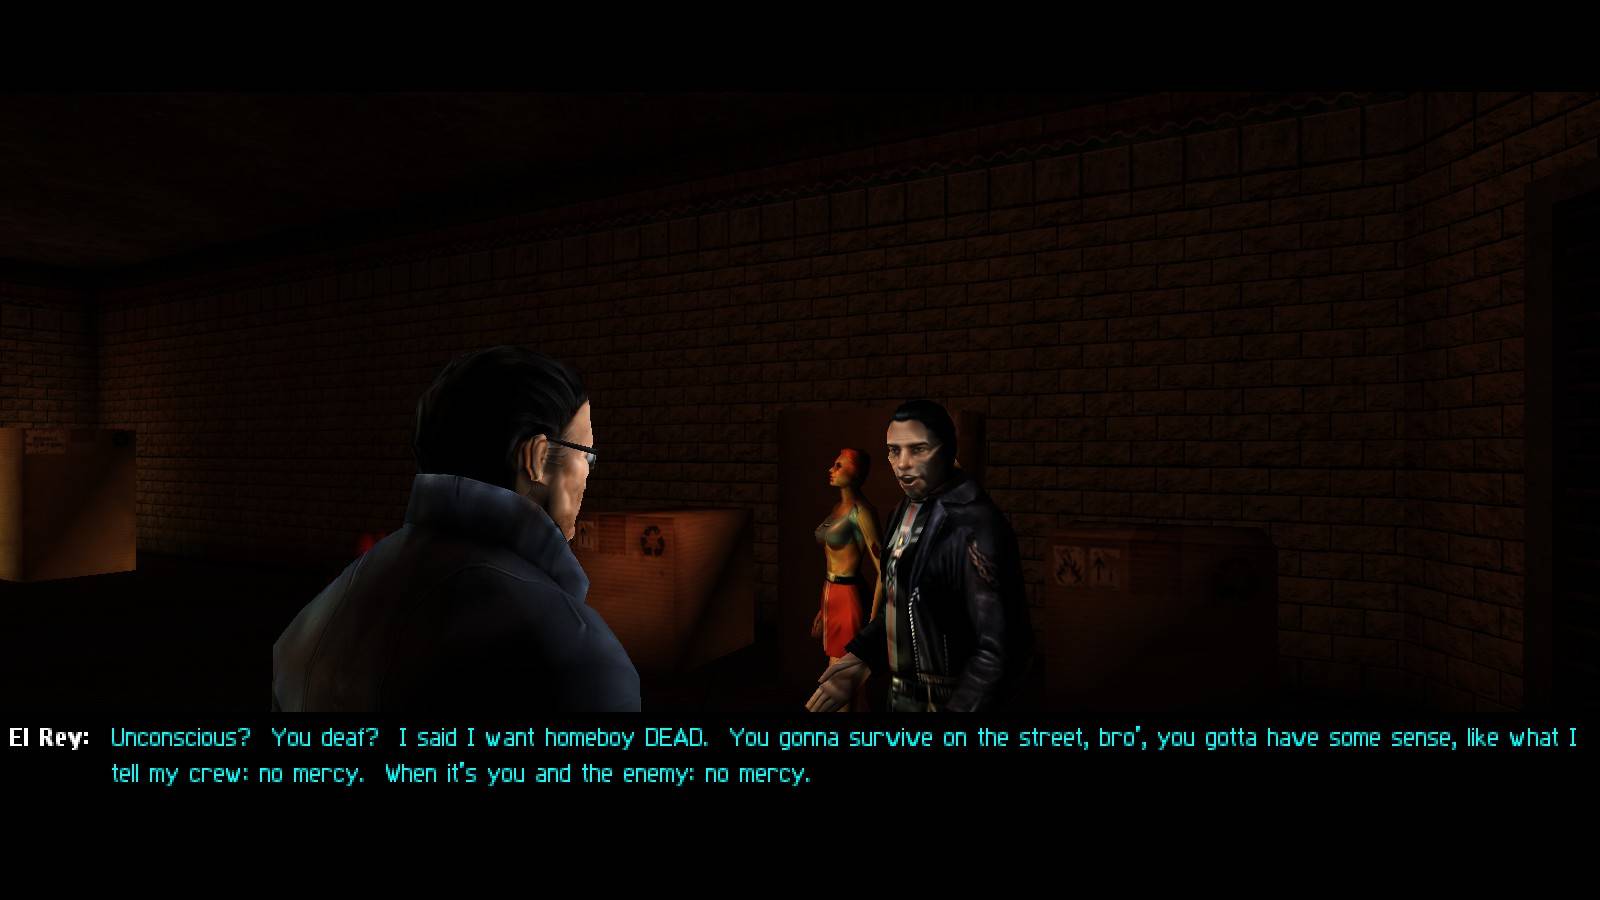
Killing the Rooks, by Marecki
I really hate these wannabe tough guys telling JC he is a wannabe, especially the girls (they are more arrogant) - and besides, let's do the community a service, eh? First of all, even though the first few victims can be taken out quietly you are bound to make it messy, meaning you'll probably need speed of attack more than extra damage offered by the baton or temporary stunning offered by the prod - so even if you normally don't use the crowbar you might want to get it.
Start with the well-lit end of the upper level; there are three gang members there, one far away from the other two and all three out of sight of everyone else. If you're lucky, you'll be able to take each of them out without alerting the others, but if not - keep your distance, dodge their bullets and charge when they've emptied their clips. Go ahead to the darker area, take out the pair near the ATM. Fire up armour and proceed further!

As far as I remember, the guy on the left behind the turnstiles packs a shotgun, so take him out first; as for the others, either simply strafe a lot and run between them trying to have them shoot each other, landing hits as you pass, or try to lure them out to roomier sections of the floor. If you get someone to start running away, leave them be - you'll be able to finish them off later. That's pretty much it! If you're fast enought you might be able to wipe out the whole gang without taking a single hit.
TNT -- curiously enough when I decided to take out the Rooks in non-lethal attacks to see whether El Ray comments on them only being knocked out (he doesn't), I found that nothing happened. Quite literally. I was zapping people left and right, not even trying to hide, and while they ran around in a panic, nobody turned hostile. Mind, I did this after I took out Rock for the skill points, so that may explain things!
Finishing Up The Station
Tell El Ray that Rock is dead if you want 100 skill points, afterwards head downstairs to find the women's restroom. There's a keypad under one of the sinks, you'll need a few multitools to crack it since we can't clear the obstruction by hand, but life never is easy for a melee only player. Head through the opening in the wall, and a new map should load.
Top of pageMole Tunnels
When you initially enter the tunnels, there are two main ways to do it. If you don't feel like causing trouble, read on, otherwise, Marecki's section on taking the tunnels by force is just ahead.
The Easy Way
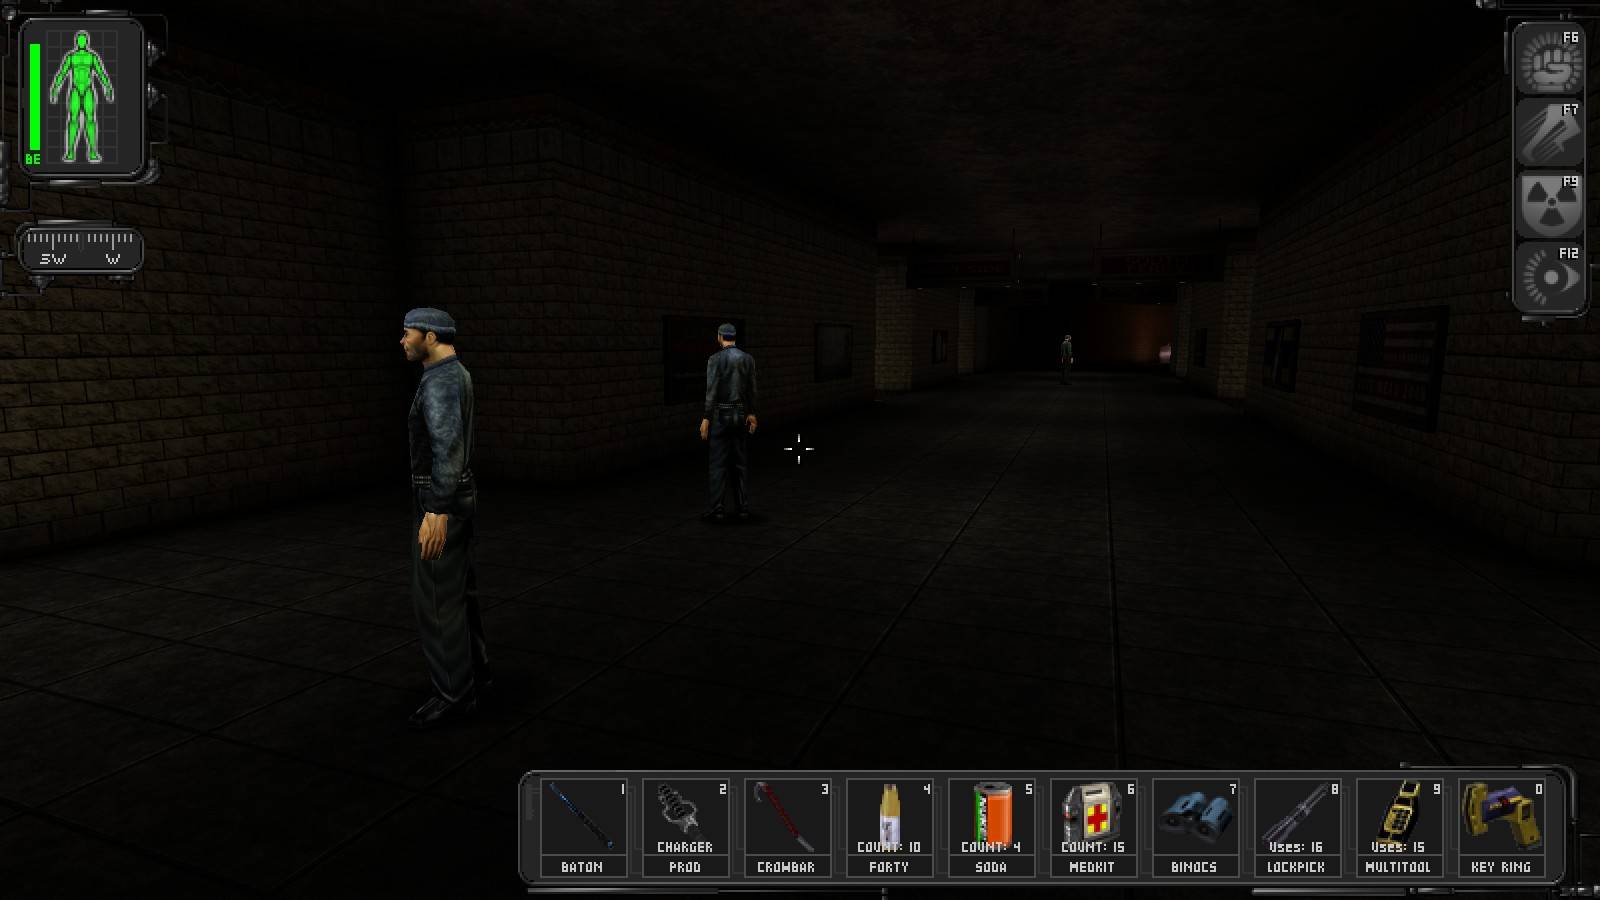
Climb down the ladder overlooking the rails, and start heading south, staying right beside the ledge to your left. If you use it for cover, nobody on the other side should see you. If you see an NSF trooper coming, hide under one of the wooden ramps until they're gone. Keep going south until the ledge to your left runs out, then look around and make sure that no NSF troopers are coming. Once you're sure it's safe, run over to the wooden ramp to the south, and hide under it. Again, wait until the coast is clear, then climb up the ramp and go into the shack to your left. Check behind the cardboard boxes for a displaced stone, push it and go through the opening in the wall. Talk to the NSF trooper in here, and everyone will surrender.
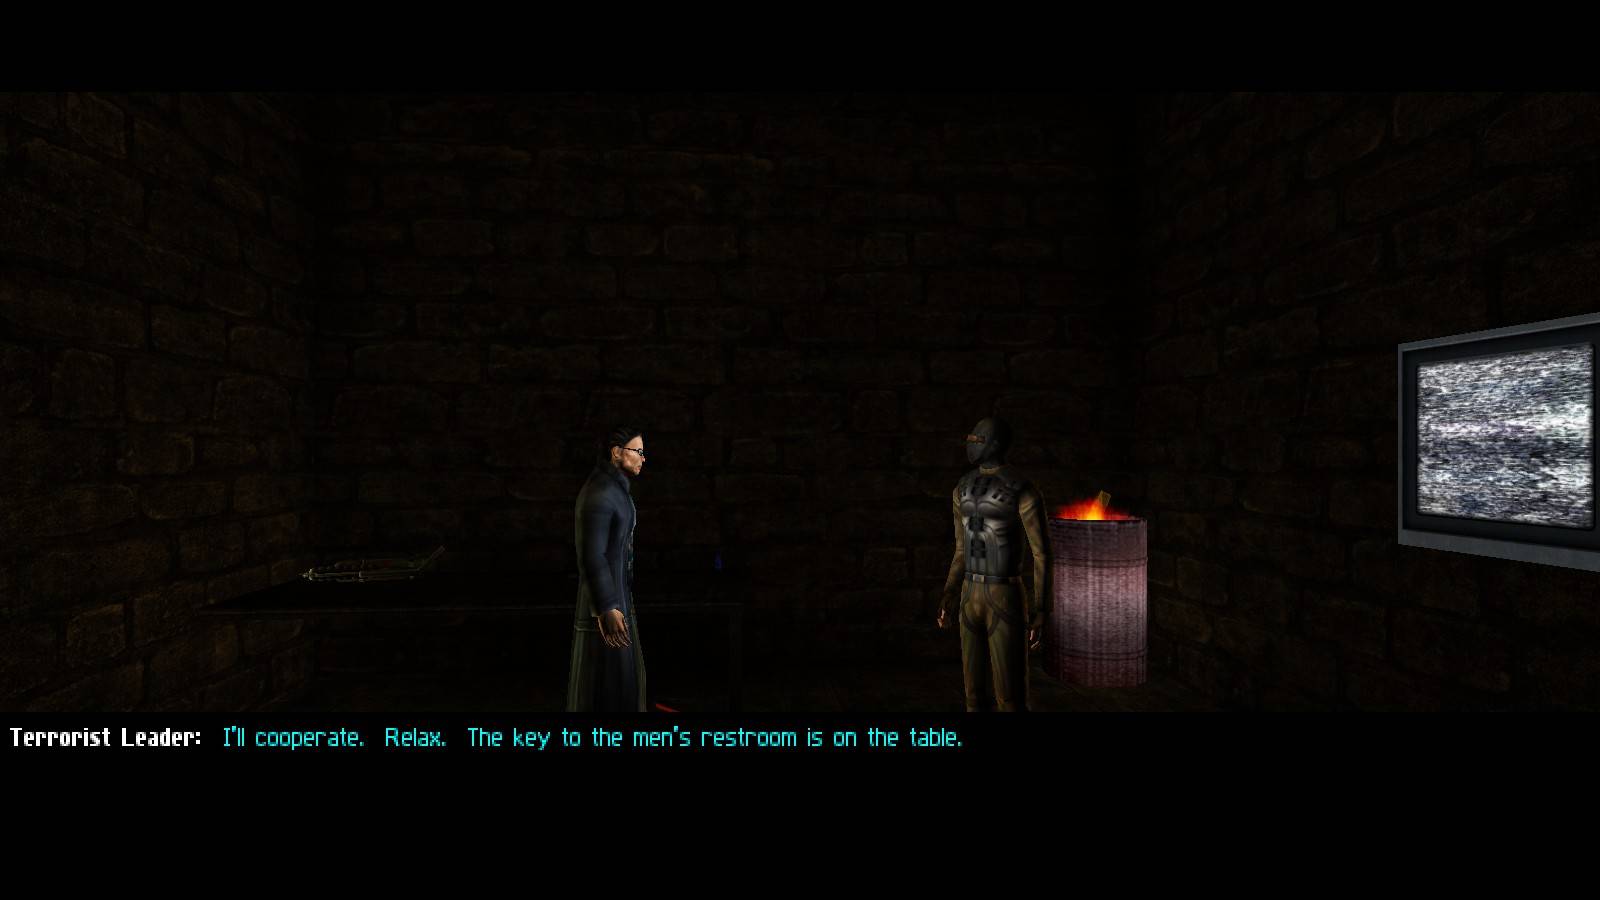
What the hell type of cooperation takes place in a men's room??
Taking the Tunnels by Force, by Marecki
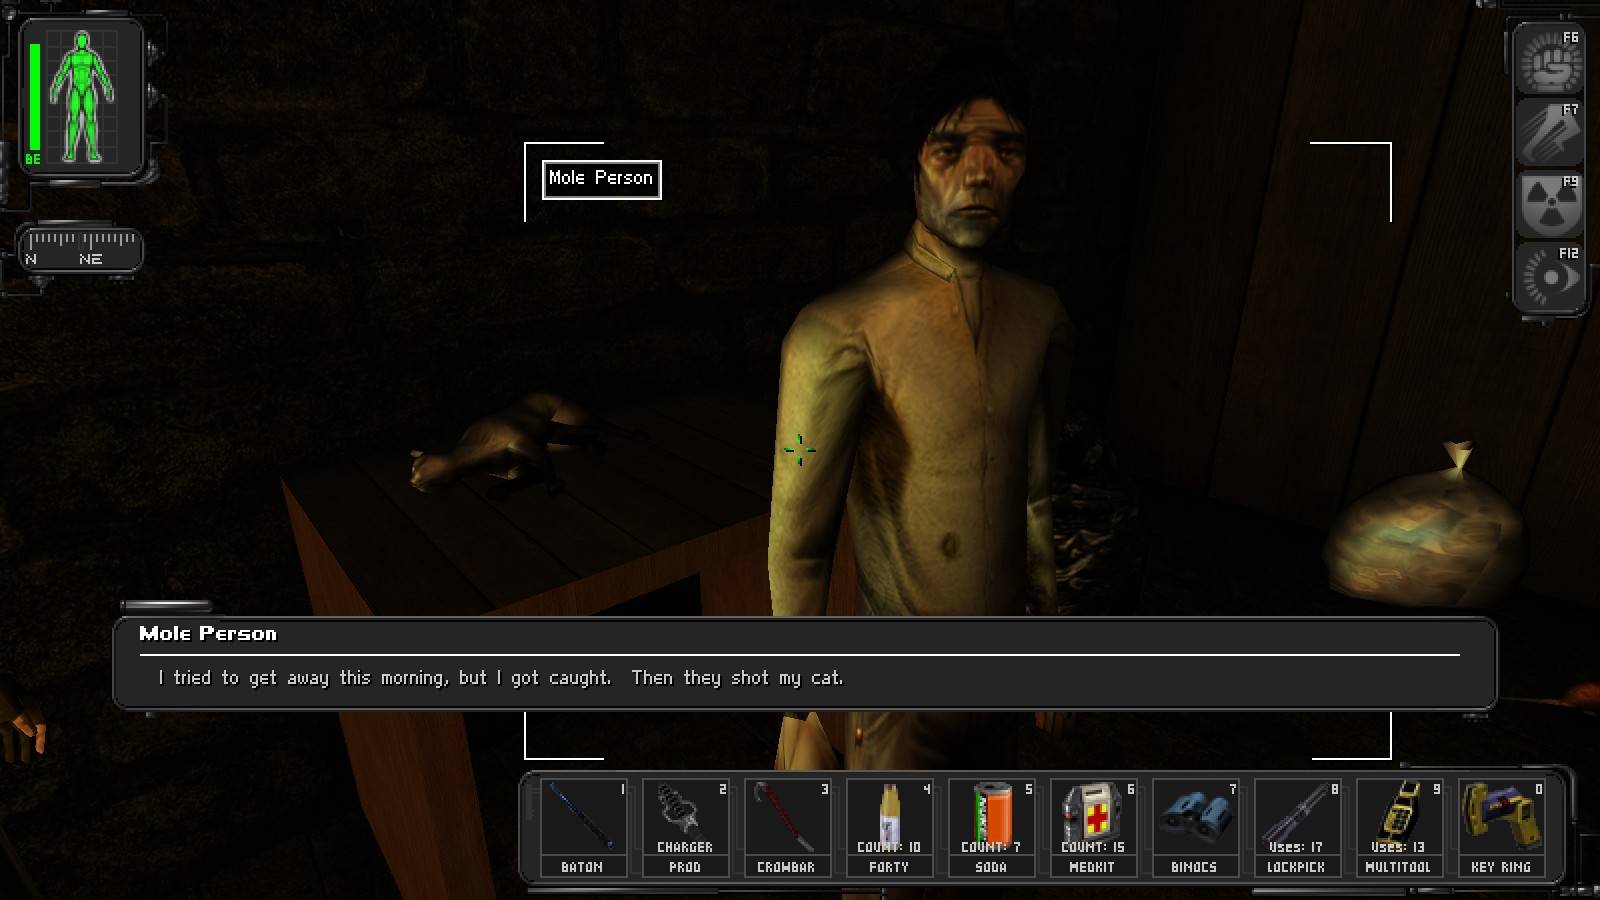
Rest assured, sir, your cat shall be avenged.
Where is the fun in having the NSF surrender? Having reached the tracks, head north and take out the terrorist patrolling the east-west corridor near the alarm button; he is particularly vulnerable when heading towards the dark eastern end. Then hug the nothern wall of the tunnel and head west, climbing onto a boulder, then north; that way the two NSF to the north won't see you from behind the crates. Pass them and either rush them, starting with the northern one (he's got a pistol; the other has a mini-crossbow), or using the "show and hide" method make the southern one turn around (thus having both of them facing south) and take them out quietly. While doing all this, be wary of the third terrorist patrolling further to the north, whom you will take out next.
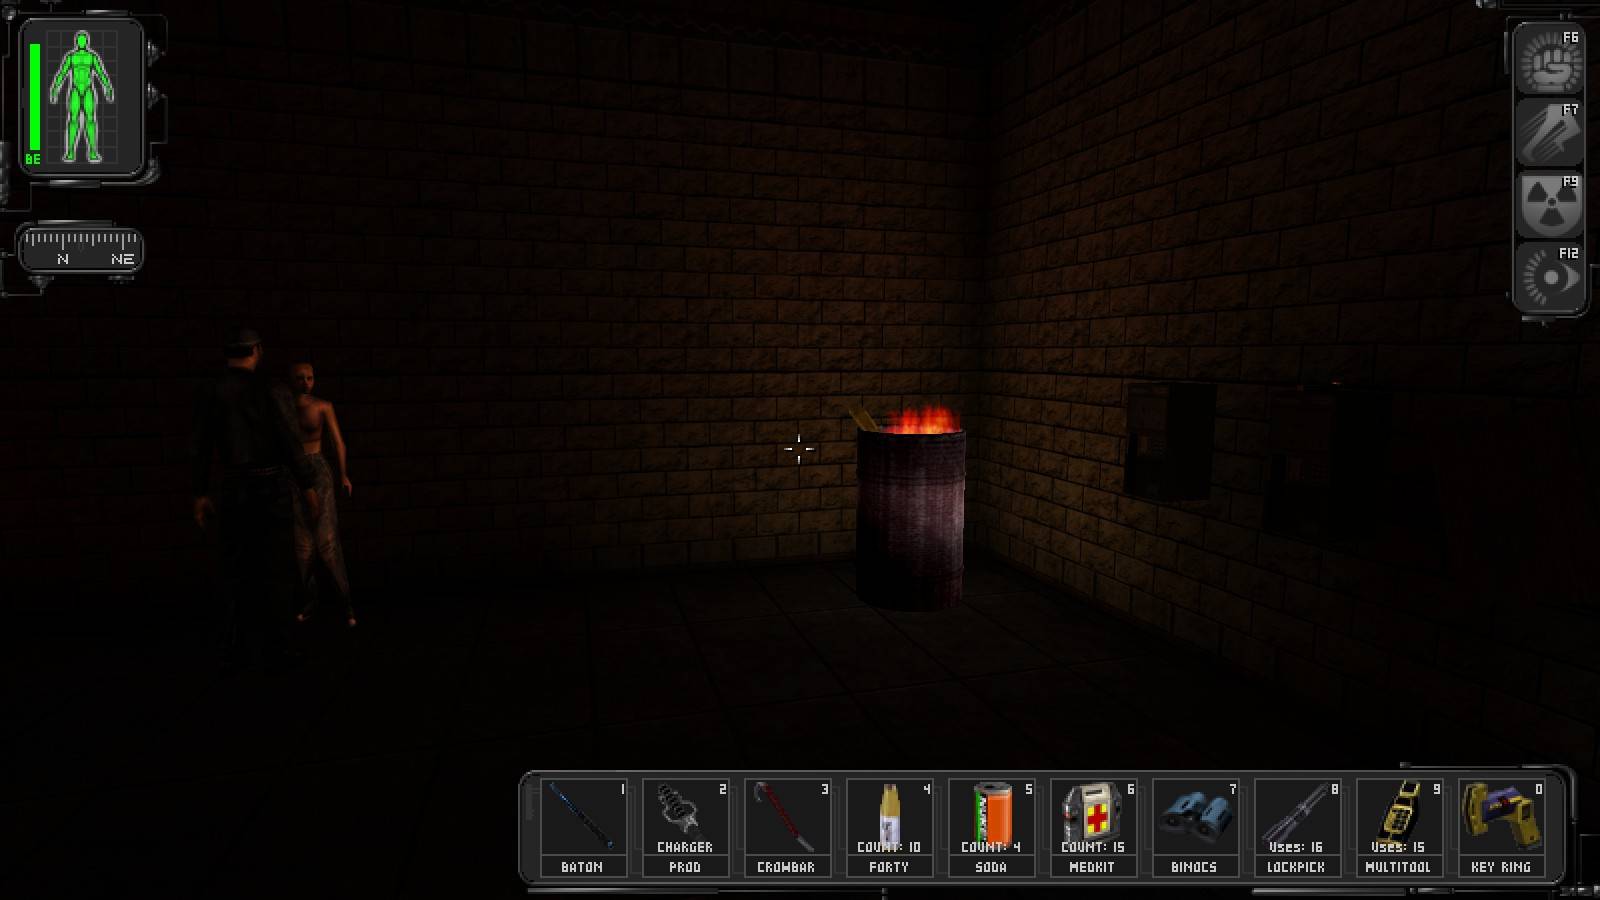
Turn back and head all the way to the south. There is a NSF on patrol there, hide under the wooden ramp to let him pass and bop him as he's heading north toward the alarm sounder. Another terrorist is inside the shanty near the cave-in, show yourself to him through holes in its western wall to make him turn away from the doorway, then do the usual thing; you might want to bop the mole guy too, as he is quite likely to panic and run off, alerting other soldiers (sometimes this results in the alarm going off, although I'm not sure who actually presses the button in that case).
The third and last NSF trooper is northwest from here, guarding a bum with a dead cat. To sneak up on him, instead of approaching the shack they are in directly, walk to the western wall of the area and head north over a barrier dividing this part of the platform; with luck you'll be able to walk all the way up to the two and even have a chat with the bum (which shouldn't stop you from bopping him later, as he too is ready to panic) before sending the terrorist to the sleepy land.
The last two NSF troopers are in the middle section of the tunnel, patrolling the platform. They are a bit hard to take out, as they are in view of civillians almost all the time and if you knock one out, the ensuing panic is very likely to alert the other one before you're able to get to him. If you don't feel like risking it, hide under the northernmost ramp between the platforms and wait; eventually one of the soldiers will start heading north towards where your first victim used to patrol; at that point he is all yours. Dispose of the last soldier as you see fit, even if the mole people raise the alarm there is nobody left to hear it.
Now, the commander. He is initially friendly so you should have no problems tackling him, but if you want to prevent him from surrendering, use the same airborne smack trick that worked at the Statue. This tunnel is now officially a NSF-free zone.
Continuing in Peace
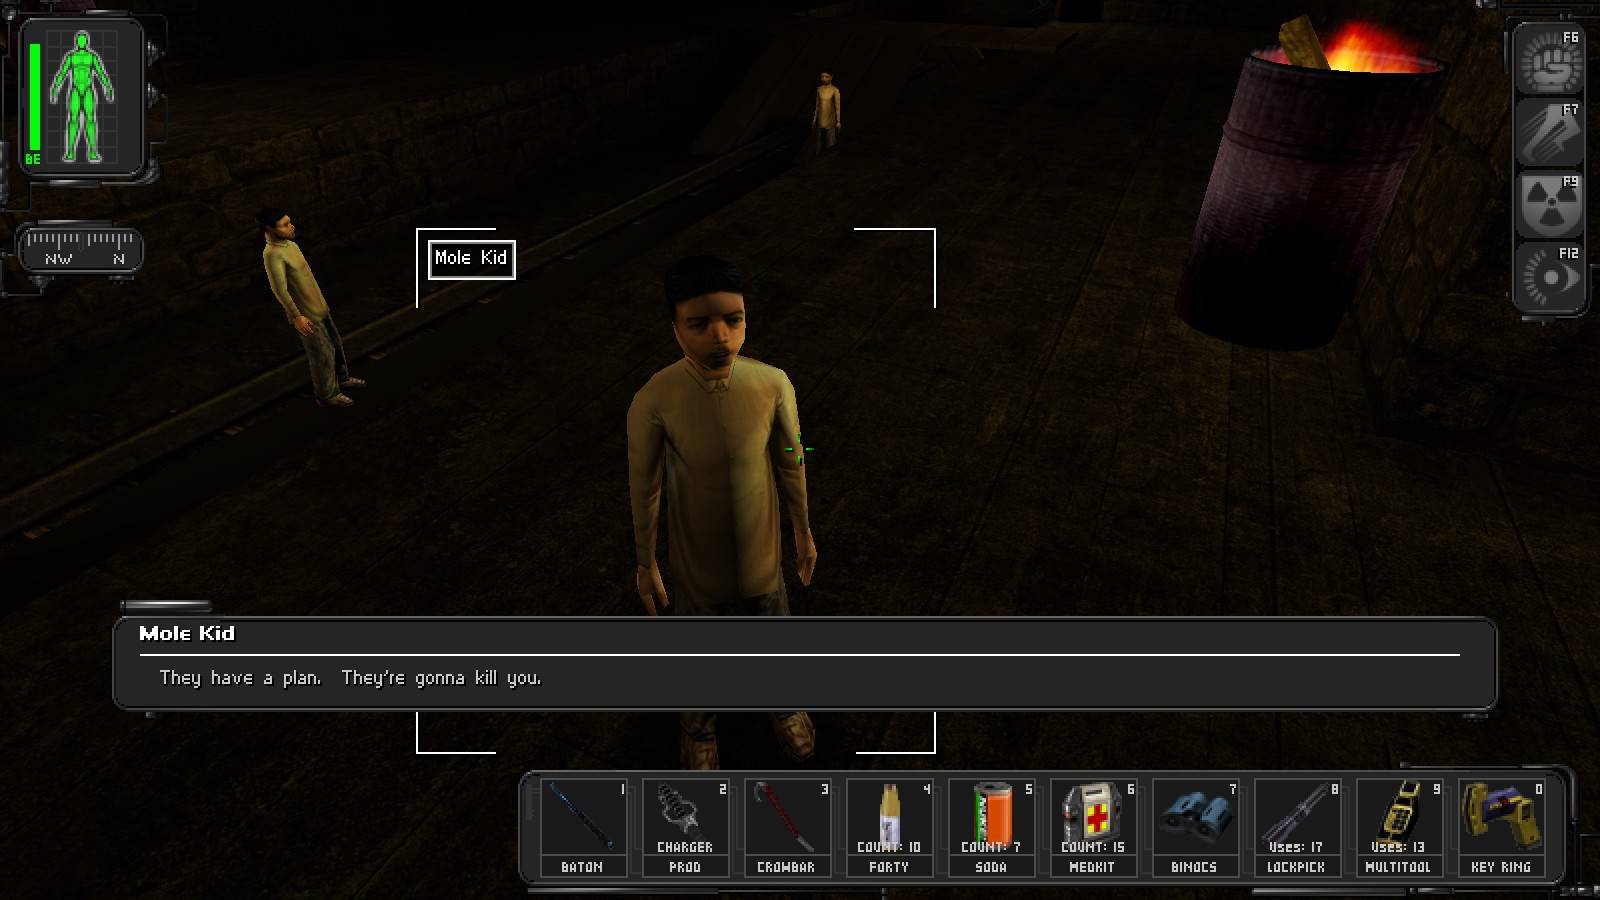
Get the key off the table beside the commander, then head out of the shack, taking the lockpick that's in the crate to the right of the doorway. If you want some beer or soda, there's some in the shack that's the furthest south, otherwise, head north. When you can, go onto a higher ledge to your right, and smash the crate in the back corner to discover some thermoptic camo, and if you explore further, you'll find one creepy ass kid.
Keep going north, around the corner, then north again until you hear two NSF troopers have a very suspicious conversation about you, if they're still standing. Apparently 'Paul' would know whether you'd make it this far. Hmmm. Keep going north a little ways until there's too much rubble to continue, then go up a ramp to your left, and go down the hall to the restrooms. There's multitool in a crate in the rear bathroom stall in the women's room, in the men's room, you'll find yet another passageway to go through.
The Airfield, Part I
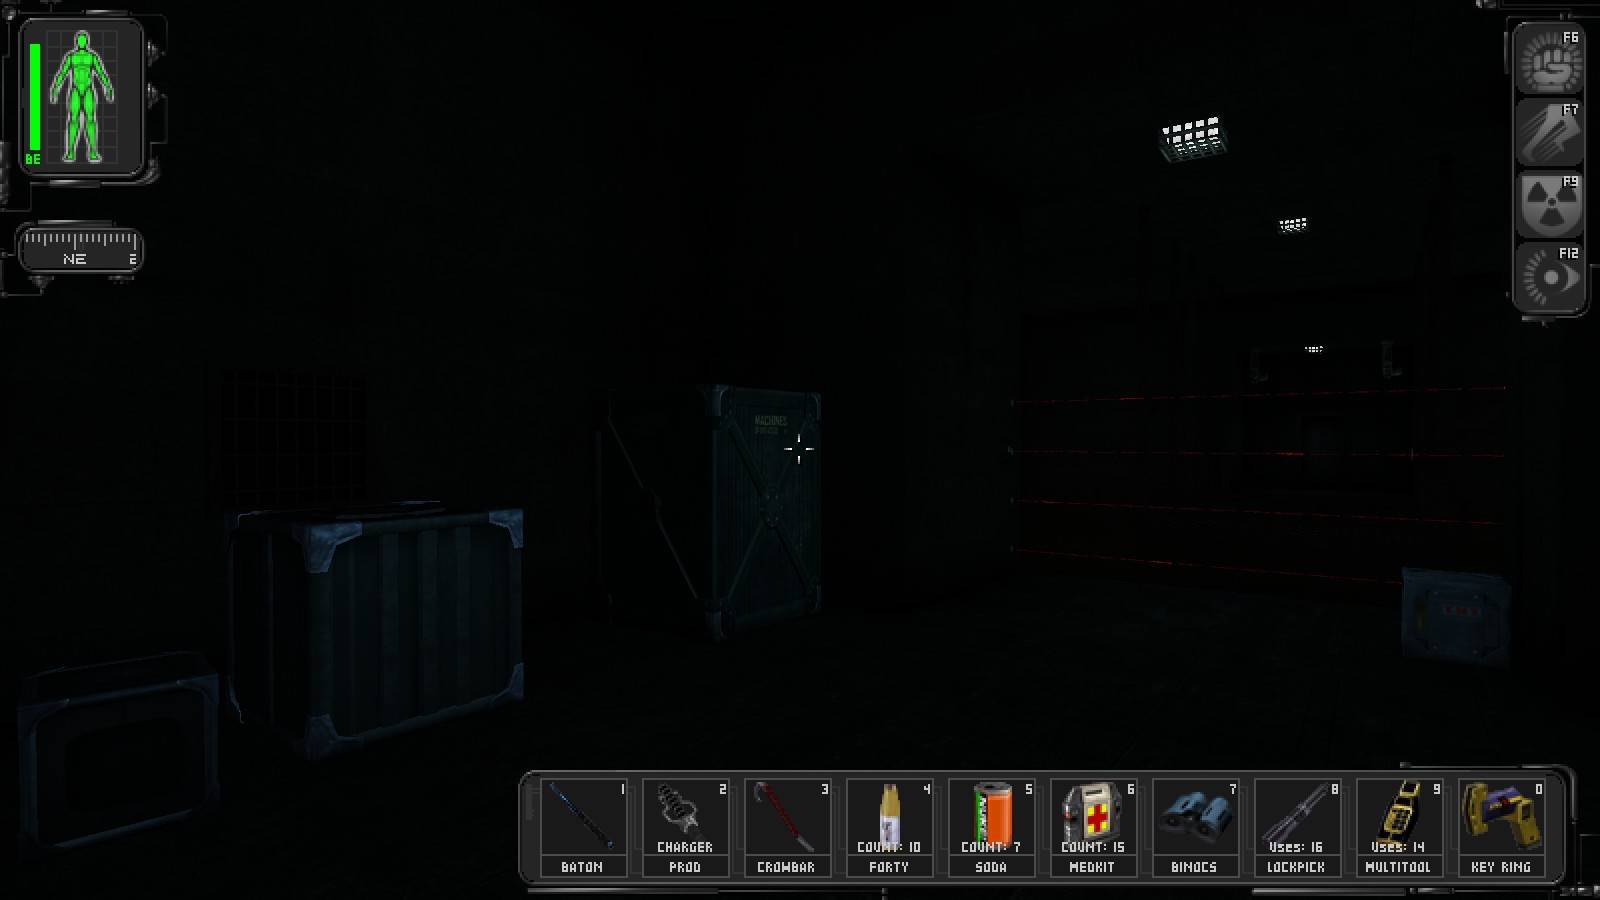
Continue through the hallway until Alex e-mails you. By the time he does, you should be at a Y intersection. Grab a crate, and go left. You'll find some lasers, but if you stack the crates nearby well enough, you can hop over them. Grab one through the lasers once you're on the other side, and head over to the pipes. Use the crate to help yourself jump over them, then head east a little ways. There's an NSF trooper patrolling the hallways past the turrets and camera up ahead, he has a key to the door we want to go through, so deal with him however you see fit. Unlock the door to the far east, and continue.
Yikes! More lasers! But happily, more crates as well. You can head out the vent to your left and avoid the trouble of alarms sounding as long as your swimming skills are up to par. If not, block the lowest laser beam the same way you did before, and wait out the alarm somewhere where the turret can't shoot you. Once the alarm shuts off, return to the lasers, and press the white button to your left. Duck under the lasers onto the extended bridge, and be ready to jump onto those platforms ahead of you. They're unstable, but they're easy to get across. Simply keep holding your run forward key, and tap your jump key every time you land until you're on the other side.
Pick your poison!
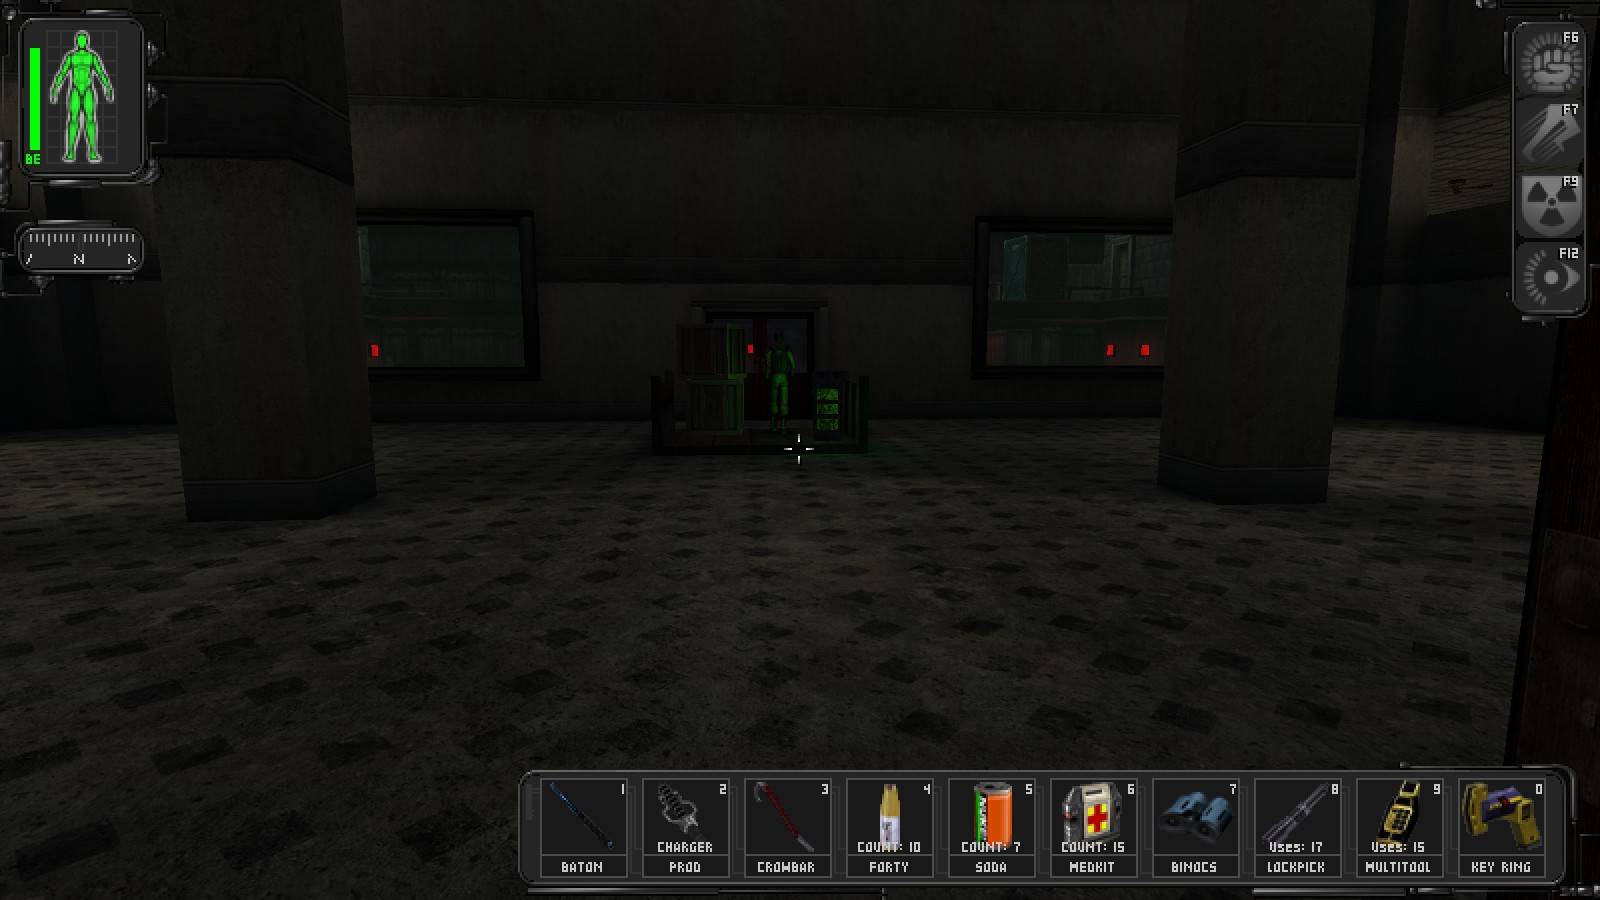
Go through the doorway, but be careful as you approach the corner. There's an EMP grenade just out of sight, the little bugger gets me almost every time, even though I know it's there. Keep going through the hallway and through the next door. If you chose the swimming route, this is where the manhole comes out. Two robots patrol the path just beyond the rubble, but there's pitch black tunnels to your right that you can duck into. The robot on the left side of the path will turn around approximately the same time the robot of the right side of the path, closest to you, turns his back on you, but remember, they're both deaf. If you use the robot on the right hand side of the path for cover, you can get close enough to the tunnel on your right to dart in there without them noticing.
Go to the far east end of the tunnel, to the other exit, and wait for both bots to turn their back to where you are before you take off running to the hallway across the way. There's a very large crate ahead of you and to your right, and a med kit hidden behind it. To the north of the large crate is a smaller crate with a lockpick on it, borrow that, then check slightly to the east of it to discover a datacube and a multitool under some pipes.
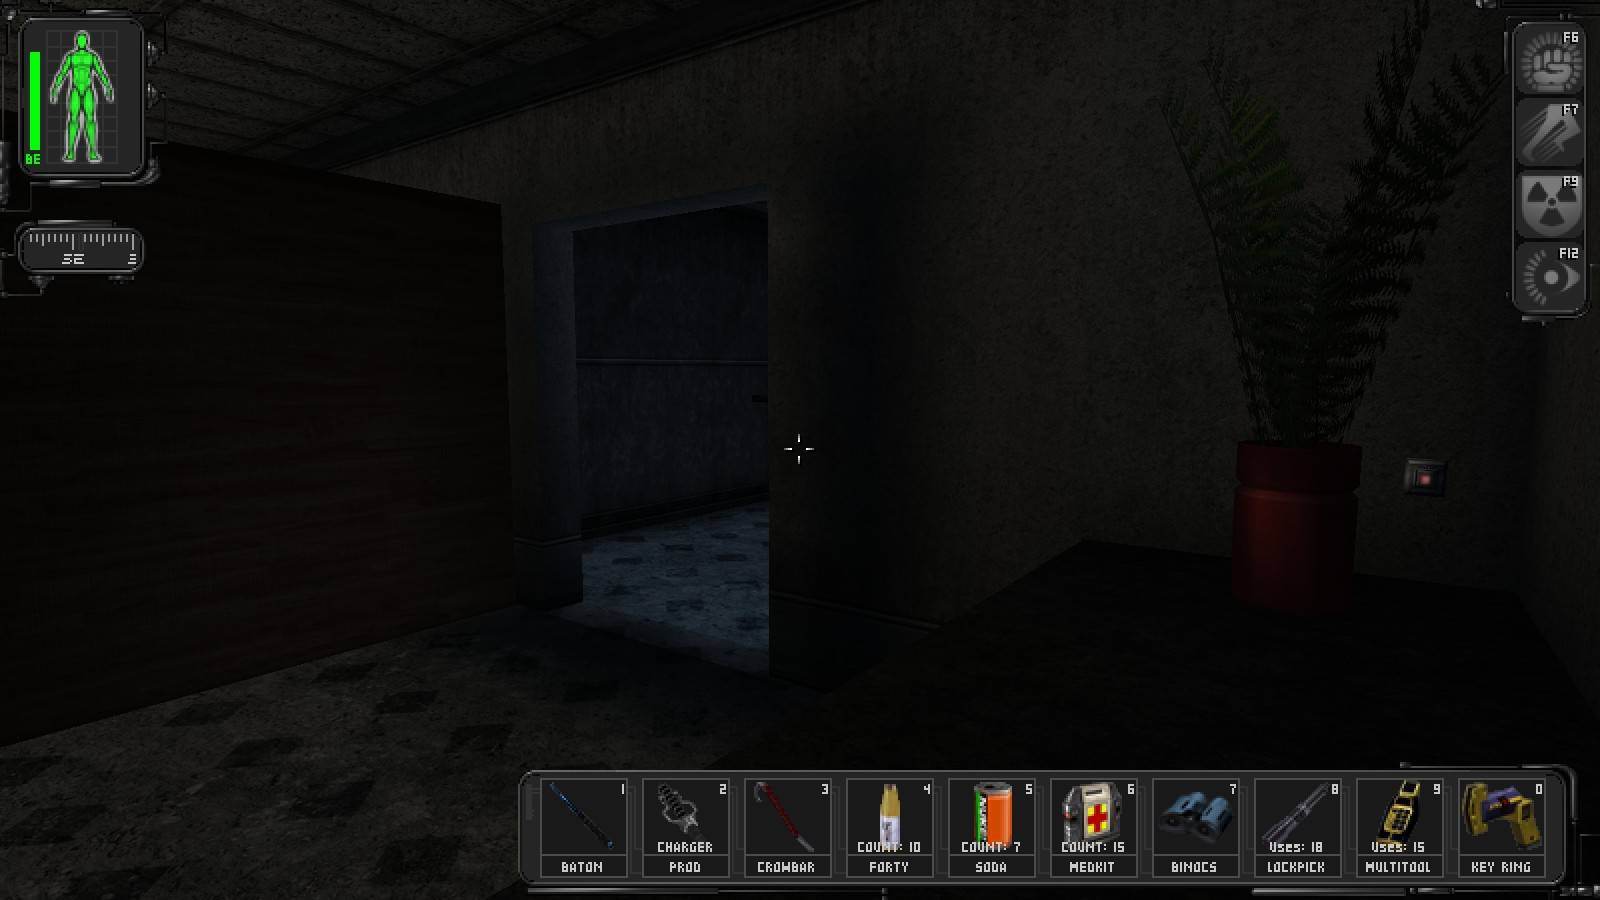
Go through the doorway, around the corner, then to the doors with windows in them. Look up slightly. Light glowing through the walls? Could it be a camera? Stick your neck out and you'll discover there is indeed a camera there, I'd recommend using the multitool you just found to disable it.
There's an NSF trooper standing by the Ambrosia, you won't make it to him before he leaves the room, though he'll come back, so be careful. Go through the doorway and to the right, but make sure a trooper isn't on a routine patrol through the lobby before you go barreling through there! Don't go up the stairs just yet, instead go into the men's room, and deal with the NSF trooper however you see fit. Get the key on his body, we'll need it.
Return to the lobby, and go straight across the lobby towards the stairs, but hang a right before you reach them, and you should find 2 offices. In the first one you'll find a multitool in the desk and a candybar on the bookshelf, in the second you'll find a bioelectric cell and a lockpick in the desk.
Go up the stairs, but keep a lookout for the NSF trooper patrolling the balcony overlooking the lobby. Bop him when it's most convenient, then go to the doorway on the hallway he was patrolling. Open the door, and you should find an NSF trooper staring at static filled TV screens, probably wondering when the cable went out. (If you found a ladder, you went to the wrong door.) Bop him, then use the security computer to his right to shut down the cameras in the area, then enter a hidden area and help yourself to an augmentation and a prod charger. Apply the upgrade canister if you wish, then leave this room, and backtrack to the stairs by the men's restroom.
Go up them, but beware the NSF trooper still patrolling the balcony overlooking the lobby. Bop him, then go into the secret room behind the bookshelf in this room. If you didn't open it when you were hacking security, one of the pinball machines will open it for you. There's ballistic armour, a med kit, and a lockpick in the crates here. Get a bioelectric cell off the bookshelf near the hidden door, then head back downstairs. Go out the double doors across from the Ambrosia, then head northwest if you want to leave the troopers alone.
Look for a sewer drain in the shadows of the northwest corner of the area, then climb down into the water. Swim, swim, and swim until you reach some crates in the water. Climb up the ladder to the high ledge here, we need to get into that drainpipe. If you jump onto the ledge nearest it, you should be able to jump right into the pipe from there, provided you push the large crate into the water. Continue through the drainpipe and swim, swim, and swim.
Securing the Helibase, by Marecki
Basically, this is quite straightforward - most of the guys walk alone in the dark here. The only thing one should remember to do here is to start with the guy patrolling the roof and the sniper on the catwalk. Climb up the ladder to the roof and bop the former as close to it as possible to avoid alerting the latter, then climb up to the catwalk, hug the wall heading along it and serve the usual.
As for the two guys guarding the elevator, if you don't want to rush them you'll probably want both of them to turn right, then sneak up from the direction of the lobby. If you fail to get both of them, instead of rushing and risking a hit you might simply hide for a while.
The Airfield, Part II
Who the hell arms a man who patrols a wooden pier with a flamethower??
When you emerge, you'll be right beside a pier that a flamethrower wielding NSF trooper is patrolling. Wait for him to turn his back on the door and walk along the pier, them quickly climb out and either bop or zap him. There's fun to be had with him though; during my screenshot run I swam over to the TNT crates to see what would happen when he blasted us with the flamethrower, only to have him either fall or jump off the dock and swim after me with a combat knife. After whacking him a few times with the baton he decided he would be safer if he hid on the seabed . . . and drowned.
Once he's handled, crack open the crates by the pier and get a bioelectric cell and a multitool, then head out of the shack. We found a east gate key on the body of the trooper we just took down, so let's go east, shall we? Use the crates for cover and avoid the little robots patrolling around here, they'll make short work of you.
Once you find the east gate, use the key we found on the panel next to the gate and open the gates. There's an NSF trooper patrolling near here, so be careful, he may get in your way. Run across the lot to the shadows beside the building, then enter through the door under a walkway which has a sign saying '747 hanger' on it.
Another painful security failure! Note that if you have the Shifer mod installed you will be able to use this as an entrance point.
There is a NSF trooper patrolling upstairs here, so be very careful, he stops and watches the bottom of the stairs for a few seconds as part of his patrol. Stay low, sneak into the kitchen, you'll find a soon to be unconscious/dead NSF trooper in there. Once he's down, leave the kitchen and slip behind the stairs, and look for a loose stone. Press it and you'll discover a hidden armoury. There's a lockpick on one of the shelves, and a key to the dormitory.
It's now time to head upstairs, but make sure the trooper is on the balcony above the kitchen and lunch room before going up. Go into the upstairs dormitory, and check the first footlocker on your left for the code to the 747 walkway and a medkit. The others are locked, but the one to the left of the window contains a bioelectric cell and a multitool if you want to use a lockpick on it.
Now, we go through the door locked with the keypad.
Decisions, Decisions
Oh dear! Once you reach the top of the stairs you'll discover Paul is working for the NSF! Talk to him, marvel over the fact you can't confront the little shit over the fact he ordered you to be killed and has the gall to ask you join his side, then board the plane. There's nothing of use to use in the surrounding area, unless you want to confuse the game Marecki's way -- in that case, bring a crate.
When you arrive on the plane, take a left, then go into the kitchen, there's some beer, soda, and some soy food in here. Go south until you find stairs leading up, go up them and go to the far right corner of the room, there's a key to Lebedev's room here. Go back downstairs and head south until you reach a locked door, once you go through it, check the room to your right for a can of soda.
Now, be careful. Slip into Lebedev's room, but don't let him talk to you, we want to finish looting the plane first. On the side of the bed Lebedev isn't standing on, under the bed, is a datacube which contains a code we need. Leave the room and return to the stairs which lead up to where we found the key, there's a flight of stairs going down a level right beside them.
Go down and you'll find the last container of Ambrosia, a repair bot, and an augmentation canister protected by a forcefield. Punch the code we got from under Lebedev's bed, 9905, to take down the forcefield, then take the canister for yourself.
Now, it's time to party!
Return to Lebedev's room. Since Marecki's method needs to be set in motion before talking to Lebedev, I'll put it here:
Before talking to Lebedev, place the metal box brought in from the hangar outside the door to his quarters, exactly in the middle, then relock the door. The box will cause Anna to get stuck and unable to reach Lebedev; walk over to the door (without opening it) to trigger her part of the conversation, then question Lebedev until you've got your skill points. If you want to kill Anna, do it now (she will probably break free once you've opened the door, but that shouldn't help her much - just don't let her near Lebedev) and talk to Lebedev more - then bop/kill him so that you've completed your objective*. Op bonus, skill points, Anna not a problem anymore... Life is great!
*I tried this myself and left Lebedev alive as an experiment, but still got the op bonus. If it really matters to you you'll want to save before trying this, but I wouldn't be surprised if the game assumes that if Anna turned hostile towards Lebedev, she must have succeeded in killing him.
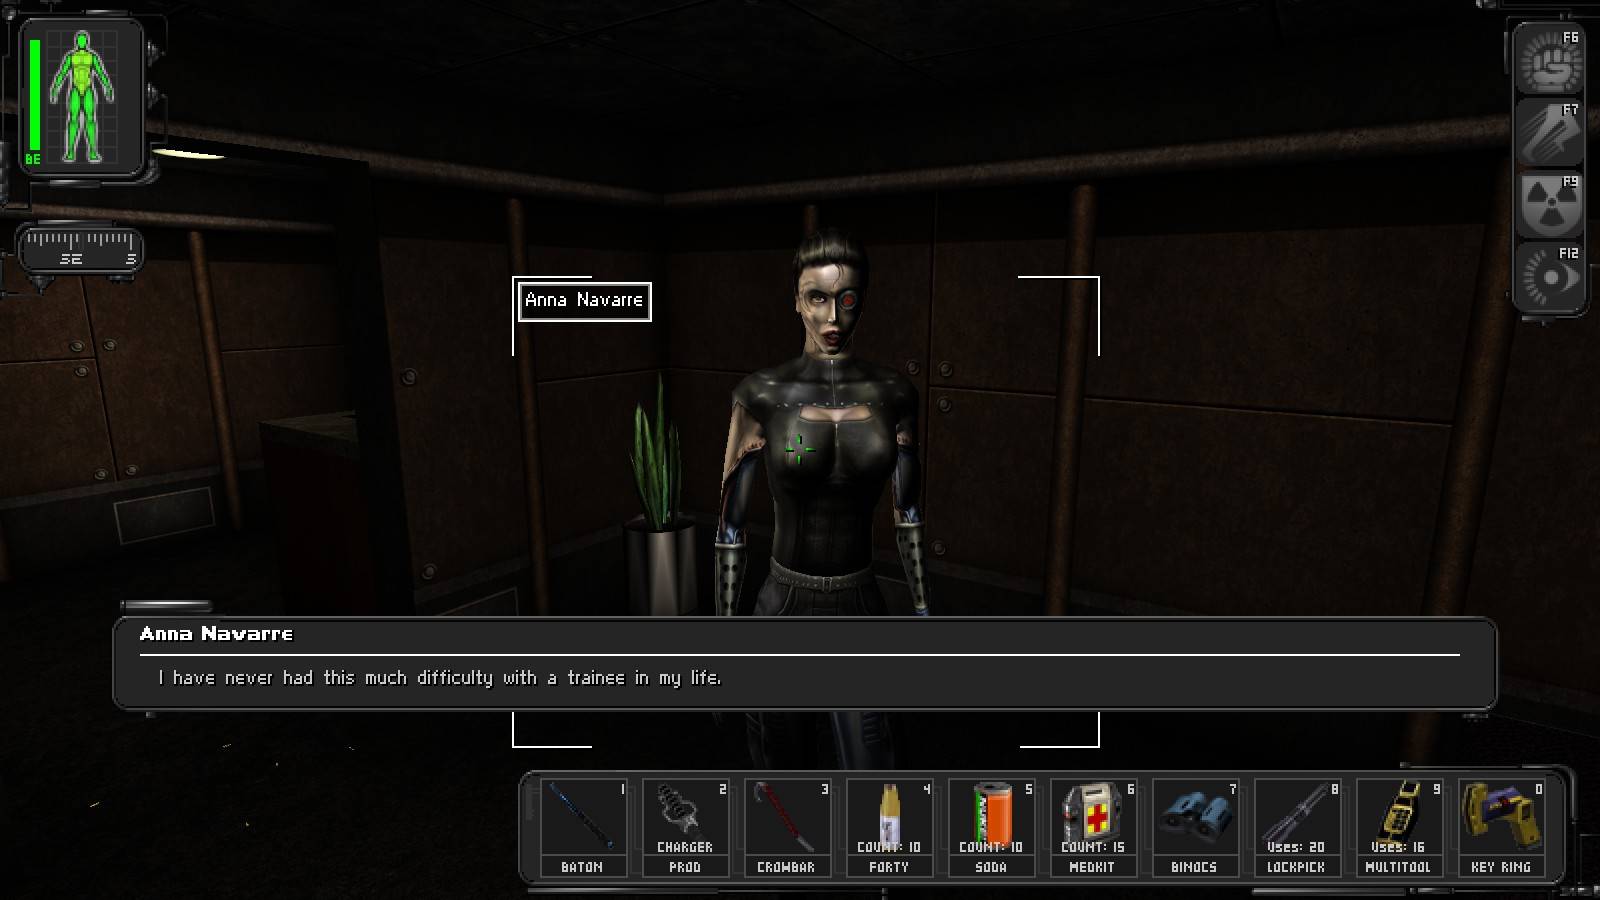
If you want to do things the conventional way, talking to Lebedev once will cause him to surrender, then Agent Navarre will appear and order you to kill your unarmed prisoner. Now it's time to decide whether to kill none, one, or both of them. It's up to you of course, but this is the safest place to end Anna's life unless you intend to use the kill switch, and it's the only place you can catch her unaware.
If you hit her from behind in the waist area, she should go down in two blows. If you want to use Marecki's method, she'll be trapped outside of the rear cabin, but you can jump onto the crate to get past it and get behind her. If she's in the cabin with you it's no trouble to sneak in behind her of course. If you want the op bonus you'll need to kill Lebedev, but it's up to you whether to do that.
Oh I'm just getting started baby . . .
Once you've dealt with everyone however you want to deal with them, leave the plane, and go through the walkway back into the building with the dormitory in it. The airfield is now safe to explore, and since most of the baddies were robots, this is a good thing. To the southeast of the building we are in, in the security tower, on the top level, there are 2 multitools. Leave, and go west until you reach another security tower, from here go north past the shed by the water, the one we entered through, and head straight to the security tower. From here, go directly east to the chopper, stopping to chat with Gunther if you want. If you want an extra med kit from Jaime, make sure you have at least 300HP worth of damage before heading home. As we're done here, board the chopper and hit the road to get our next assignment!
Note: I don't know of any goodies useful to a melee only player in the crates around the area the shed we entered through, if anyone does, let me know where it is.