- Home
- Walkthrough
1. New York 3. Return to New York Liberty Island Return to Hell's Kitchen The Warehouse Assignment The Wall Cloud, The Graveyard Ambrosia, Airfields, and Apostasy 4. Paris The Insurrection Finding Nicolette The Great Escape Finding Morgan Everett 2. Hong Kong 5. Southern California The Helibase Vandenberg Deactivating the Kill Switch The Gas Station Versalife The Submarine Base The Missile Silo Area 51 - Strategies
- Extras
The Submarine Base
Introduction
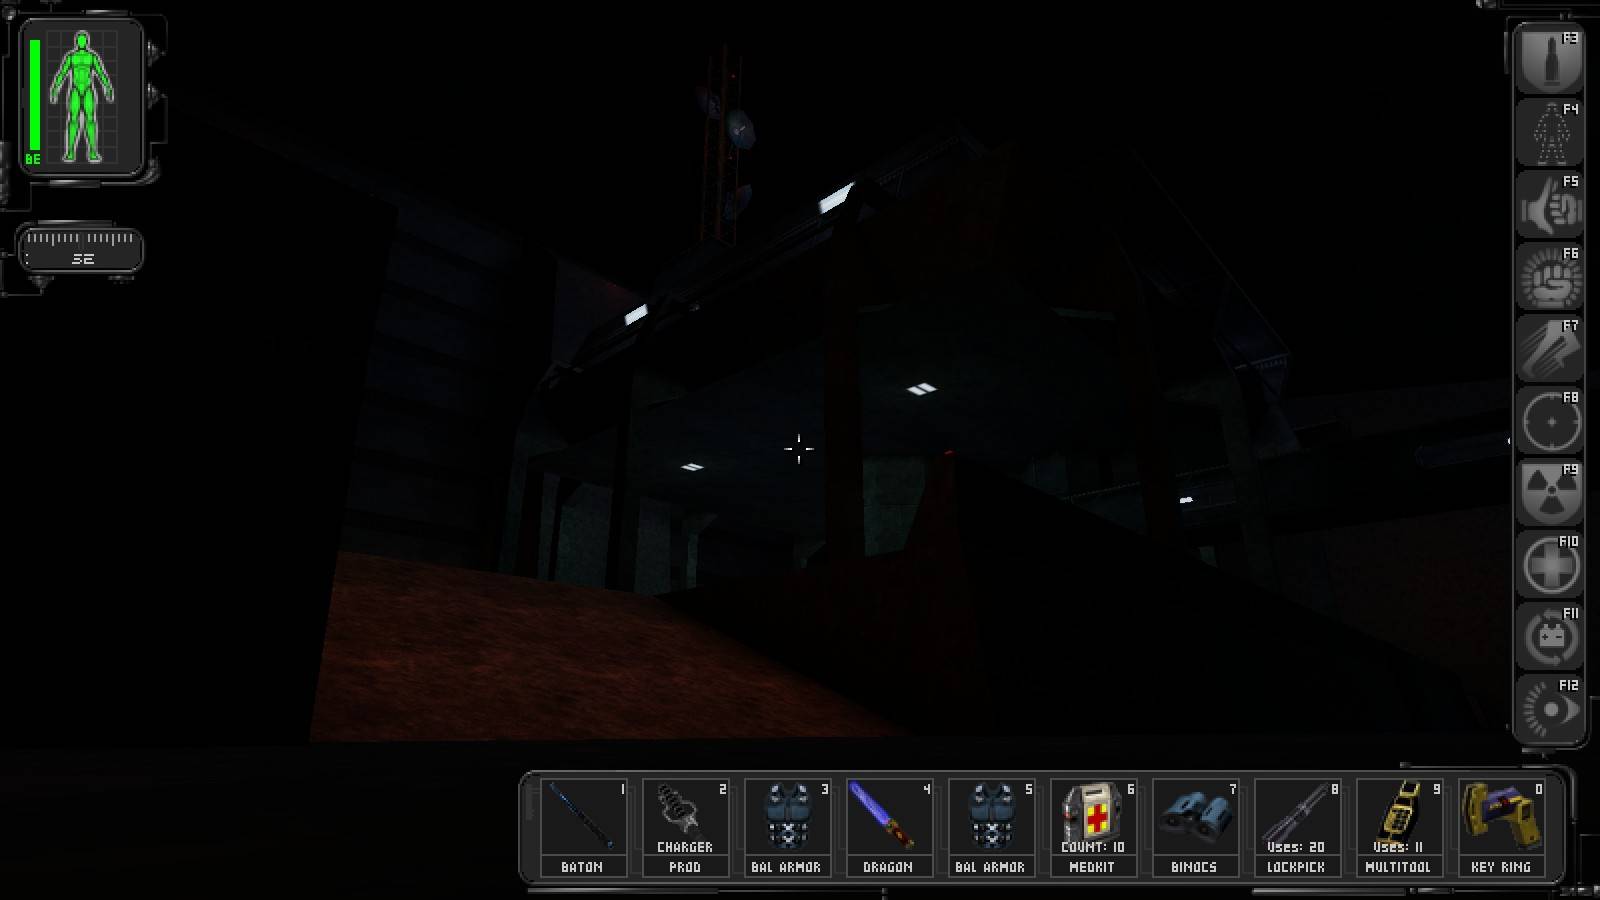
TheNightTerror - with the wide open spaces to be found in the opening location there can be a lot of danger from snipers, it's a good idea to keep moving and get out of sight as soon as possible. After that everything is pretty straight forward.
Grand Theft Submarine
Since MacGyver retired a few years ago and thus there is no chance of completing Savage's UC with some string and a dried-up dead squirrel, we have to get the necessary things from the opposition. Let's see: they know we are likely to come, Tiffany has already been caught trying, Page can follow JC's every step thanks to the InfoLink (not to mention being able to listen to other incoming messages!) and some huge mess-up down below has caused the Ocean Lab to become even less hospitable than before. Perfect odds!
TNT -- c'mon, where's your sense of adventure??
Let's start by running towards the water and swimming towards the tall structure to our left, thus exchanging several military bots and a trooper for three divers with crossbows; the only important thing here is knowing that it's more-or-less impossible to sneak up on them at close range, so don't bother with the baton.
Having disposed of the divers you should be close enough to the underwater structure to see that there is in fact a water entrance to it. As Tiffany's map shows, this is by far the quickest way of getting to the URV bay, so if you want to get this over with simply skip the next section, which will be devoted to what can be found by taking the longer way, through the command module.
The Command Module
Swim along the shore until you've reached another ramp leading out of water, which will place you next to a small hut close to the module. The door to the hut can be picked open, then again if you have the speed augmentation you can save the lockpicks by jumping onto the pipes on the wall on the side of the hut, then into the roof and down through a small hatch. Either way, there is a small cabinet on the wall inside which contains a key to the hut's door and one for the command module, which was the point of the whole exercise. With the key in your possession, make your way to the central support of the command module, unlock the door and make your way up the winding stairs.
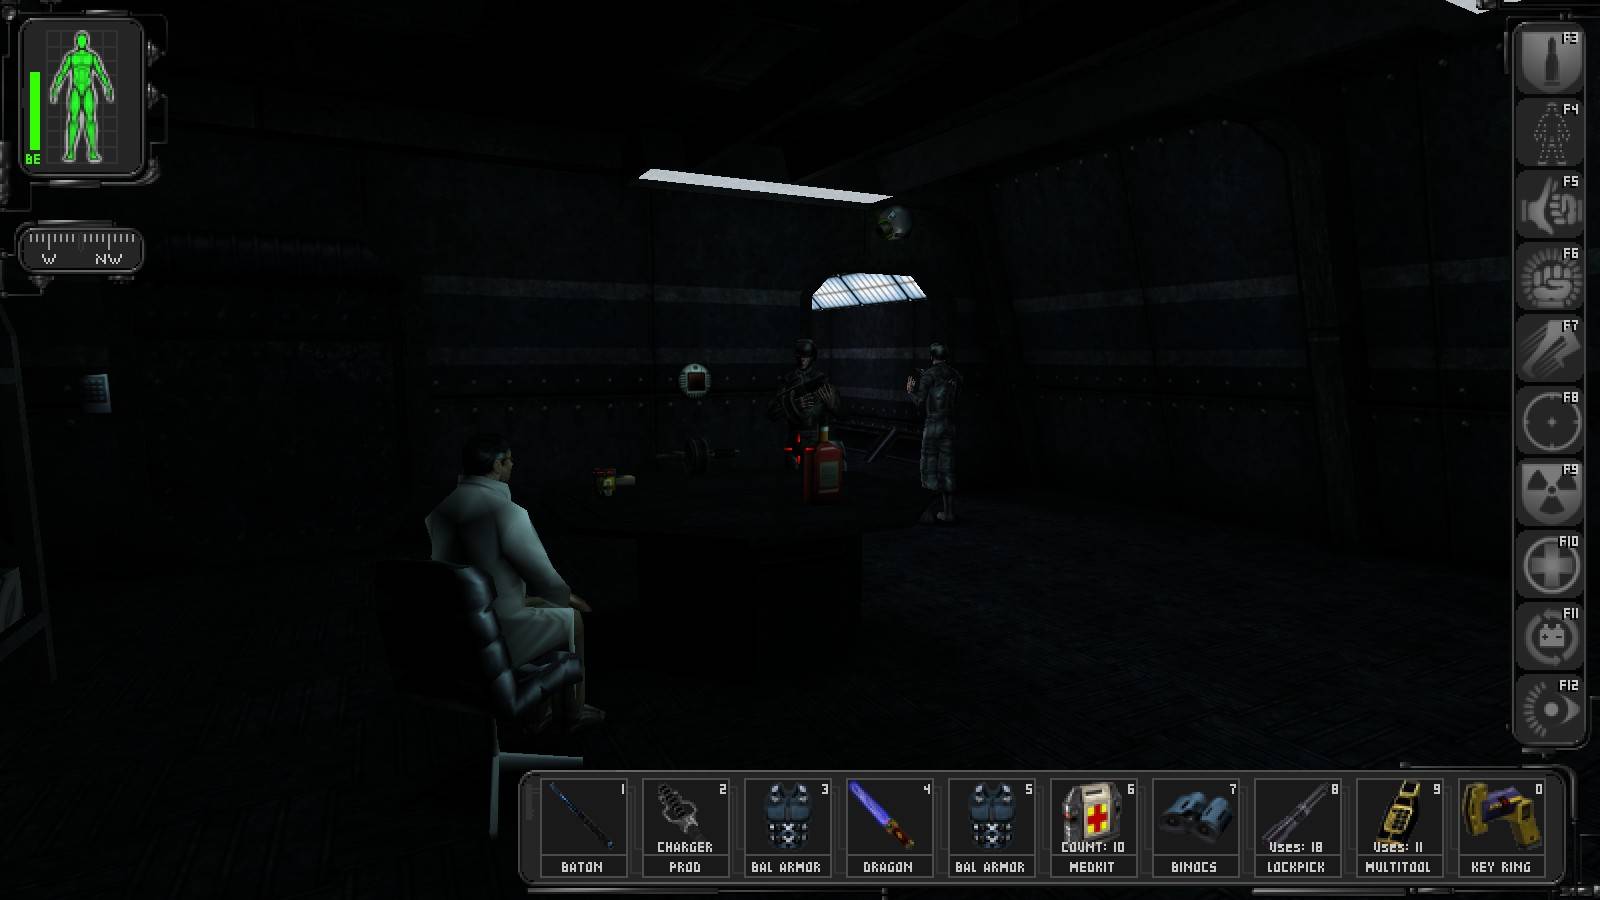
The stairs will eventually lead you to a T-shaped intersection patrolled by a trooper. A quick peek to the left will show that the room there is occupied by a scientist and a trooper sitting at the table and that the whole room is watched by the camera mounted over the other door, so let's go right instead.
More with the perfect odds!
You will encounter a female scientist who will give you a code which opens the nearby karkian feeding tank; swipe the medkit off the shelf, open the tank, jump in and head left, where a conveniently-placed hole in the floor shall lead you to a water well in the next part of the module. Be careful while exiting the well, if you make noise you are likely to end up with some unpleasant company; you may want to use the nearby crates to absorb the sound.
Once out, head down the hallway until you can see two scientists ahead of you, then turn left twice to find yourself in the ladder shaft. Go one level up and you will see a trooper guarding the entrance to the catwalk going around the room with scientists, along with another one patrolling that catwalk and occasionally peering down at his protégés; dispose of the two fellows. At this point you can either take a moment to go via the other exit from the catwalk to enter the room with the camera I mentioned earlier from a better direction (i.e. you end up right under the camera and can disable or power-smash it easily), do away with unwanted company. Open the closed storage closet in the room (the code is, surprisingly enough, 12) for a medkit and 50 skill points, or simply make your way back down and talk to the scientists. The woman won't be particularly helpful, then again the man will give you his computer login and a map of the Ocean Lab.
One last thing to possibly do here is to get outside onto the gallery and bother the guards located there - there is a MiB standing just right of the entrance and two troopers on patrol (bear in mind that one of the latter packs a GEP gun and there is no real room for dodging if they see you from afar) - but there is nothing of interest to be found there and one has to be very careful to keep JC out of sight of the sniper patrolling the roof of one of the modules below. Speaking of the latter, whether you got rid of the three or not, carefully drop down from the gallery onto the roof of the passage interconnecting the modules and head towards the guy making sure he doesn't see you, then relieve him of his duties along with a candy bar, binoculars and a soda. Once you're done with him, jump into the water to find yourself again close to the wet entrance.
There is a trooper patrolling the module with the wet entrance, but his route leaves him fairly open to attacks; simply make sure you don't resurfact right when he's down by the water and you'll be fine. Another fellow, somewhat inappropriately armed with a flame thrower, patrols the open walkway past the big door, have him join his pal.
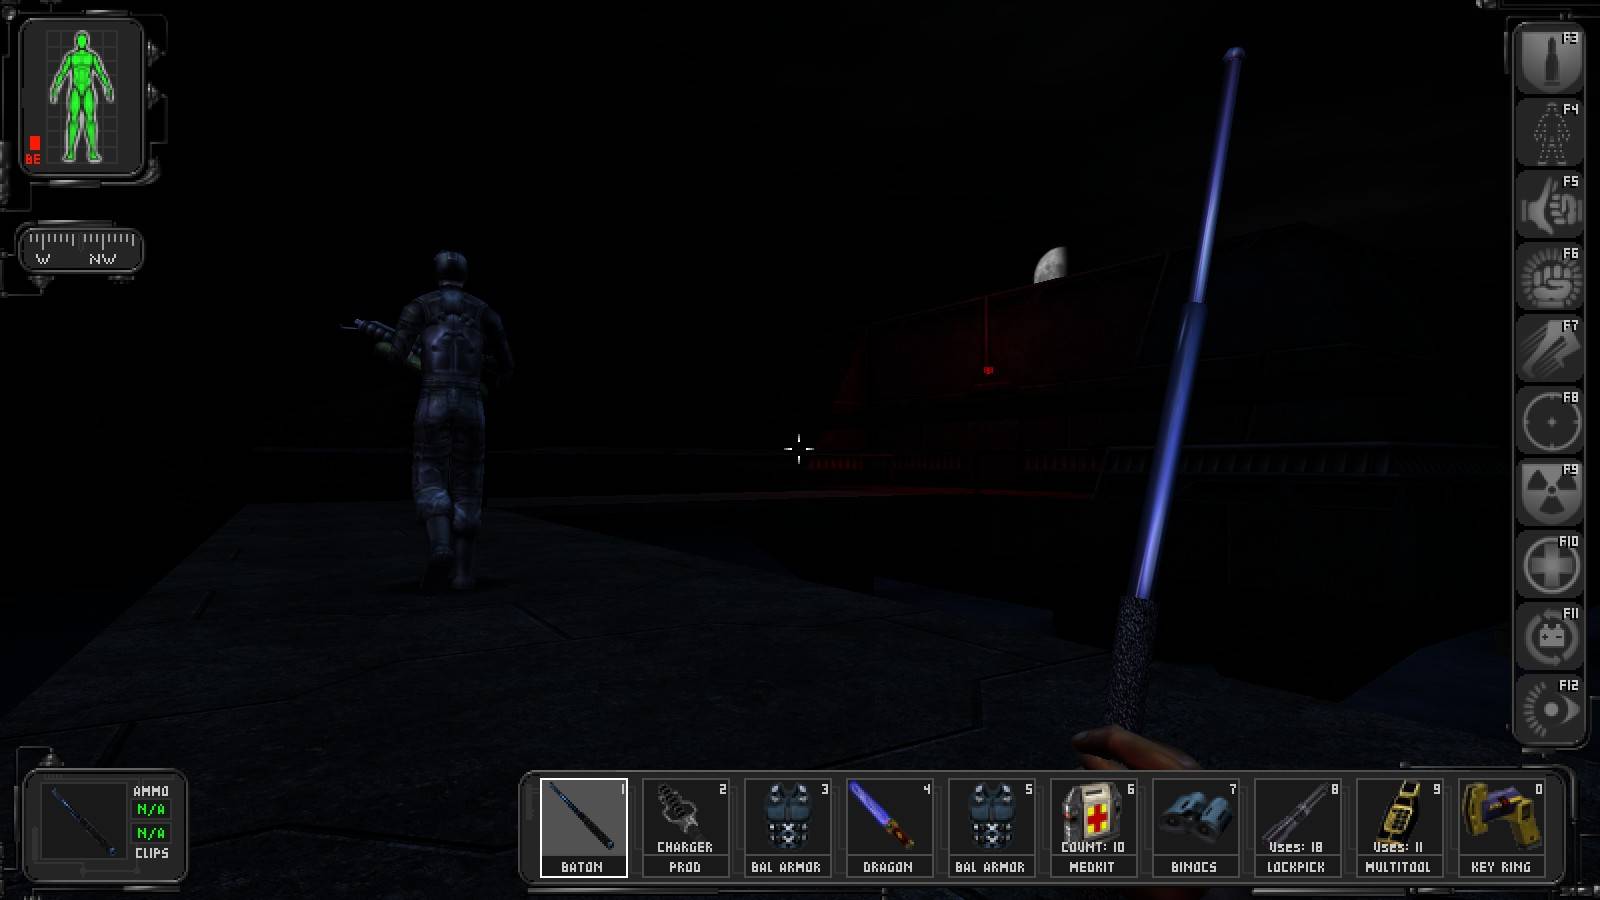
Hey, at least this guy isn't standing on a wooden dock!
The third and final trooper in this section follows a U-shaped route inside the next module, where we can find an elevator leading to the underwater part of the base, a lockpick and a bioelectric cell.
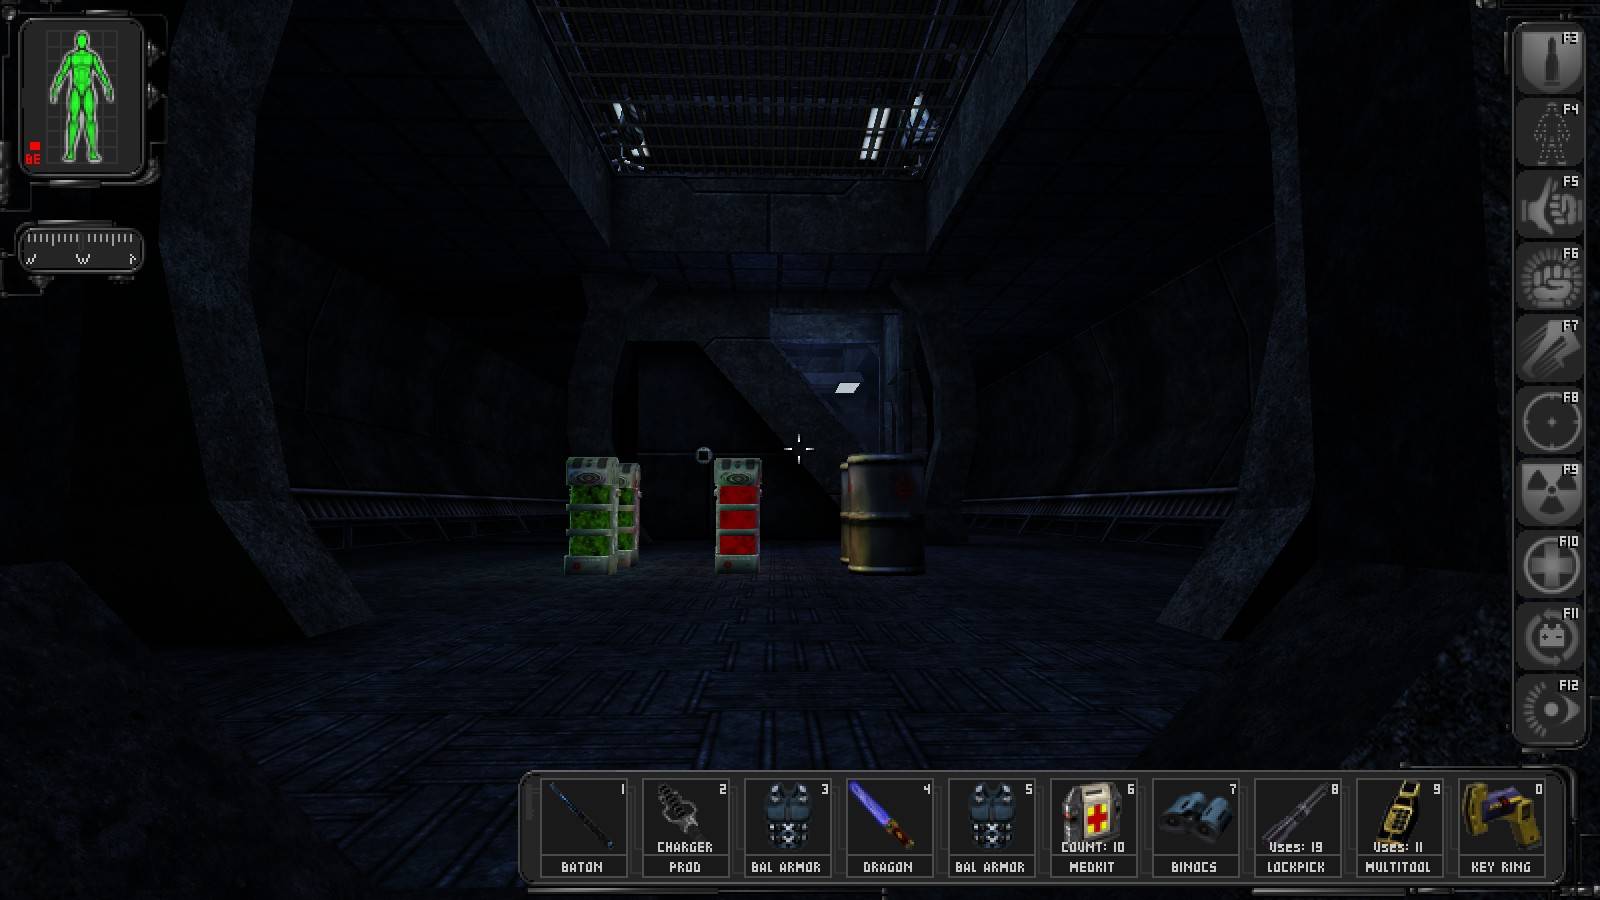
Ride the elevator down and quickly make your way to behind the big crate you can see ahead, before the camera above the elevator door has time to react to your presence. If you want to, use the security terminal conveniently located above your head to disable the cameras in this corridor and/or subvert the turrets to harass the hapless trooper patrolling it; otherwise use other crates scattered here and there for cover. One way or another JC will make his way to a larger room with barrels Ambrosia and Gray Death, as well as a staircase leading up.
Begin exploring it by walking round the left side of the staircase and bopping the trooper standing behind it, after which you can talk to the scientists. Using the credentials you've got from the female one, of from the nearby DataCube if for some reason you did not speak with her, on the terminal she was standing by to open the URV bay door, then nick a multitool from the crate, making sure you aren't seen from above, and head upstairs.
There are two troopers on the upper level, one patrolling the western half of it and one standing to the east from the staircase. The latter is more difficult to take down, as he faces in your direction - but if you use the wall supports heading towards him you'll be able to get close enough not to take any shots when he finally catches on that the trench coat and boots visible below the supports actually belong to someone heading in his direction; the second fellow should be easy enough. Swipe the biocell from the workstation the scientist sits at and possibly check his e-mail (looks like someone's started the party at the Ocean Lab before us!), then head west. Chat up the tech, ignore the security panel (it offers exactly the same set of features as the one in the big room we've just left) and take the operational submarine to the Ocean Lab.
Sabotaaaaaage!
Read the diary of the dead trooper lying nearby. Wow, that Riley guy sure knew how to party... Anyway, use the security terminal to re-open the bay door and get into water. Swim into the ocean, noting with renewed awe for JC's creators that even with no additional augmentations enabled he is entirely capable of withstanding the pressure at this depth, turn right twice and look up; you should see a lit-up hatch. Make good use of the air pocket you can find there and grab the rebreather from the crate - you may need to activate it at some point soon, as the diving has only just started! Keep going south until you've reached the spot with bubbles coming from the sea bed, then look up. See a blinking triangle of light? This is the way of getting into the flooded wing of the lab, which is worth a handful of skill points. Get inside and head the only way you can, search the dead scientist for a bioelectric cell and grab the storage room key from the desk. Now, get outside and make your way back to the URV bay.
At this point one can once again choose between the fast and the rewarding route. If you just want to get it over with, skip the following section.
Getting More Goodies
Note that this is just a stub note, as I somehow forgot to make detailed note of the items to be found in this part of the lab. Nevertheless, the general procedure goes like this:
Get out of the water and head upstairs. Things to be found on different levels there include: a crazy turret which luckily can be disabled using the terminal by the northern door to the room (the snag being that it's inside, so you'll probably want to activate the terminal and get out of the room before it switches on to avoid getting shot up), some snacks, a computer with some distressing e-mail, two baby karkians in their tank which however may jump out if you hang around in their field of view for too long, a DataCube with some notes and one bulkhead door which can be opened.
The door leads to a T-shaped corridor. We want to go ahead, but the key to that door is in the left branch and guarded by another crazy turret. Luckily, there is a way of avoiding getting hurt here - crouch by the metal crate in the branch and start pushing it towards the turret, which will happily keep pumping the box full of lead instead of you.
Eventually you will reach the key, as well as two doors on the sides of the corridor, leading to storage rooms containing the usual assortment of medkits, lockpicks, multitools, flares, snacks etcetera; one is locked, but we have the key from the flooded section. Having stocked up, grab a small metal crate and put it on top of the big one in front of the turret, then quickly leave; alternatively you can simply power-smash the turret. Either way, use the newly-found key to enter the greasel lab; there are two of the creatures there, as well as a bag of soy food and a ladder leading down, to some partially flooded rooms.
This is the point where the two paths merge. You will probably want to explore the rooms the fast one leads you through before going through the keypad-protected door below, though - simply read the notes on the fast path for their description.
The Fast Path
Leave the URV bay again and swim to the north, to another lit-up hatch. Inside you will find a crate with a hazmat suit, you may want to use it - we are entering an area infested with greasels... The first two green fellows are in the larger room just beyond the door: one stays in the partitioned-off space to the left, the other hangs out by the corpse further north. There is another one, in a south-bound corridor starting just east from where we are now, but since there is nothing interesting in there one may simply close the door on it; the other two will probably have to be disposed of. Once done, check out the DataCube lying on the floor near the fallen light fixture - it contains a code to the construction area, which we will need shortly; there is also a biocell on the corpse. Last but not least, don't bother with the locked room to the north - while there is a med bot there when the mission starts, sooner or later it succumbs to the water leaking into the room and as a result all one would do here is spend lockpicks on one measly medkit.
Head north to the room with a ladder and yet another greasel, then punch in the code you've just found to open the locked door; if you want to have a look at the greasel lab up the ladder there look at the end of the detailed path above, but you won't get far - the door out of the lab can only be opened with the key available only on the other side. The newly-opened passage will lead JC to a room with some electric activity, which unfortunately cannot be turned off but is relatively easy to get through unscathed. What I normally do here is: make sure the second door out of the room is open, head left behind the desk to grab a DataCube with terminal password, then simply jump over the desk and run out. Besides, even if you do get damage it shouldn't be too serious.
Past another length of a poorly-lit coridor there is a construction zone. It seems whoever worked here did not respect safety regulations, as they brought their pets with them... Either that or the transgenics have learned how to pick locks and disable keypads, pick whichever you find more probable. Anyway: we've got two greasels hiding behind the entrance to the observation room to the right, two or three baby karkians behind the large drilling engine in the back and one freaking huge karkian in the observation room, guarding the key to the crew module that we would like to obtain.
The greasels are as easy to kill as usual, except they are so far in the corner that you'd better get ready to take some venom to the face unless you try to approach them from the side. The baby karkians are not particularly difficult either, especially if you confuse them by coming at them from the dark area under the drilling machine.
The adult karkian, on the other hand... Three words: don't get bitten. It may make sense to power up before taking on it, as the faster the creature goes down the lesser the risk of JC losing his legs in one fortunate bite and the rest of his body in the one that followed because he couldn't move fast enough. If you feel lucky you may try to electrocute some of the beasts by turning on the power in the rail track using the big level at the far end of the chamber, then again the activation takes so much time that it usually takes a lot of time to kill anything this way. Last but not least, there is always the option of sneaking quietly over to the other door and picking the lock - it is costly in lockpicks and for certain reasons it does make more sense to eliminate the opposition, but not impossible.
Once in the next module you may take time to pick up some stuff left behind by the late crew. There are two rooms on each floor, plus a (locked but pickable) storage closet on the bottom one. Some of the lockers in the rooms are locked, but only until they end up missing doors... There are binoculars, a biocell, a soda and some soy food in the eastern quarter on the upper level, along with a medkit and another greasel - facing the door - in the western one. The bottom level on the other hand will yield tech goggles and a multitool in the eastern quarter, a medkit and soy food in the western one and a suit of armour and thermoptic camo in the closet.
Once done collecting, ride the elevator down to the UC lab.
The UC Lab
Right after you've got off the elevator there is a live gas grenade on the opposite wall of the corridor to the right, take care of it. Follow the corridor until the next map loads; right after that turn right and read a DataCube, then proceed to the entry chamber. You have three options here: ignore the beams and release spider bots, disable the beams using a pretty tough electric panel on the wall, or pick the lock on the vent in the right wall, make your way through greasel-infested tunnels, and jump down through any of the big fans, preferably having turned the speed aug on first to minimise damage and destroyed the fan blades to actually make it to the ground in the first place. Either way, once you're past the beams keep going until you've reached an even larger room, with two small lifts on the sides and a large spider bot patrolling its main part.
For the compulsive explorers, there is some stuff to be found in the two storage areas up the lifts, but in both cases it is best to move fast - the northern area (with 2 multitools in the second niche to the right and a lockpick in the third one to the right) is severely irradiated, the southern one (with 2 biocells in the second niche to the left). When you're done with these, approach the big spider from the south - when it's at the northern end of its route it stops for a moment facing the wall, this gives JC a bit more time to avoid it making his way to the elevator shaft. Once there, call the elevator and hug the wall on whichever side the spider is coming from at the given moment to avoid being seen. One more thing one can do while waiting for the lift to come down is take a quick swim in the pool of electrified water past the shaft - the dead MiB floating there has got an augmentation upgrade canister and the DataCube under him contains credentials for security systems above, just make sure you get out before the lift platform makes it to the bottom.
Someone please explain to me how this guy managed to die without exploding??
The upper level will welcome us with two more turrets gone haywire, installed in small niches on the northern and the southern end of the room. If you want to get a biocell off the corpse to the north and/or the medkit off the one to the south, you'd better be fast (especially right at the beginning, when the guns have to take time to turn in JC's direction) and possibly power-smash the turrets; taking cover is good too, but don't count on the push-cart too much in this respect - unlike the steel boxes, it will eventually fall apart.
If you can't be bothered, simply look ahead and to the right to locate the security terminal, then get close to it, trigger it and jump into safety of the two concrete walls surrounding the small flight of stairs before it becomes active. The console will allow you to activate the bridge to the Universal Constructor. Walk over to the other side, take advantage of the repair bot if necessary and get the UC schematics from the computer console nearby (which uses the same credential as the security terminal).
Surprise surprise, Everett and Savage still haven't come to the conclusion it would be wise to encrypt InfoLink communication and now Page has got the information he needed as well. Sigh... Make your way down the elevator and past the spider, find a spot close to the communicator where the bot will not be likely to notice JC during conversation and have a pleasant chat with the fellow. A nuke, huh? Now it seems it's Page's turn to have lost his wits, revealing his near-future plans to the person who almost single-handedly seriously upset his power base... Even so, head back to the submarine bay.
None of this element of surprise bullshit for this guy!!
As you return to the construction zone you will come face to face with our favourite government official again. Even if you don't remember the schematics of Simons' augmentations, they shouldn't matter much for a melee-only player - what does matter is that he has got a plasma rifle and is quite fast, moreover if you left any of the transgenics alive they will keep attacking you and not him. You may confront him or you may leg it, it is up to you - assuming you are ready to deal with consequences. If you decide to stay, the strategy here is pretty similar to what we used against Gunther - namely, power up both offensive and defensive augmentations (keeping in mind that the Aggressive Defence System does work on plasma) and go close-range as quickly as possible. Simons will turn invisible and start running away when severely wounded, but we haven't gone through all this hassle just to let him hide and recover now, have we? Power down and recover only after you've made sure he is no longer capable of uttering another of his oh-so-cool remarks.
Turns out Simons was not the only person who arrived on the second URV. You will encounter the first of the MJ12 divers in the half flooded room under the greasel lab (not that he is likely to be a serious threat...), there are more in the module where sub bay is. Good thing we don't have to go through that module unless we want to and got the greasel lab key earlier, eh? To bypass the remaining divers, simply head south from where the first one was, take the big hatch back into the ocean and simply swim to the bay. Return on whichever URV you want.
We're going to meet Savage on the roof of the command module. Just for kicks, instead of retracing your steps you can simply get into water and simply swim from the sub bay to the wet entrance we've already used. Once you've made it, one way or another, to that module, proceed down the wide passageway to the command one. There is one more trooper patrolling the second part of the passageway, between the two ladders, but he is pretty easy to handle when approached from this direction. After you've made it to the second ladder, climb it all the way to the top, then exit to the roof. After you've got your skill points and an upgrade canister from Savage, Jock will take you to the missile silo.