Strategies
If this isn't your first time reading the walkthrough, you'll probably remember I used to have things laid out in interludes which were all on seperate pages. It just seems more convenient to have all of them on a strategy page, so here we are!
Interlude 1
Strategies to get you started
Circle strafing
When you're only going to wrench people to death, you need to be able to take them out without getting hurt too badly, and circle strafing is the best way to take out melee attack enemies. You need a bit of room to move, if you're in a narrow hall or something similar, it couldn't hurt to lead your intended victim into somewhere with some elbow room. Then, once you're there, it's time for him to die. Basically, what you want to do is try to run behind them, and when they start turning to face you, keep moving so you stay behind them. Then, you swing like a deranged psychopath. If you keep moving and stay behind them, you should be able to hit them without getting a scratch. You can do almost the same thing with turrets, if you circle them so they can't shoot you, you can destroy them.
Taking out enemies with ranged attacks
When you find someone with a ranged attack, get behind the nearest wall, and wait for them. If they didn't see you and aren't coming up to greet you, then bang on the wall. If the ground you're on is fairly noisy to walk on, then jump up and down while banging on the wall. That should hopefully be enough to lure them towards you. Once they appear, charge them, and start swinging as fast as you possibly can. With robots, they take a long time to destroy. They back up to try to get a better shot at you, so you need to keep walking into them, but don't run. If you run you might end up running right past them, and they'll be able to get a better shot at you. When they're about to die, back up slightly so that you wont get hurt too badly in the explosion.
Collect Everything
One of the easiest ways to ensure your melee only run goes as smoothly as possible is to collect everything you can. A little ways into the game, you'll be getting your hands on a recycler. There are 3 locations where you can find replicators that sell them—behind Bulkhead 43 on Ops deck, on the second floor of the mall on Rec deck, (both replicators need to be hacked) or just past the first bulkhead on Command deck. It's broken, but it's nothing a repair tool can't fix. Once you have it, you can recycle everything which isn't organic, or plot related. For example, magazines, mugs, cigarettes, alcohol, ammo, etc., can be recycled for nanites. You don't get many nanites for normal junk items, usually a single nanite for each, but the ammunition is where the big bucks are, recycle all of it and you'll be a very wealthy lunatic. That, along with all the nanites you find in game, should get you enough money to get more than enough med hypos and med kits to survive the BOTM.
You'll want to store your junk items somewhere until you can recycle them, my favorite place is in the upgrade unit room at the beginning of Med/Sci deck. With a little organization you can store all your stuff there. Just to make sure nobody makes the mistake I made once upon a time—never, never, ever store things in the elevator. Sure, 9/10 times nothing weird will happen, but there's still the possibility that during a bulkhead change, an item may just up and disappear on you. I recommend keeping extremely important items, like med hypos, ice-picks, and spare armor with you at all times, because sometimes things will just disappear for no reason at all.
Of course, while you're playing the game, you'll probably find it more convenient to make smaller junk caches in whatever section of the Von Braun or the Rickenbacker you happen to be in. Do whatever works for you, you may not even need to go on a recycling frenzy to have enough nanites to go on a med hypo shopping spree. It's your call.
When you're still in the early stages of the game, try to save your chips, bottles of juice, and cans of pop for later. Early in the game, you have no use for psi points, so become an alcoholic! Drink away, by the time you can get the WormMind implant, if you even want to use it, you'll have plenty of psi hypos.
One last thing, try to avoid using med hypos, and possibly speed hypos, until the end of the game. Once you get the resurrection stations in each sector activated, rely on them. Using med hypos when you don't have to worry about dying is pretty pointless. I know some of you don't like dying, but running out of med hypos in the Body of the Many is not something you want to happen, and it's better safe than sorry.
Researchables
You'll have to do a bit of researching during the game, there's no question about that. The main question is, just how much researching will you be doing? Are you going to stick to researching enemy organs, or will you be researching implants, or maybe even the crystal shard?
Level 1
- Hybrid Organ
- Monkey Brain, FM
- Midwife Organ
- Grub Organ, CF, GA
- Swarm Pod Organ
- Arachnid Organ, IR
- Rumbler Organ, MO
- Psi Reaver Organ, RA
- Annelid Healing Gland, OS
- Annelid Psi Organ, GA, Y
- Toxin A, 2 SB, V
- Psi Booster, IR, NA
- Wormblend, AS — Wormblend not available in game
Level 3
- WormMind, CS
- Worm Skin, TC
- Viral Proliferator, TC, TE
Level 4
- Crystal Shard, Y
- Wormblood, CU
Level 5
- Wormheart, CS, HS
Level 6
- Worm Launcher, MO, SE
Your Weapons
Part 1, The Wrench
It's possible to beat the entire game with only your wrench as a weapon, although it's definitely tricky. It's probably the weakest of the weapons, but that just means you'll have to evade your victim's attacks a little longer. Keeping well stocked on healing tools is a good idea, especially in the BOTM, since there's no resurrection station there.
If you're playing on Easy or Normal, once you get to about Rec or Command deck, start buying med kits instead of med hypos at the replicators. The enemies get pretty nasty from here on, and you may go from full health to virtually dead if you accidentally get yourself in a tight corner. Or, if you need to take on more than you can handle, you can use the med kits before running in so as you're being torn to pieces, you're being healed.
All in all, this is a great weapon to keep with you, and it's all you need to beat the game, but some people may need a security blanket in the form of stronger melee weapons...
Your Weapons, Part 2, The Laser Rapier
So, you're not totally sure you can make it with only the wrench, and you want to use the laser rapier? Can't say I blame you. Although, the laser rapier may not be worth the investment. It really depends.
The laser rapier, first of all, is a pretty big investment. You need to have your energy weapon skills at level 4, and your agility skills at level 3. This alone kept me far from it until I tried an energy only game and was forced to use it to stay alive, since it had been so long since I used ranged weapons that I'd become horrible at it.
The rapier is more effective than the wrench at the electronic victims, robots, cyborg assassins, midwives, cameras, and turrets. However, you don't run into enough of them for the rapier to be worthwhile until about Ops deck. I'd recommend waiting at least until then before you get the skills for it.
I'm sure I've scared someone away from the rapier by now. But, I wouldn't have gone through the trouble of trying to make the walkthrough rapier friendly if I hadn't discovered something pretty important. The laser rapier is the ONLY melee weapon that can harm Shodan's head in the end game! If you don't get the rapier you can still defeat her, but the rapier gets the job done much, much quicker.
Just a note I'd thought I'd add, if you succeed at melee only, and you want an interesting challenge, try beating the game laser rapier only. No wrench to get you to the rapier. It's possible, even on Impossible, it's just a matter of actually getting to the rapier without getting yourself slaughtered in the process.
So, in summary, it's a touchy weapon, but I'd recommend it for later in the game. I can't think of an enemy who's vulnerable to the laser rapier that you can't avoid for the amount of time it takes to equip it. If you are going to use melee weapons other than the wrench, at least bring the rapier along for Where Am I.
Your Weapons, Part 3, The Crystal Shard
For the crystal shard, in my opinion it's the most powerful melee weapon out there. When you get it, use it as your primary weapon. Only use your secondary weapon (the wrench or the rapier) on electronic enemies, as the shard isn't as effective against them. Although, the shard probably deals more damage to the electronic enemies than the wrench, especially when your exotic weapon skills are maxed out.
If you're playing on a high difficulty, it would probably be more cyber module friendly to simply max out your exotic weapon skills, and use the crystal shard instead of bother with the rapier. Take your research skills up to level 3, and use the LabAssistant implant to get that final research point you need for it.
All in all, this is a must have if you're allowing yourself melee weapons other than the wrench. Use it as your primary weapon with the wrench or rapier as a backup, and you'll have a fairly smooth ride.
Interlude 2
Protocol droid explosion dodging
This is something that you can't really be taught, but you have to learn on your own. As you know, these friendly little fellos are the suicide bombers of the VOn Braun. However, with enough practice, you can get close enough that theyll blow up, and be able to run away and not be caught in the explosion. I was never good at judging distances even in real life, so I can't tell you how close you have to be before they blow up. I'm useless, I know.
But, try getting the protocol droid to chase you, then turn around and walk backwards, and pay attention to how close the droid gets before it blows up. Once you know how far away you can be before it'll blow up, then try running towards one, and turning when you're the same distance away. Hopefully you'll get the hang of it, there's nothing like a group of these pests to ruin your day.
Interlude 3
How to cope with eggs
I hate eggs. You almost always can't get close enough to them to destroy them before they release a little present for you. Currently, you have two things to worry about them releasing. Worms, and toxin balls. Later on you'll run into ones who release flies, but I'll cover them all here. Firstly, you want to search every egg you find. Sometimes you'll find the healing gland you found on the surgery table in Engineering, which is always nice. Other times, you may find a very, very rare item that I never remember the name of. Annelid psi organ, perhaps?
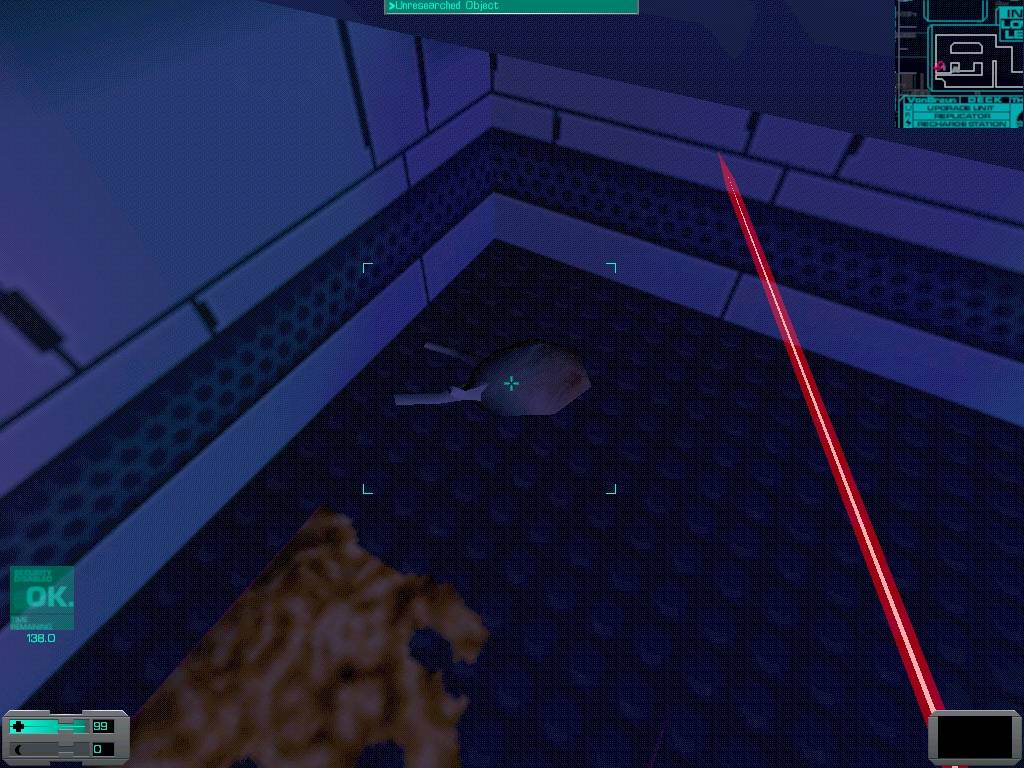
This is the other object. When researched, it restores some psi points.
Once you've searched them, inch forward until they release their present, then back off fast. If it's a worm that's released, they'll come to you, and you can kill them before they get close enough to nibble on your feet. If they release toxin balls, you need to get back fast, and avoid the balls if you can. If they hit you, you'll get infected with toxins even worse than you probably already were, and you either have to die, or use a toxin hypo to relieve your suffering. When you run into the eggs that release flies, destroy the egg, then take off. You probably won't have been able to search them, and with the flies in your face, you probably won't get the chance. Since running from the flies is the best and only way to deal with them, do that until you hear them die off, then return and hope you haven't stumbled across eggs that release multiple sets of flies.
Interlude 4
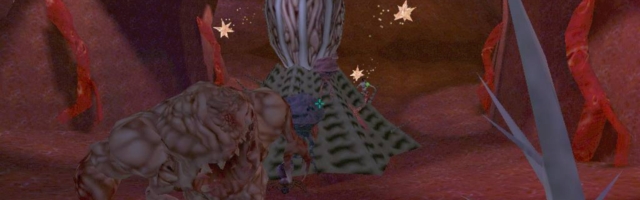
Cyborg Assassins
They have ass twice in their name, and they've earned it.
I hate these guys. They disturb me deeply. Maybe because one of their generic sound files that plays has them saying something like 'hey (insert my real name here), have fun!' The first time I heard that, I had a heart attack. I came out of Shodan's slideshow room rather freaked out to begin with, then ran into a cyborg assassin who killed me after saying that line. They're tricky enough to hit with a gun, with a melee weapon it's harder. They're actually intelligent, they run from you, then stop and fire their circle thingies at you when they get the chance. So, the typical 'lure them to you' piece won't work. You have to chase them down and kill them. The higher your agility skill level is, the easier this is to do.
I'd recommend completely forgetting about using your overhand swing attack on them without your agility skill levels upgraded, you won't be able to get close enough to them to hit them with it otherwise. However, on occasion, you may get the chance to sneak up on an assassin, if this happens, go right ahead and thwap them over the head with a wrench.
Preparing for the Chaos
Intro
Anyone who read the walkthrough in its younger days will remember that I used to have information on how to prepare for the next deck at the end of every walkthrough section. Well, from the end of Hydro deck to the end of Rec deck, there are 2 decks you could be going to, and putting in a ton of duplicate information seemed pretty stupid to me. So, I've moved the information for how to prepare for each deck here.
Enough with this, let's get down to business!
Engineering
When you head down to Engineering, you'll want to make sure you bring a few rad hypos along for the ride, obviously. I never use them myself, but I don't care about taking damage, either. If you're researching, bring along the chemical OS, although getting to it will require either hacking, or the guts to pull off a completely insane stunt which will result in multiple occurences of both your death, and alarms being set off.
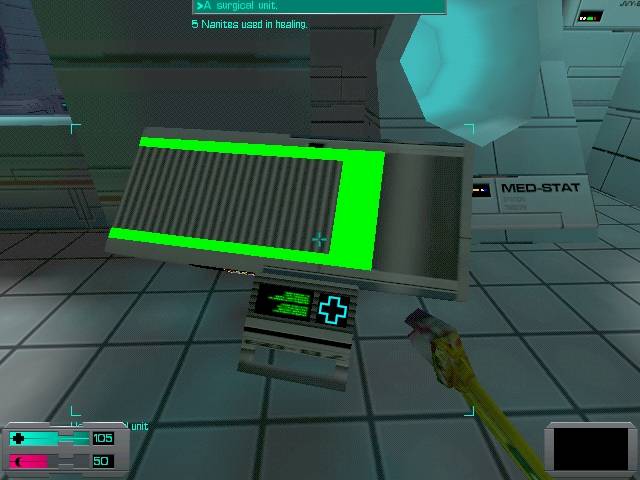
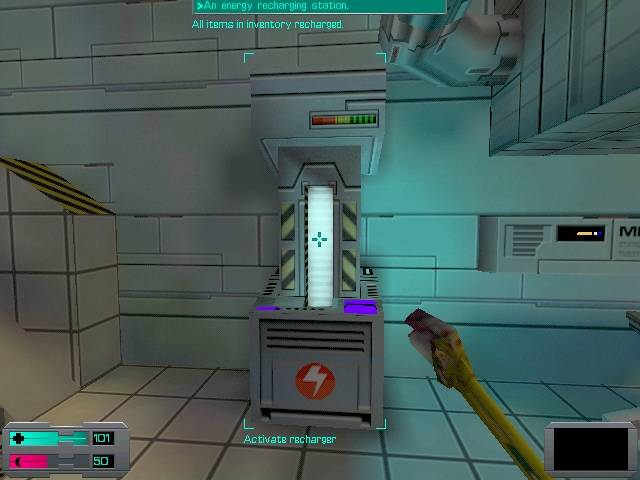
Once you've got what you need, heal up with the surgery machine, there's a complete one by Watts, and hit the recharge station in the room with the Diego log.
These are in the best place in the game, as I've never found any spawned friends past the replicator
Hydroponics
You'll be up against spiders, eggs, worms, and quite a few more midwives. You definitely need toxin hypos before heading up there, I'd recommend dumping any left over rad hypos, but keep the hazard suit. Head back to good old safe Deck 2, and if you feel you need to, get anti-toxin hypos from the replicator near the door to the R+D sector and med hypos from the replicator the ghost was by. Pick up the chemicals Sb and V which you should've found and stored somewhere by now. If you don't have any yet, get some research skills, level 1 will suffice. Or, if you'd rather, you can get the LabAssistant implant on Hydro. Then, heal up, hit the recharger, and you should be good to go.
Interlude 5
Choosing the Next Deck
I hadn't thought of addressing this for the longest time, but Marecki brought it up when he sent me comments on my walkthrough. Shodan gives you the option of completing Ops or Recreation deck first. Here's the reason Marecki gave me for trying out Rec deck first:
You can obtain WormMind (+25% hit points and some use for all those psi hypos) and heavy armour (extra protections for the moments when you want to conserve charge in the powered one, at no additional cost because you've probably got STR 6 already) quite quickly, there is an OS Upgrade unit for Goggles to become Cybernetically Enhanced at and an arachnid organ on an already-dead spider at the mall to ease handling its kind later on, last but not least the layout allows for a lot of sneaking, combat evasion and round-the-corner ambushing, even against the few assassins present on this deck.
Now that I've done it myself, I can tell you it's alot easier this way around. If it's your first time through the game melee weapon only, you plan on using the crystal shard, or you didn't get an arachnid organ off one of the baby spiders on Hydro, you probably should do Rec deck first. But, if none of those applies to you, you may as well do Ops first. It's up to you.
Operations
As cyborg assassins are common and necessary to kill on this level, I strongly recommend agility skills. Just enough to enable you to keep up with them will do, because there's nothing more aggravating than chasing down an assassin, only to have him stop when he's a mile ahead of you and start pumping you full of those fancy throwing stars of his. It couldn't hurt to keep the hazard suit and a few toxin hypos handy, since you'll run into a few eggs. Maybe some endurance stats could help, because you'll probably take a few hits.
Recreaction
There isn't much preparing to do, it's a long level, but assassins are easy to avoid, resurrection stations aren't too terribly hard to get to. Just work up upgrading your strength stats, upgrade your research skills to level 2 if you want the WormMind implant, or 3 if you want the shard, use the LabAssistant implant to be able to research your item(s) of choice. Bring the chemical Ir so you can research the arachnid organ, if you haven't already. Do your normal 'buy med hypos, use a surgery unit, hit a recharge station' routine, then you'll be good to go.
Command
It couldn't hurt to bring a surgery unit activation key with you, there's a surgery unit just past the first bulkhead, and since there isn't a resurrection station in the first area of Command deck, being able to heal up before heading back there couldn't do any harm. You should make sure you have more than basic agility stats before going there, and maybe more endurance stats.
Rickenbacker
When you've reached the Rickenbacker, you probably won't be going back. There's a complete surgery unit right by the umbilical, and a recharge unit between the umbilical and the elevator to Deck 5, use those whenever you need healing. Look through your piles of stuff, leave behind and/or recycle whatever you don't desperately need, and head on out.
The Body of the Many, Where Am I
You don't really have real chances to go on a shopping spree before going to the final levels. Just remember to make sure you have everything you could need before leaving the Rickenbacker for good. You'll need the hazard suit, lots of healing goodies, and respectable endurance stats. If you have the WormMind implant, get your psionics stats upgraded as much as possible as well. Once you leave the BOTM, upgrade your stats a little more if you have the cyber modules for it, then hit the road.