
Walkthrough
The Body of the Many
And into squishy land we go . . . / Top
When you arrive, you'll be in the Many's guts. It's very easy to get lost. *You have a Heads-Up Display compass, accessible by alt+C, but unfortunately I didn't know about it when I first wrote the walkthrough. If you get lost, you could use it to return to the start, then use my directions to try to find your way back to where you were. Also, you can drop map markers to mark where you were.* Unfortunately, despite this being 2114, Goggles isn't capable of making a mental map of where he's been, unlike Garrett in Thief. When you're in an attack, try to lead your victim back to where you've already been, to avoid ending up in any unmentioned areas, which would be a very quick way to get lost.
Go straight ahead, until you find a log with a membrane ahead of it. Listen to the log, then take out the membrane. There's a spider in the hallway, take him out. The Many will say something incredibly funny to you. 'We welcome you to our biomass. We invite you to spread yourself out on our warmth. One of our Many will be there to help you before long.' It kills me every time. A rumbler shows up, and he tries to kill me every time, too. Kill him first. From the hallway with the membrane you first exited from, there's a slanted path downwards. Follow it to the membrane half in and half out of the water.
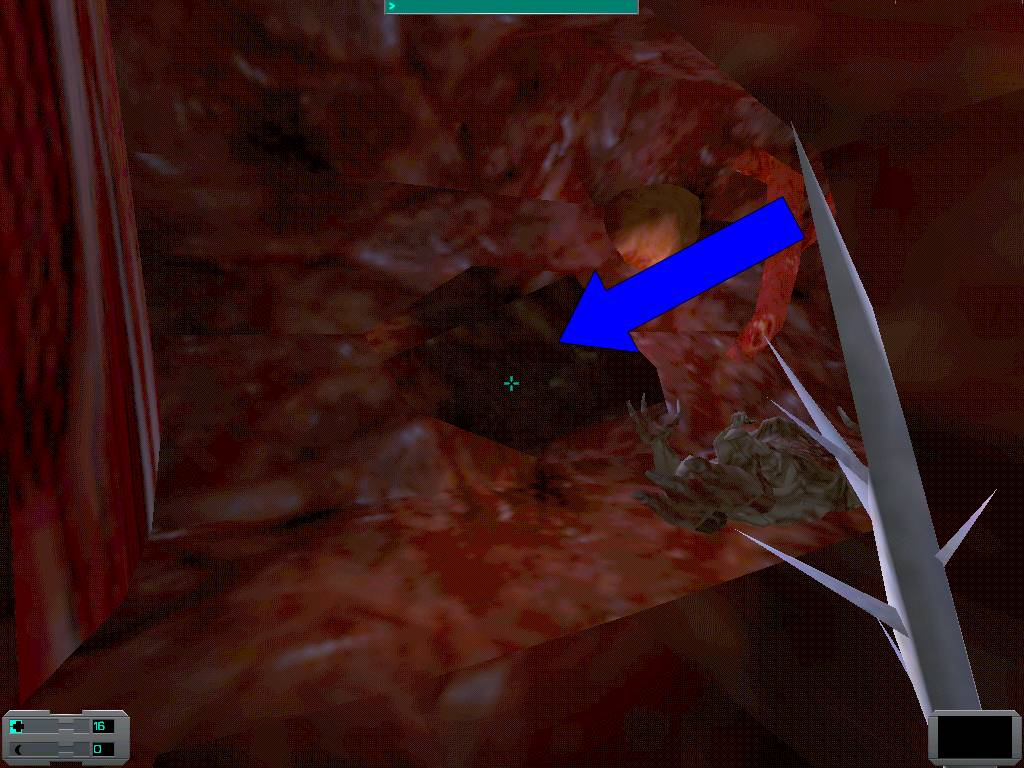
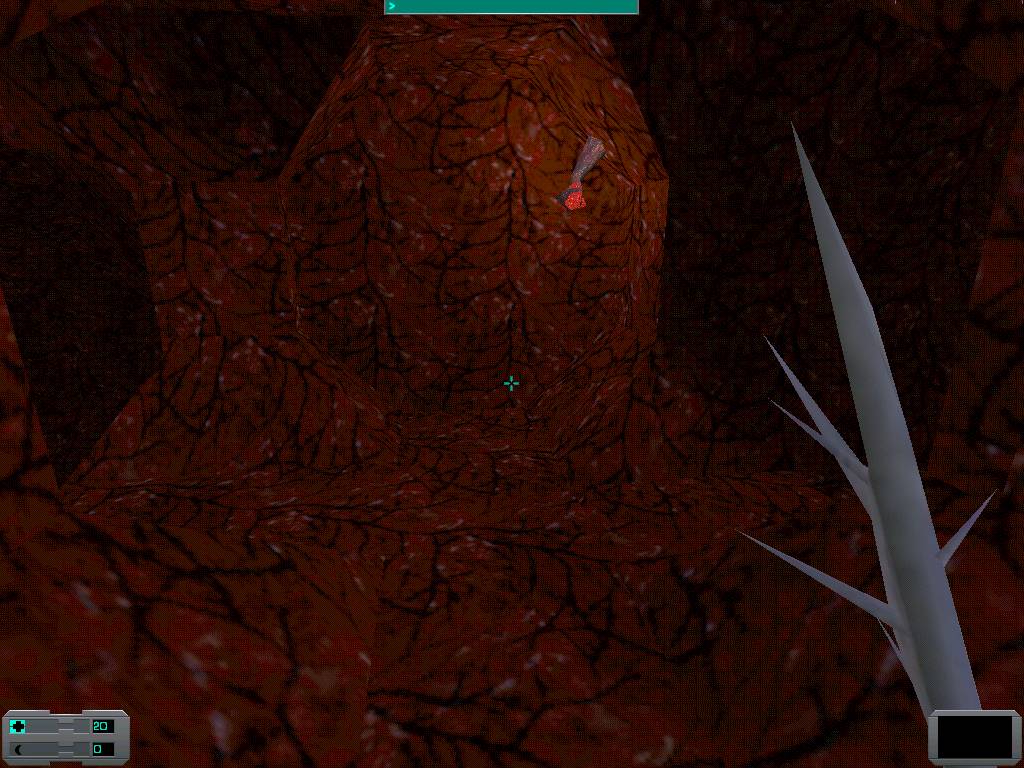
Here is the path you want to take.
When you destroy the membrane, the reaver down here will make some noise.
The reaver's brain is down to your right, swim down there, take it out, and attack, circling the reaver as fast as possible. I needed to shoot up on med hypos before going in here, and while I was in there, to get through okay. Or, if you're playing on Impossible, you may decide you don't want to deal with an exploding psi reaver. In this case, simply wrench him until he disappears, destroy the nerve cluster, then get the hell out of there.
Marecki told me of a way to deal with this section without dealing with the reaver, I haven't had too much success with it, but that doesn't mean much. I had a ton of trouble with running and jumping onto turrets while it came naturally for Enchantermon, maybe others will have an easier time with this. I'm willing to bet the true taffers among us will have less trouble with it:
Quite by accident I have found a way of not having to deal with this psi reaver in order to damage the nerve cluster. However, I have never tried this before so it might turn out hard to repeat everything as it happened on this one lucky occasion.
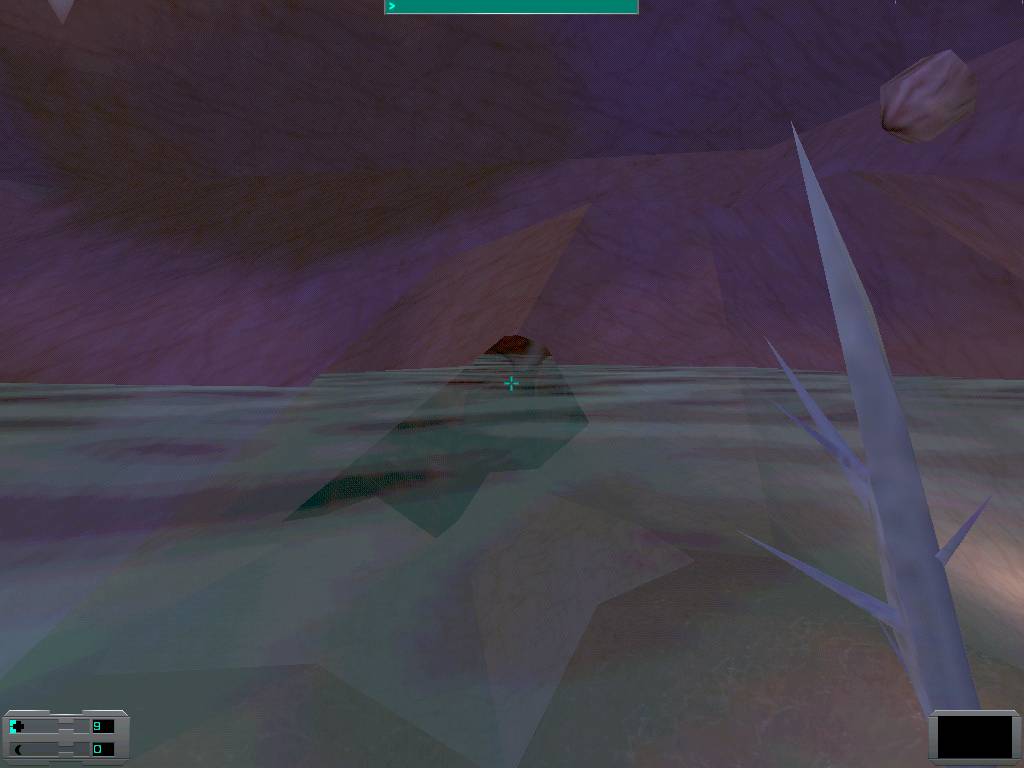
Having punctured the membrane, go back up, twice left and down to the other one.

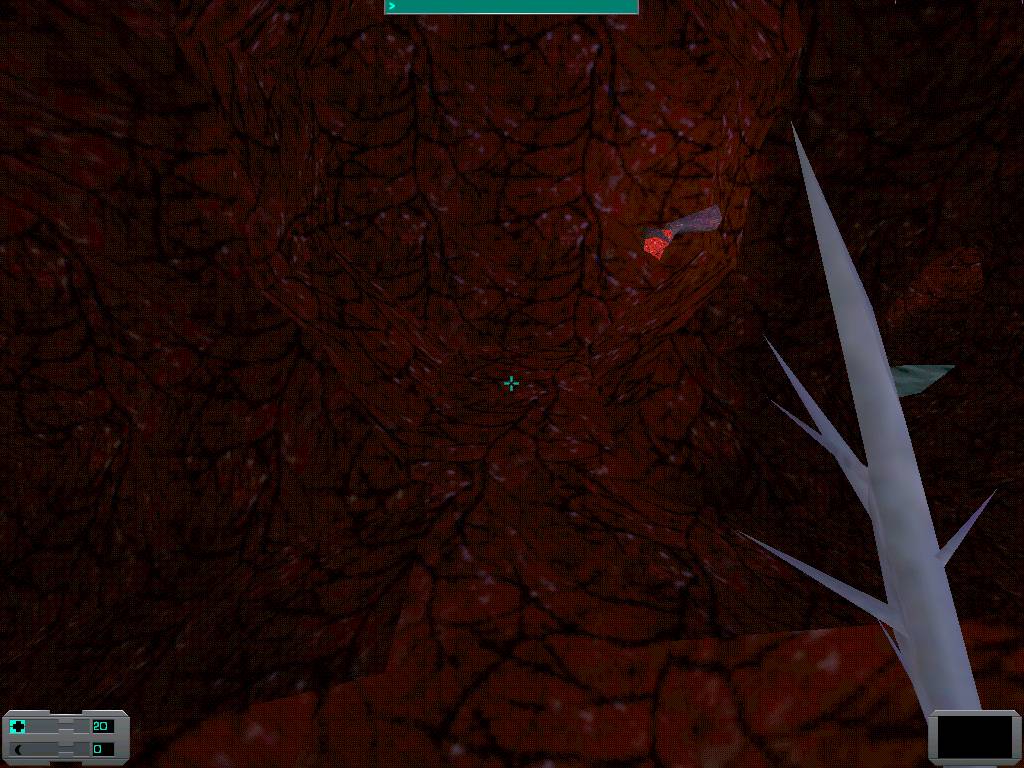
The second tunnel that leads to the Psi Reaver is here.
Rip this one as well and start making noise, keeping an eye out for the psi reaver; it is close, so you shouldn't have to try too hard to attract its attention. Take a few steps back into the tunnel and make some more noise, if you want to be sure you're being followed you can keep on doing this up to the point you can actually see the creature's tentacles moving in your direction (unfortunately the shape of the tunnel is such that it is highly possible that the first sign of the psi reaver will be a purple bolt striking your face, so don't overdo it). Either way, eventually make your way out and back to the first tunnel; in which you should move quietly down and into the water. If you were lucky, the psi reaver should be nowhere to be seen. Search the rooms quietly, then hit the nerve cluster and—for the kick of it—destroy the control organism, quickly leave the way you came.
If you did destroy him, search the room, you'll find a rad hypo, a toxin hypo, 10 cyber modules, and 3 grenades in the water here. The nerve cluster here is easy to destroy. Walk up the slanted walls out of the water to the cluster, and swing. The other exit is blocked by a membrane. Don't go through there, leave the way you came.
It's not too hard to find the tunnel you entered through, but just in case.....it's this one.
When you reach the exit, go left and you'll find a corpse with a shard of crystal by her. Search her to get a psi hypo.
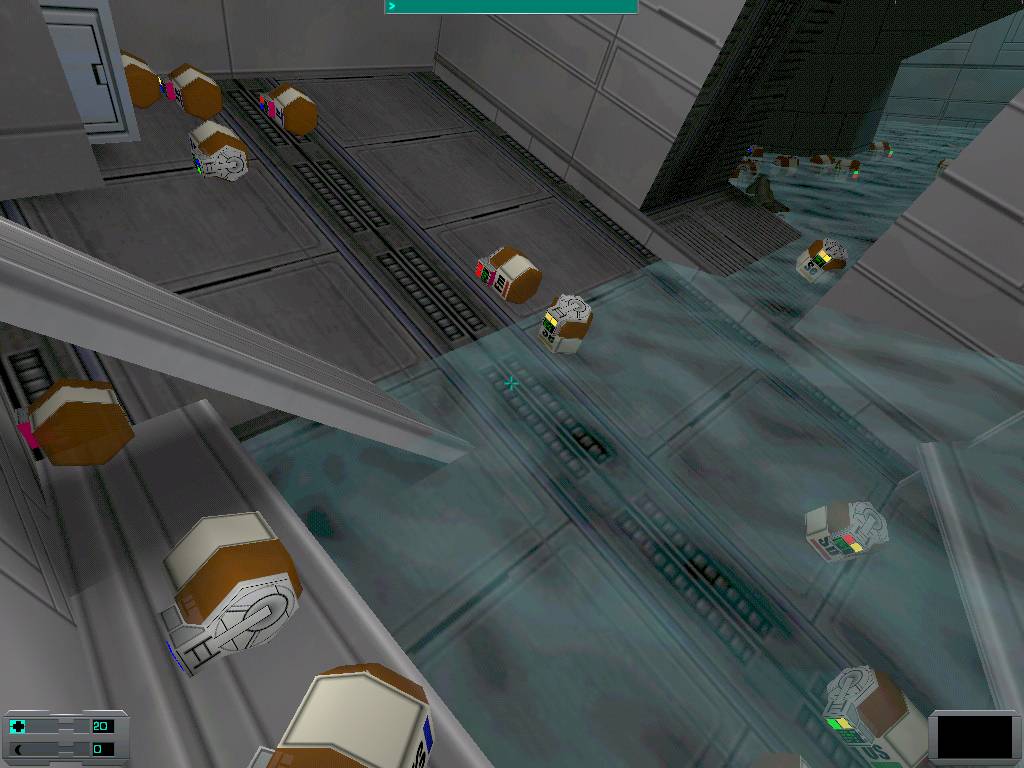
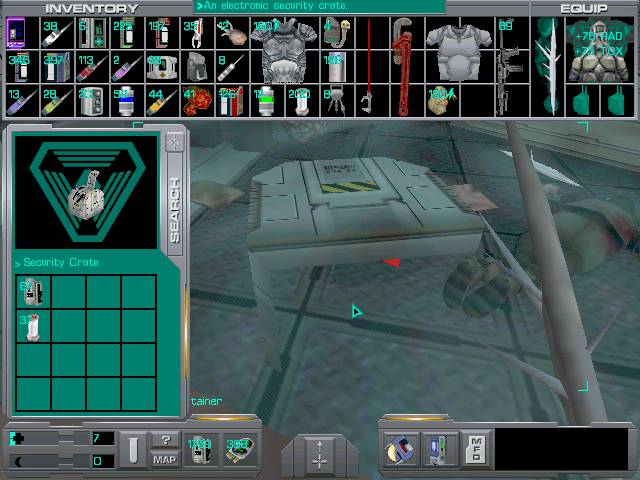
Walk through the hole to the regular looking section of the Rickenbacker. Some eggs will be triggered as you come in, just take them out. The eggs release a worm and two annelid swarms. Also, the male body will spawn two worms when you search him, and the female body will spawn two swarms every time you search her (even if you clean out her pockets the first time). Search the body by the replicator, he has 71 nanites and 20 prisms. The female corpse by the windows has an anti-radiation hypo and 10 cyber modules. Go down to the security crate and crack it open to receive 53 nanites, an anti-radiation hypo, and an anti-toxin hypo.
Before I left, I hacked the replicator in this room. It gives you med kits, buy lots of them. You need all the hitpoint restoring goodies you can get, and as you'll never see a resurrection station again, you can spend all you want. When you leave, hang a right and go down the hall. You should see a nerve leading into another hall to your right, follow it, and pick up a log along the way. When you reach the hallway leading down just past an air vent, go down it, and pick up another log along the way. The body partially in the hallway has 8 worm clusters and 1 med hypo. In this very oddly slanted room, there's a body with a psi hypo, and 63 nanites in the crate. There's a maintenance tool on the floor, and some chemicals.
Head back out, going left, the direction the body's pointing in case you got yourself turned around at some point, and go down the slanted hall to the left. There's a spider down here, take it out. Now, it's time for the water section. My always faithful workhorse, Enchantermon, did this section of walkthrough for me, it goes as follows:
*Okay, put either your WormSkin or hazard suit on and dive into the water. The corpse in front of you has a WormHeart implant, 12 anti-personell bullets, and a suit of WormSkin armor. Search the desk below the corpse to get an auto repair kit and a toxin hypo, and then swim down to the bottom and grab the med kit floating near the floor.
Swim up and you'll find a hole with a nerve leading into it. Follow the nerve to a fork in the tunnel, then go through the opening on the right; the one without the nerve. You should see a med kit in front of you, so swim over and pick it up. Then swim up and search the female corpse for another WormHeart implant. Now, turn to the other side of the room. You should see a crystal shard and a male corpse who also has a crystal shard on him. Look above them and you'll see a tunnel leading up. Follow it and you'll be out of the water. Shoot up if necessary and let Goggles catch his breath. Break the membrane up here and you'll find a female corpse with a toxin hypo, three grenades, and 73 nanites on her. When you're ready, jump back into the water. Follow the nerve out of this room.

This is the tunnel you're going for.
You'll emerge in a room with nothing interesting. Surface so Goggles can breathe, and paddle around to the final room. You'll find a male corpse with 10 cyber modules, and a female corpse with an Annelid Launcher and 36 worm clusters.*
To get to the nerve cluster room, simply follow the nerve. You don't have to get any of the goodies, but evidently it couldn't hurt to try for some of them. I wore the worm skin through here, it did a good job protecting me from the radiation until I got to the nerve cluster. To reach it, shoot up a speed hypo. Go directly underneath it, look up, then back up. If you hit whatever key you have bound to 'walk backward' then you'll sink into the water, then use your run key to come flying out of the water. Time your swing when you're the furthest out of the water, et voila! If coming from below it doesn't work, back up, then approach it head on, and try to sort of leap out of the water. You should end up bobbing up and down fairly high at some point, and you'll be able to nail it. *It's tricky trying to figure out what swing to use when you try to hit it—Enchantermon and I both can't hit the cluster with an overhand swing, but maxdmg was missing the cluster when he used an side swipe, but nailed it with an overhand. Try them both, and see which works for you.*
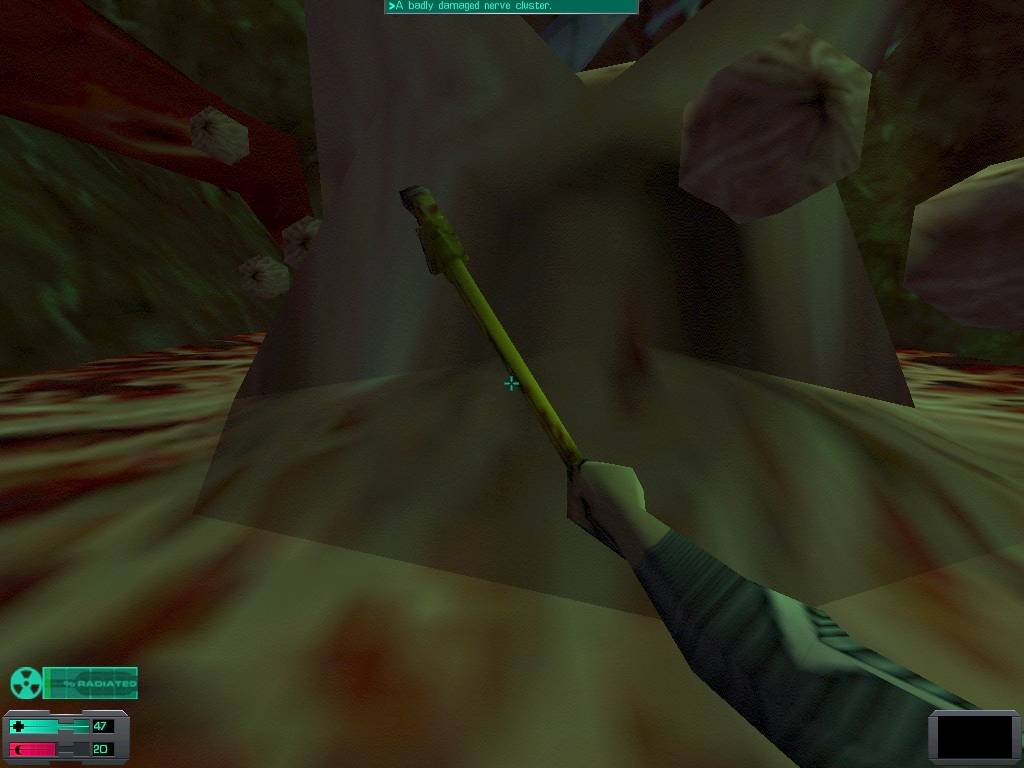
maxdmg sent me this screenshot—I think I see why he was able to hit that cluster. He's much closer to the wall than I normally am when I try for it!
Follow the nerve to get out of the water area again, when you get out of the slanted hallway, go left, towards the large room with the large membrane wall. Destroy it. Get ready for some fun...
Define "fun..." O_O
There's a rumbler, a spider, and a midwife in this circular room. You might make several rounds of this room, so drop a navigation marker in the tunnel before you leave it if you think you'll get lost. Once you're ready, run around here, and take out the midwife, then once she's dealt with you only need to stay ahead of the rumbler and the spider.
When that's done, return to the hallway you entered from. Head left from it, and circle until you find a section with several destroyed doors, and a section of wall sticking out. There's a corpse under the doors, take his psi booster and 57 nanites. He's facing slightly towards an open doorway you can go through. Go through there now. There's a ton of eggs, destroy them all and run for it. Or, put on a hazard suit, and just run like hell through them, triggering them all, and deal with their treasures later.
This is a very nice little place to regroup. There's a ton of chemicals here, so whatever you need to research, this is the place to do it.
Where in the world did all of these chemicals come from, anyway?
In the way of corpses, we have one just before the recharger/chemical room which has a toxin and rad hypo on him, a female corpse with 6 anti-personnel bullets and a med kit, and a corpse in the upgrade room with 50 nanites and a toxin hypo. All the upgrade units are here, there's a hackable replicator you can use to get toxin hypos from, if you need them. In the security crate, *which has a see-through bottom, curiously enough,* there 67 nanites and 37 prisms.
Um.....yeah. Not much I can say about that.....O_o
Once you've finished regrouping, leave through the narrow hall and return to the large circular room. Go left, and search the body to receive 6 cyber modules, and 12 standard bullets. Keep going straight, and go left through the now opened sphincter. There's a cyborg midwife and an invisible spider up here, so watch yourself. As you go up the slant you'll reach a log, then a female corpse with a med and psi hypo. When you get up to the top of the slant, you'll be greeted by the horrible teeth grinding noise. While I can handle the jumping, it's the noise that kills me. Beware, there's a midwife past the first tooth. In the water pool, you'll find a corpse with 67 nanites. Sneak around to the damaged doors and search the corpse here, she has a maintenance tool. There's also various junk items around her, recycle as necessary.
Past the tooth is a cyborg midwife and an invisible spider, the corpse here has *5* cyber modules and 12 standard bullets. Run up the passageway to the next teeth section. *It's a bit easier not to try for the goodies here, but at the bottom of the teeth room, there's a hidden room with an underwater body, and she has 53 nanites and 10 cyber modules on her.* When the tooth in front of you is lower than you, run forward onto it, then when a sturdy nerve comes into view, hop onto it. Climb up, destroy the nerve cluster, *steal a maintenance tool off the corpse,* then hop down back onto the tooth, ride it down until you're almost level with the opened sphincter, then run forward. Aiming for the sturdy nerve there would be wise.
If you want to make a run for the brain room, then you can skip the next section, and simply head down the central hallway, you'll eventually run into a membrane just before the water. Break it, and jump. But, you can find a ton of goodies if you read this next section of the walkthrough, which was written soley by Enchantermon. He's earned a huge thank you for finishing off this section of the walkthrough for me! :-)
Raiding the Joint, by Enchantermon / Top
First of all, remember that if I mention enemies in one place and you don't find them there, then you'll still have to keep an eye out for them, because they'll be around somewhere. Now. If you wish, you can just run right for the Rumbler in the tunnel and slaughter him. But, there is another way that I discovered after playing Thief 2, which is built off of the same (albiet modified and less cranky) engine as SS2. Step past the sphincter, crouch, and stay to the right, in the darkest part of the slanted tunnel. There is a Rumbler in the tunnel in front of you, and if he was far enough away, he shouldn't have seen you. Inch forward and grab a maintenance tool off of the female corpse in the hallway. Even though there is no light-gem in SS2 like there is in Thief, shadows still do a good job of hiding your presence. If you do this correctly, the Rumbler shouldn't see you at all. As soon as he turns his back, run up and let loose on him. Keep crouching, and he'll be less likely to hit you as you pound him to death.
When you're done, continue forward until you reach a circular room. Another Rumbler, two spiders, and a Midwife may be laying in wait for you; kill them all. Grab three grenades and a psi hypo from the body under the doors. If the Midwife didn't come for you before, hide behind the fleshy structure next to the tunnel you came from, and then peek around it with the lean key until she sees you. Lure her to you and kill her. When she's dead, no matter when you killed her, get the log from the desk.
Now it's time to search the rooms, starting with the one to the left of the tunnel you entered from; the one where the Midwife was (It looks partially normal, and has a membrane covering that the Midwife may have shot to pieces if you had to lure her out.). Break the membrane if it is still intact, and take note of the two eggs on the ceiling and the two on the floor beyond them. If you keep against the right wall, you'll be able to search and destroy the rightmost egg without it triggering. You can also search the leftmost egg, but you can't get close enough to destroy it without triggering it. The two eggs on the floor will also open when this one does, so be careful. The ceiling egg releases a swarm, and the two floor eggs release one worm each.
When all hostility has been neutralized, search the eggs and destroy them. The desk next to the "door" holds a beaker and a log; fill the beaker with worms from one of the two piles on the floor and then recycle it. In the back of the room, you'll find a male corpse with 10 prisms, three grenades, and six anti-personell bullets, a trash can with 6 cyber modules and 47 nanites, a female corpse with 20 prisms and an Annelid Launcher, and a crate with nine grenades.
Return to the central room and take the hallway on the left. You'll come to a room with an invisible spider who needs to be put out of his misery. Doing so, however, will upset the Rumbler in the next room, so wait for him to come after you, then kill him. A search of this room will turn up a log under a shelter, a med kit and a toxin hypo on a male corpse, and another log in a crate. The passageway here leads to another section of the BotM. If you want to continue searching, don't go through there yet. Instead, return to the central room and head through the next opening on your left.
You'll come to a fork in the tunnel, turn left, and you'll face another fork.
The first fork...
...and the second fork.
A spider will probably come at you from the left, kill it, and be ready, another spider might come at you from behind. Again, remember that if I mention enemies in one place and you don't find them there, then you'll still have to keep an eye out for them, becuase they'll be around somewhere. Once the spider or spiders is/are dead, go left at this second fork. Destroy the two toxin eggs in here, and search the body to get a toxin hypo, four clusters of worms, and a psi hypo. Now, return to the second fork and head straight down the tunnel you haven't yet explored. A spider will come to greet you if he didn't find you already, so kill him. Make sure you're not being followed by another spider (don't move, just look around), then jump into the water and follow it to another circular room. Paddle around either way to a membrane, slice through it, and swim to another room. Sneak up on the midwife and slash her gits out, then deal with the other one that shows up, and, finally, the invisible spider. Don't worry about the orifaces or the membranes, you can't do anything with them.

I don't think I want to know what these are for.....O_O
Head into the second chamber, and go through the tunnel you'll find there. In front of you, there's a room with a bunch of eggs. You'll trigger them all no matter what, so just evade the three swarms and kill the worm before searching and destroying the eggs. When you're done, search the bodies. The male corpse has three grenades and a toxin hypo, and one of the ladies has 10 cyber modules and a crystal shard. There's also a beaker, pick it up if you want, you'll have a chance to recycle it soon.
Exit the room, but instead of going back the way you came, turn right. You can't avoid triggering the two closest eggs, but when the swarm and worm are dead, you can take out the last one safely by keeping close to the right wall. The female corpse near the tunnel entrance has three grenades and 10 prisms, the other female corpse has 57 nanites, and the male corpse has a suit of WormSkin armor, eight worm clusters, and three grenades.
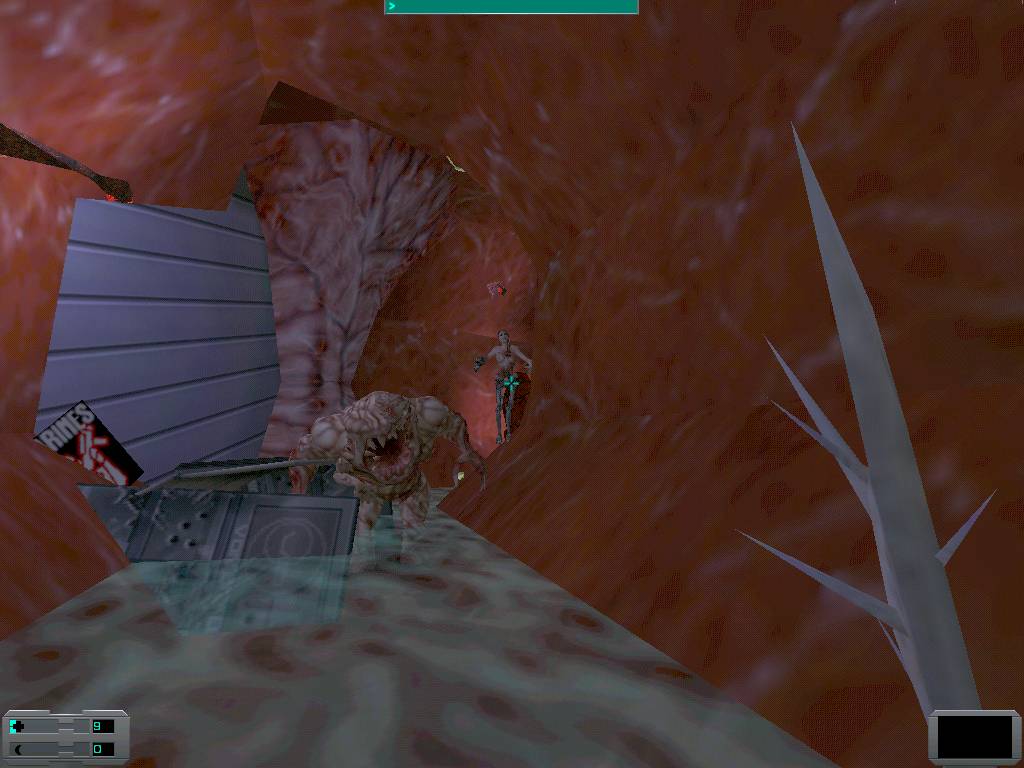
Now, backtrack to the fork, turn right, and you'll end up back in oriface-land (presumably the Many's "womb"). The only other tunnel here is the one you came out of earlier, when you snuck up behind the midwife. Go down it, and swim around until you get out of the water. Don't worry, you can't get lost. When you exit the water, follow the tunnel and you'll be back at the second fork. Turn left, and you'll be back at the first fork. Go straight down the tunnel you haven't explored yet.

That would be this one.
There will be a spider in the room in front of you unless he found you earlier, so lure him out and kill him. Be careful when entering the actual room, because you'll trigger two swarm eggs. Evade them (Don't get lost!), smash the eggs, then search the corpses. One has 10 cyber modules on him, the other has a suit of WormSkin armor and a maintainence tool.
Exit this room and you'll be back at the first fork. Turn left, and you'll find yourself back in the central room! Yay! Now, if you brought that beaker with you, head into the normal-looking room and fill it up with worms, then recycle it. After that, head back into the second room you searched. Remember the tunnel I told you not to go down? Take it, break the membrane at the end, and attempt a perfect swan dive off of the edge. I say "attempt," because it will probably be more like a perfect pencil dive, but, oh well. On the way down, wonder why you don't die (or at least break some bones) like you would in real life if you dove into water from that height.
Brains... brains! / Top
When you land in the water, get out of view of the psi reaver ASAP. Catch your breath, heal if necessary. *There's some goodies in the water in the form of 12 anti-personnel bullets on the female corpse, and 20 prisms and a psi hypo on the male corpse floating near the surface.* If you have the WormMind implant, plug it into your brain and do it now. Half the trouble is just making it past 3 or 4 psi reavers and a few rumblers to get into the brain room. When you're ready to go, climb out of the water. *Also, if you're feeling bold, take out the rumbler, and the psi reaver, and you'll have bought yourself enough time to grab the log, beaker, and pistol with 9 standard bullets off the floor.*
When you make a break for the steps, you should walk up them. If you run, you're more likely to run into the air vents and get knocked back. ***However, I recently discovered that the first air vent actually on the stairs shoots you up to a little ledge on the ceiling. There's a corpse up here, (anyone else wonder what he was doing there?) and he has 6 anti-personnel bullets and 10 prisms on him. It's of no use this late in the game to a melee player, but the ledge itself isn't a bad place to go and catch your breath during the final battle.***
To get to the brain room, you'll want to avoid going in a straight line at any point, psi reavers can't lead their shots, so you'll be toast if you run in a straight line to or away from them. Since one hit from a psi reaver on Impossible will kill you, you'll probably need a few tries, but once you're in the brain room, I'd recommend immediately hard-saving just in case you botch a quick-save. Just make sure you're behind cover, and that you know where your hot key to use a med hypo is.
Lessee.....On my tombstone, I would like: "He was a good man, a brave man, but not a bright man." Or maybe just extra cheese.
First off, the psi reavers have to go, and we need to take out the brains. Run in a circle around the room, and keep running until the rumblers are a ways behind you. Then, slip into the hole with a reaver brain, hack it once you're in, quickly run out, maybe take out a second if you're feeling particularly bold, then run like hell, as the rumblers will probably be on top of you by then. Repeat the procedure as necessary until all the brains are gone, once that's done, it's time to take out the reavers.
Be extremely careful, approach them at an angle, then, just before you pass them, sidestep and smash them with an overhand swing. I investigated the exploding reaver thing, and even though I didn't remember it, it seems exploding reavers shave around 30 hitpoints off you when you're wearing heavy armor. Which could very well fatal to someone playing on Impossible. (Even in my days before playing on Impossible, I was wise. This will most certainly kill you if you're not careful.) So, be prepared. Overhand swing every reaver you can, once they're gone, you're in relative safety, if having 5 rumblers up your ass can ever be considered safe.
The actual combat is pretty much over now. You probably could leave the reavers alone just for kicks, but I wouldn't. From their habit of gathering around the master brain (which will result in you running face first into them while going after a star) to the very powerful blasts they shoot, they're very dangerous. It's much easier dealing with melee attack enemies, considering all you need to do is keep moving to stay safe.
It's time to deal with the stars now. If you're extremely lucky, a psi reaver may have dealt with a star for you, but that's quite rare. If you watch how they circle the brain, you'll notice at some points they come down very low, within reach. Try to time your attacks when they swing low, you might get lucky and nail one without needing a speed hypo. I don't need them anymore, but they make getting high enough to hit them a little easier.
Here's Marecki's advice on the stars:
It seems there are two slower stars on the outside and one faster one on the inside. The first two can be reached from the ground (or at least with non-boosted jumps) while low so should not pose a big problem, just remember your elementary physics lessons on relative velocity and approach them heading the same way they are, that will make it easier for you to take aim. The third star is worse because orbits the brain higher, but it so happens its low points are right in melee range for Goggles standing on the pedestal with his back right next to the brain. Of course standing still makes you vulnerable to rumbler attacks, so time yours in such a way you have to stop only a short while before the star comes into range.
The first time in here trying this, I was in here over an hour before I dealt with the stars. Hitting that first star is awesome, after running around like an idiot for an hour, then finally making progress is enough to make you want to kiss one of the rumblers. They don't like this, so don't try.
Rumblers, speaking of them, they can be your allies if you know how to exploit them. When I went on my drunken New Year's rampage, I was going for one of the stars when a rumbler showed up. I yelped and quickly swung, and missed the star. The star was directly in front of the rumbler when he, in a fit of rage, swung back. He might've hit me, but he hit the star, which was between us, and destroyed it. It was beautiful. Try it, if you ever get a chance. It's quite funny.
When the stars are all gone, then you're in for another little surprise. Hitting the spinning brain won't damage it. There's a fleshy sort of brain stem thing above the brain, that's what you need to hit. You probably need a combo of speed hypos and overhand swings to get high enough to hit it. However, on Impossible, I'd skip the speed hypos, hitting walls while high on speed hypos can kill.
It took me 3 hits to destroy the brain. And it takes the rumblers maybe one or two.
After consulting some of my fellow melee weapon only fanatics, it seems they've all noticed that when there are still stars orbiting the brain, sometimes they light up like something damaged the brain, but they weren't the ones who did it. Surely by now you've noticed that if you swing at the rumblers, sometimes they take a wild swing back? Maybe you even used that exploit to destroy a star or two! If they hit the brain, they deal a very respectable amount of damage to it. Far more than you ever could.
Try to get as many rumblers as possible close to the brain, and swing. If you're lucky, one will swing and nail the brain. I've had the rumblers actually destroy the brain using this method. Makes it rather amusing when the Many says 'our tragedy is written by your hands.'
When the brain blows, assuming you destroyed it yourself, you'll probably fall right into the pool of water below it. If you shot up on speed hypos, you may find yourself flying past the pool of water, and smashing into a wall. Marecki advised me that if you're about to crash, maybe sure you have 20 hitpoints to spare, or else you may be killed. Once you get into the water, swim away, and pat yourself on the back. SS2 has never offered a tougher challenge than this, and you just survived it. Now, all that's left for you to deal with is Where Am I?
During my game where I noted what stats I upgraded when, I went into the upgrade units prior to the first sphincter, and upgraded my endurance and psi stats to level 5.