
Walkthrough
Rickenbacker
Pod 1 / Top
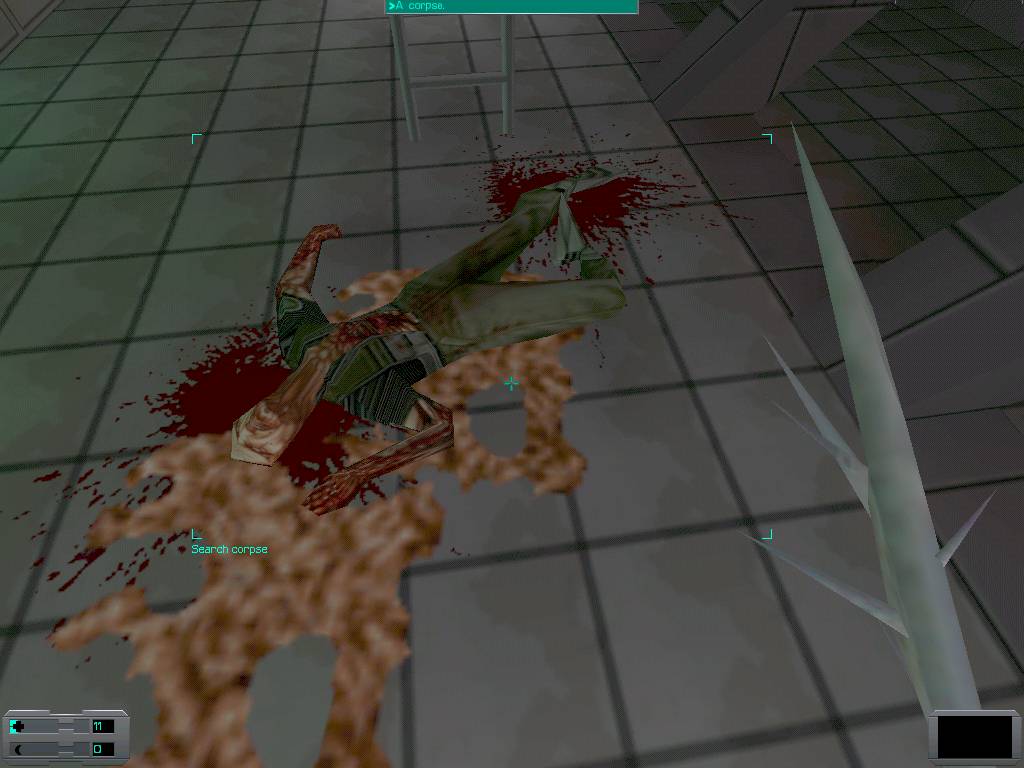
When you arrive, you'll see a corpse near one of the blocked windows. Snatch her 12 standard bullets and 50 nanites, and go to the windows that aren't blocked to get a log. Next, head towards the cyborg assassin you should hear. Run into view of him, then stand under the floor he's on. He always drops down from the ladder here to greet me, kill him swiftly. There's pipes across from the ladder, crouch and look under them to swipe 12 standard bullets. Now, it's time to go up.
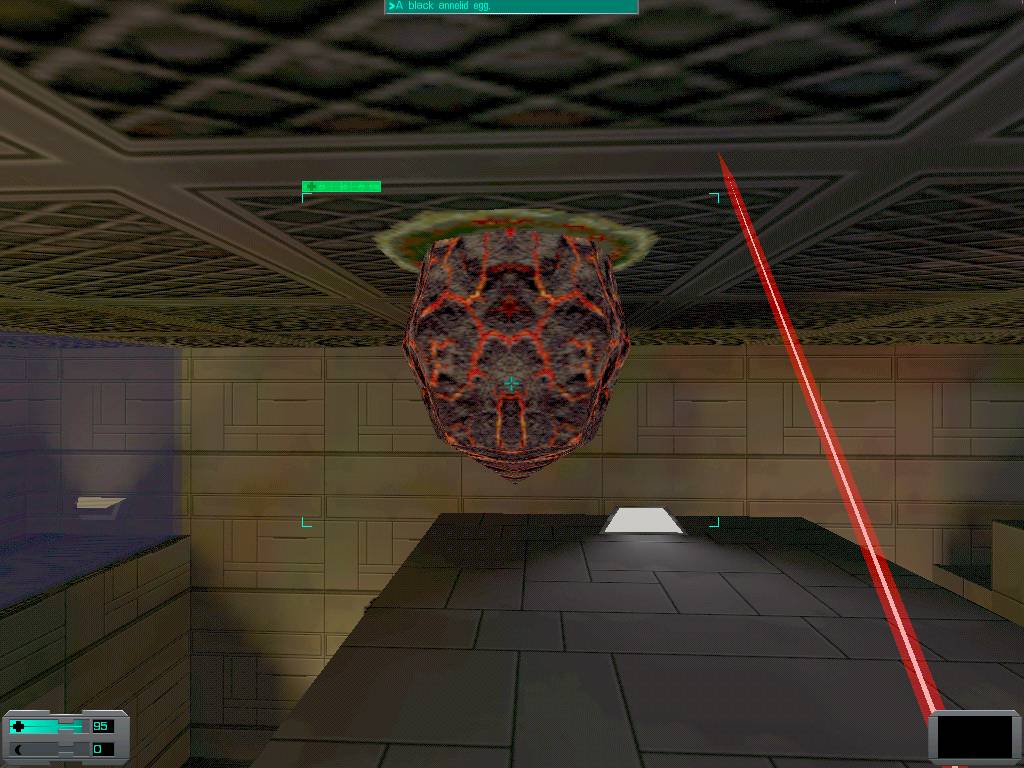
There are 3 turrets up the ladder, if you want to go back down ever, it couldn't hurt to destroy them all. When you arrive at the top, swipe 12 armor piercing bullets off the floor by the corpse. Go up the ladder to your left, and destroy the first of the black eggs, then get 65 nanites out of the corner of the room.
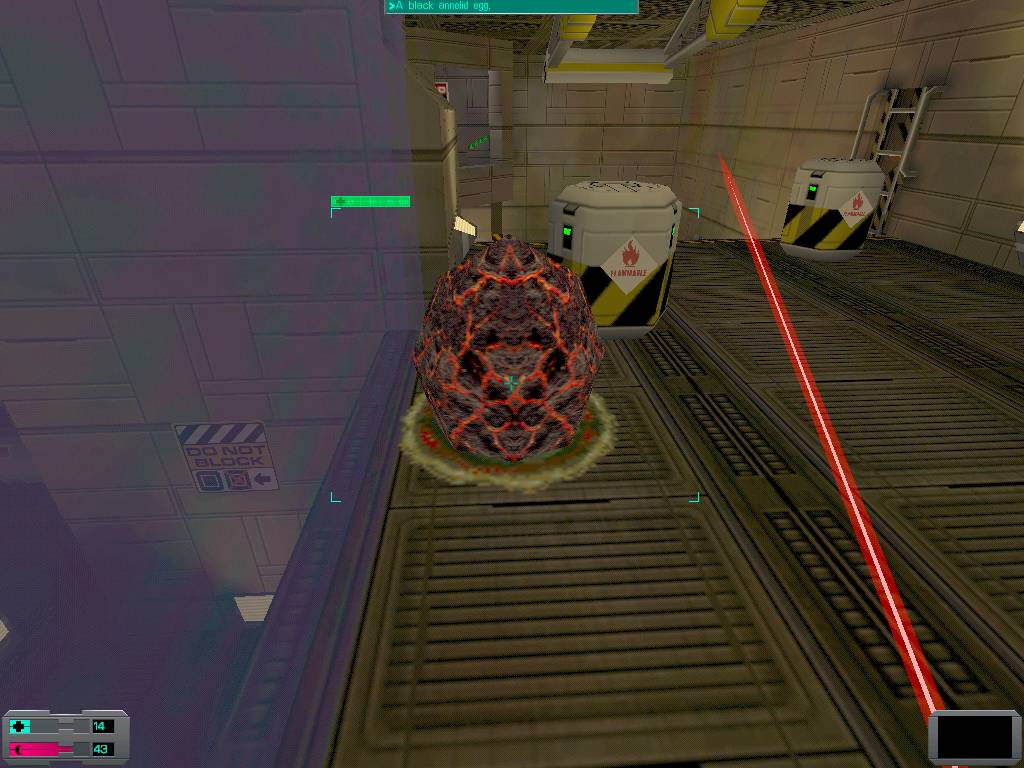
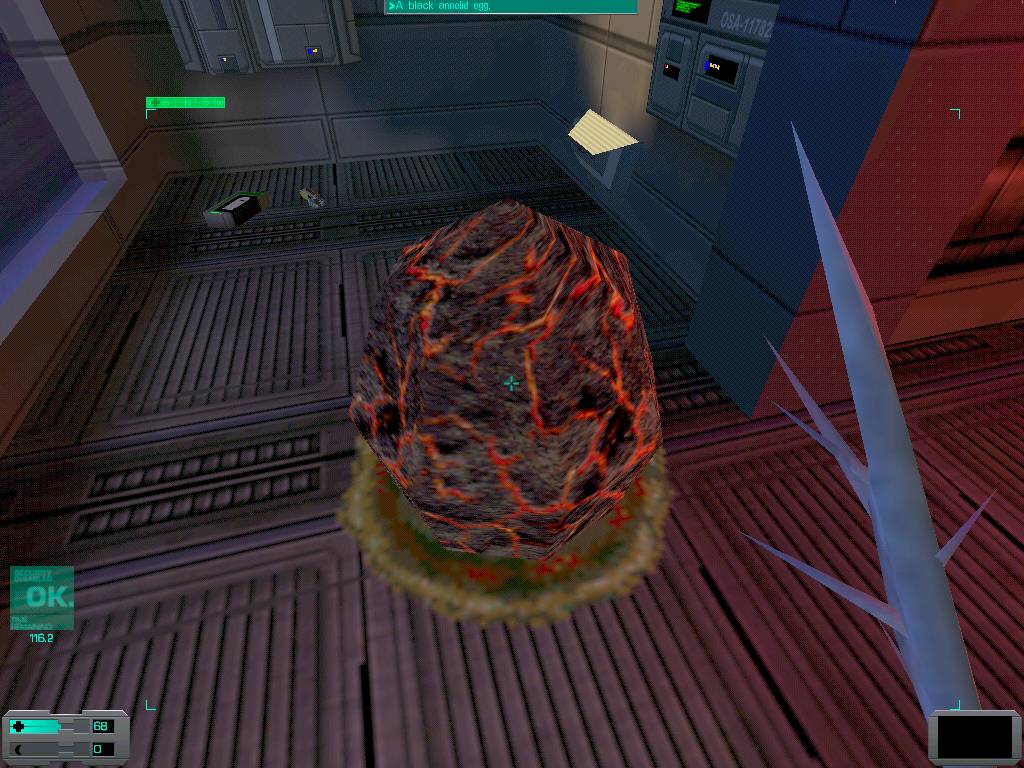
Black egg numero uno.
You'll get an email from Shodan and 2 measly cyber modules. She'll tell you to find the 15 remaining eggs, you should have seen the second when you came up the ladder, right in front of you.
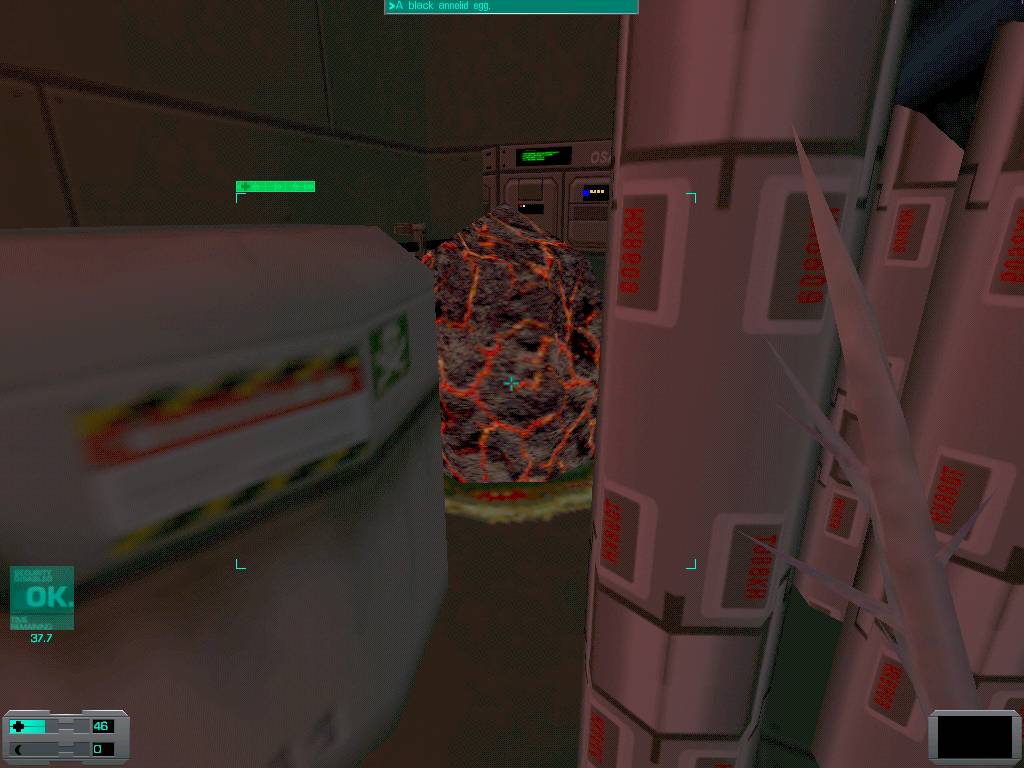
Black egg number B. ;)
Take it out, and head up the ladder beside its remains.
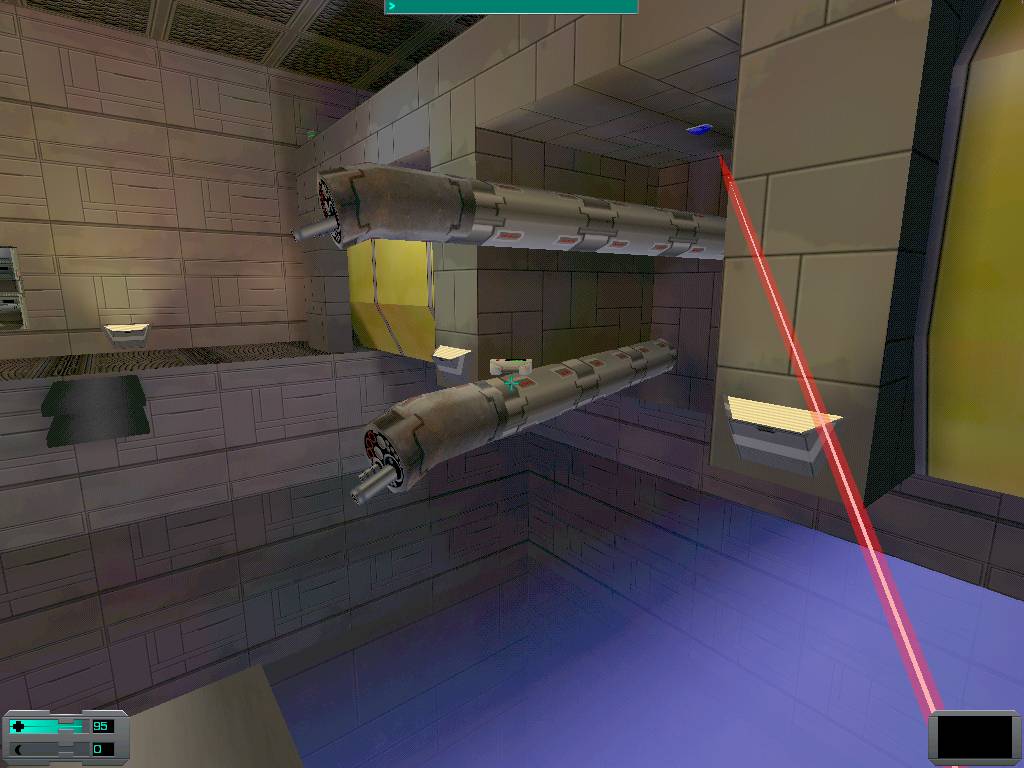
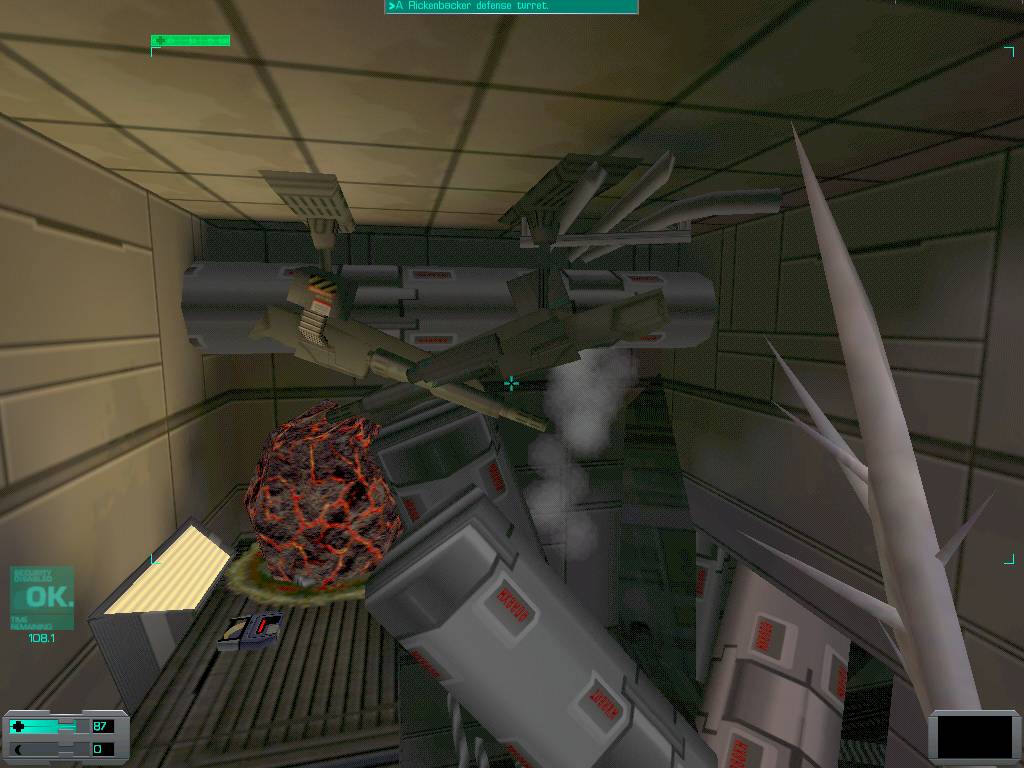
There's a log on the floor, and on the corpse you'll find 6 rifled slugs and 33 nanites. There's a button here which will lift the container you can see through the window. You'll get 15 cyber modules, and a part which I consider one of the first extremely tough sections. 2 rumblers, and a robot. Not easy. Let the first rumbler through, then drop the container so the two of you can have some privacy. Well, not quite. The robot, *and both rumblers,* can come through the box, bringing it down means you have a bit of time to get the hell up the ladder to safety before the robot starts firing. When both rumblers and the robot are here, you're in for some fun. Hop down the ladder, get a few hits in, then run back up before you're killed. As the robot has a tendency to shoot when the rumblers are in the way, you could very well end up not having to deal all of the damage yourself. Try to get the robot to kill at least one of the rumblers, if not both, before you take him out, too.
Once they're dead, head through the doorway the container blocked, and take out the camera to your left. Go into the doorway under the sign 'Fuel Cells 1-10,' and you'll get an email from Diego. Listen to it, it seems like he wants to meet up with you too. If you've been keeping up to date with your logs you know he started fighting the Many off, and judging by how he sounded in his email, he's no longer one of them. There's a corpse to your left, but keep a sharp lookout to your right. There's a currently out of reach assassin up there. Steal the 3 grenades off the floor, and the 52 nanites the corpse has.
When the assassin isn't in sight, run to your right to the pipes, and get the surgical unit activation key off the floor. Once that's in your possession, follow the pipes over to where they go into the wall. Look left, and you'll see a ramp heading down, by a crate. There's a spider to your right, towards the huge damaged area of the Rickenbacker, and there's an assassin around too. Kill them both.
If you position yourself carefully, sometimes when the spider leaps at you, it'll fly past you, and fall through the shield and land at the bottom of the world. It won't bother you anymore, but it'll have a fit down there. I think I got the assassin to fall down there once, when I was laughing at him he threw the circle things at me and when I leapt out of the way I landed on the shield. Insta-fry!
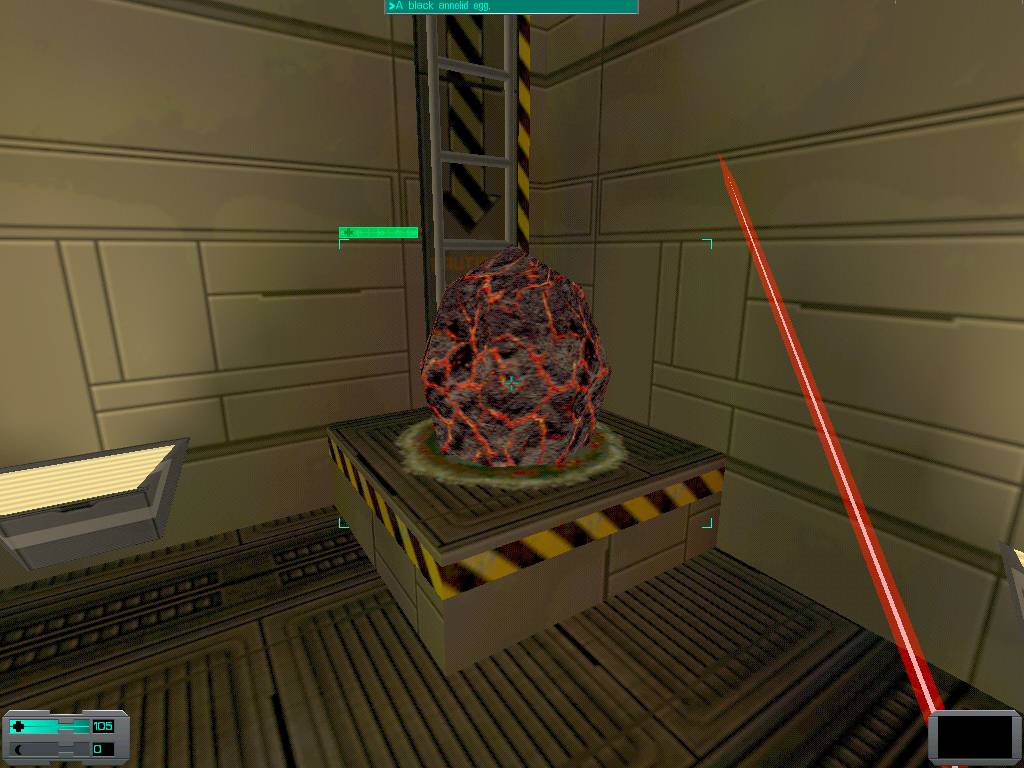
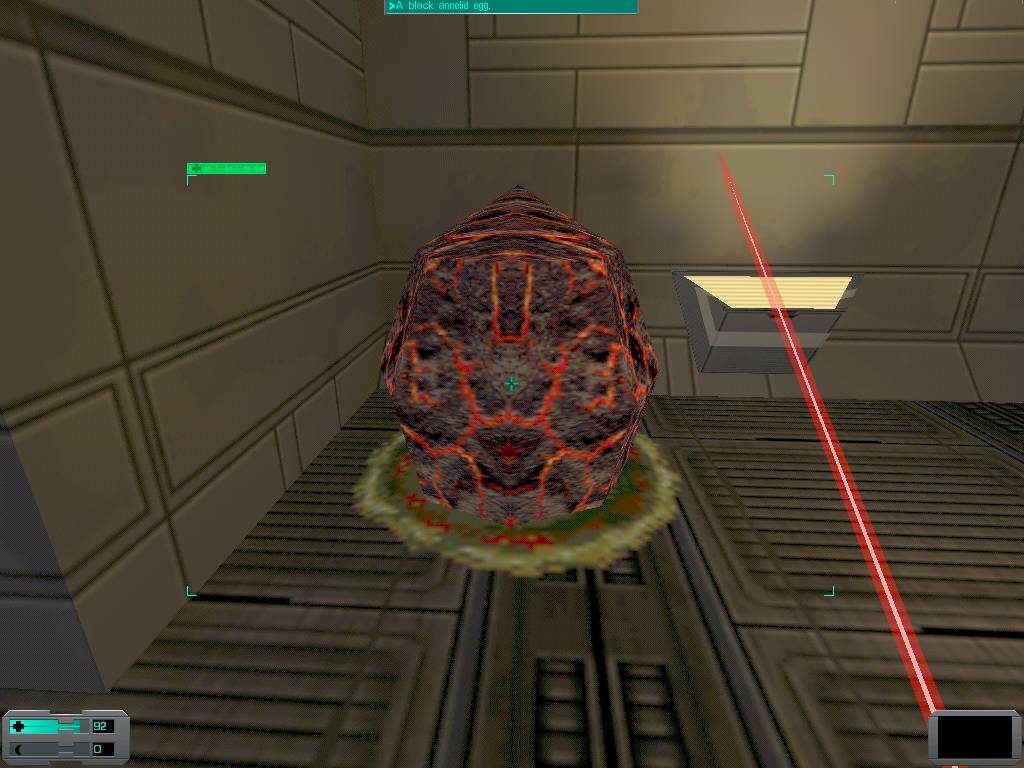
Go into the room here, swipe the log by the button, and push it, then get 48 nanites and a psi hypo out of the crate. The female corpse outside the door holds 24 anti-personnel bullets and a toxin hypo, and there's a med kit near her. Backtrack to the ramp, and the security crate. In the crate you'll find 3 grenades and 47 nanites. Go down the ramp, and take out the black egg here.
Meet Dr. Black Egg III.
Go through the tunnel here, up the slant, and hang a right when you can. Swipe the log, and hit the button here. Hear an egg? There's a ladder near here, go down and it's right there.
Oh, that's smart. Now, when the annelid hatches, he can just fall to his death.
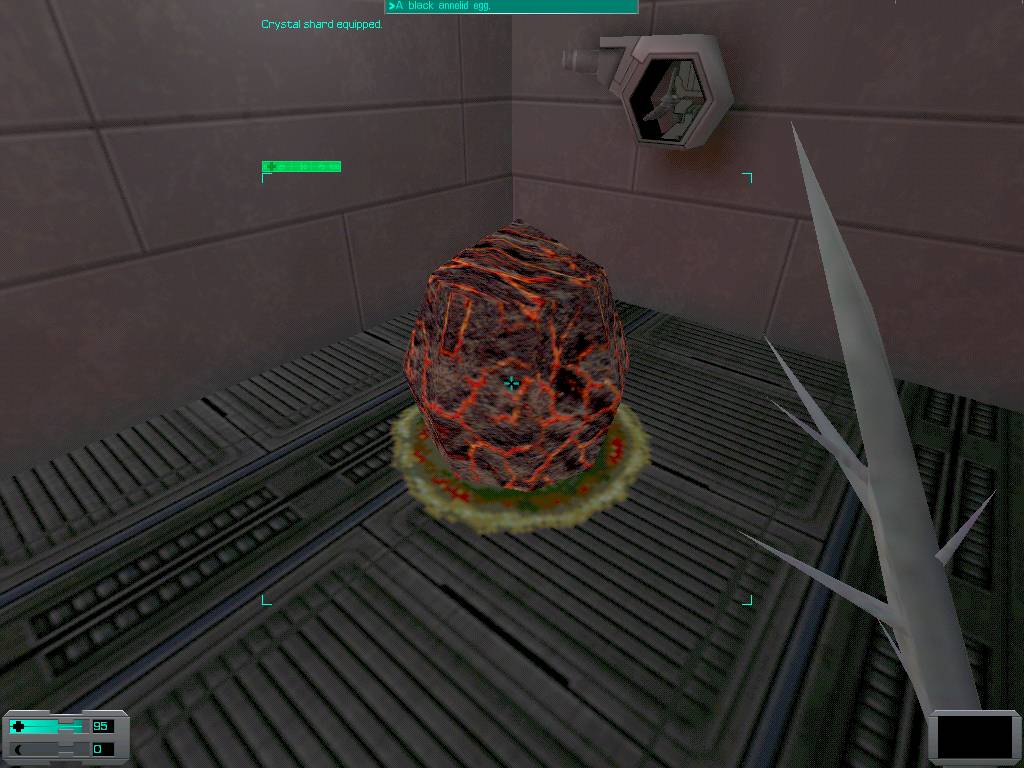
Smack it, and head back to the tunnel, grabbing the maintenance tool on your way. Head down the section of tunnel you haven't been down yet, and be ready to take out the spider here. It's just a baby, one hit and it's gone. Go out the tunnel, and you'll be face to face with a cyborg assassin. Kill him, but watch out for those explosive barrels nearby...
There's a piece of railing missing here, drop onto the ledge, take out the egg, and pick up 48 nanites nearby.
At least this upside-down egg has something of a floor under it.
Back up to the other side of the pipes, and jump to the high ledges until you run out of them, and you're above a room with 'pod 2' written on the floor. Let's jump down here. Head towards the sound of the shield, and you'll see you get to do some jumping here. Jump onto the bridges you extended to get to a corpse with 3 grenades, 2 rad hypos, and a Rickenbacker card. Handy? You bet. If you feel lucky, when you go onto the bridge to leave, you can hop onto the pipe on your right to get a med kit here.
In case you're not seeing it, here is the medkit. A cinch to get with high Agility.
If you're really feeling lucky, you can do a little climbing here. If you look carefully in the high-res version of the above screenshot, you may notice something green just above the highest pipe. To get to the 3 disruption grenades, you'll have to mantle onto the pipe above the one the med kit is on, then mantle onto the ledge above that. It's a bit tedious, and there's a good chance you may jump into the pipe you're trying to mantle onto, but nanites are nanites. If you do try for them, just drop back down onto the pipes and hop back onto the support beams. Once you're back there, hop back towards the 'pod 2' sign where you entered.
*If you want, you can now jump the ledges to get back to the downward ramp(the one next to the security crate), then take it back to where you climbed down a ladder to destroy an egg. From the window in this room, you can hop onto a ledge and grab 31 prisms from a fusion cannon, then hop down the side of the ledge to the pod 2 sign.*
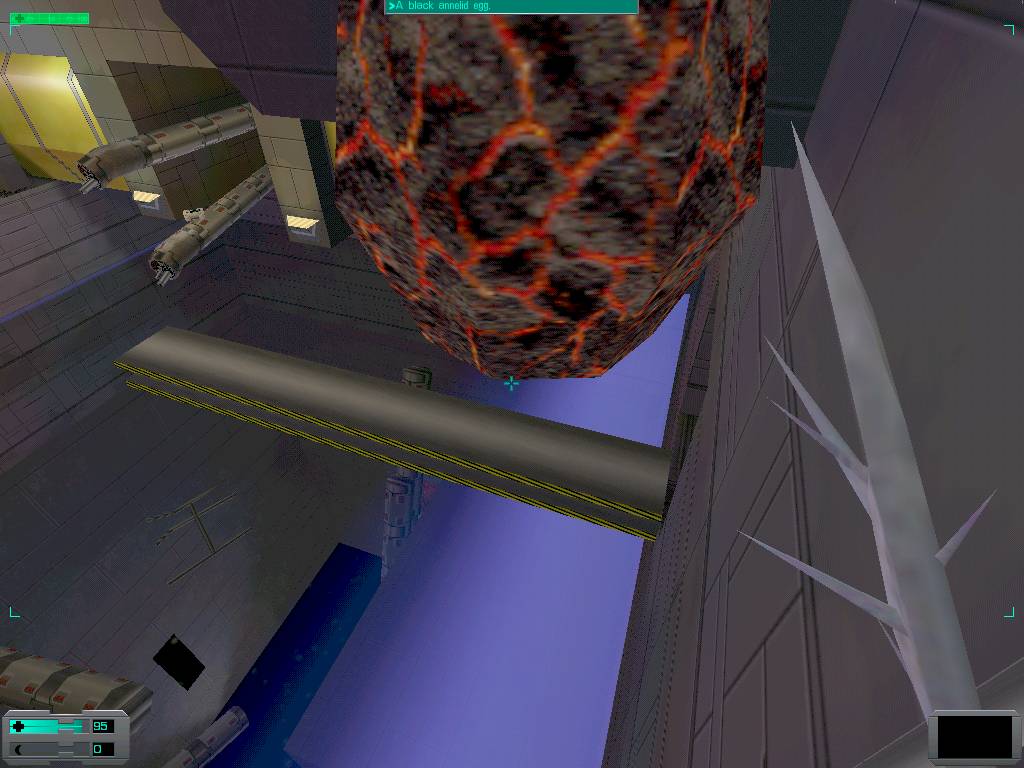
Get a psi hypo and 40 nanites off of one corpse, and go up the ladder, hopping to the different ladder as necessary, and take out the cyborg assassin when the opportunity arises. If you're very lucky, the sparks flying in the room may kill him. *Just be careful, because the sparks can inure you as well!* There's 3 grenades and a log on the corpse by the black egg, and *6* anti-personnel bullets on the floor beside him. In the room past the sparks, you'll find 34 nanites on the male corpse. Destroy the black egg here, and you should get an email from Shodan. If not, search for any you may have missed before moving on.
The sixth egg.....you'd think that, if the annelids that would hatch from these things are so tough, the eggs would be a little harder to destroy, or at least have a defense of some kind, like ordinary annelid eggs.
10 eggs remain... move quickly / Top
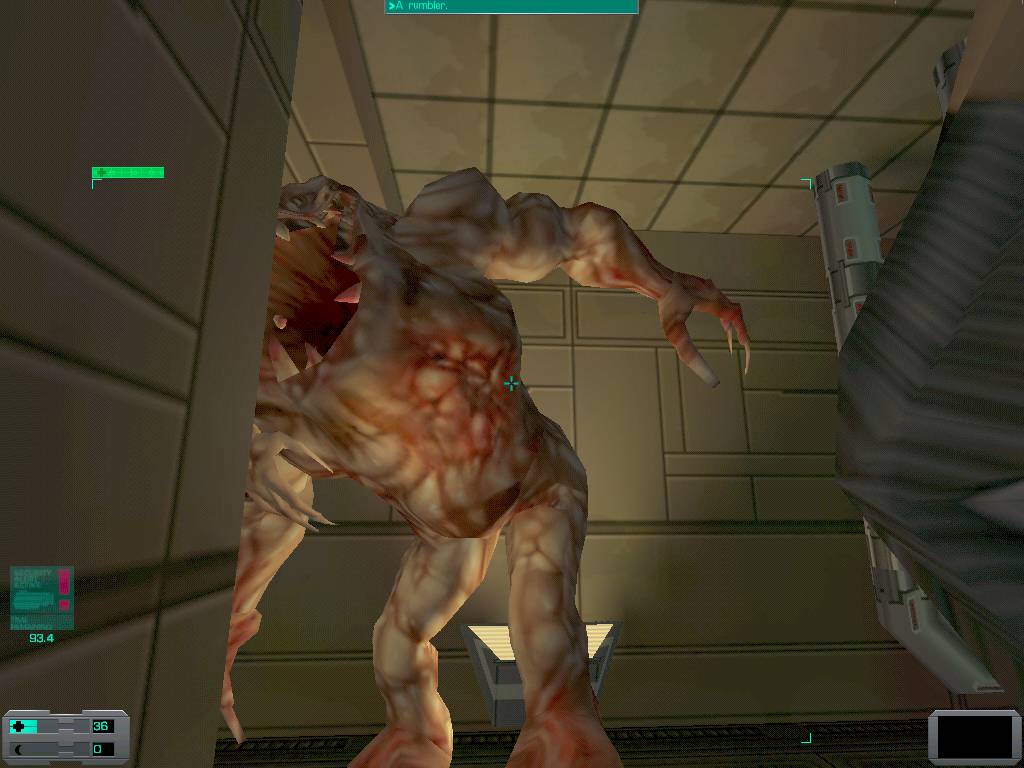
There are midwives through this door. Kill them. An invisible spider will show up soon, kill it too. When this is done, head into Nacelle A. You'll be in a chemical store room, get 24 nanites off the floor, the log, and the chemicals Hs and Tc. Head right out of the room, and you'll see a ramp leading down to your left, then a rumbler in a very familiar looking cremation room.
Hmm. Shades of Med/Sci.
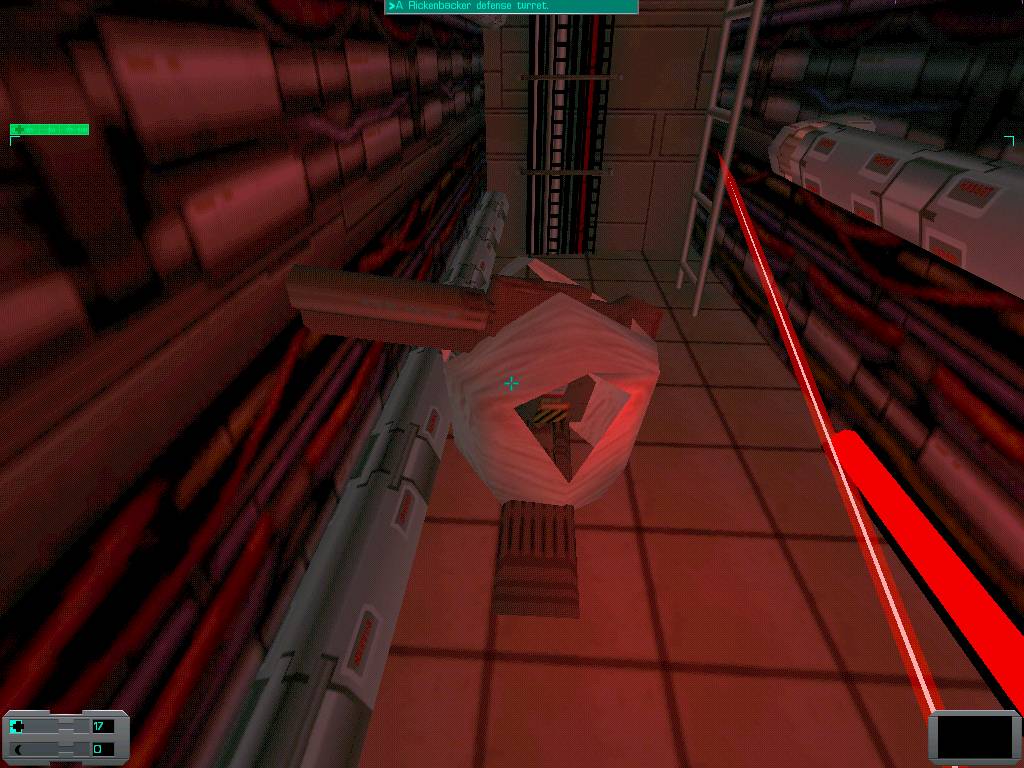
Take the rumbler out, being very careful to keep it between you and the turrets nearby. By the body bag ready to get toasted, you'll find 50 nanites. In the body bag almost in sight of the turrets, you'll find 36 nanites. Take out the egg.

As the Many seems rather inept at climbing ladders, how do you suppose they got that egg up there?
Now, it's time to go down the ramp to the egg by the turrets. Take both turrets out, if you get in the face of at least one they shouldn't be able to hit you, then nail the egg, and get the log and psi hypo beside it.
If you hack one of the turrets, the two will turn on each other, creating a rather amusing sight. And, for some reason, even if both turrets are hacked, they still refuse to shoot the egg.
As you're done here, it's time to head off to nacelle B. Follow the signs on the floor to get there. When you reach a sign telling you to turn left to get there, you'll likely hear an egg to your right. Take it out, and get the 12 armor piercing bullets off the corpse. Get the 45 nanites off the floor beside him.
Watch out, and we need to deal with a missile turret down a narrow hallway next. Here's Marecki's advice on it:
It is almost impossible to reach it before it fires. However, even though the corridor is narrow, it is possible to dodge the missile by taking advantage of the fact the launch tube is on the turret's left rather than in its axis: hug the right wall, move left the moment you're attacked, watch the missile fly by. That way it is possible even not to waste hit points on destroying the turret, just let it fire at you pretty early on your way out or you may find yourself too close to the wall it hits.
You probably heard a camera to your left as you ripped down the hallway. When you leave the wreckage of the turret, run into the room, take out the camera, then the turret. Remember, if you're extremely close to these Rickenbacker turrets, they can't hurt you. Take out the egg, then grab the maintenance tool and 12 armor-piercing bullets off the floor.
Yet another far-too-vulnerable black egg. For being so smart, the Many sure are stupid.
Now, return to the signs pointing you to nacelle B. When you walk into the room close by, there's a turret to your *left,* take it out, then swipe 12 armor piercing bullets out of the crate underneath it. Go down the ladder all the way to the bottom and take out the assassin quickly. Go back up, and take out the egg.

Don't forget to come back for this one after you've dealt with the assassin!
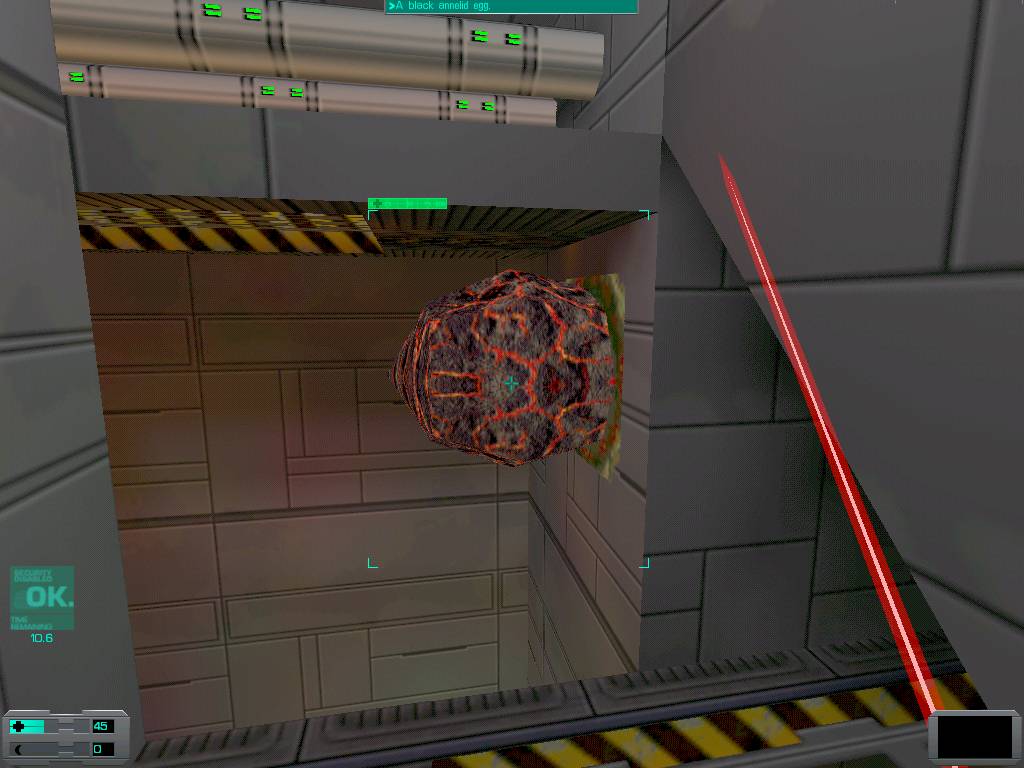
Activate the resurrection station down here, and if you crack open the high security crate you'll find a WormBlood implant, and 20 prisms. *There's also a small beaker in the trash can, and behind the pipes on the right hand of the replicator there's 52 nanites.* E at the worms on the floor then head through the doorway on your right, and take out the laser turret here. When you reach the door into nacelle B, you'll find 2 black eggs. After you take one out, Shodan will send you an email, take out the other egg too.

Two for the price of one! And sitting right out in the open, no less!
Destroy the last 5 of their eggs quickly, I tire of this exercise / Top
Open the door here, and you'll land smack in Turretville. There are turrets almost everywhere here. Why? Who knows? The Many will try to apologize, and say, 'perhaps we judged you too hastily, we feel there is room for us to co-exist.' Really? And where did you find all this extra space for you guys to take up, might I ask?
When you arrive in here, head straight and drop to the lowest level. Take out the laser turret, then walk back towards the way you entered, keeping an eye out for a hole in the wall to your right. When you see it, walk through there. Head towards the ladder, *and climb it.* If you keep facing the way you approached the ladder, you'll be face to face with a missile turret. Make it go bye-bye. Run down the hall to the next ladder leading up. Again, if you keep facing the way you were going as you go up the ladder, you'll end up with a slug turret right ahead of you. Take it out.
Notice something? Something else took damage. Peer through the steam, and you'll see an egg.
Hey, look! Hidden behind both steam and a turret! The first intelligent black egg placement in the game!
Before I played Thief, I thought that the only way to get back there was to use a speed hypo, and that you had to use another one to get back out. After playing Thief, I knew there was a key binding that enables you to lean forward. If you swing, then lean forward, you should hit the egg and destroy it. You may need to jump onto the remains of the turret, and crouch, but you'll still be able to hit it.
When you look back towards the ladder, hop over the gap, and you'll see a hole in the wall to your right. Go through it, and you'll be in a safe corridor. Go down the ladder, then hang a right and destroy the missile turret before it destroys you. Turn around and push the button at the end of the hall to make Shodan happy. Or, if you want to piss off Shodan, don't push it. When you try to go to Pod 2, she will send you an email filled with even more insults than usual.
Don't you just love making Shodan angry? It's actually quite funny.
Now, it's time to backtrack. If you go down the hallway past the turret, you'll have the exit on your left. Now, head back to the tunnel that had the signs pointing you to engine nacelles A and B, and pod 2. There's one door right after you reach the pod 2 sign. Beware, there's 3 turrets, in a row, up ahead. Here's Marecki's advice on how to deal with them:
Approach the turrets through the left-hand passageway as described, but instead of charging simply run past them, going all the way ahead and then turning left; stop by the window. Now, keeping the window on your right and the surgical table on your left, move slowly sideways until seen by the blast turret, which will fire—hitting the wall and damaging itself with the explosion. Three such well-aimed missiles should solve the main problem.
As for the laser turrets, the one to your left from where you are right now has a dead zone in the corner it is placed right next to. Wait for both to go into standby, crouch in that safe spot, use the combined power of the other turret and your wrench to make your world a bit safer place.
The last turret has to be taken out by conventional means.
Once all three turrets are smoldering wrecks, swipe the ice-pick off the floor by the corpse, borrow a log from the corpse, and search the destroyed turrets. Leave this room, and go left. Save your game, or else you'll be very unhappy when you walk through the window here and end up right in space. (Assuming you don't have Straylight's patch installed.) Neat! There's no decompression to worry about here. You can wander around out here, and you'll notice something very odd... the Von Braun's gone. The hell? I thought Shodan hadn't detached the ships yet...
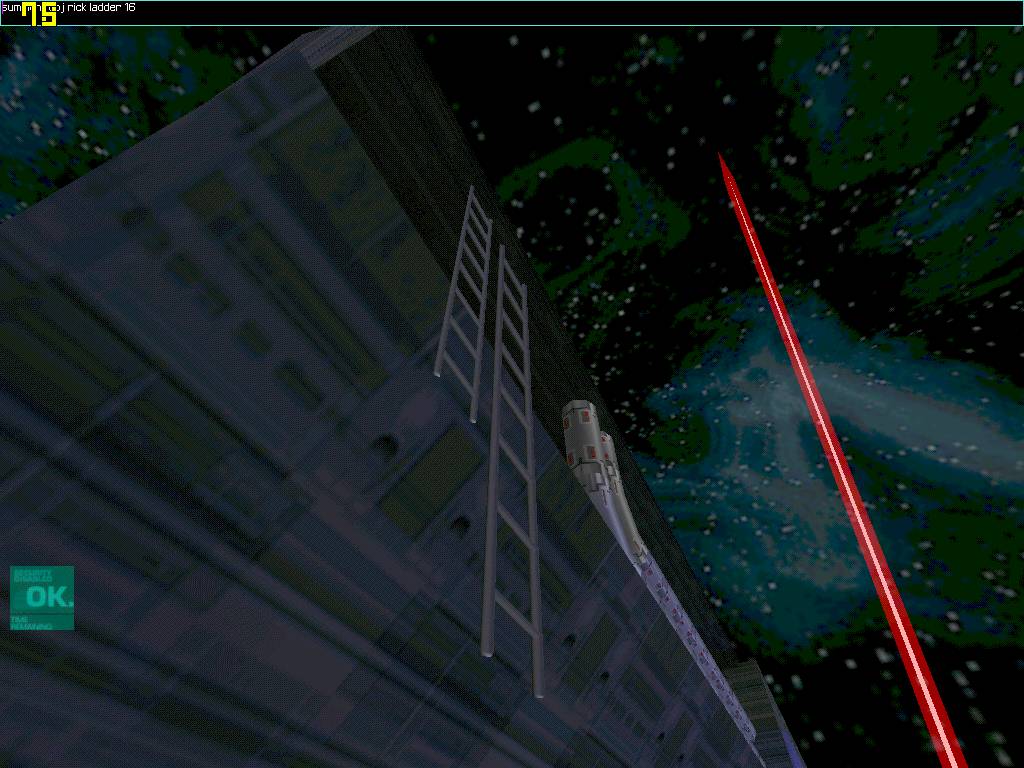
It really is neat out here. If you want, press "Shift" and ";", then type "summon_obj rick ladder 16" without the quotes. You should be rewarded with a ladder, which you can use to climb up the sides of the ship, and down, off of the ledge you start on, because if you just jump off of the ledge, you'll take damage.
Here's more info from my melee only accomplice:
The easiest way to get off of the starting ledge without taking damage is to line yourself up at the very edge, press and hold the "Lean Right" key, and, while holding it, use the cheat mentioned in the caption of the above screenshot. When typing the command, you can release the lean key and Goggles will keep leaning until you press enter. If you do it right, the ladder should extend down into space, and not go through the floor. If it does go through the floor, try again on a different part of the ledge. Once you get it right, mount the ladder, then climb to the bottom and summon another one. After jumping to that ladder, you can climb down and safely drop to the "floor". It may take a bit of practice, but you can get surprisingly good at it.
Contrary to popular belief, you can get back inside the window. First, you'll have to summon some ladders to get back to the ledge on which you started (if you left it in the first place). Once you get there, back up to the edge, line yourself up with the left side of the window, run forward, and right before you reach the window, jump. If you're aligned perfectly, you should either pop right back into the Rickenbacker or get crammed in the windowsill. If you get crammed, just press the jump key once, then walk forward, and you should get back inside. But, like TNT said, you may want to save your game before you head out anyway. Jumping into the windowsill comes naturally and easily for me, but it may not for others.
When you're done sightseeing, load your save file. To the right of the door you entered from, there's a log sort of under the bench there, and a portable battery on the gurney. When you leave the room, head right into the hallway, then go into the hallway here. Weave through the pipes reaching to the roof to get to a med kit. Then, go through the door the 'pod 2' sign points to.
Head left into the room, and ignore the egg for now. Swipe a rad hypo off the corpse, a log off the floor, then go up the ladder. Hop onto the ledges here, then go on the metal catwalk leading to the ladder. Take out the egg, which is now very easy to reach.
Nice try, Many, but not nice enough.
There's a robot at the top of the ladder who was likely quite upset by this. Climb up, then corner and kill him. Marecki tells me you can simply wait for him to calm down, then climb up the ladder, jump onto the floor on your right, and follow the wall to the door. The robot won't be able to see you, and you won't have to deal with him.
Go through the door in the room here, then run up the ladder you should see right in front of you to avoid the protocol droid and the robot. When you're up here, go to the corpse with the psi hypo by her hand. Quite a few worms will spawn, kill them, then take the hypo. Now, run around the catwalk up here, and get as close to the robot as you can, then jump down and destroy him. Let the protocol droid down here help if he wants. Once they're dead, take out the egg, *and head over to the replicator with some beams beside it. Between those beams are 3 grenades.*
Only one egg remains, insect. Are you always this slow? / Top
Shodan, shut up already! If you took a wrench, and took over this damned spaceship yourself, you won't have been racing through the levels either! Yeesh! Head towards the protocol droid shipping crates down the hall, and you'll likely be greeted by a droid or two. *Be extremely careful as you come through the door, there are 2 missile turrets on either side of the doorway.* There's a series of 4 buttons by the chairs here, they each raise a missile, or lower it, if it's gone as high as it can go. There's a ladder that was partially blown out of place here, and you'll need to raise the torpedos so you can get onto the ladder. And, since he described by far the easiest way of getting to it, I shall let Enchantermon do the talking:
An easy way to get to the ladder is to press the first, second, and fourth buttons twice, and the third button once. Before leaving the room, walk directly beneath the catwalk closest to the door, look up, and snatch 34 nanites from the other side. Now, walk left from the doorway and mantle one missile, then mantle the ledge on the left, walk from it onto another missile, walk from the missile across the other catwalk to the last two missiles, and walk across them to get to the ladder.
There's a cyborg assassin at the top of the ladder. Kill him swiftly. You want to go through the door by the security machine next. Go to the ladder at the end of the hall here, climb up, take out the missile turret, then take out the laser turret. There's a security crate up here, it has a psi hypo, 2 maintenance tools, a battery, 20 prisms, *and a small beaker.* When you're ready to go to the doorway, run for it so the camera nearby can't set off the alarm. *If you've taken down security, you can swipe a psi hypo in the water in front of the camera, although Marecki tells me if you're fast enough, you can get it without the alarm sounding.*
Go through here on the metal grating floor, and be shy; look at the ground while you walk. You'll spot 5 cyber modules down there. When you come through the doorway, you'll see a door ahead of you. You might want to deal with the 3 shotgun hybrids who show up before you go in there. In the room, there's a button which will send 4 missiles into space, and make the hallway you're about to go into much less radiated. Go down the hall the hybrids came from, then follow it around until you reach a camera. Take it out, then go through the door, and climb up the ladder. Once you're about halfway up it, jump onto the pipes in front of you. Turn right, and walk to the window. Break it, and slip into the room to borrow 5 cyber modules from the floor. Then, return to the ladder, and keep going up. There's a rumbler pacing in the room up ahead, and two turrets on your left, which have a psi hypo between them, *and behind the pipes at the top of the ladder, there's a cubby hole with a med kit in it.*
Run into the rumbler room and deal with him first. If you want a laugh, run back to the ladder, and climb down until he can't reach you. If you can see him, you'll see him start to dance in circles. It's the frustration dance, a hold-over from Thief. If a guard with a sword can't reach you, he'll shake a fist at you, then start dancing in circles. The rumbler will do the same. It's hilarious seeing these huge masses of muscle dancing in circles because they're so furious that they can't reach you.
Now that you have amused me.....EAT WRENCH, CHURL!
Once he's dead, swipe 12 rifled slugs, a psi hypo, and 3 grenades from the security crate. *There is also a psi hypo between the turrets, and a med kit in a recess behind the large pipe near the ladder.* If you look at the signs on the floor, the sick bay is through this elevator. After upgrading, let's hit the road, *but first, beat the final black egg to a pulp, it's to the left of the elevator.*

And so ends the life of what would have been the indestructible task force of the Many. Kind of ironic that it was destroyed so easily.
You've destroyed all the eggs. Now, get to the bridge... and visit Diego along the way... / Top
When you show up here, you'll find everything upside down. After all, reversing the gravitronic generators for this pod would do that. And I realized this long before I joined the forums, of course. Hop out of the elevator, under the walkway to the next section there's 24 nanites. Jump down and get them, then mantle out of here. Walk into the next room, and don't worry about the noise. The first time I played the game I was frozen for so long here, wondering where the enemy was, but it was just the damn computer. L ook up and you'll see a chair still stuck to what is now the ceiling. Well. Interesting. There's a maintenance tool down here, as well as 24 nanites on the corpse, and 1 shotgun shell in the shotgun.
When you head into the walkway, you'll be greeted by a turret. Take it out, get the 24 nanites behind it, and listen to the lengthy email from Shodan. When you go down the hallway, you'll find a church to your left. Want to deal with 3 cyborg assassins and a robot? I sure didn't. But, here's how to survive the chaos. Inch forward until a bench falls, this spawns a robot *down the hall you haven't gone down yet*.
I hadn't thought to add this before, but Enchantermon reminded me of it. If you move fast enough, and you're back in the hall before the robot gets too close, he won't see you. He won't actually react to you until he enters the church, so you can get right in his face, block his path to the door, and smack him until he's almost dead. Then, you can try to use the walls beside the doorway as a way to shield yourself from the explosion.
When you walk into the church, keep in mind that there is one assassin up the ramp to your left, and two to your right. I took out the solo one, then ran like hell and left. I healed up, then came back and took out one assassin, then stood on the ramp out of reach of the other, shot up, and attacked him. Once the dust settled, here's what I found. A champagne bottle, a log, 6 anti-personnel bullets, 2 med hypos, 2 standard bullets, *and 4 cyber modules.* Wow, some haul, huh?
Head out of the church and go left. Walk forward and drop onto the pipe once the tunnel ends. Run off the end of the pipe while heading towards the ladder, you should catch onto it and not hurt yourself. Go down and pick up 6 cyber modules, *and a large beaker.* When you hop from the pipe into the next tunnel, get ready to take out the turret.
The corpse here has 12 armor-piercing bullets by him, and a suit of unknown armor on him. Well, we might as well find out what it is. Once it's researched, you'll find out it may just come in handy in the BOTM. Marecki told me it's better to just use a hazard suit, and it probably is, considering hazard suits protect you from radiation quite nicely, and don't drain your psi points.
Well, if you're not going to use it, might as well let the turret have it. And, by the way, this happened completely by accident.
Go up the ladder, and you'll be greeted by some 'invisible' spiders. Swipe the ladys 24 nanites, and go up the ladder. Grab the goodies by the trash can, and go down the ladder, and take out the spider. Well, it seems like Diego + gravity reversal = death. Oh well.
Oops.....I'll bet that hurt.
Pick up Diego's card, the log, and the implant near him. *If you stand in the hallway and face Diego's body, there's a large beaker on your right.* Head along the hallway, and you'll hear eggs on your right. Take them out and evade the swarms as necessary. The body on the floor has an anti-toxin hypo on him. *There's another anti-toxin hypo on the floor next to his body.* Hop up onto the fallen pipe, and follow it to the elevator. *When you're facing the elevator, the hole on the left has an anti-toxin hypo guarded by 2 toxin eggs.*
Oh, the hell we can raise here... / Top
Head forward far enough to trigger the Shodan emails. Listen to them all. When what appears to be her final email plays, she'll wait a minute until she sends another email asking you why you're hesitating. Maybe we want to go prepared? Once you've listen to all the emails, you can deal with the bridge quickly, or not so quickly. If you don't feel like clearing the bridge, then read this section.
The simple way / Top
Head out the door, and use the final OS upgrade unit. Either get PharmaFriendly or Tank, it depends on your difficulty level. If you get PharmaFriendly, your hypos will replenish more lost psi and hitpoints, which is best for someone playing on a low difficulty level. On Impossible, though, go with Tank, you need all the hitpoints you can get.
Then, go left, by the camera you'll see a ladder going down. Run for it, hit the button in the life pod, and dance around a little to make sure the spiders can't nibble on your toes. The end. Of course, you'll want to prepare for the BOTM by upgrading yourself, which you should backtrack to do. You won't want to be using the stations on this level, odds are you're going to have to go right back to Rickenbacker Pod 1 to find a suitably quiet place to do it. Going that far back isn't my cup of tea, but the following is...
The fun way / Top
But who wants to leave everyone on the bridge alive? Not me! Let's get down to business, shall we? Clearing the bridge is part skill, part technique. I can't guarantee you'll be able to survive the assaults, but you should be able to if you've got a ton of med hypos. Use hot keys to shoot up during attacks, it can save your ass.
Head into the room on your right, you'll trigger *2 annelid swarms,* and a spider will attack you. Kill it before the rumbler shows up, and you should be okay. Once this rumbler went down, a regular spider showed up, and he was followed by a rumbler. Kill them both.
Would this be a bad time to mention that I'm out of med hypos?
Head towards the ladder down to the escape pod, and take out the camera, then pick up the 24 nanites behind the boxes here. Go to the bridge, and enter via the first door on the right. The missile turret will likely see you, but not be able to lock onto you. Down the ramp to the right, there's 24 nanites on the floor. Exit through the other door, and the last rumbler should spot you. As there's a missile turret, you can have some fun with him, just make sure to not be too close to the turret when the rumbler's killed. Take the turret out too, when you're done here. There's 9 grenades on a ledge down the hallway, pick them up. Head to the end of the hallway and you'll be in Diego's room, *but before his room, there's a big octagonal thingie, and behind it to the right there's 24 nanites.*
The annelid weapon you find in Diego's room is something you're not allowed to use, of course. But whether or not you use it, or if it even stays if your inventory when you try to pick it up, Shodan gives you 20 cyber modules, *and you'll be attacked by 8 worms.* Eat the stationary worms on the floor, get the 24 nanites off the bed, and you should be done here. *If you research the weapon, you'll be able to unload it and recycle the ammo.*
Head to the escape pod. There's a body with 24 anti-personnel bullets and a maintenance tool here, and two spiders. Once they're dead, hit the button, and pass the Point of No Return. (You may want to do a bit of light reading so you can prepare for the end, first, though.)
If you want to play with the continuity of the game, you can get out of the escape pod before the mission ends. If you stand in the doorway leading to the escape pod, and face the other side of the doorway, you can throw objects out of your inventory, and stack them. Then, hit the button to the escape pod, and run like hell.
No matter which way you do things, after you hit that button, within a few seconds, you'll be in The Body of the Many.
During my game where I noted what stats I upgraded when, after Pod 1, I took my agility, endurance, and psi (for WormMind) stats to level 4.