
Walkthrough
Recreation
Starting off / Top
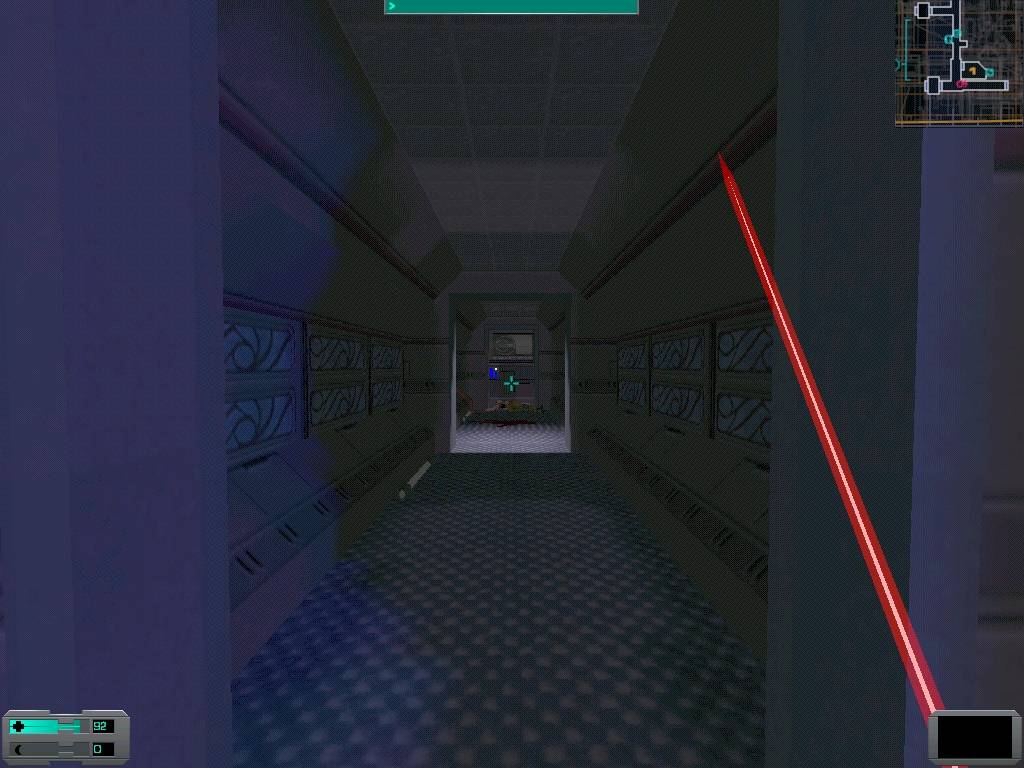
When you first arrive here, you'll still be in the elevator, naturally. Leave, and swipe 6 anti-personnel shotgun shells off the bench, and wave to Cortez.

Hi, Cortez! Hmm. Isn't it kind of odd how long it takes him to realize that you're not Delacroix?
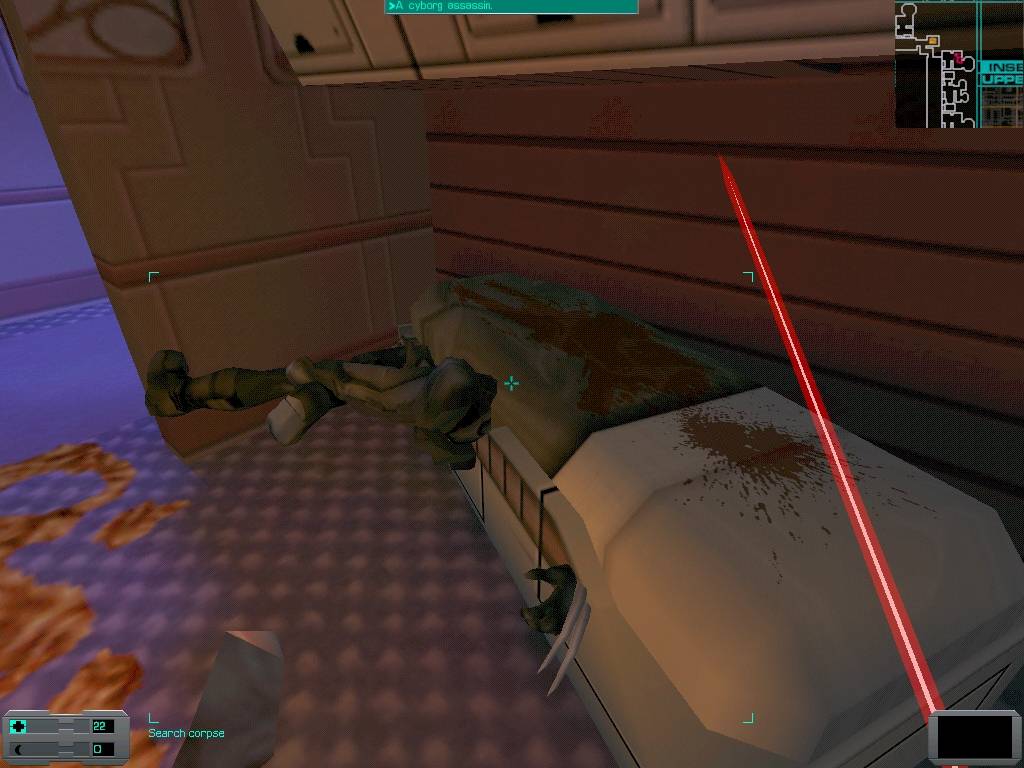
You'll hear some kind of robot shooting a laser type of gun at him, and then nothing. (The cheater in me popped through the door near here and discovered he merely vanishes into thin air. Odd, eh?) When you head towards the door with the key card slot, parts of the conduit will collapse and worms will fall out of it. Take care of them, and when you try to through the door with the card slot, you'll find out you need the Deck 5 crew quarters card. Deck 2 deja vu much? Head through the one door you can go through, and when you approach the body, Shodan will send you an e-mail detailing what you have to do up here. Take the body's battery, you'll need it later.
Now, you can go left, or right, down the hallway. As the resurrection station is down the hall to your left, let's go that way, shall we? You'll probably hear a monkey past the door, there's a camera down the hallway which will see you when you open the door. Book it into the first room on your left until it calms down, and if one of the monkeys was in the hallway, bang on the wall until it's close enough for you to crush it's skull. This will upset the other monkey. Run back into the hallway, destroy the camera, then kill the monkey, who was in the room with the resurrection station in it, for me anyways. He wasn't close to the door either, so when I went in and checked to see if he was in the actual station, he fired a pyro blast up my ass.
Now, let's search the rooms. Go pack to the first room you went into to avoid the camera. There's some poisonous worms on the floor and annelid swarm eggs in here. (I found an implant in the cells behind Bulkhead 43 on Deck 4, the WormBlood implant, and can use the piles of worms to heal myself. If you found it too, you can test the implant after you've destroyed the eggs.) Once the eggs are dealt with, search the two corpses, one has 46 nanites on him, the other has 12 anti-personnel bullets and 3 grenades.
Head down the hall towards the bulkhead, and go into the next room, with the resurrection station in it. If you haven't already, activate it. The female corpse in the corner of the room had worms crawl out of her when I approached, once they're dead, swipe her 6 armor piercing bullets, and get a very useful log off one of the surgical units. Go down the hall to the next room. Walk in, and you'll be greeted by 2 baby spiders. Kill them. In the crates, you'll find a psi hypo, toxin hypo, and 6 rifled slugs. In the security crate, there's 6 armor-piecing bullets. Head towards the bulkhead, and pick up the log. You'd think they'd have logs warning of annelid swarms before you reached them, eh?

Yeah, thanks, Murdoch. I kind of found out about these swarms myself.
Now, head through the bulkhead.
The Garden / Top
When you get here, you'll probably faintly hear a hybrid nearby. There's a camera in the first hall on the left, take it out. The grenade hybrid will come after you, take him out before he has the chance to make a racket. You probably went up a ramp to kill him, on your left there's the resurrection station. Activate it. If you go down the ramp towards the sign you'll run into a robot. I'm sure you don't want to go that way just yet, so let's backtrack slightly.
At the bottom of the ramp there's a door with a broken keypad beside it. You can repair and hack it to get into the room. Or, you can use the proper code to enter, if you're not hacking. It's not listed in any of the logs, but the code to the door is 50220, I spotted this off the SShock2.com walkthrough. Or, if you don't want to use the front entrance, here's Marecki's instructions on how to enter the back way...
The big room that Marecki mentions, the one with the turret, is right down this hall.
When you get there, follow the marked tunnel to get to where you need to jump.
An alternate, hack-free way of handling this section is by entering it through the big room (better boost your speed up somehow or you might get hit by the turret, the droid can either be sneaked past if you enter the room from the right direction or drawn away to the north by making noise; to avoid taking damage jumping down, aim at the window) and using the button on the other side of the big door to open it. Normally, that door closes after a while, which isn't good; to prevent this from happening, stay near the button and re-open the door every time it closes, after a few times it will lock itself in the appropriate position.
*Actually, the trick is not how many times you open the door. You just have to make sure that you re-open it while it's closing. If you do this, it will lock in the open position.*
Also, you could try to stack chemical canisters or some other kind of objects to hold the door open, if you can't get the door to stay open using the button. Whatever route you take, in the room you'll find 3 grenades, 5 cyber modules, a recharge station, and a button to open a maintenance shaft. We'll go there shortly.
First, go into the middle of the room and hop onto the ladder to go down. There's an ice-pick on the body here. (Well, at least I happened to stumble across a 4th ice pick. The other ice-pick I was thinking of wasn't this one. I guess this means next time through I have no excuse to get hacking skills.) Anyways, head around the corner, and you'll hear four eggs, two to your left and two to your right. As the ones to your right are closest, let's visit them first. Destroy them, and swipe a toxin hypo off the corpse, and 3 grenades.
*If, while destroying the eggs, you release swarms, the best plan of action is to run to the opening into the locked room, climb up the ladder, and keep a few feet between you and the opening. The swarms won't be able to reach you, as they seem to have a bit of a problem flying up.*
Head towards the sound of the next eggs, and destroy them. I was able to destroy both without triggering them, which is a nice change. Which reminds me, Enchantermon has a theory on why this happens, let's let him tell it himself, shall we?
I believe I have figured out why some of the eggs down here do not trigger. First of all, if you used Marecki's way of entering the tunnel, you'll find that the eggs will trigger. Apparently, the game designers wanted you to enter these tunnels Marecki's way. This would also explain why the keypad to the door is broken, and the code isn't listed anywhere in the game. Not to mention that the code isn't some easy number like 00000. The designers, however, might not have been counting on someone actually spending enough nanites to repair and hack the keypad, as it can be rather costly with low repair and hack skills. But I digress.
Keep going down the tunnel, and take out the eggs you find. Once you take the last one out you'll hear the good old spaceship hum, head towards it to trigger a speech by the Many. There's quite a bit of junk food down the ladder here, eat if you need to, recycle the cigarettes, and pick up the med kit and 27 nanites on the floor. Now, climb the ladder to get back into the egg filled passageway, and return to the room you may or may not have entered from, the one with the recharger in it.
Make sure you've hit the button for the maintenance shaft, then leave the room, heading right, and watch for the pipe on the floor to your right. The tunnel's open here. Go through here, and swipe grenades and cyber modules off the corpse, 3 of each.

When jumping down, use this windowsill to keep you from taking damage when you hit the floor
You can probably see some corpses down below, the one who still has a head has 12 armor piercing bullets on her. When you go through the door there'll be a piano in the room, as well as 4 bottles of liquor. Behind the counter is a corpse with 10 nanites and 6 armor-piercing bullets. There's also a log, judging by the dates, as of today Delacroix is still alive.
When you hear the piano start playing and see the ghost, get ready to deal with 2 cyborg assassins. There's two ways to do this, I'll list Marecki's first:
Keep the dead girl company behind the counter for a while and the assassins will return to their starting positions. The one in the bathroom can be sneaked past, the one in the corridor outsiode the lounge has its back towards the door, so you know what to do. Just remember that if too muchnoise is made, by the grenade hybrid for instance, the security droid will come over to investigate, so be quick.
And my version goes this way...
As spawning enemies can scare the shit of you, go to the bathroom.
O_O Well, I guess when you gotta go, you gotta go.....
One of the assassins will spawn in the women's room, so be prepared for it. There's 3 grenades on the floor the assassin comes out of. Head up the ramp by the piano, and swipe 2 cyber modules from the corpse on the table, *and two plants on the window ledge.* Leave this room via the door with the Bonne Chance sign by it. Kill the grenade hybrid in the hall. You've probably heard a robot around here, he'll hear you kill the hybrid and come to play. If you killed the hybrid quietly, and the robot's not coming for you, get within his hearing range, and bang on the walls. Go back into the piano room and wait for him, when he shows up, leap out and destroy him. These guys do more damage to you when they shoot you, and they will get more than a few shots in when you're preparing your overhand swings. My advice is just stick to the regular swings.
Once it's down, go into the room via the door almost right across from the piano room.
Kill the grenade hybrid that'll be right in your face.
The other hybrid is upstairs, don't worry about him.
Hey, an art terminal!
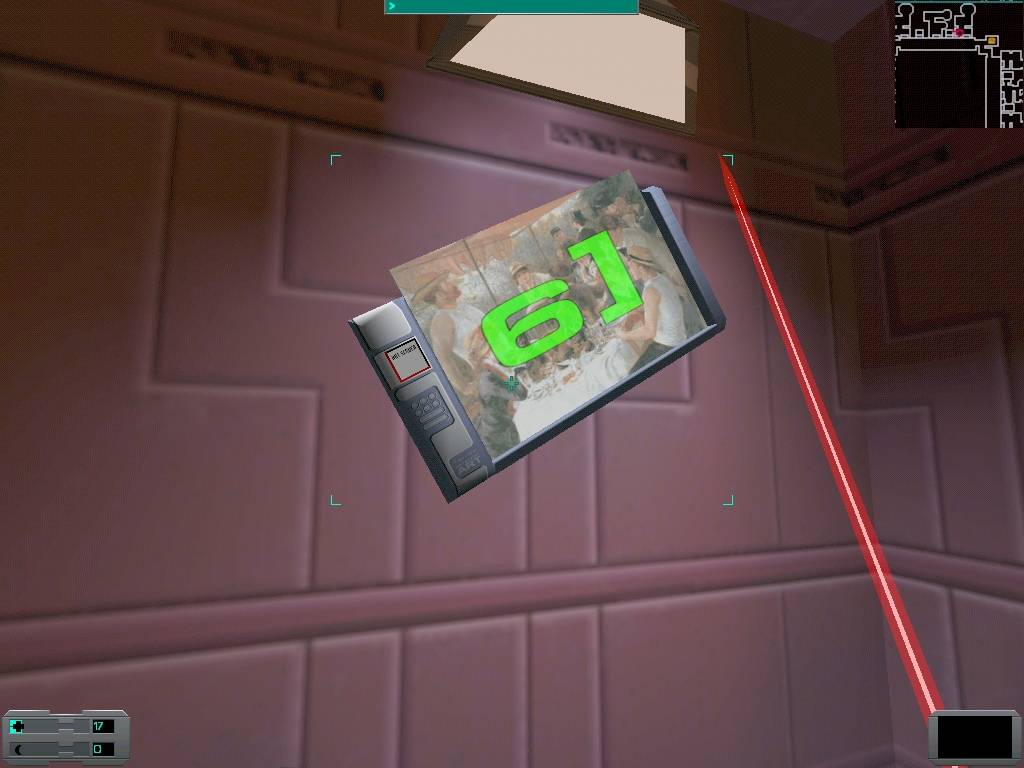
Switch through it, and you'll find [1 over one of the pictures.
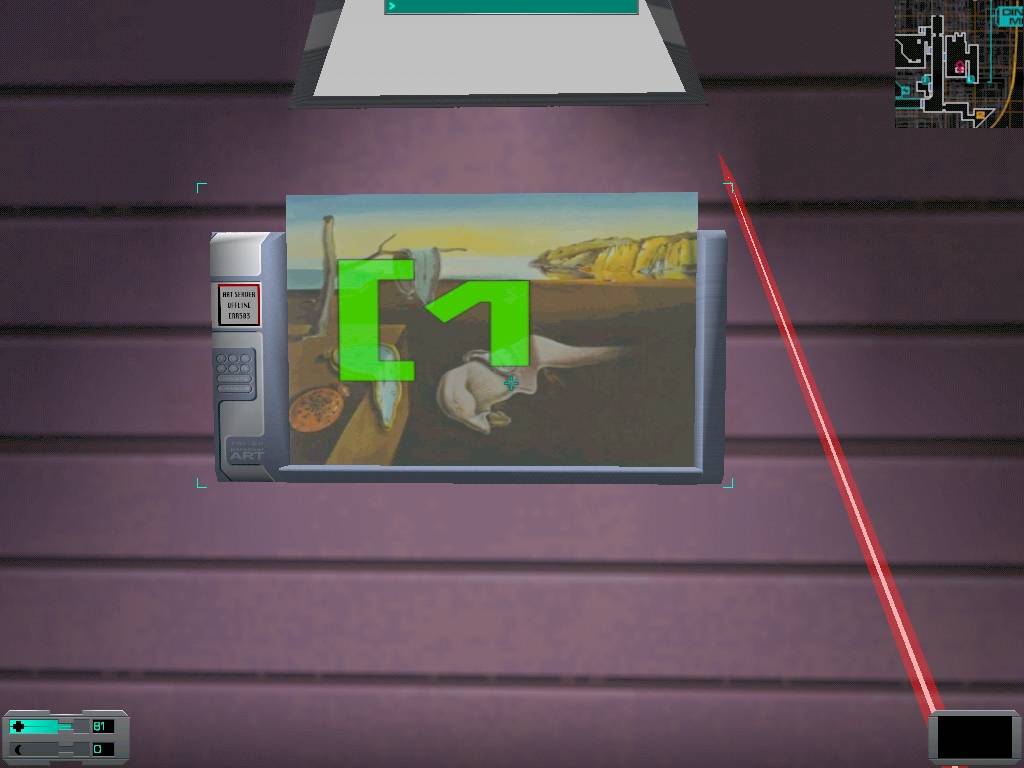
Ah, code fragment number one!
There's a little back room in here, search the body and swipe his maintenance tool. There's some recyclable junk around here *in the form of 2 hard to see pool cues under the pool table, and cigarettes under the other pool table. There's also a log back here.* Go up, kill the grenade hybrid, then leave the room. Head up the ramp towards the security station writing. If you can't see it, get glasses.
Slip into the room on your right. Stay out of sight of the turret outside the window, it'll break the glass and kill you if you don't watch it. There's 6 rifled slugs and 27 nanites in the security crate, 3 grenades in the desk, and 1 med hypo and 5 cyber modules on the corpse on the floor. You can take out the turret if you want, but the camera is out of reach, unless you hack security, then use a run and jump combo to get on top of the turret. When you hear the turret go into stand-by mode, if you alerted it that is, check your mini-map. Run for the door, and hopefully you'll get through it alive. The corpse on the other side has a log, 43 nanites, and 3 grenades.
Go down the hall, towards the bulkhead, and hang a right and go back up to where the resurrection station is. When you go through the door, run past the broken door. The camera on the other side can see you through it. Past the other door is a protocol droid, dodge the explosion and hang a right. Head through the double doors, and you'll be in another mess hall. Run to the camera, and destroy it. The robot you heard will come through the wall. If you didn't hit the camera, the bolt that the robot fires at you may take both you and the camera out. If he kills you, it's for the best. Go to the broken door again, and wait. He can see you through the door, and walk through it, but can't hit you through it. When he gets on your side, be ready to greet him with an overhead swing. He may back up partially through the door and give you the chance to ready another overhand swing. Once he's dead, it's time to explore.
Go into the hole in the wall the 'bot came from. There's a corpse with bullets and a gun beside him in back, but you can't reach him.
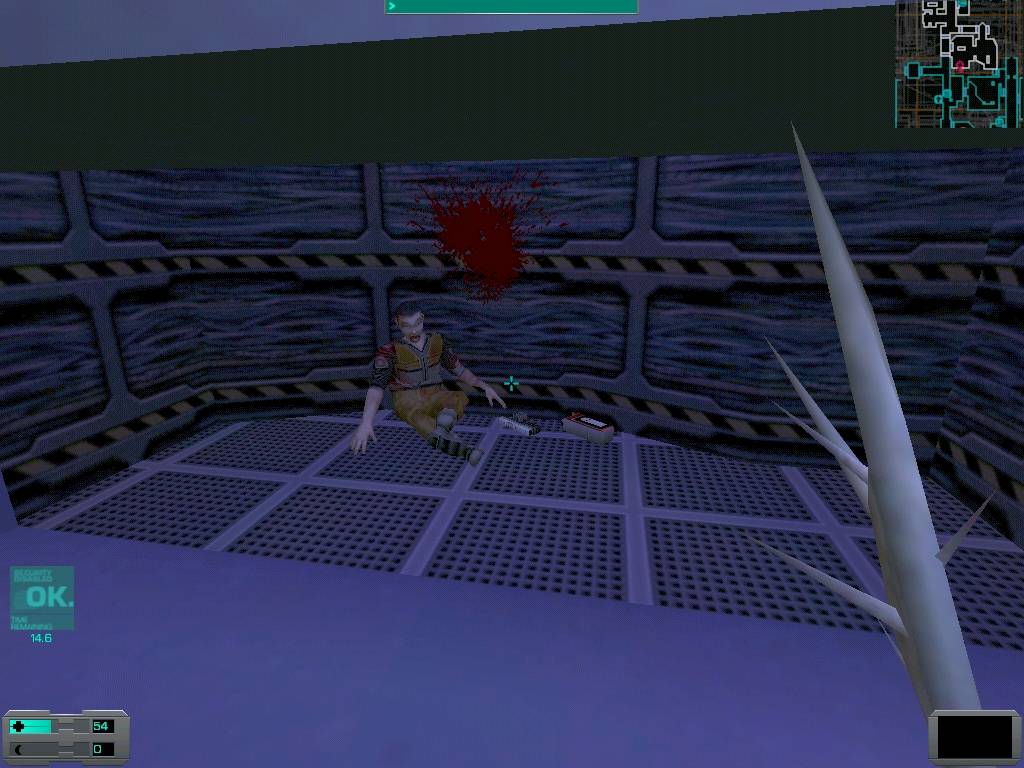
I've always wondered why they put a corpse and pistol in there and never gave you a way to get in or a way to get them out.
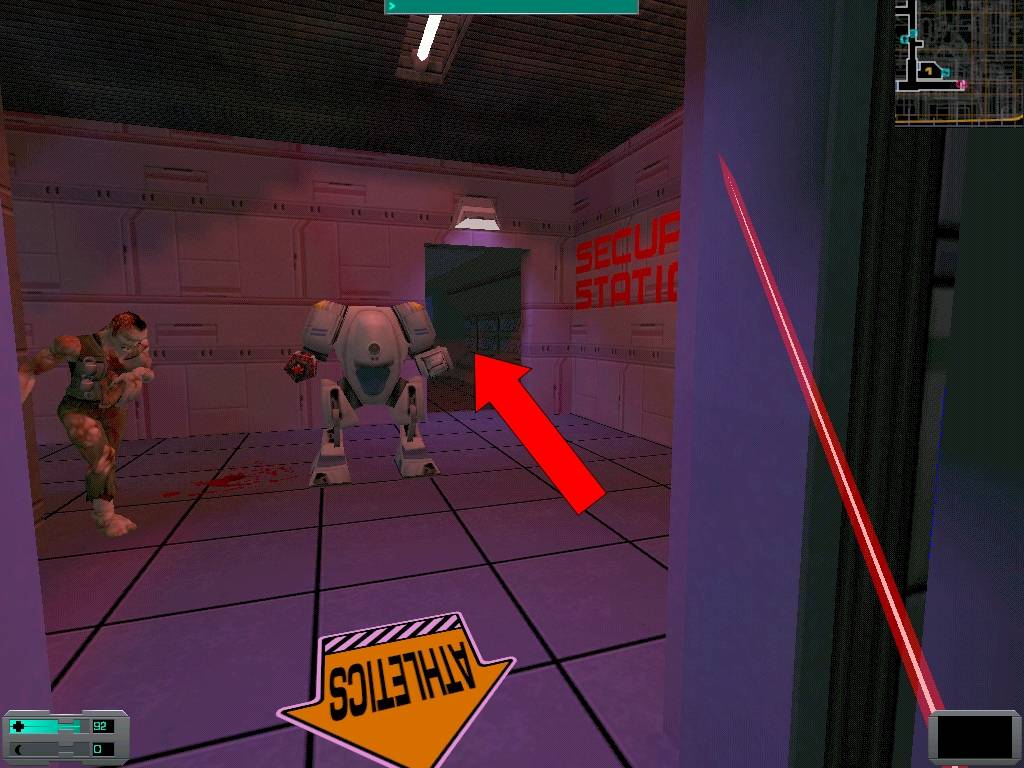
Go across from the hole, on the other side of the column in the room there's a corpse with 6 cyber modules. Go through the arch and pick up the shotgun by the corpse on your right, it has 3 shotgun shells in it. Go through the door with dining room on it, and take out the camera in the hall. Go under the camera and hang a right in the hall to go into the dining room.
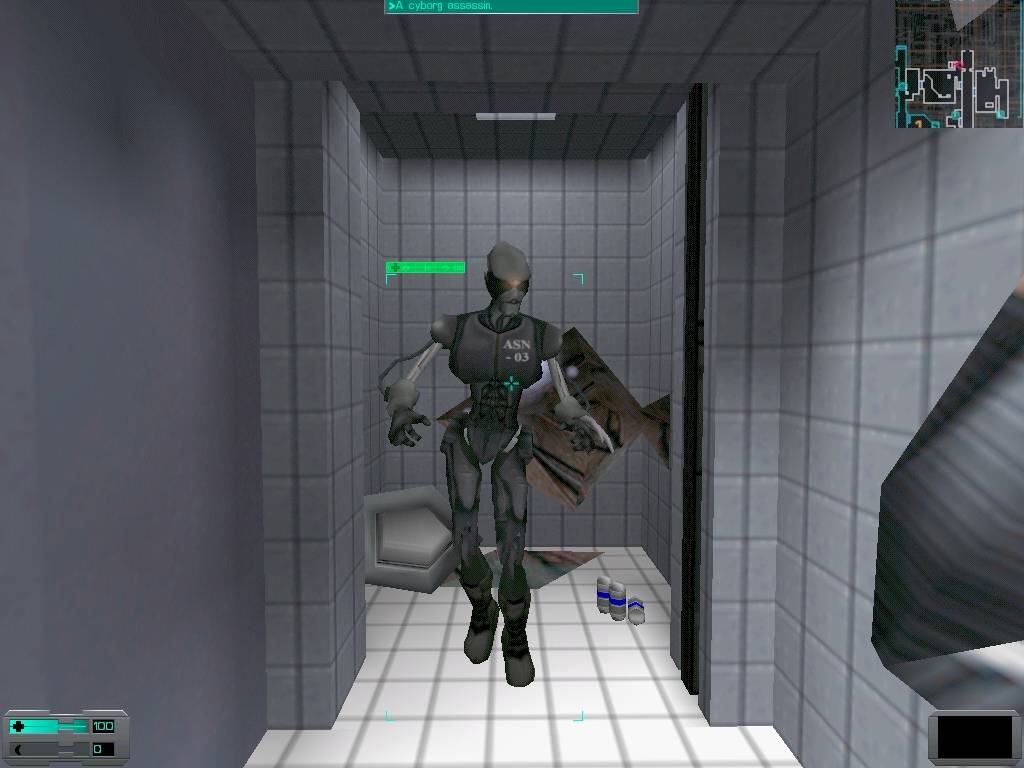
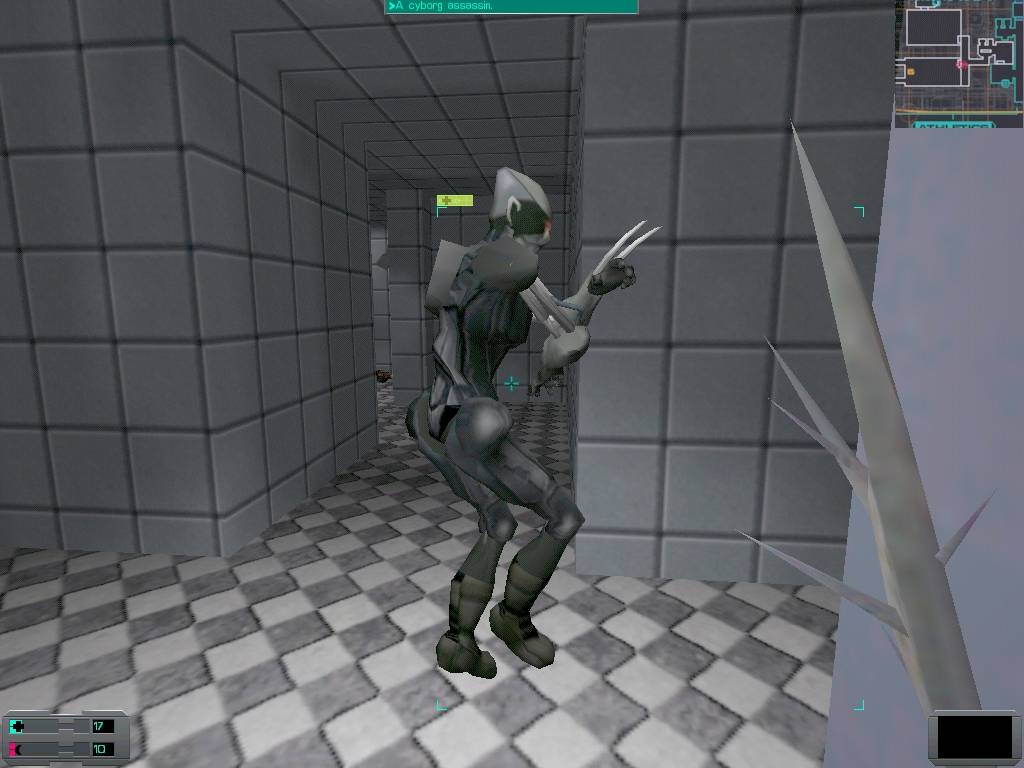
Go to the elevator, when you get onto it a door will open and release a cyborg assassin.
It would probably be a very good idea for you to get up close and personal with that door before the assassin comes out.
Kill him, then take the elevator down. If you go left off it, there's 20 nanites on the floor. Hit the button in the room to bring the lights back on, then go in back to the corpse and take his EnduraBoost implant and speed hypo. Take the girl's 8 cyber modules. Go back up the elevator, and into the first door on your left. Go through the kitchen and out back into the hall.
Go into the room across from you, get the log, and recycle as necessary. Check your mini-map, and head for the chemical store room. Go through the territory you've gone through already, and head into the room on your left just before the store room. A conduit will fall, head to the crates over there and get a med hypo, and a psi hypo. Go left towards the eggs, which release worms that you'll have to deal with, but once they're gone, go past them and get 3 cyber modules off the corpse. Once you've got that, head to the chemical store room. Inside the crates you'll find a maintenance tool, 50 nanites, and 4 worm clusters. Before you leave, take the chemical Mo with you.
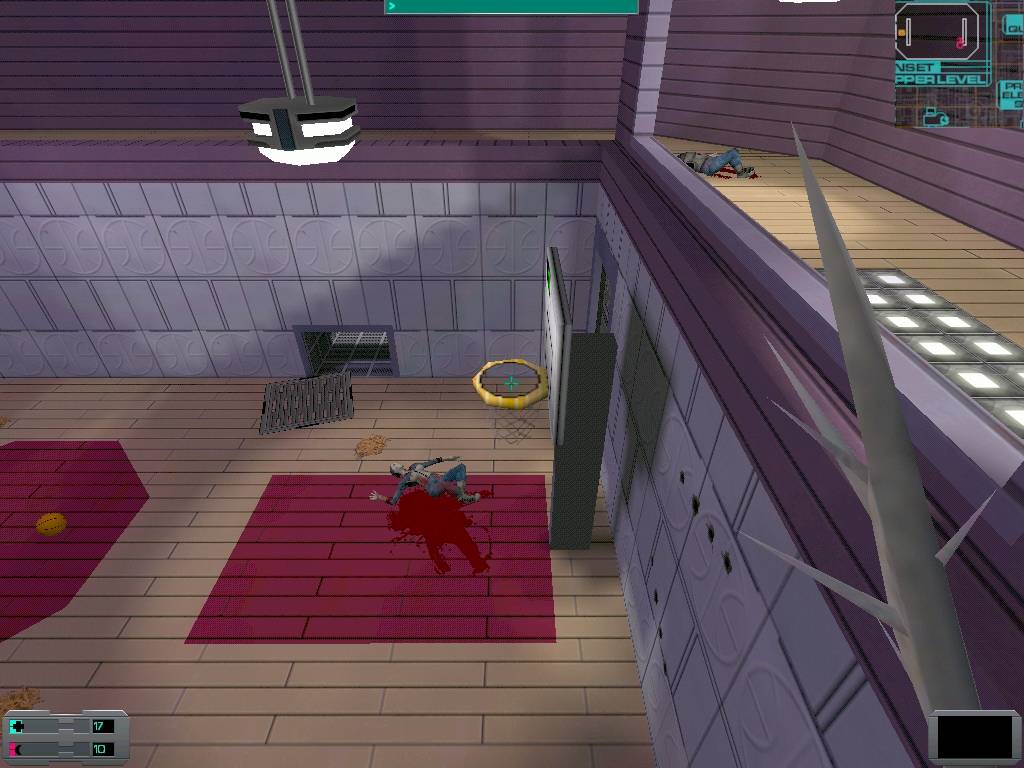
Head into the garden, the place not filled in on your auto-map. Don't go left out of the door, the grating that's the floor there will slide out of your way and you'll fall into the garden.

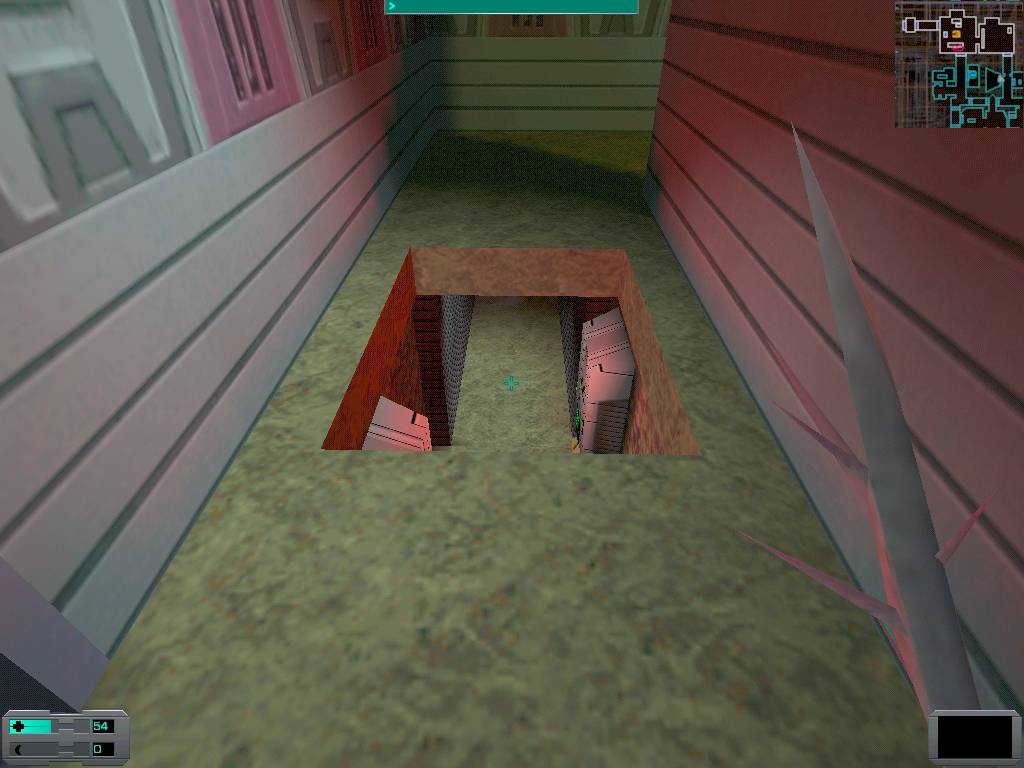
Watch out for the trap door. Or trap grate, if you prefer.
Go right into the other room, and get a log off the bench, then head back. If you stay right, you can get 10 prisms off a female corpse. Now, go down the slanted walls to the doors down here, *swiping 2 plants and a log lying in the grass along the way.* One door leads to a single corpse with 6 anti-personnel shotgun shells, swipe them, and go through the other door.
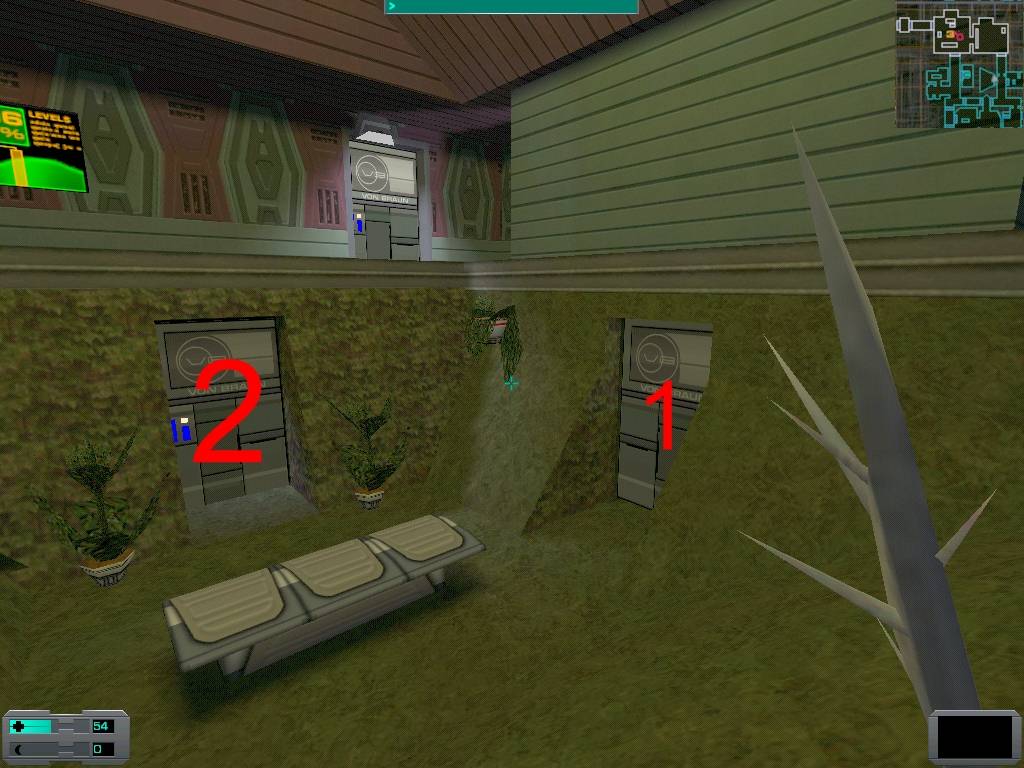
1. Door with corpse. 2. Door with everything else.
You'll hear a woman scream, then a Many speech will play and a midwife will come running. Kill her, and go into the first door on your right. One corpse has a grenade launcher with 1 grenade in it. Hang a right, and punch the code in to open the door, 34093 for the lazy. The second I destroyed one of the eggs, 2 midwives came running and nearly killed me. Marecki pointed out that they're actually spawned when the door opens. Search the bodies in this room, one has 56 nanites, another has a psi hypo, another has 4 cyber modules and standard combat armor, and the final one has 6 rifled slugs.
Leave this room, and go right down the hall and through the door. A grenade hybrid and 2 spiders will come running from behind you to greet you, so stay on your toes. Enchantermon usually goes back down the hall to greet all 3 visitors one by one, it's probably the smartest thing to do. Go in the room and destroy the eggs. They trigger annelid swarms, so jump into the hole with the ladders, and stand between the ladders to avoid getting hurt. Or, if you're on Impossible and have 3 hitpoints left, fling your body into that room. You'll be killed, but all the eggs will be triggered and the swarms will be gone by the time you get back there.
Search the bodies down here keeping you company and you'll find a toxin hypo. Climb out, and get the rec crew quarters card from the female corpse, but beware the 2 worms that will be spawned! Launch yourself over her body and frob it while you're directly over it to avoid being nibbled on. Kill the worms, then swipe 10 nanites off the male corpse.
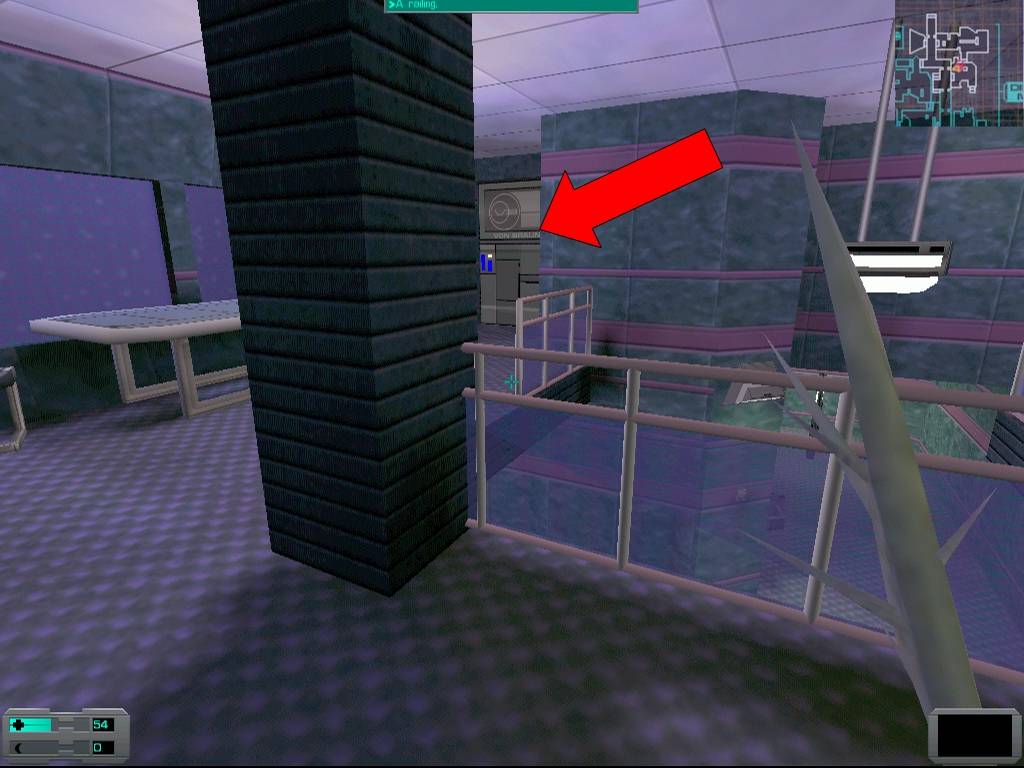
Now, we're done here. Head out through the unexplored door in the upper garden area, which will lead to a bulkhead. It leads to the mall? Well, why not, let's go there next!
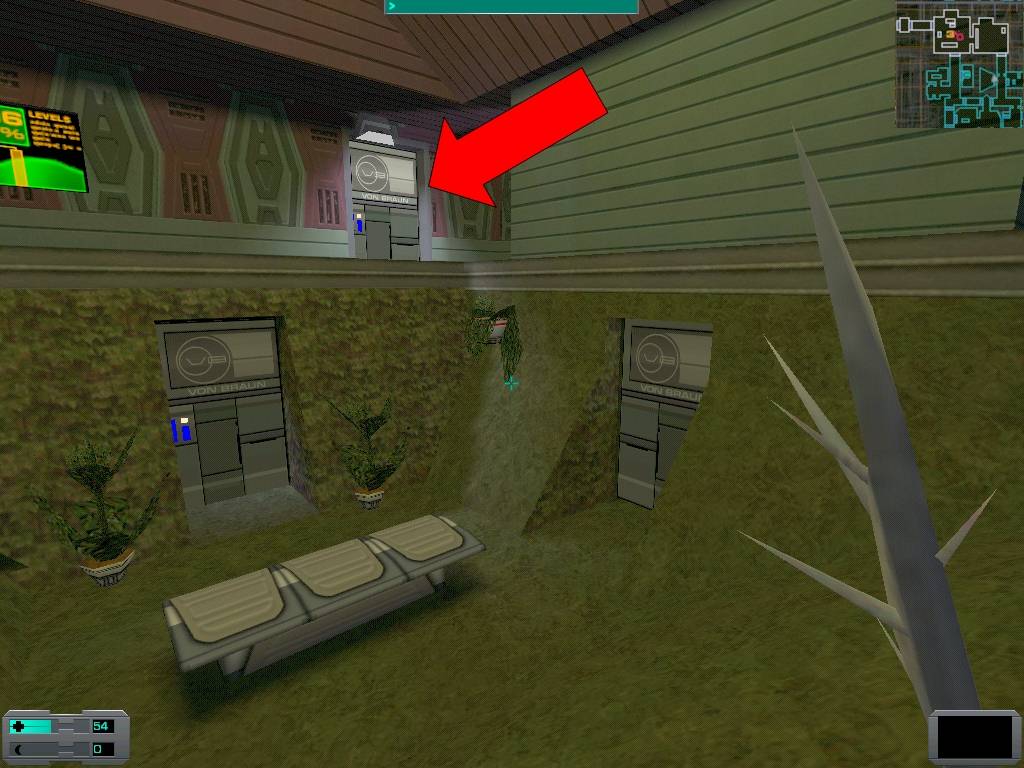
In case you're totally lost, here's the door you want to go through.
The Mall / Top
I like intuition. It's a handy thing. I had a funny feeling about this bulkhead, when I went through I was greeted by an assault robot. And I didn't hard-save. To avoid being seen, run to your right as soon as you're through the bulkhead, and wait a moment, then go up the grav shaft, you should be safe from the robot and the camera for a moment. Kill the grenade hybrid up here, then book it through the empty doorway to be out of sight of the camera.
Now, things are relatively safe up here, but not down on the first floor. If you can only hear 1 robot below you, not 2, then go down and destroy the robot before his friend shows up to join the fun. If they both show up, go down and kill them anyways. Take out the green one first, then the silver one. As we're here, why not search the bathrooms? In the men's bathroom is a corpse with 4 cyber modules on him, and several bottles of alcohol, a gun with 1 bullet in it near him, *and a plant on the sink.* In the women's bathroom there's 6 rifled slugs in the trash can, *and a plant on the sink.* Now, go back up to the second floor of the mall via the grav shaft, it's time to raid the joint.
In the first room on your left, there's 36 prisms in a security crate.
Go back in the hall and go until you see a sign that says "Art Technology".
There's part of the code in one of these paintings, 4.
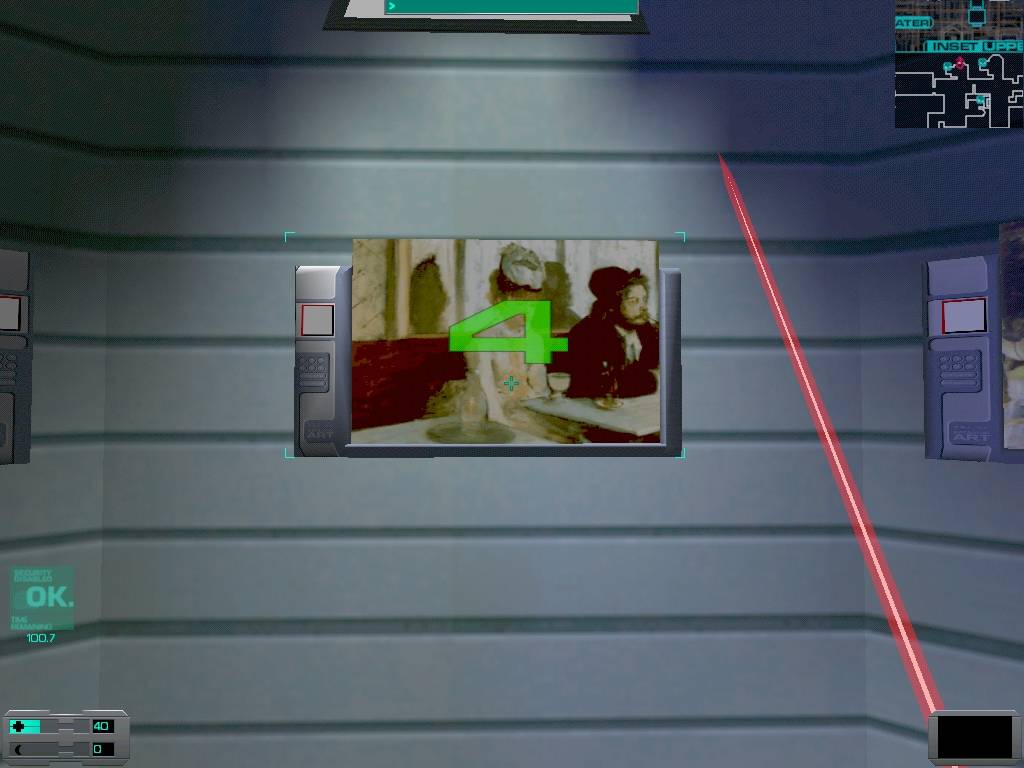
Transmitter code part two!
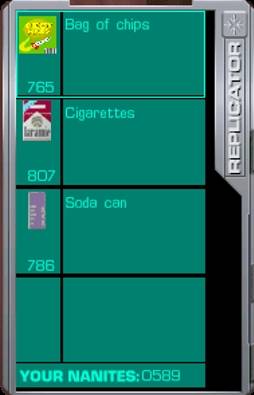
There's a protocol droid in a room nearby, a silver robot down below who'll fire at you if you get too close to the glass floor, *and a security camera in the middle of the room.* Beware them all, *although the protocol droid won't come after you unless you make some kind of noise fairly close to him.* Go straight out of the "Art Technology" room and you'll find a room with a smoking body by a replicator. *There are actually 3 replicators that give you recyclers, not 2, and this replicator is one of them. Hack it, et voila!* The corpse by the replicator has a log, *a small beaker,* and 10 prisms on him.
If you go to the end of the second floor, in the back corner you'll find a psi hypo. *And if it weren't for a combination of Marecki and my trusty red laser rapier wielding Enchantermon, I wouldn't know that there's 36 nanites and 6 standard bullets on the pipe above the wall. They gave me the info, use it!*
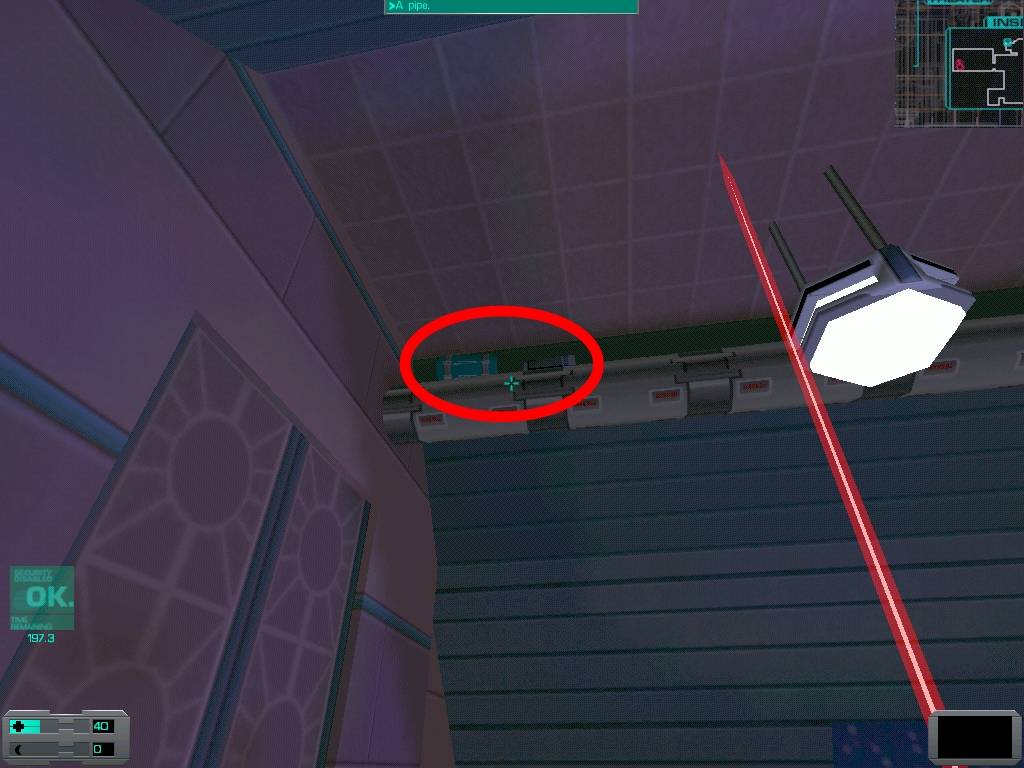
Well, there they are. 36 nanites and 6 standard bullets. Go for it!
Part of the railing here is displaced, you can jump down here, and kill the robot. Why not? *You might want to swipe the large beaker off the female corpse near where you land first.*
Now, backtrack a bit, and you'll find some upgrade units. I didn't get any regular upgrades, but at the OS upgrade unit I got the Cybernetically Enhanced upgrade, and plugged EnduraBoost into my brain. In the room near here, there's quite a few eggs. Destroy them, and evade the annelid swarms as necessary. Search the corpse in the room, she has an ultra rare strength hypo and 4 cyber modules on her. *There's a dead spider near the doorway to the room she's in, it has a spider organ on it. Research it, and it should be ready by the time you get to Ops.*
Go to the sign that says "Quick Foods, Good to Go" and go in the room there. *Watch yourself, the camera on the second floor can see you through the glass floor, and you wouldn't want to set off the alarm, now would you?* Search it, recycle the junk, then go out and hang a right. Go down the hall, then destroy all the eggs in the egg infested room on your left. Evade the annelid swarms as necessary, then get a psi booster, and 6 anti-personnel bullets from the security crate. Head down the hall, and go straight through the door, don't go down the hall with the turret just yet. There's alcohol and cigarettes galore in the rooms here. Avoid the camera, and pick up all you find. Head up the stairs to the sensual sim units. Oh my. Wasn't there a sign which said 'adult must accompany child' at the doorway? Why would children be brought in here...
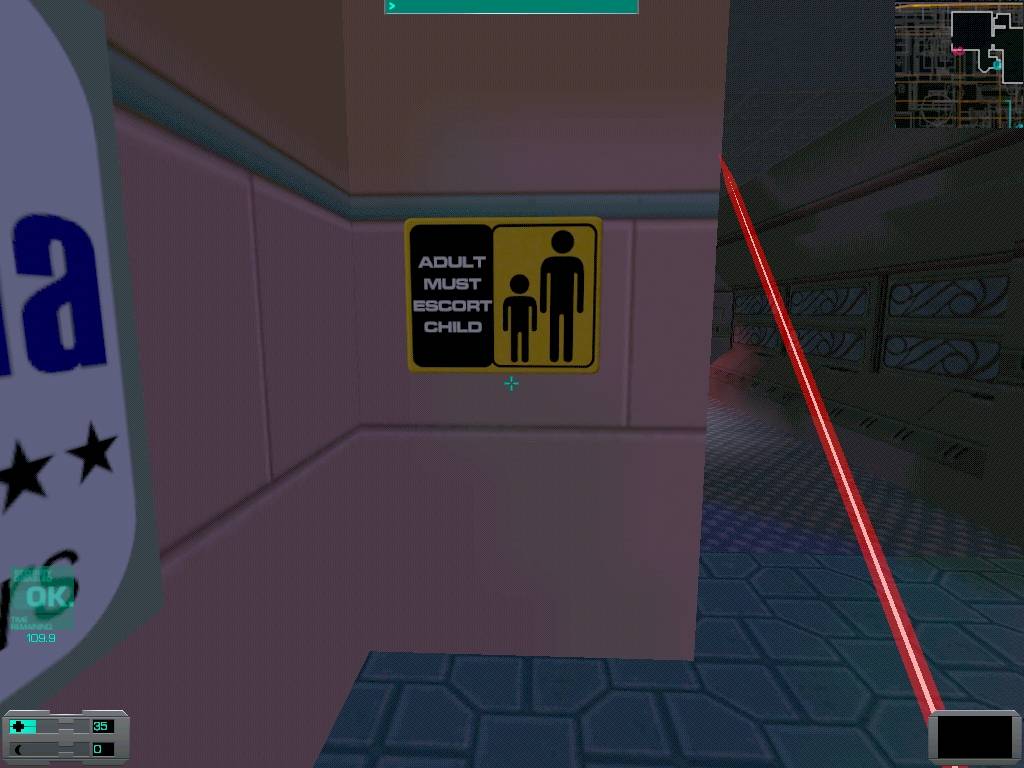
O_O Indeed.....
It seems dearly departed Rosenburg was quite fond of Nikki. If you hack the replicator here you can save quite a bit of nanites getting the card to her room. And, if you really want a laugh, get the Lance card, you can get 20 nanites off the corpse in there, *and a pack of cigarettes off the floor.*
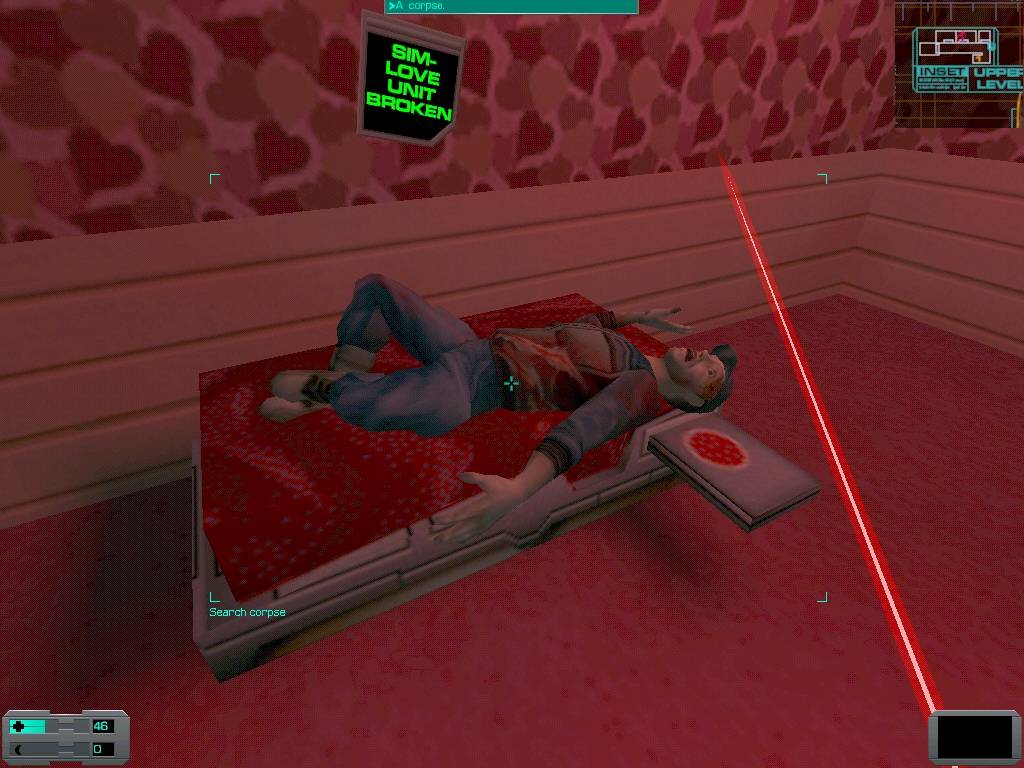
Somehow, I don't think this is how this guy planned on "coming out."
And the biggest question is... how did he die? In a locked room? Did the machine malfunction? If so, did the Many see the scene and refuse to let it continue?? The possibilities...
In Nikki's room, you'll find 10 cyber modules, a bottle of alcohol, cigarettes, and 503 nanites. Whoo hoo!
Now, leave the sensual sim center (too bad the machines don't work anymore, wonder how many hitpoints Goggles would gain if they were... ) and head back to the turret hallway. Run down the hall and into the first room on your right. Be extremely careful, there's a robot here. You may want to take down security to destroy it, it's up to you. There's a recharger near the glass window, (don't get too close!) and a body by it. He has an unknown implant on him, and 6 rifled slugs.
If you haven't taken security down yet, you may want to now. *When security's down, you can use a run and jump combo to get on top of the turret, and from there, you can nail the camera. There's also 6 rifled slugs and a grenade in the open lockers by the security station.* Leave by the door and run across the hall to the room with the resurrection station in it. There's a corpse with 12 anti-personnel bullets and a surgical unit activation key on him. In the bathroom with the egg, there's a corpse with 12 standard bullets and 6 cyber modules on him. When you leave this room, stay to the left and run into the room in here, there's a log on the surgical unit in this room. When you feel lucky, run through the double doors and into the next section of the mall.
When you go up the ramp, there's a room on your *right* with a protocol droid in it. Dodge the explosion, then search this room, is has a bottle of vodka in it. Go in back, and kill the shotgun hybrid here. There's a camera to the right of the doorway, take it out. There's a corpse on the ramp leading down who has a SwiftBoost implant. Go down the ramp and into the room with the female corpse *who has 4 cyber modules and a med kit on her,* and take the alcohol and the log here. Now that you're down here, you'll see 8 nanites by the ramp, pick them up, then head back up the ramp. Hop through the window on your right into the room here, get the booze, and *hack* the crate to get 6 standard bullets and 47 nanites. Leave the room, and go into the bathroom on your left. There's a maintenance tool by the toilet, and 17 nanites in the trash can, *a plant next to the sink, and an egg.*
Down the ramp, there's another protocol droid in the room to the left. Dodge the explosion and you'll see you're in the movie theater. T hings haven't changed much, check out the prices on the food in here.
Good grief! What do these snacks do, make you invincible?
There's 6 anti-personnel shotgun shells on the corpse here, and a psi hypo on the counter. *A wrench to the glass under the counter will get you a bunch of yummy snacks, in case you need them.* Go into the actual theater, and take out all the eggs.

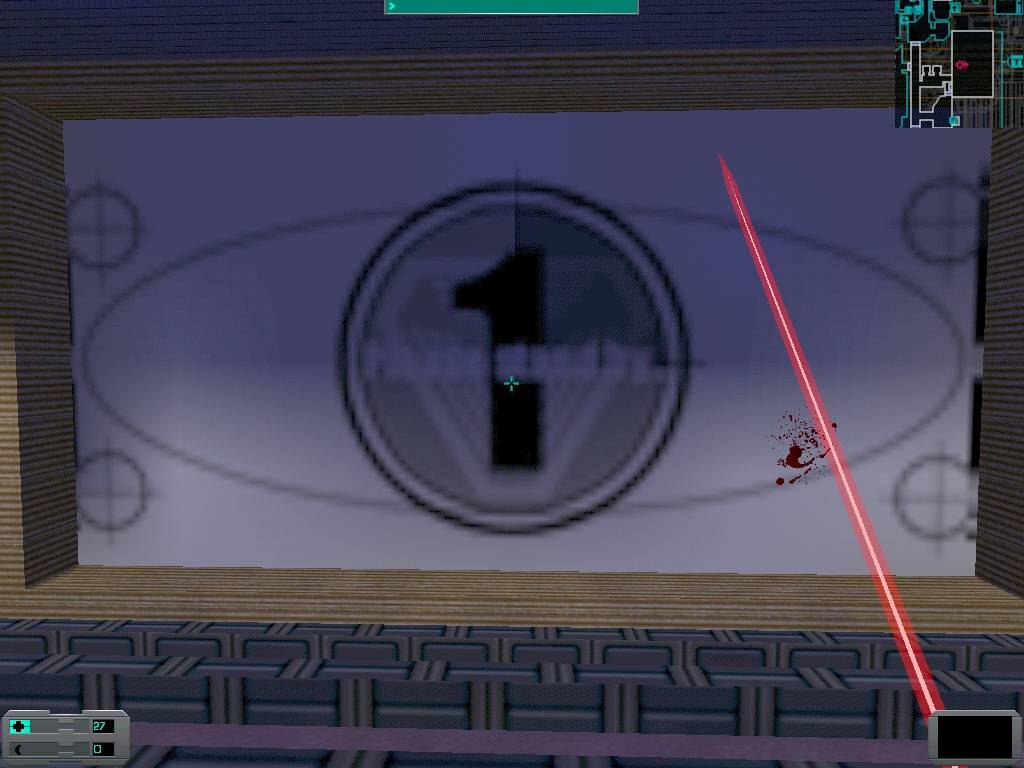
Hmm. I wonder how you're supposed to get into the projection room. I haven't seen a door, have you? And isn't it odd how you can block the projector and still see the movie on the screen?
Another question is why, knowing this is 2114 and knowing DVDs exist, they put what sounds like an old-school projector on a space ship to begin with?
There's a corpse with 5 cyber modules on him in here. As you've cleared out this sector now, head through the bulkhead here.
There's a grenade hybrid and a camera down the hall to your left, and there's a protocol droid down the hall ahead of you, so you might not want to stand still too long. Once all the hostility is neutralized, it's time to explore. Go back to the bulkhead, and head out, let's start with the first room on the right. It's the bathroom. (Hey, I just noticed... none of the toilet stalls have doors on them. Whatever happened to privacy?) The corpse in here has a worm in him, and 17 nanites. The gun past his hand has 11 bullets in it, *and there's a plant on the floor nearby.*
Leave, and head right. Don't go around the corner of the hall, we'll deal with that little section when we're done with the crew quarters. Go into the first room on your right, and get the drinks and the log. Go down the hall, get the 6 standard bullets out of the trashcan, then backtrack towards the bulkhead and go into the first door on your right. Recycle all you find, then hack the crate to get 52 nanites. Leave the room, go right, then hang a right to go into the hallway where the hybrid and the camera used to be. The first room on your right has a log in it. The room across the hall is radiated, it has *40* nanites and 6 armor piercing bullets. Go down the hall, and one of the rooms will suffer several explosions, then some worms will appear. Once that's dealt with, get a med kit and 6 standard bullets out of the security crate. In the last room, there's a pack of cigarettes and a log. The door here opens into the crew quarters. Time to test out your new card and go in here...
The Crew Quarters / Top
There's 2 robots in the main room here, normally I head straight for the room on the second floor with the athletics sector card, and I never end up having to deal with the robots. Guess this will be different. Search the corpse to the *left* of the door, and steal his 20 nanites, then get the log off the floor. The camera here can't see you, it doesn't turn to where you are. However, you won't be able to get to the room to the left without it getting very upset, so go into the narrow hallway, and open the door near the exit of the hallway, it leads to the Deck 1-5 elevator. There's also an elevator leading up to the second level of the crew quarters here. If you don't want to search floor 1, just scroll down to the part of the walkthrough for floor 2.
Floor 1 / Top
We'll be heading to our right, and searching the rooms as we get to them. The first room you get to will have *a bottle of bubbly,* and an egg in it. Destroy it and kill the worm. The corpse here has an ExperTech implant. Go right, through the narrow hallway, and search the first corpse you find. He has 6 anti-personnel bullets on him. I just saw the green robot down the way, just so you know. He didn't see me. If you keep the wall on your right you'll end up by the bulkhead leading back to the garden. When the robot is close and facing you, run out. You can hide behind the wall sticking out by the elevator shaft, or run back into the hallway with the bulkhead, and when he arrives, kill him. (You can imagine my reaction when I learned, yet again, I forgot to take my own advice and buy a ton of med hypos. I had 18 hitpoints left and when I hit the hotkey for med hypos, I found out I had absolutely none. However, I was able to kill both robots without dying.) Keep going right around the outside of the room, and when you find the room with a desk, there's a log in here, *and a corpse with 2 worms.* Keep the wall on your right, run under the camera, and then go up via the elevator.
*If you're a hacker, you can swipe some goodies near the central elevator, which is currently inaccessible. There are ledges you can mantle onto, which are in full view of the cameras, which have some goodies on them. If you're facing the Deck six elevator, you can go through the door on the left and jump onto a ledge on the right to get 12 armor piercing bullets. Then, going through the door straight away from elevator, you can go right around a wall and jump onto the ledge on the right to get 6 anti-personnel bullets.*
Floor 2 / Top
We'll head in a circle around the rooms here, head right off the elevator and dodge the exploding droid. In the first room on your right, we have a body with worms and an auto-repair kit on him, *and a bottle of liquor on the floor.* There was a grenade hybrid in the hallway, *although sometimes he's in the next hallway,* take him out. Behind door #2 we have what appears to be an empty room. Hit the light switch, and you'll see a little tunnel in here. Crawl through it, and at the other end you'll find 2 eggs, which of course need to die. You'll find 5 rifled slugs in the shotgun, 3 cyber modules on the corpse, and *30* nanites lying near him. *If you stand in front of the computer console and look up, you'll see 6 anti-personnel bullets on a pipe.*
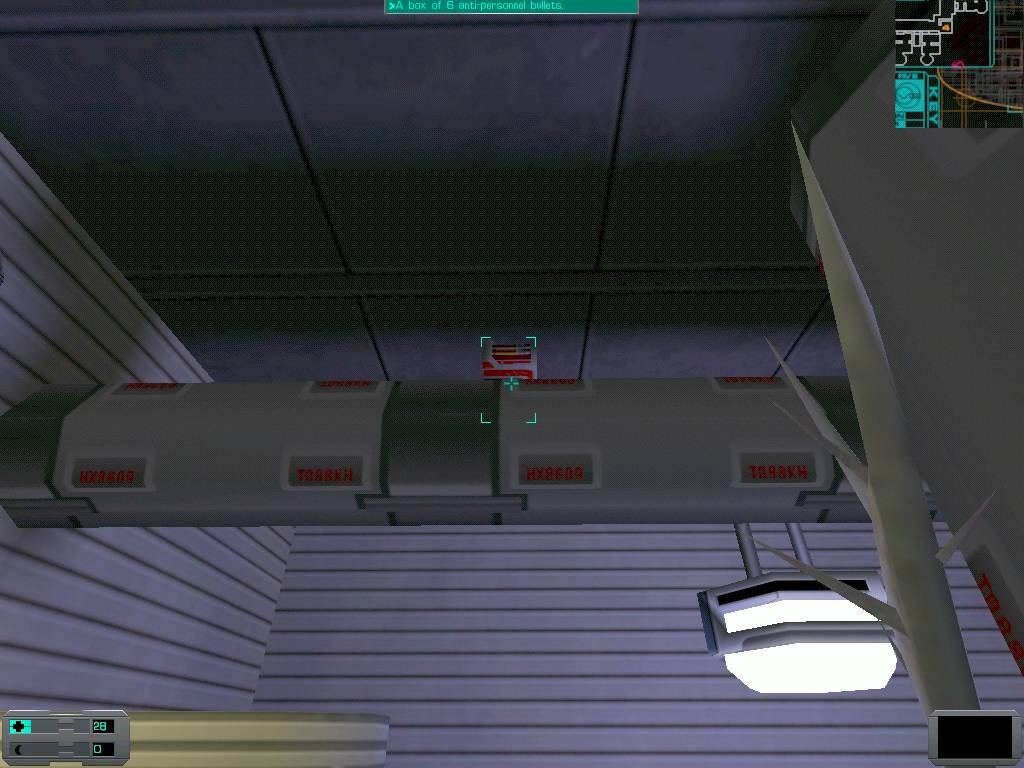
Every bullet counts.....toward nanites, that is.
Head out the door, and go to your right again.
Behind door #3 we have nothing. Behind door #4, we have some goodies, but we need to punch in the code to the door, 11111 for the lazy. Here, we have our first suit of heavy combat armor. Ditch your secondary armor for this. There's 10 cyber modules on the corpse, and in the little closet there's 3 grenades and 20 nanites. There's another 20 nanites in the desk, a psi hypo in the swinger by the bed, *and a plant on the sink in the bathroom.* Behind door #5 we have a cyborg assassin, several eggs, and a maintenance tool.
(*in a zen-like tone* In order to get a good night's sleep, you must become one with your bed.
Down the hall past the next set of doors is a protocol droid.
There's a jammed elevator with an egg on it, since you don't have to worry about the robots showing up just drop it.
Behind door #6 we have one of the art terminals with a number on it, 6], and in the desk we have 47 nanites.
*Also, there's 4 eggs, 2 release worms, the other 2 release swarms.*
(Only one art terminal left, now!
Behind door #7 we have muerte
written in blood on the wall.
The always helpful Enchantermon tells me it means 'death' in Spanish, I had no idea what it meant before, other than the fact that the athletics sector card is in the room.
There are several bottles of liquor around the corpse, you can drink up to celebrate finding the card that enables you to get to your first rumbler if you want.
The corpse who had the athletics sector card also has 20 prisms, steal them too.
Behind door #8 there's *2 small beakers on a corpse.* Approaching door #9 will trigger 2 shotgun hybrids running out of a room, kill them both quickly. Behind door #9 there's a crying ghost, and 10 nanites. Behind door #10 there's 6 anti-personnel shotgun shells, a psi booster in the desk, *and a large beaker on the corpse.* And, this concludes our search of dead people's rooms.
The Transmitter / Top
Leave via the door that leads to the elevator to decks 1-4. You originally went left when you reached the hallway with the corpse, now it's time to go right. There's a camera above the counter here, you need to destroy it quickly. 2 monkeys will come flying out of the roof, and it's nice to be able to get close to kill them without the camera going off. I had a protocol droid spawn in the bottom level of the crew quarters, he showed up and my little ambush kind of went to hell, but I still got the job done.
Once you're done killing, search and recycle all you can. The code for the little hatch door here is 12345, there's a surgical unit activation key in here. Also, there's an art terminal with number on it, 10.

The final art terminal! You perform well.....insect.
Of course I performed well, when I wrote this walkthrough, I found all the art terminals for the first time. :-P
There's a set of upgrade units here. Want to toughen up before you get to the rumbler? If you want, you can also go to Deck 2 to heal up before taking on the rumbler. *To get to the basketball court, go left and down the hall from the upgrade units, then go in the first door on your left you come across, just outside of this door, there is a log on the counter, along with a bottle of juice and a can of pop. There are 2 doors leading out of the locker rooms you'll enter, approaching the one on the right will trigger an explosion, and the one of the left leads you to the basketball court.
When you enter the basketball court, the lights will go out. As I wanted to take some nice bright screenshots of our fight, I quickly ducked and ran into the little tunnel to the right of the door. There's an egg that drops a worm right when you're directly under it, so if it's biting you and you can't see it, look up. Take the egg out, and take out the egg at the exit of the tunnel. Hop into the pool, and swipe 34 nanites from the floater. Climb out, and go to the door with the noisy machinery. Recharge, and go through the next door. There's an auxiliary power override here, much like the one you used to escape the so called decompression in Deck 2. Stick the battery you should have in here, then the lights in the basketball court will turn back on. *Before you leave the pool area, you might want to recycle all of the life preservers, every nanite counts!*
Head back out of the tunnel, and you and the rumbler will have nice lighting. As killing them simply means circle strafing them, they don't deserve their own section. You just need keep moving and you should be just fine.
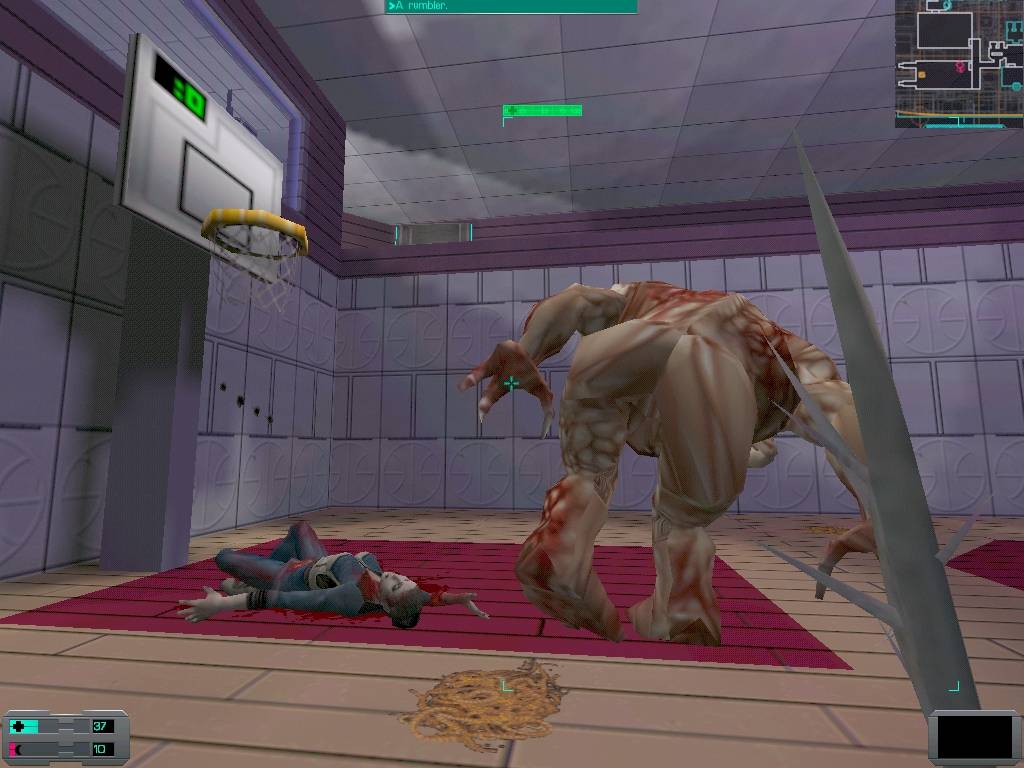
There's a side of a Rumbler that no one should have to see. Oh well. *insert bugle music here* CHAAAAAAAAAARGE!!!!!!!!!!
He seems to drop his guts a lot, so search him and research the organ. The corpse in here has an anti-toxin hypo. There's quite a few worm piles here, so if you have the WormBlood implant, you might as well chow down before you deal with the cyborg assassins. Head up the grav shaft.
Why did LGS have to place those assassins at the other end of the basketball court here? Why? It's a bit awkward, but you have to run into view of them, then hide behind the wall, and they should come to you. You just need to be ready to charge them.
Something very strange happened to me once. I managed to knock one of the assassins down onto the basketball court while I was fighting him. I left, took care of his friend, and when I went looking for him, I found him in the locker room, completely frozen and non-responsive to my attacks. Until I killed him. Then he died normally. Weird.
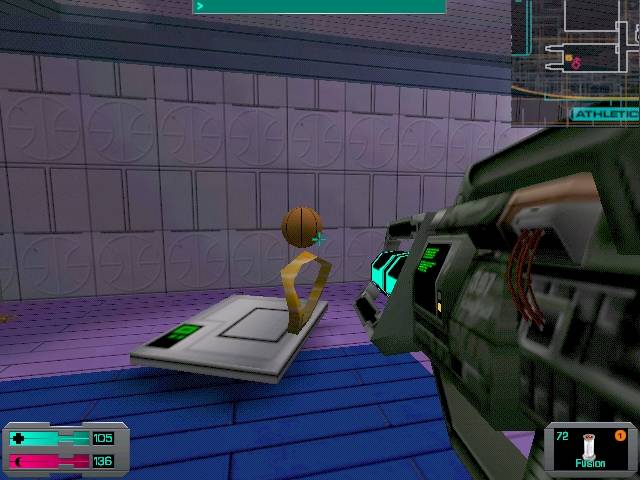
Once they're dead, *and you've swiped 7 prisms out of the broken fusion cannon on the corpse near the transmitter,* it's time to fire it up using the code 14106. Once it's running, Xerxes and Shodan will start chatting away. If you got the basketball back on Earth, shoot some hoops to get a rather odd e-mail from some monkeys.
This is a good spot to shoot from.
The spawned basketballs won't trigger this message, just so you know. Once the basketball has served its purpose, recycle it.
In a regular game that I played, I decided to have a little fun and blast away at the indestructible basketball with the fusion cannon. Once, after bouncing around wildly for a few seconds, here's where the ball ended up. O_O
If you've been paying attention to your e-mails, you should know where to go. If you've already been to Ops, you're heading for the Command deck, after getting ready for it, of course. If you haven't been to Ops yet, you're going to be heading down there now, after making sure you're ready for it.
During the game where I noted which stats I upgraded when, I did this level before Ops deck. After clearing out the crew quarters, I took my strength stats up to level 6, and exotic weapon skills up to level 4. After the level was completed, I took my exotic weapon skills to level 5.